Your cart is empty.
Embroidered Chick
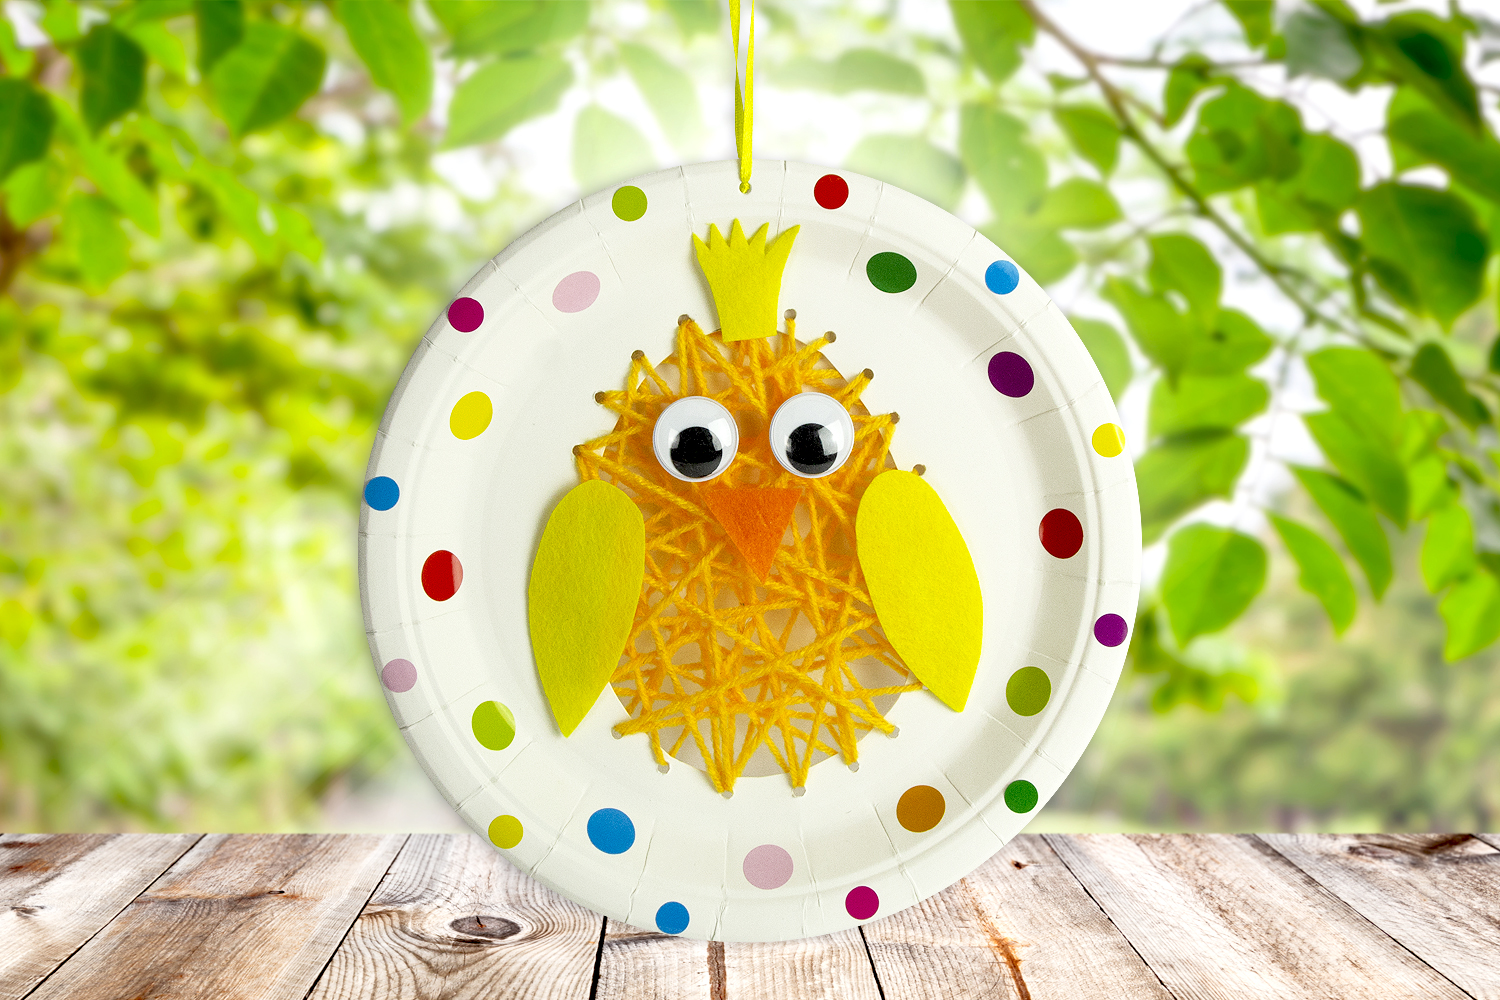
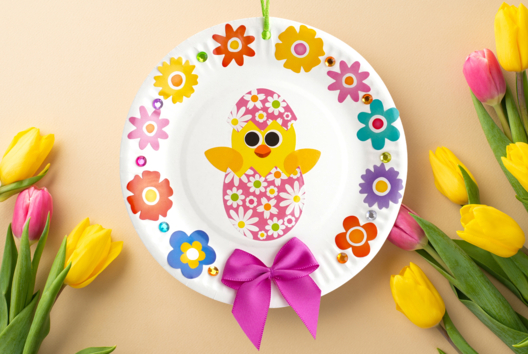
Embroidered Chick
Here’s an Easter activity that children will love! Take a plate, some yarn, and a few accessories to create a fun Easter chick.
The weaving with yarn and a plastic needle, needed for this activity, will help develop children's fine motor skills.
Thèmes de l'idéa créa :
#Easter Tutorials
#I Make an Easter Wreath
#I Discover Embroidery
#String Art Tutorials
#Animal Tutorials
How to complete this tutorial step by step?
Material

To make this cute chick, you will need:
- a white cardboard plate
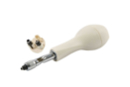
- a hole punch
- a ball of yellow yarn
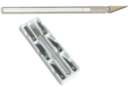
- a plastic needle
- colored felt
- 2 googly eyes Ø 2.5 cm
- round stickers
- a ribbon
- double-sided adhesive foam
- a pair of scissors
- a precision cutter (and a cutting mat)
- a pencil
Step 1
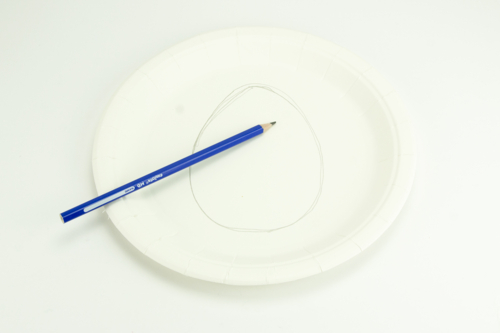
Draw an egg inside the paper plate.
Step 2

Using a precision cutter, cut out the inside of the plate following your line.
We recommend placing a cutting board under the plate to protect your workspace.
Step 3
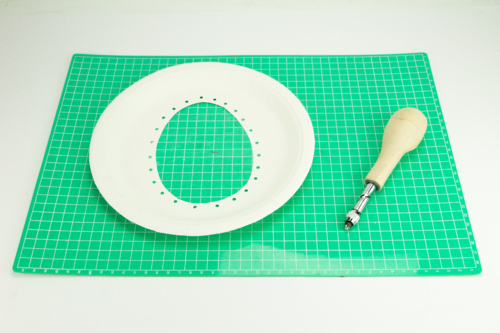
Make holes all around the egg using a punch.
Step 4
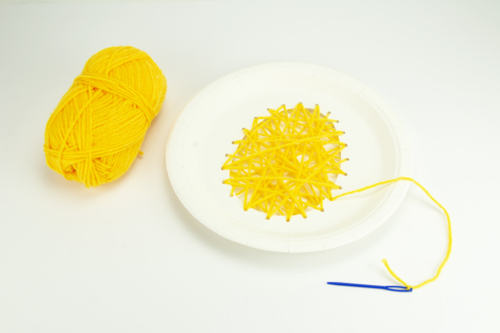
Attach a plastic needle to the end of a yellow wool thread and then randomly stitch through the holes all around the egg.
The thicker the weaving, the more opaque the chick's body will be.
Step 5
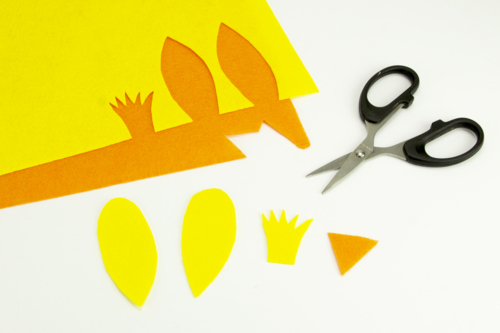
Cut out the chick's wings and its crest from a yellow felt sheet.
Cut out the beak from an orange felt sheet.
Step 6

Glue the felt pieces along with 2 movable eyes Ø 2.5 cm using double-sided adhesive foam.
Step 7
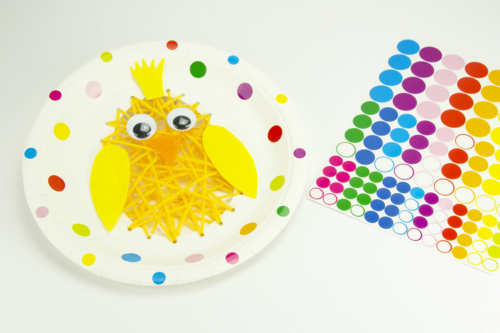
Decorate the edge of the plate with colorful round stickers.
Step 8
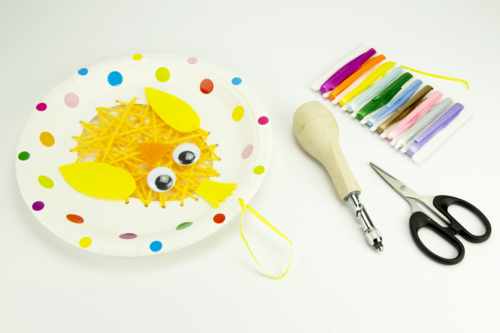
Make a hole at the top of the plate with the punch so you can attach a ribbon to hang this lovely chick!
The products used:
The products used:

1,49€
Available from 26/06/2026


3,99€ (either 0,13 € / pc)
Available

2,49€ (either 0,50 € / pc)
Available

Other tutorials on the theme "Easter Tutorials"
-

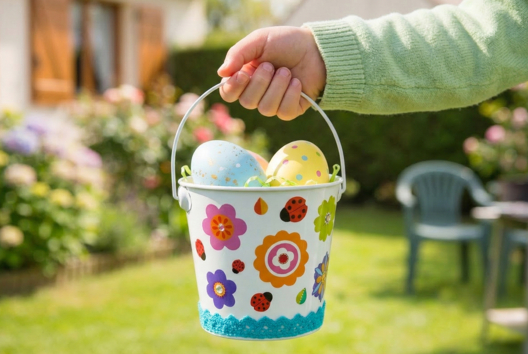
Bucket for collecting Easter eggs
C17732View 6192 time


-
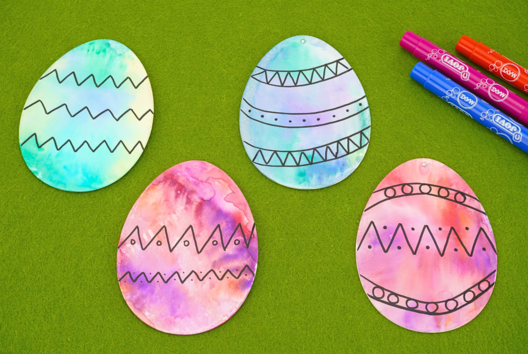

Watercolor Easter Eggs
C11103View 20786 time
-
Round Modeling Chicks
C11184View 15567 time

-
Jumping Rabbits
C11113View 25132 time -
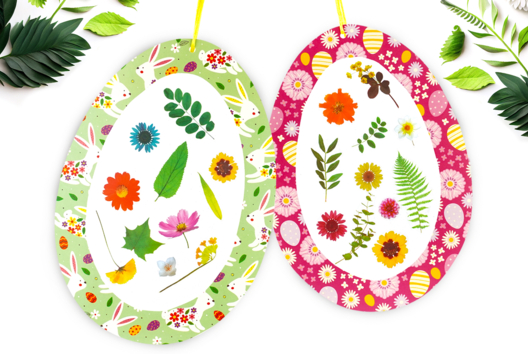
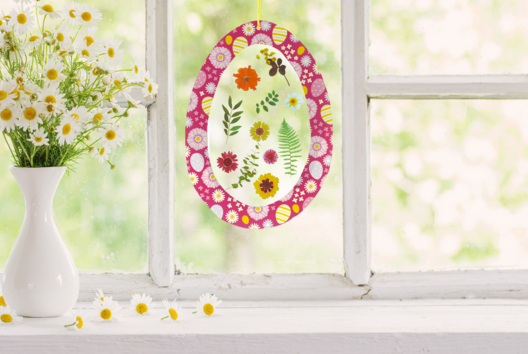
Easter Egg "dried flowers"
C13168View 22662 time
-
Little Chick with Plate and Stickers
C11307View 22188 time
très facile avec des aiguilles adapter a l'age des enfants 2ans et demi et 5ans .Ils se son bien amuser et le résultat et parfait .Merci pour cette activer