Your cart is empty.
Fimo Clay Carrot
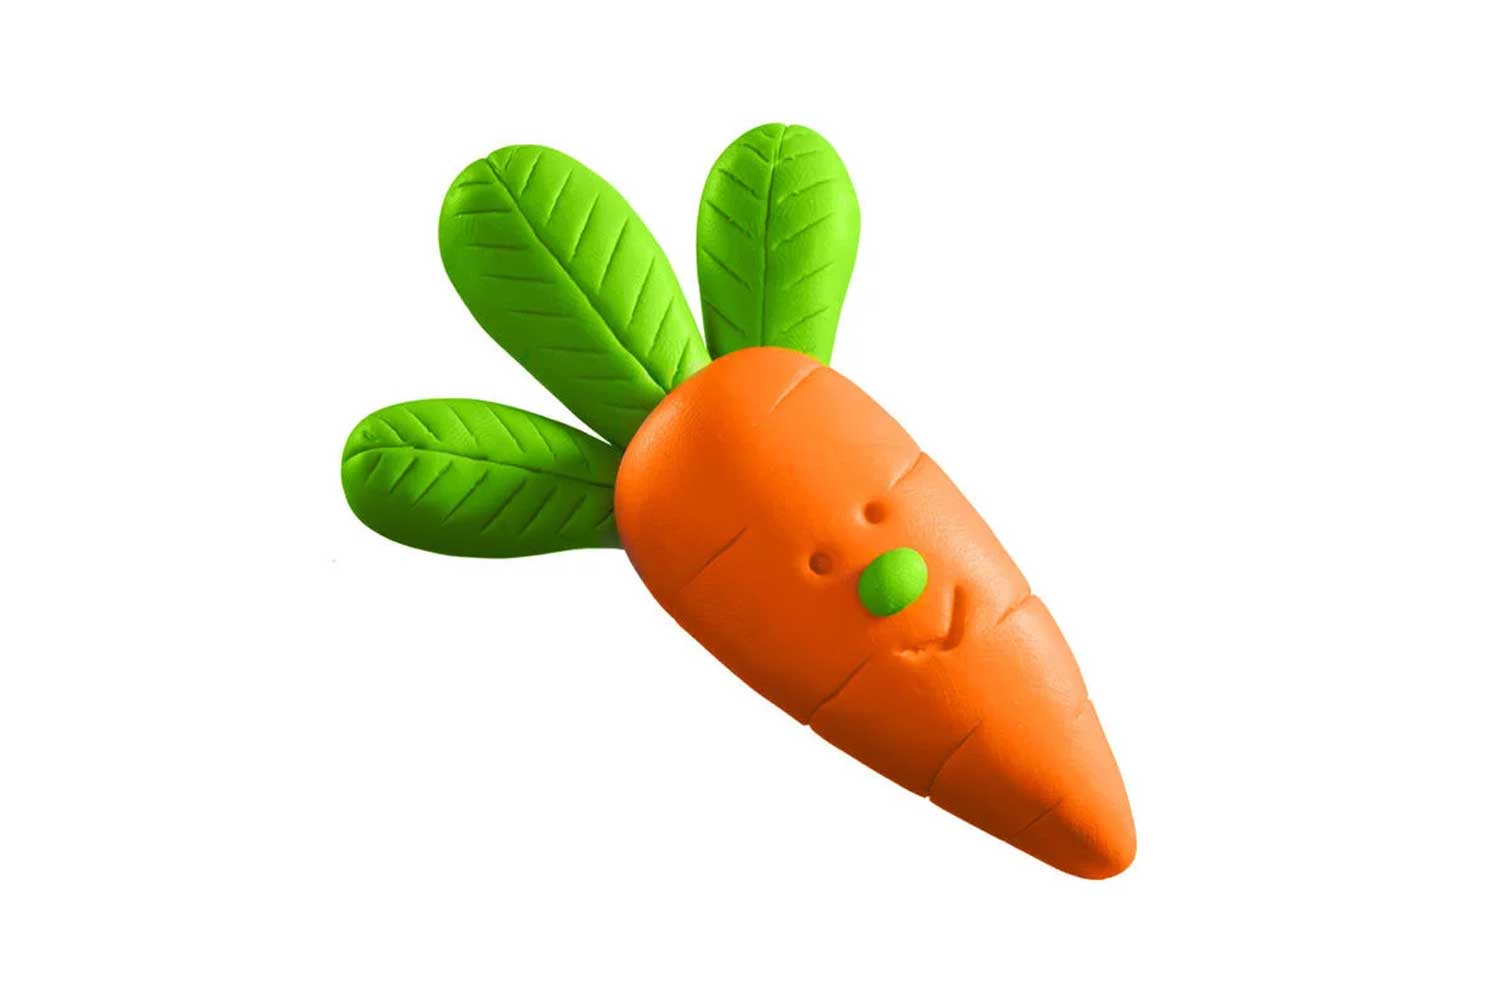
Fimo Clay Carrot
Discover this tutorial to learn how to make a carrot using modeling clay. With Fimo clay, once the carrot is made, you will need to bake it for it to become hard and durable!
You will need the following materials:
- 1 block of Fimo: apple green
- 1 block of Fimo: orange
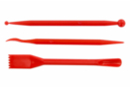
- 1 modeling tool
- 1 toothpick
How to complete this tutorial step by step?
Step 1

Cut half of the orange Fimo clay. With this portion, shape a ball by rolling the dough in your hands.
Step 2
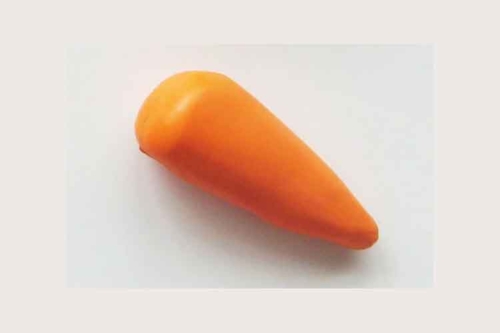
Then shape a carrot about 7 cm long from your ball. Be careful to make it as straight as possible.
Step 3
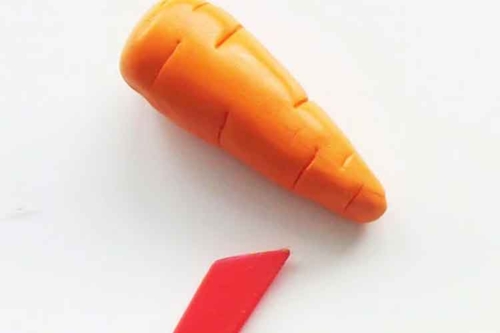
Using a modeling tool, draw lines on the carrot.
Step 4

Take the green fimo block and cut a single piece. Then cut this piece into three equal parts.
Step 5
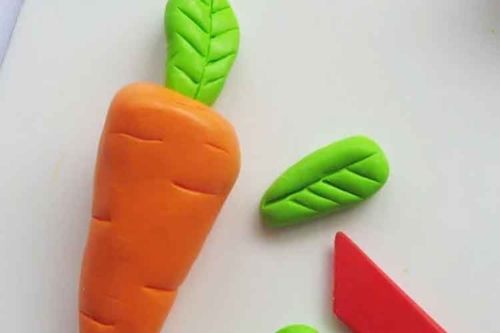
Shape each green part into a small leaf. Then attach the leaves to the top of the carrot by pressing the base of the leaf onto the carrot.
Step 6
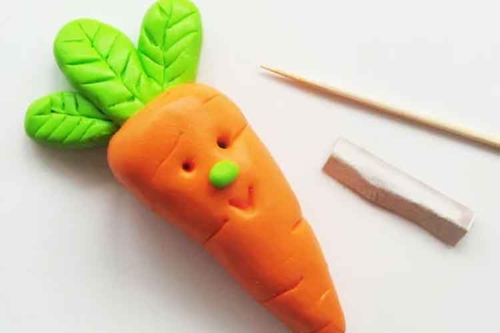
With the green dough, shape a small nose for your carrot, poke two eyes and draw the mouth with a toothpick.
Step 7

With the help of an adult, bake your carrot: 30 minutes at 110°C. Let it cool for 30 minutes.
And that's it! Your carrot is sturdy now, you can stick it on a magnet to put it on the fridge!
The products used:
The products used:


Neodymium Magnet Ø 6 mm - Pack of 5
Réf. 07443 - See the full range
1,69€ (either 0,34 € / pc)
Available
Other tutorials on the theme "Modeling Tutorials"
-
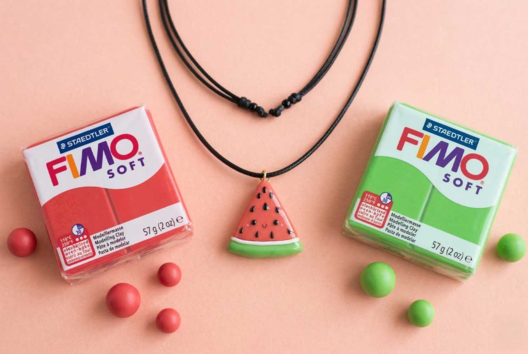

Kawaii Watermelon Pendant in Fimo Clay
C17725View 1590 time


-
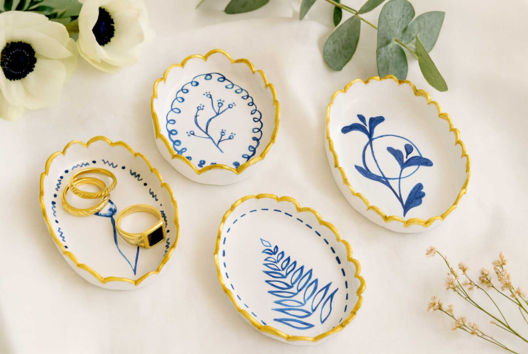
Porcelain Effect Bowls
C17290View 6789 time

-

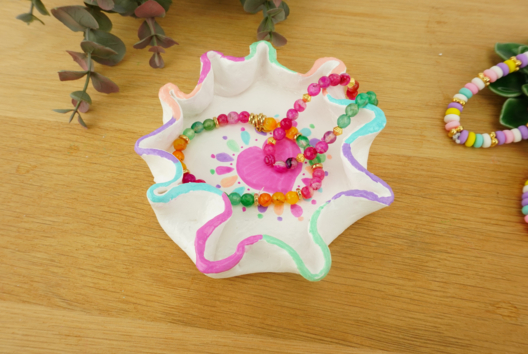
Wavy Trinket Dish
C11069View 13849 time
-
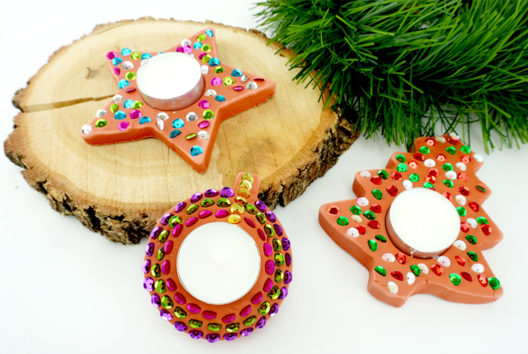
Festive Candle Holders
C11126View 21562 time

-
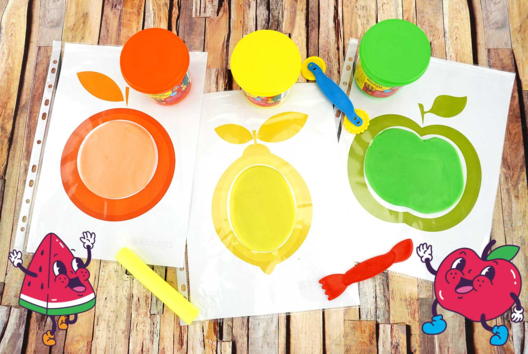
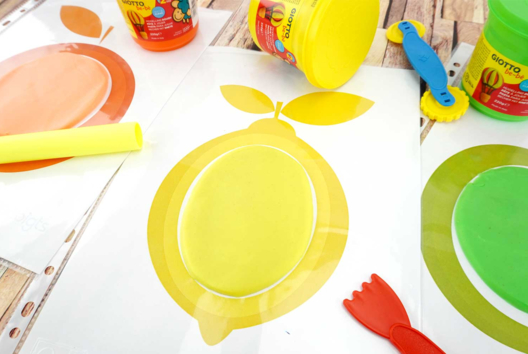
Modeling Clay Fruits
C11065View 19680 time

-

Round Modeling Chicks
C11184View 15803 time
-
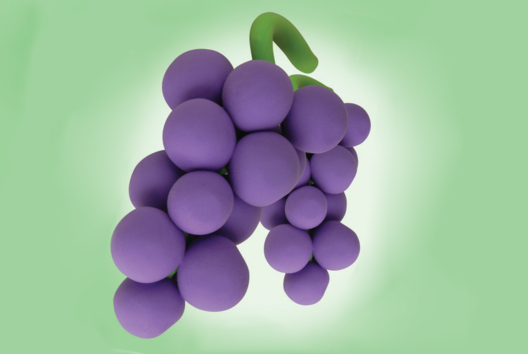
Bunch of Grapes in Modeling Clay
C14298View 6516 time -
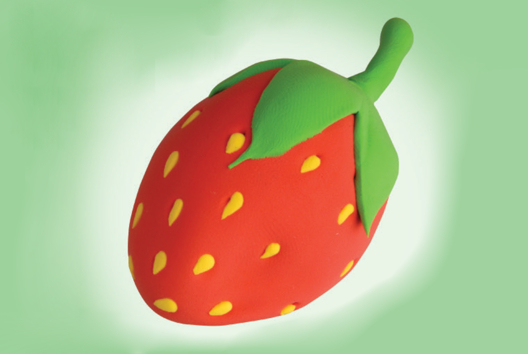
Strawberry in Modeling Clay
C14296View 7720 time -
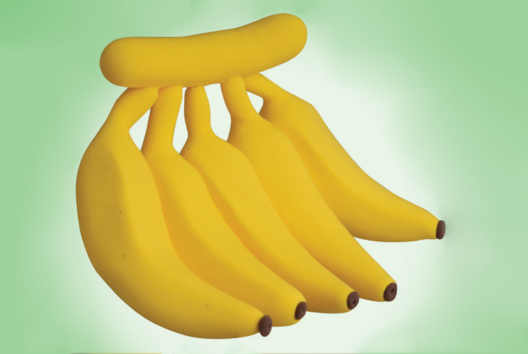
Modeling Dough Bananas
C14295View 6027 time -

Modeling Clay Eggplant
C14294View 4255 time
Customer review
Give your feedback
Fimo Clay Carrot
Be the first to share your review of this product.
Post a review