Your cart is empty.
Illuminated Santa Claus with a Paper Cup


Illuminated Santa Claus with a Paper Cup
In this Christmas activity, we will transform a cup into a Santa Claus!
A simple activity that the children will surely enjoy!
Thèmes de l'idéa créa :
#Funny Characters Tutorials
#Craft Tutorials
#Christmas Tutorials
#Christmas Characters
#Christmas Crafts
How to complete this tutorial step by step?
Materials:
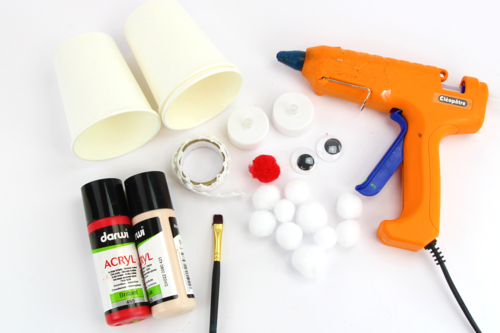
To make a Santa Claus, you will need:
- A paper cup
- White pom-poms
- One red pom-pom
- Two movable eyes Ø 2.5 cm
- White adhesive lace
- An LED candle
- Acrylic paint (red and flesh)
- A paintbrush
- A hot glue gun
- A pair of scissors
Step 1:
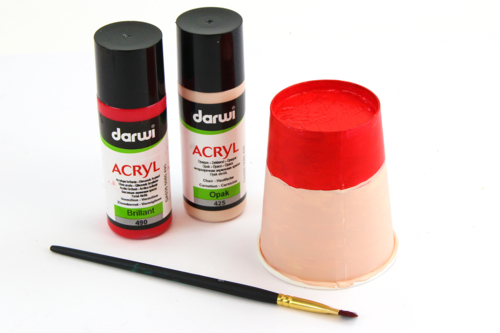
To begin, turn the cup upside down and paint the lower part flesh-colored and the upper part red.
Then let it dry for 20 minutes.
Step 2:
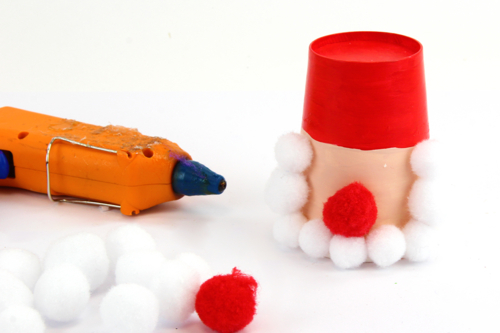
Using a glue gun, stick white pom-poms to form Santa Claus's beard and a red pom-pom to form the nose.
Step 3:
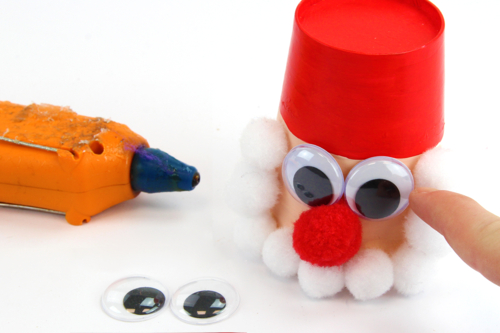
Glue the two movable eyes Ø 2.5 cm with a glue gun.
Step 4:
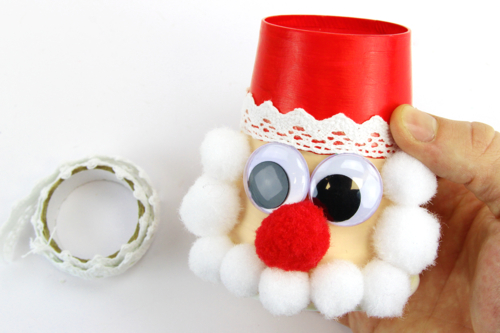
Cut a piece of lace adhesive tape about 15 cm long and stick it around the cup to create the brim's demarcation.
Step 5:
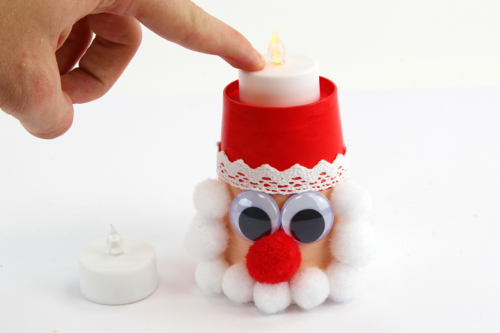
Place an LED candle on the cup to illuminate your creation on Christmas Eve.
The products used:
The products used:


1,99€
Available


LED Electric Candles - 2 Pieces
Réf. 07139 - See the full range
1,98€ (either 0,99 € / pc)
Available


2,99€ (either 1,00 € / pc)
Available


Other tutorials on the theme "Christmas Tutorials"
-
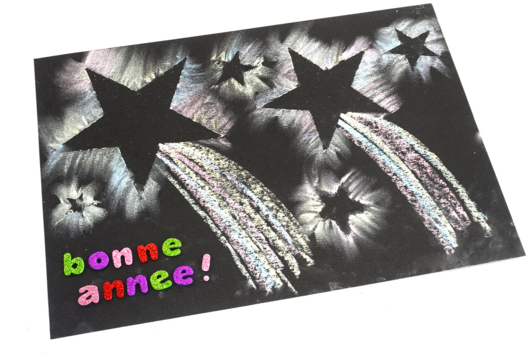
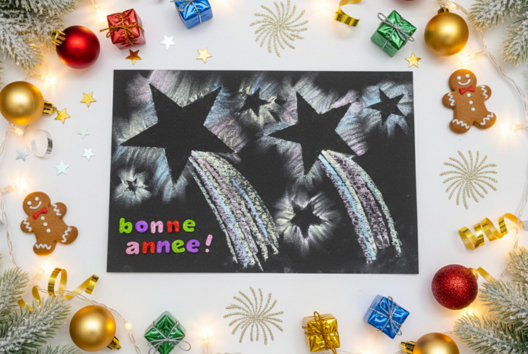
Chalkboard "Happy New Year"
C17575View 3116 time


-


Pipe Cleaner Christmas Tree
C17464View 5008 time


-


Snowman Ornaments
C11227View 13716 time
-
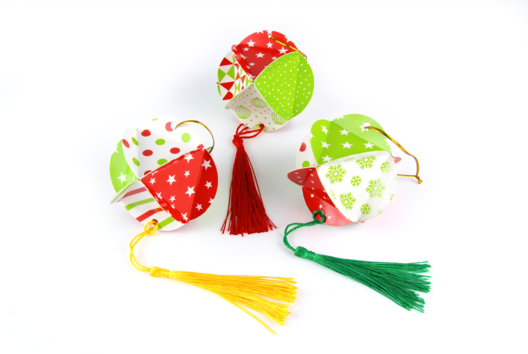

Paper Christmas Ornaments with Pom Poms
C15444View 8762 time
-
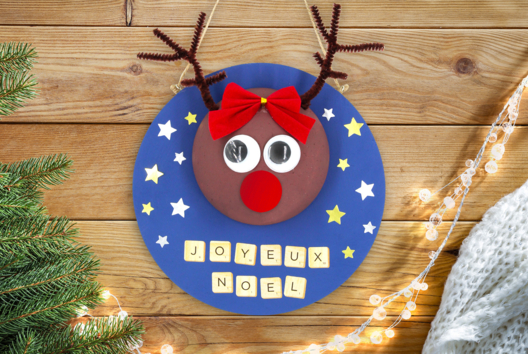
3D Christmas Reindeer Art
C15034View 16695 time
-
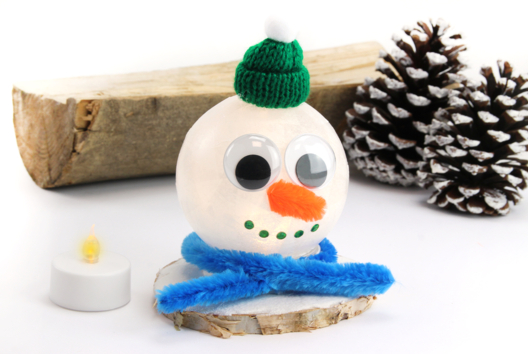

Illuminated Snowman Head
C14941View 19317 time
Customer review
Give your feedback
Illuminated Santa Claus with a Paper Cup
Be the first to share your review of this product.
Post a review