Your cart is empty.
Kawaii Flower Pots
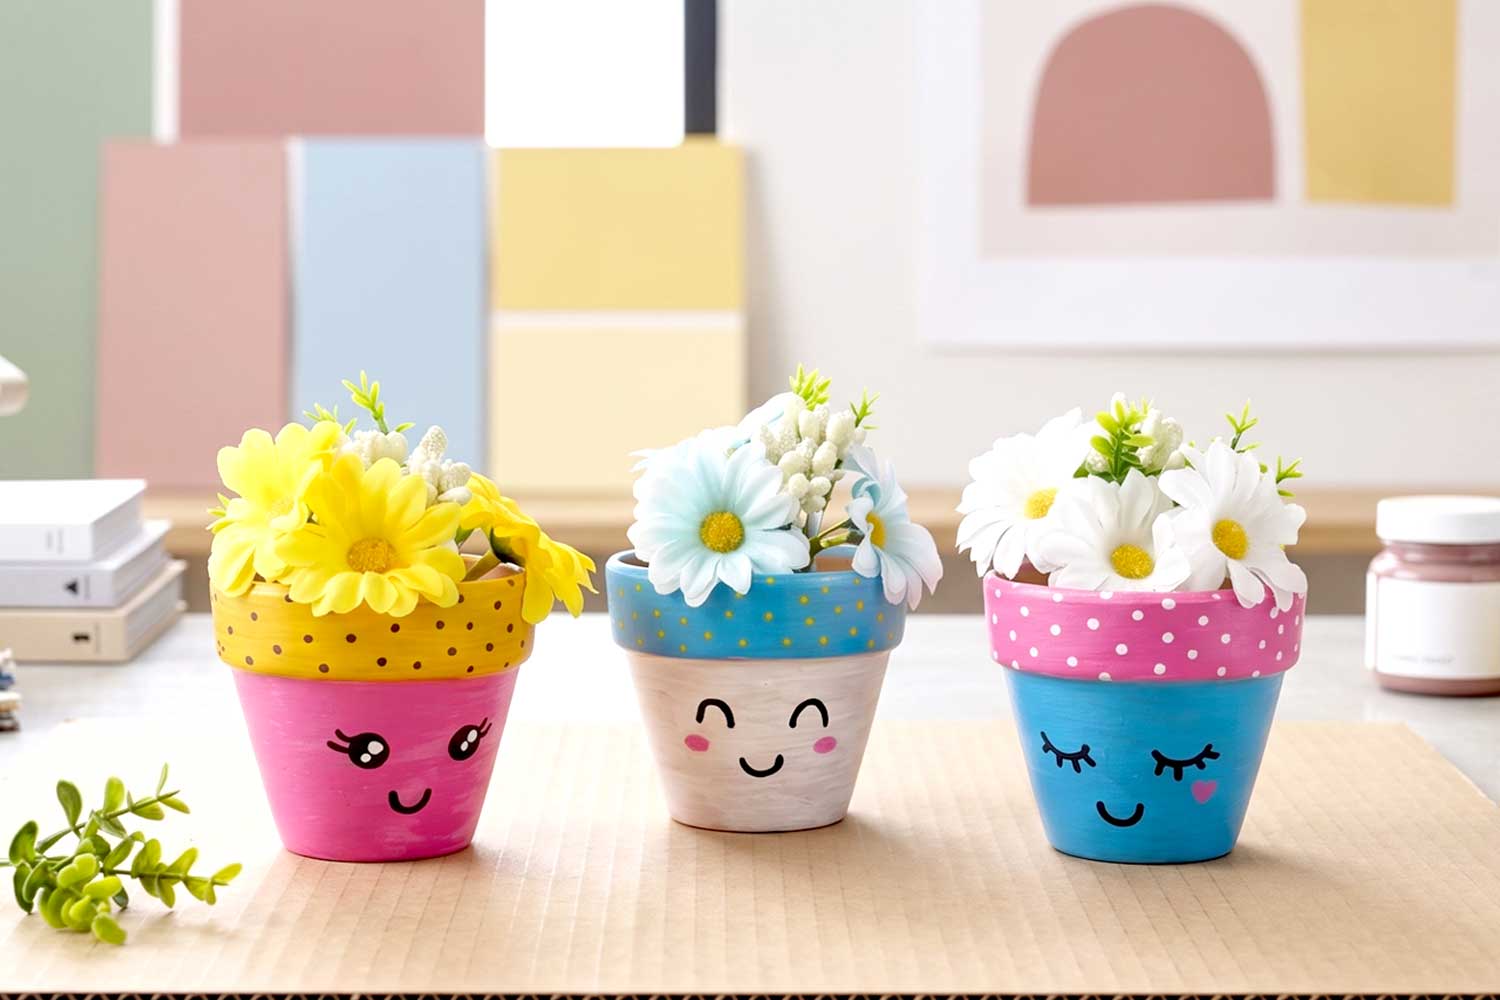


Kawaii Flower Pots


Create Your Floral Companions: The Kawaii DIY Tutorial
Want to add a touch of happiness and color to your interior decor? This creative project allows you to transform simple clay pots into adorable little characters. This tutorial is designed to be done with family. Whether you're a DIY expert or a beginner, the steps are simple and rewarding.
To achieve this professional look and vibrant colors, adopt the famous Posca markers. Here’s why they are the perfect allies for this tutorial:
-
Extreme Precision: Ideal for drawing the sparkling eyes and mischievous smiles of kawaii faces.
-
Perfect Opacity: The paint covers the clay perfectly on the first pass.
-
Quick Drying: No endless waiting before moving on to the next step.
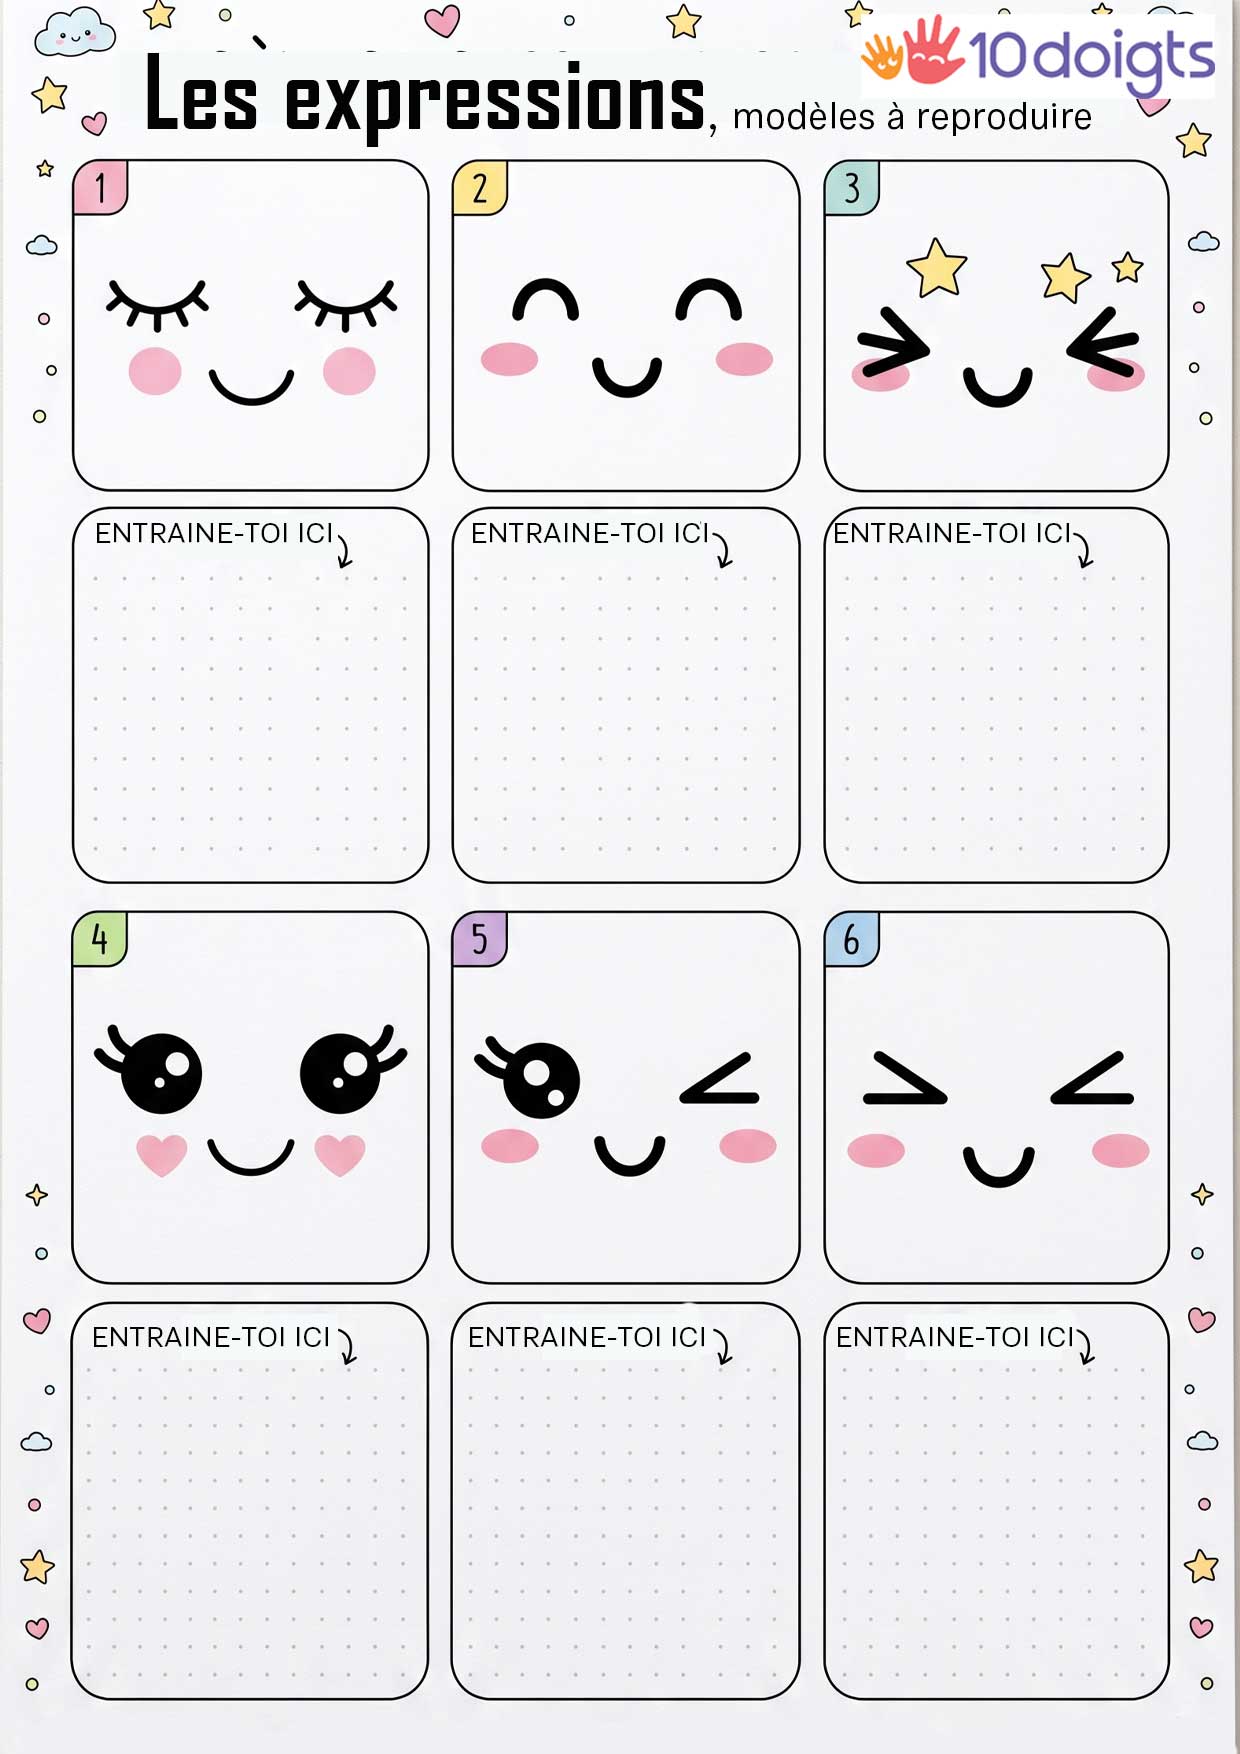
The little extra for guaranteed success: We provide you with a free downloadable file. This document contains a multitude of kawaii expression templates that are easy to replicate. Just print it, choose your favorite face, and get started!
Thèmes de l'idéa créa :
#Painting Tutorials
#Funny Characters Tutorials
#DIY Home Decor Tutorials
#Mother's Day Tutorials
#Spring Tutorials
How to complete this tutorial step by step?
Materials Needed:
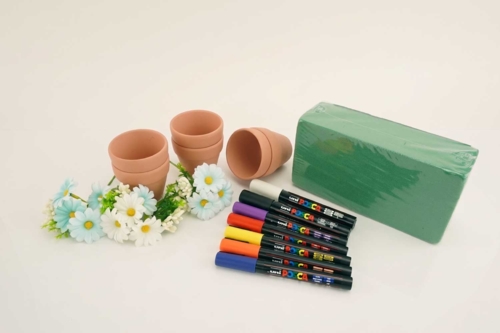
A dried floral foam brick: Green in color, this rectangular block is ideal for creating arrangements of artificial or dried flowers.
A set of seven Posca markers: A collection of high-quality acrylic paint markers with medium tips. The included vibrant colors are white, black, purple, light blue, red, yellow, and orange, perfect for drawing and decorating on multiple surfaces.
Six mini terracotta pots: A set of six classic small terracotta pots, ready to be painted.
Two bouquets of artificial daisies: A charming mix of daisies, adding an instant floral touch.
Step 1: Color the Bottom of My Pot
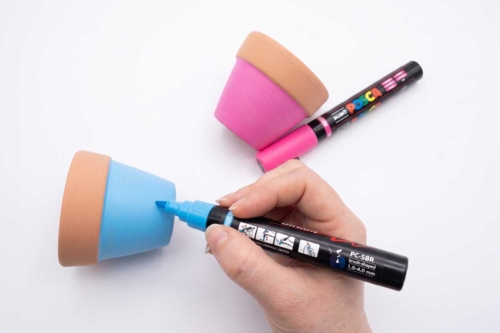
It’s time to add some color! Grab a Posca marker and choose your favorite color. Paint the middle of the pot with your marker. It’s like coloring, but on clay!
Stop at the Edge: Be careful not to go over the large rim at the top. Leave the top of the pot bare for now.
Step 2: Decorate the Top of the Pot
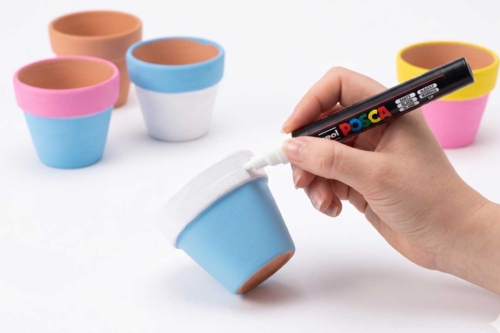
Choose another color that goes well with the first one. For example, if your pot is blue, you might choose white or yellow.
Gently color the rim at the top. Try to follow the line closely for a clean finish.
Step 3: Mark the Face Placement
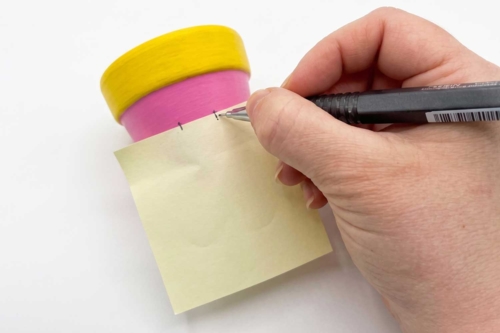
To ensure your pot has a straight face, we’ll use a champion trick: the Post-it
Place the Paper: Take a small sticky note and place it straight on the colored part of your pot.
Mark the Points: With your black marker, make two small dots just above the paper. They should be well aligned, as if preparing the placement for the eyes.
Remove the Guide: Gently remove the paper: your two dots are now perfectly placed to start drawing.
Step 4: Draw the Expressions and Eyes
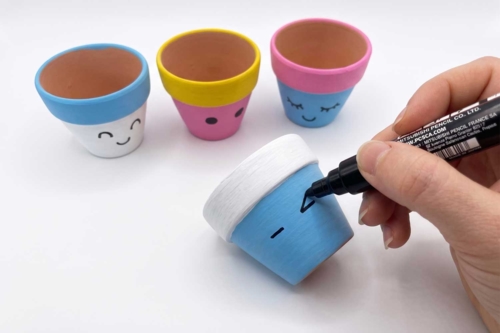
Choose an Emotion: Is your pot happy, cheeky, or maybe a bit sleepy? To help you, you can download our free template that contains plenty of fun expression ideas to copy.
Use the two dots you made earlier as a starting point to draw the eyes. Then add a small mouth, eyelashes, or even little pink cheeks.
Step 5: Add Fun Decorations

Now that your pot has a lovely face, let’s decorate its "hat" (the top rim) to make it even more unique: Grab a color that stands out, like yellow or white. Make small dots all around the rim.
Step 6: Protect Your Work with Varnish
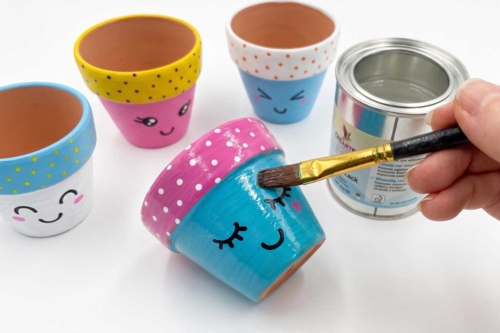
To ensure the paint doesn’t wash away, even if it rains outside, we’ll apply a special outdoor varnish. Using a large brush, spread the varnish over the entire pot, not forgetting the face and the little dots.
Step 7: Install the Flowers
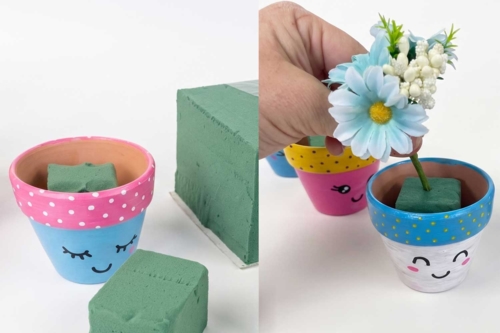
The Magic Foam: Cut a small piece of green foam (called florist foam) and place it at the bottom of your pot. It will help hold your flowers in place.
Plant the Flowers: Choose pretty fabric flowers. Stick the stems directly into the foam.
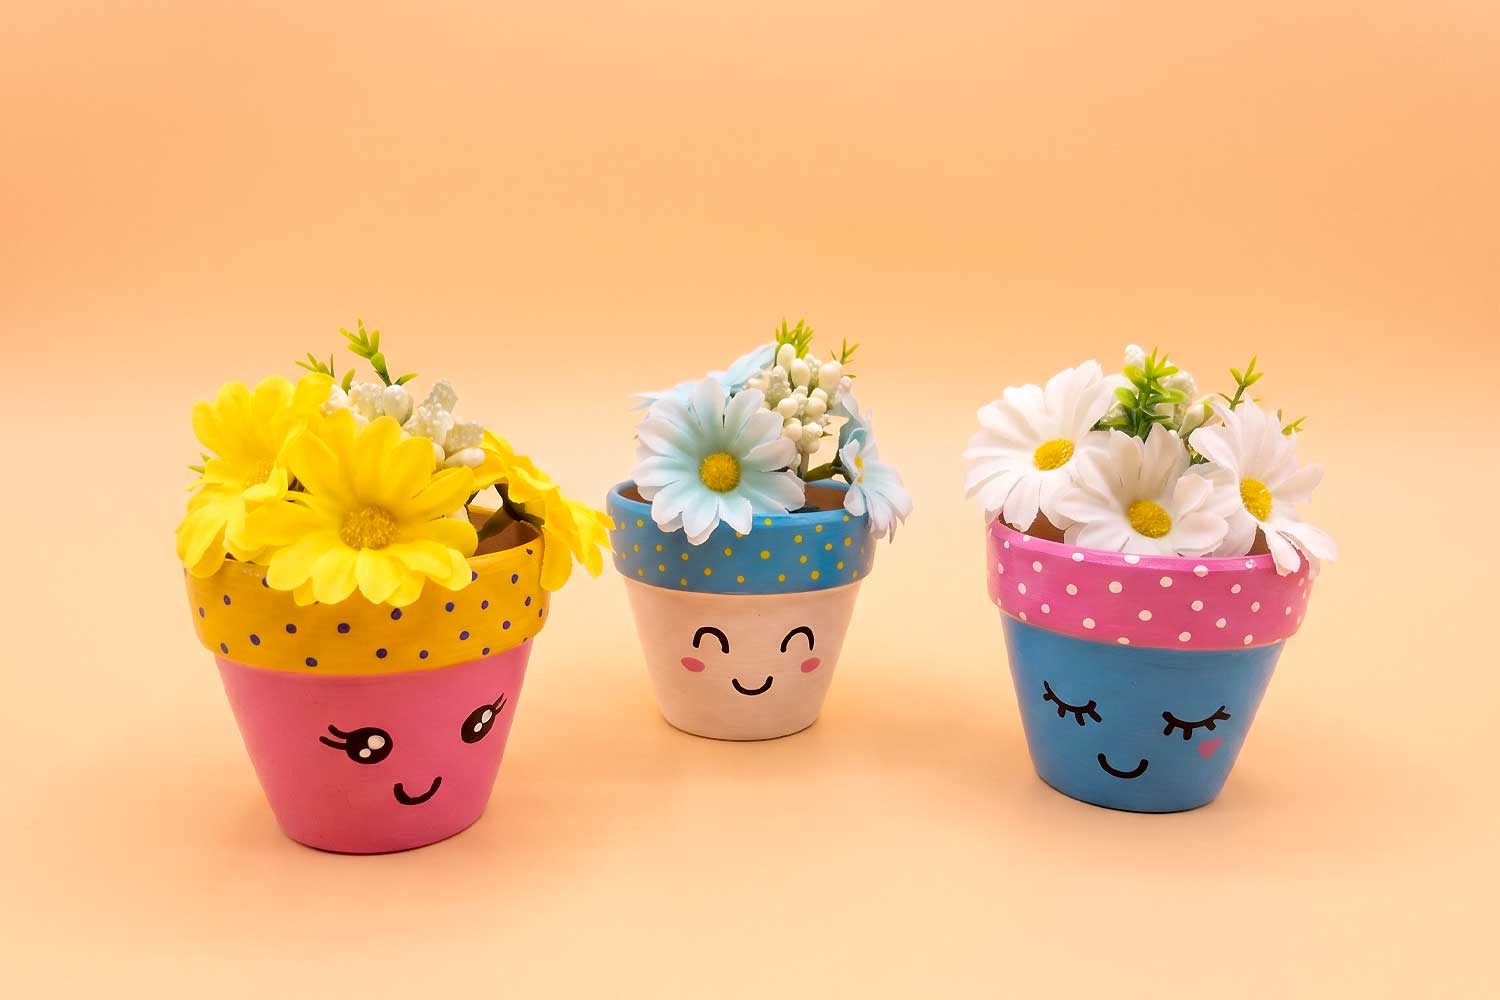
All Done!

There you go, your little character now has a beautiful floral hairstyle. You can gift it or place it on your desk to bring joy to your home.
The products used:
The products used:

39,99€ (either 5,00 € / pc)
Available

79,99€ (either 5,00 € / pc)
Available

3,99€ (either 0,67 € / pc)
Available


Small Artificial Flower Bouquets - 4 Pieces
Réf. 56832 - Product sheet
3,99€ (either 1,00 € / pc)
Available
Other tutorials on the theme "Painting Tutorials"
-

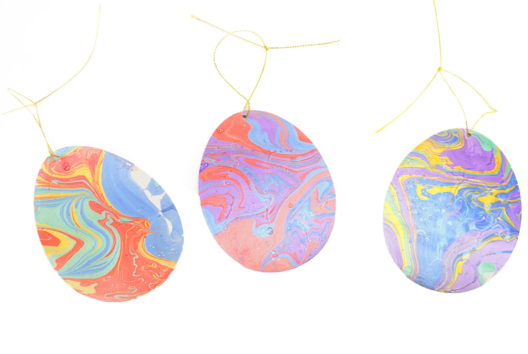
Easter Eggs Marbling Ornaments
C17738View 4986 time


-
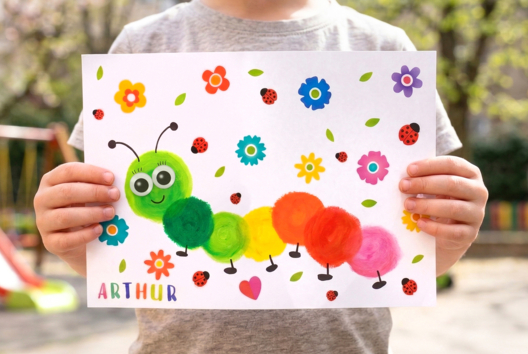
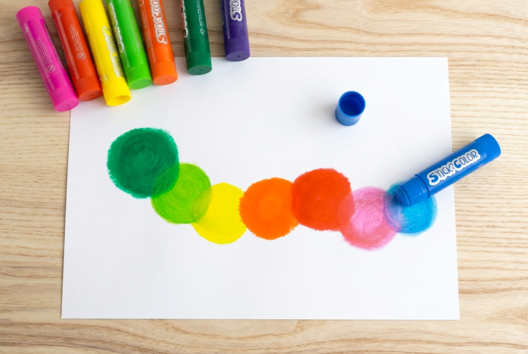
Drawing a caterpillar with toddlers
C11221View 17765 time


-
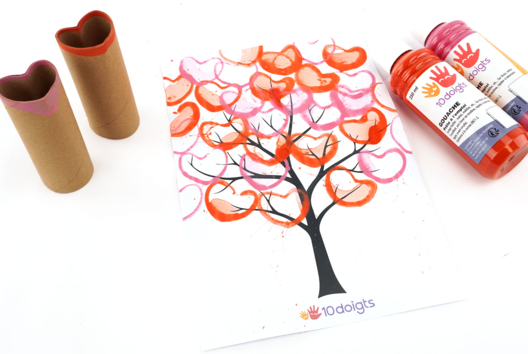
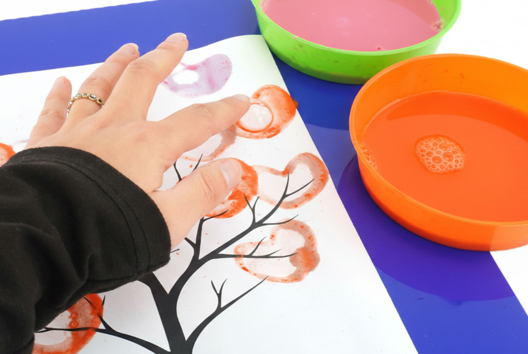
Bubble Paint: Valentine's Day Tree
C17668View 7193 time
-
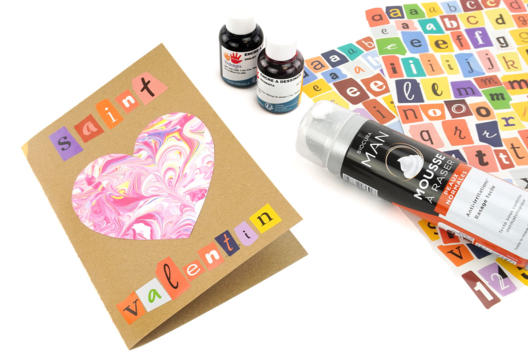
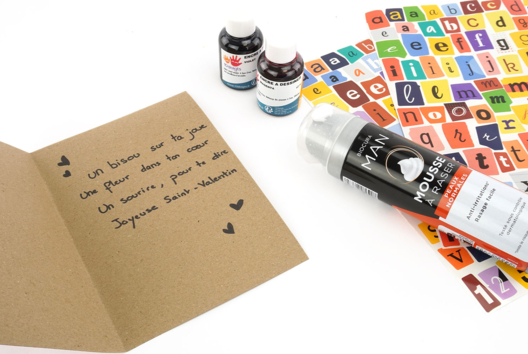
Marbled Valentine's Day Card - Shaving Foam
C17664View 4117 time
-
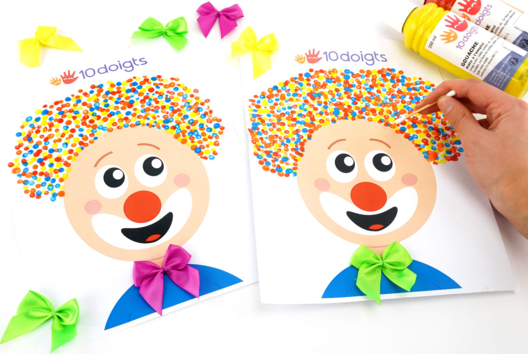
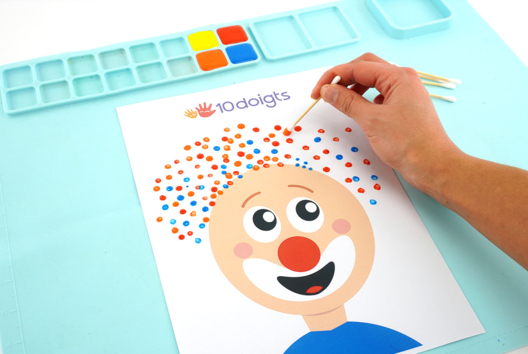
Cotton Swab Painting - Clown
C17663View 23706 time
-
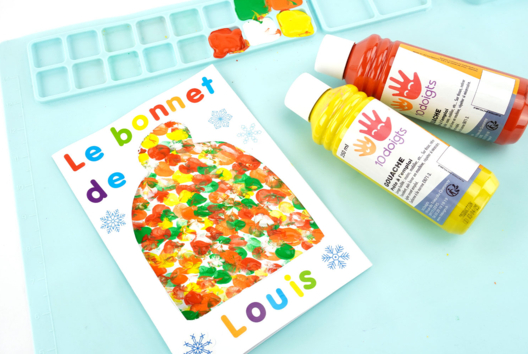
Finger Painting - Winter Hat Card
C17657View 4330 time

-
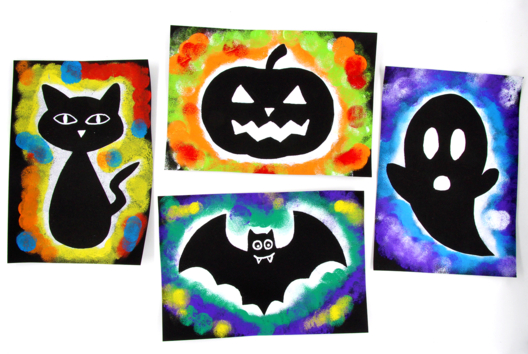
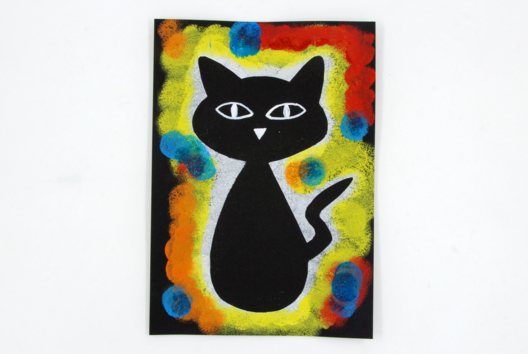
Halloween Silhouettes with Paint
C14625View 127234 time
-
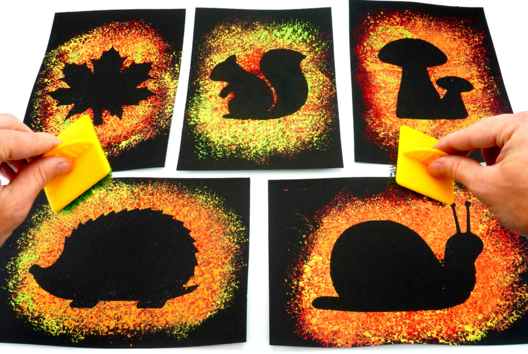
Autumn Silhouettes with Textured Stamps
C10988View 256021 time
-
Painting with a Fork
C8274View 48925 time
-
Ice Cream with Puffy Paint
C15360View 21624 time
Customer review
Give your feedback
Kawaii Flower Pots
Be the first to share your review of this product.
Post a review