Your cart is empty.
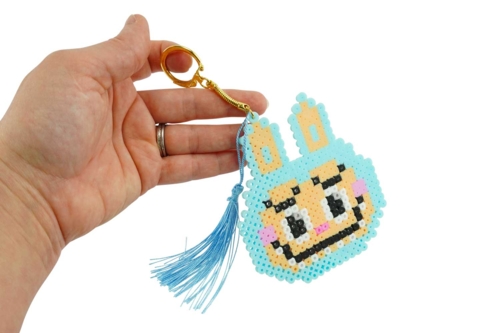
Labubu Bead Keychain


Labubu Bead Keychain


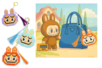
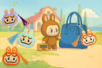
Looking for an original, easy-to-make craft activity that's full of style? Discover our step-by-step tutorial to create an adorable perler bead keychain inspired by the famous Labubu figurines, true icons of Asian pop culture that are very trendy among both kids and collectors!
Customizable endlessly: this keychain can be made in several colorful versions / purple, sky blue, or orange, and can be adapted in a multitude of shades to create a unique collection of funny little monsters to hang anywhere: backpack, pencil case, keyring...
This craft is perfect for developing fine motor skills and concentration.
Creative tip: encourage children to create multiple models and collect them like real little figurines!
Thèmes de l'idéa créa :
#Animal Tutorials
#Fuse Beads Tutorials
#Funny Characters Tutorials
#Keychain Tutorials
How to complete this tutorial step by step?
Materials:
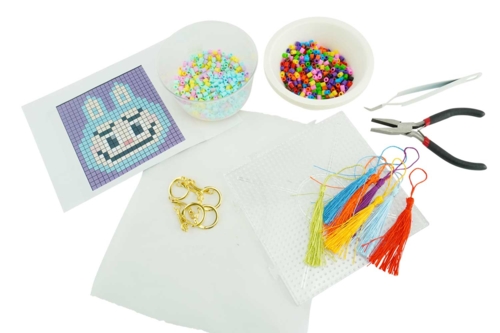
- Black iron beads for eyes, white for teeth, flesh-colored for face (available only in the bead set ref 16154), and for the fur, we used pastel colors (ref 16155), but you can vary the colors!
- Key rings (+ 1 jewelry pliers to open and close the key ring)
- Pom-poms
- 5 mm square pegboard
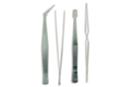
- Precision pliers to pick up the beads
- Iron + baking paper
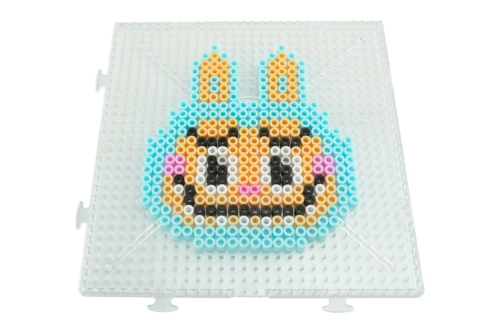
Step 1
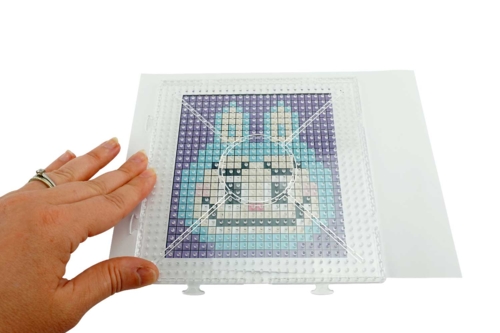
Download the template under the main photo.
Place the template under the square transparent plate.
Step 2: Place the beads following the pattern
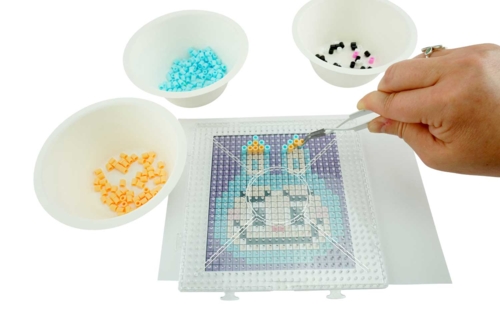
Start positioning the beads at the top of the base and work your way down row by row.
For more comfort:
If you are right-handed, move from left to right.
If you are left-handed, do the opposite: from right to left.
Time-saving tip: sort the beads by color before you begin, it will greatly ease the creation of the pattern.
Step 3: Continue Placing the Beads
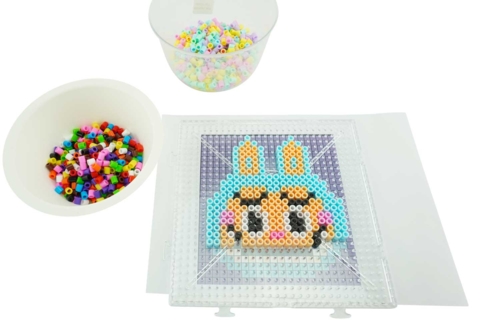
Continue filling in the pattern by following the template under the board.
Take your time to position each bead correctly on the corresponding peg.
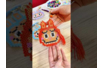
Step 4: Your monster's head is complete, well done!
Now it's time for ironing the beads to secure the pattern.
Caution: this step must be performed by an adult.
It requires the use of an iron and may present a burn hazard.
Step 5: Attach the beads with an iron
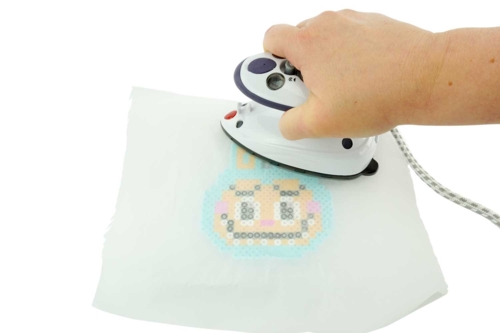
Gently place a sheet of baking paper (or ironing paper) over the bead design.
Then, with the help of an adult:
1- Set the iron to maximum temperature (without steam).
2- Iron slowly using circular motions or applying light pressure.
3- Iron several times if necessary, until all the beads start to melt and adhere well to each other.
Wait a few minutes for the beads to cool completely, then gently remove the design from the plate.
Step 6: Attach the keyring
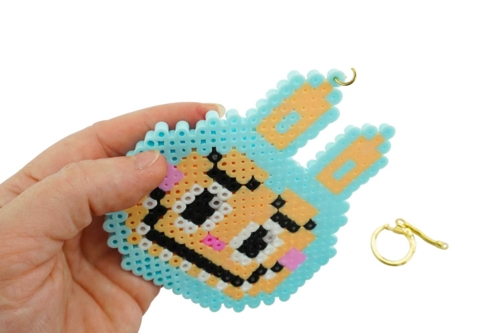
Once the design has cooled down, open the keyring and insert it into a bead located at the top of one of the character's ears.
If the hole of the bead has disappeared during ironing, use the tip of a pen or a large needle to gently reopen it.
Tip: turn gently to avoid damaging the bead.
Step 7: Add a Colorful Finishing Touch
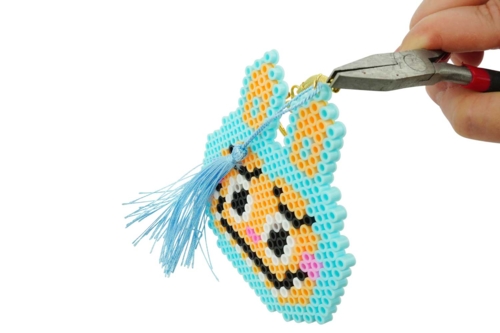
Slide a matching pompom that matches the color of your monster into the keychain ring. Once in place, secure the ring tightly with a jewelry plier.
Personalization Tip: You can also add a small charm or decorative bead to further personalize your creation!
Step 8
Your monster keychain is ready to be attached to a bag, pencil case, or given as a gift.
And why not create others in different colors to make a lovely collection ?
The products used:
The products used:


7,99€ (either 0,33 € / pc)
Available


Other tutorials on the theme "Keychain Tutorials"
-


Initial Keychains
C17790View 2841 time


-
Bag charm for Mother's Day
C17772View 15499 time
-
XXL Scoubidous in Paracord
C11863View 26661 time

-
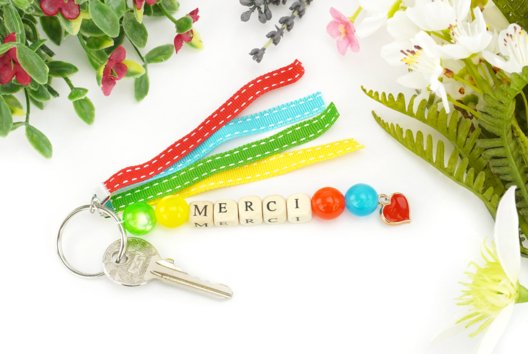
Keychain "thank you" (teacher gift)
C15115View 11190 time
-

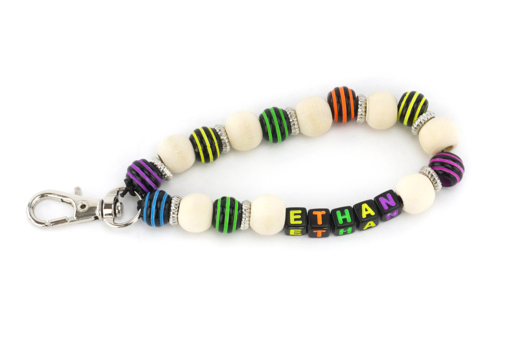
Personalized Keychain
C15847View 11735 time
-
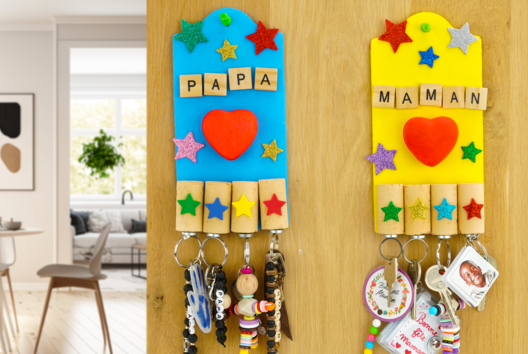
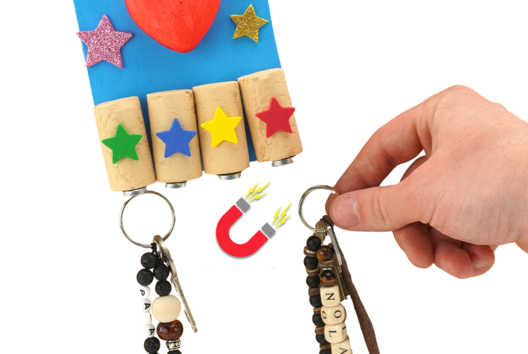
Magnetic Wall Key Holder for Parents' Day
C11091View 39672 time
-
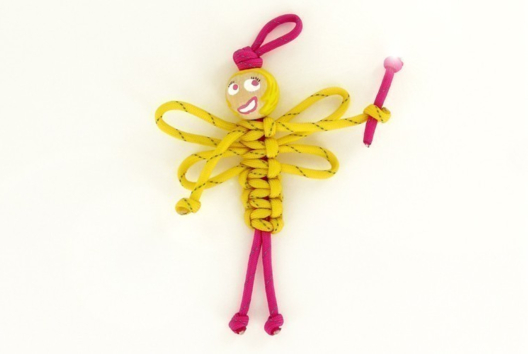
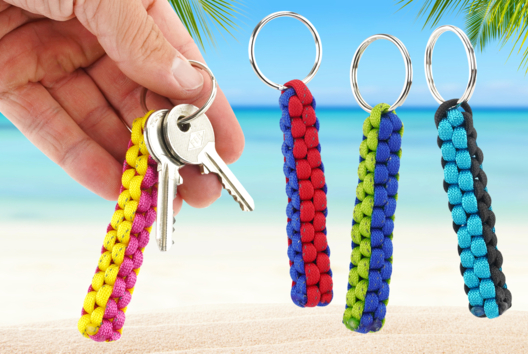
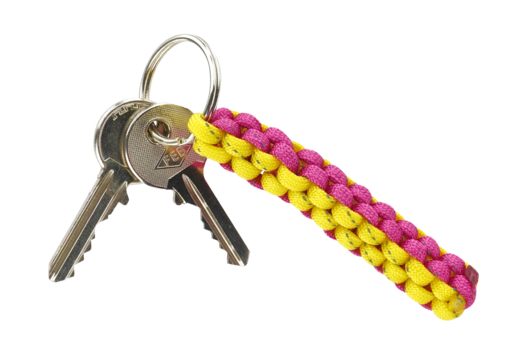
Paracord Keychain: Fairy
C11340View 31062 time -
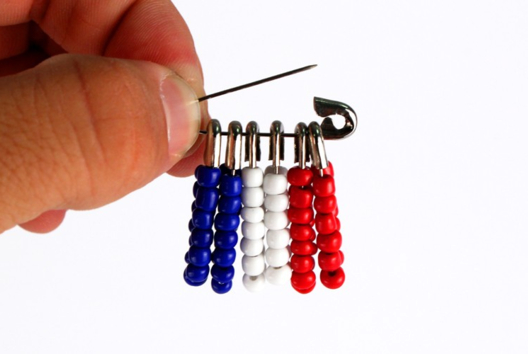
Pin Flag
C11336View 12029 time

-
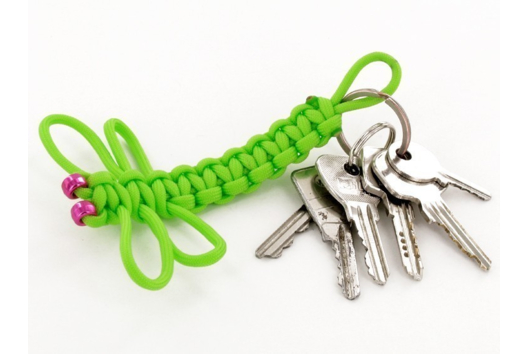
Dragonfly Keychain in Paracord
C11301View 43010 time -
Create with transparent or opaque magic plastic
C11251View 22233 time
Superbe activité faite avec ma fille Zoé 6 ans