Your cart is empty.
Ladybug made of styrofoam balls
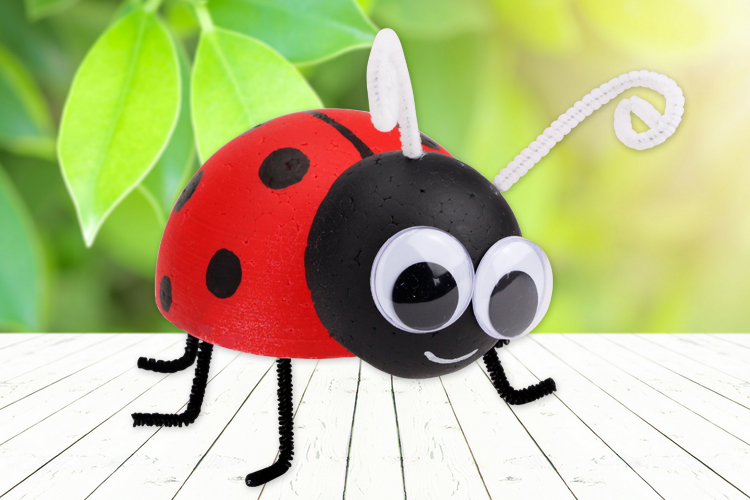
Ladybug made of styrofoam balls
Here is an easy activity that will allow children to create an adorable ladybug using styrofoam half-balls, paint, and a few pipe cleaners !
Thèmes de l'idéa créa :
#Animal Tutorials
#Funny Characters Tutorials
#Craft Tutorials
#Spring Tutorials
How to complete this tutorial step by step?
Materials
To make a pretty ladybug you will need:
- 2 half-round polystyrene balls of different sizes
- acrylic paint and a brush
- paint markers
- 3 chenille stems of 30 cm
- 2 wiggly eyes Ø 2.5 cm
- a tube of strong white glue
Step 1
Paint the largest polystyrene half-ball red and the smallest one with black acrylic paint. Allow the paint to dry for about 30 minutes.
Step 2
Draw dots on the back of the ladybug with a black paint marker.
Step 3
Glue 2 large googly eyes on the ladybug's head and then draw a pretty smile with a paint marker.
Step 4
Cut 6 pieces of chenille about 5 cm long, bend the ends approximately 1 cm, and then insert the chenille beneath the body of the ladybug to create its legs.
Step 5
Cut 2 pieces of chenille about 10 cm long and then insert them into the small polystyrene semi-sphere to create the antennas of the ladybug.
Step 6
Assemble the body and head of the ladybug using strong white glue.
The products used:
The products used:


2,99€ (either 1,00 € / pc)
Available


Other tutorials on the theme "Animal Tutorials"
-
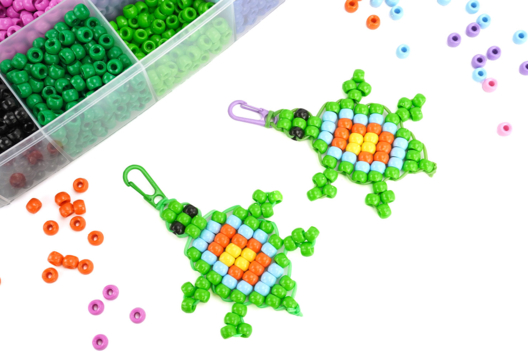
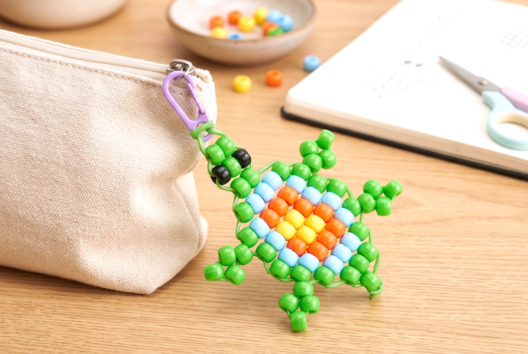
Turtle made of pony beads
C17833View 2997 time


-
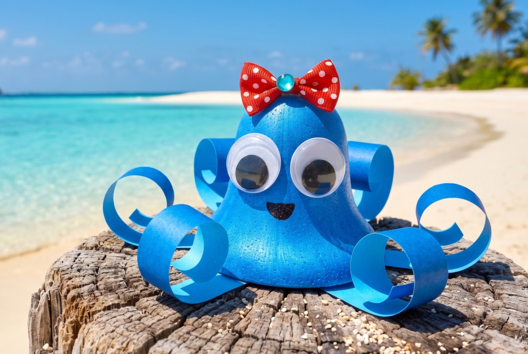
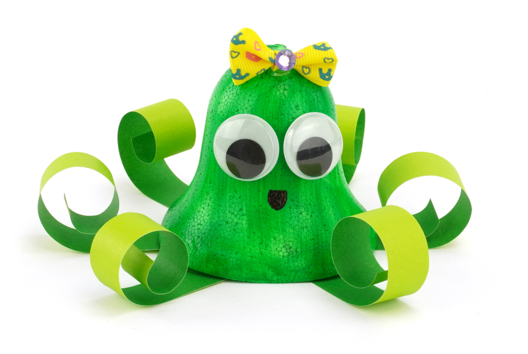
Cute Octopus
C17809View 6176 time

-
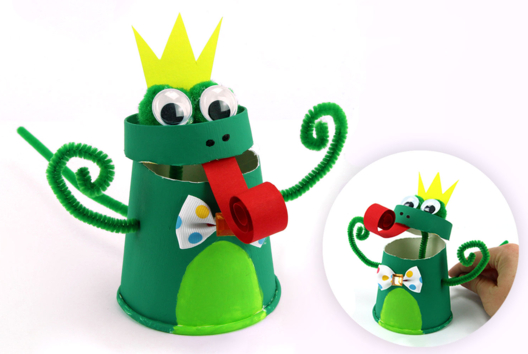
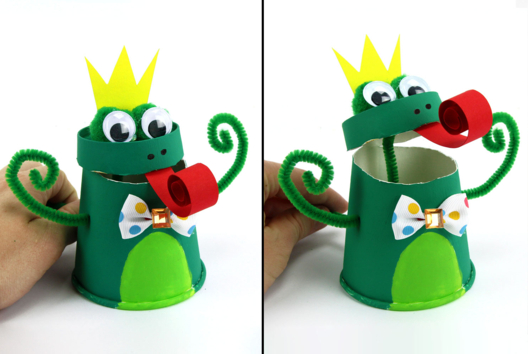
Frog Puppet with a Cardboard Cup
C14701View 22590 time -
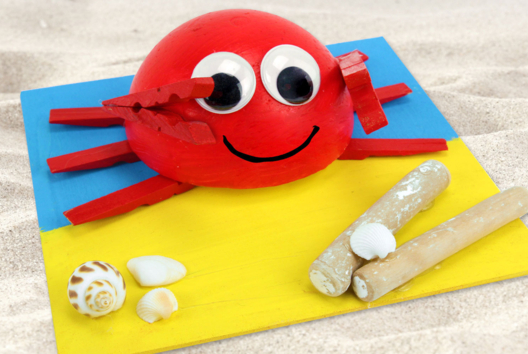
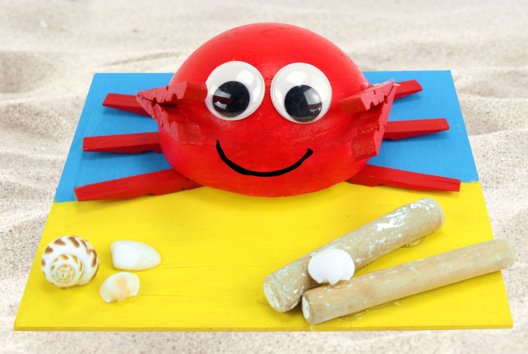
3D Crab with Half Clothespins
C14700View 19309 time -
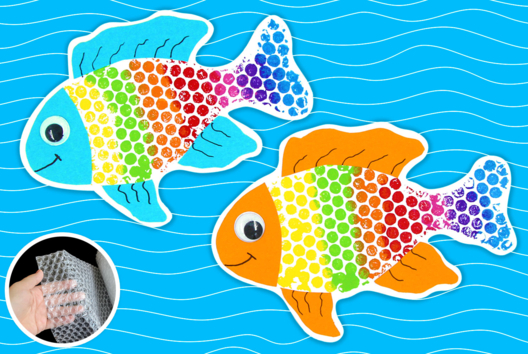
Bubble Wrap Painting: Rainbow Fish
C14693View 40339 time

-
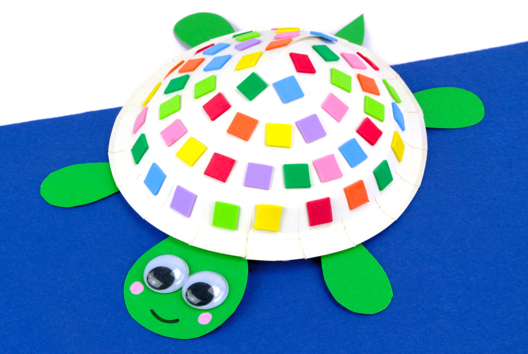
Turtle with a Paper Plate and Mosaics
C14692View 46349 time
Vos créations inspirées par ce tuto
Customer review
Give your feedback
Ladybug made of styrofoam balls
Be the first to share your review of this product.
Post a review