Your cart is empty.
Turtle with a Paper Plate and Mosaics
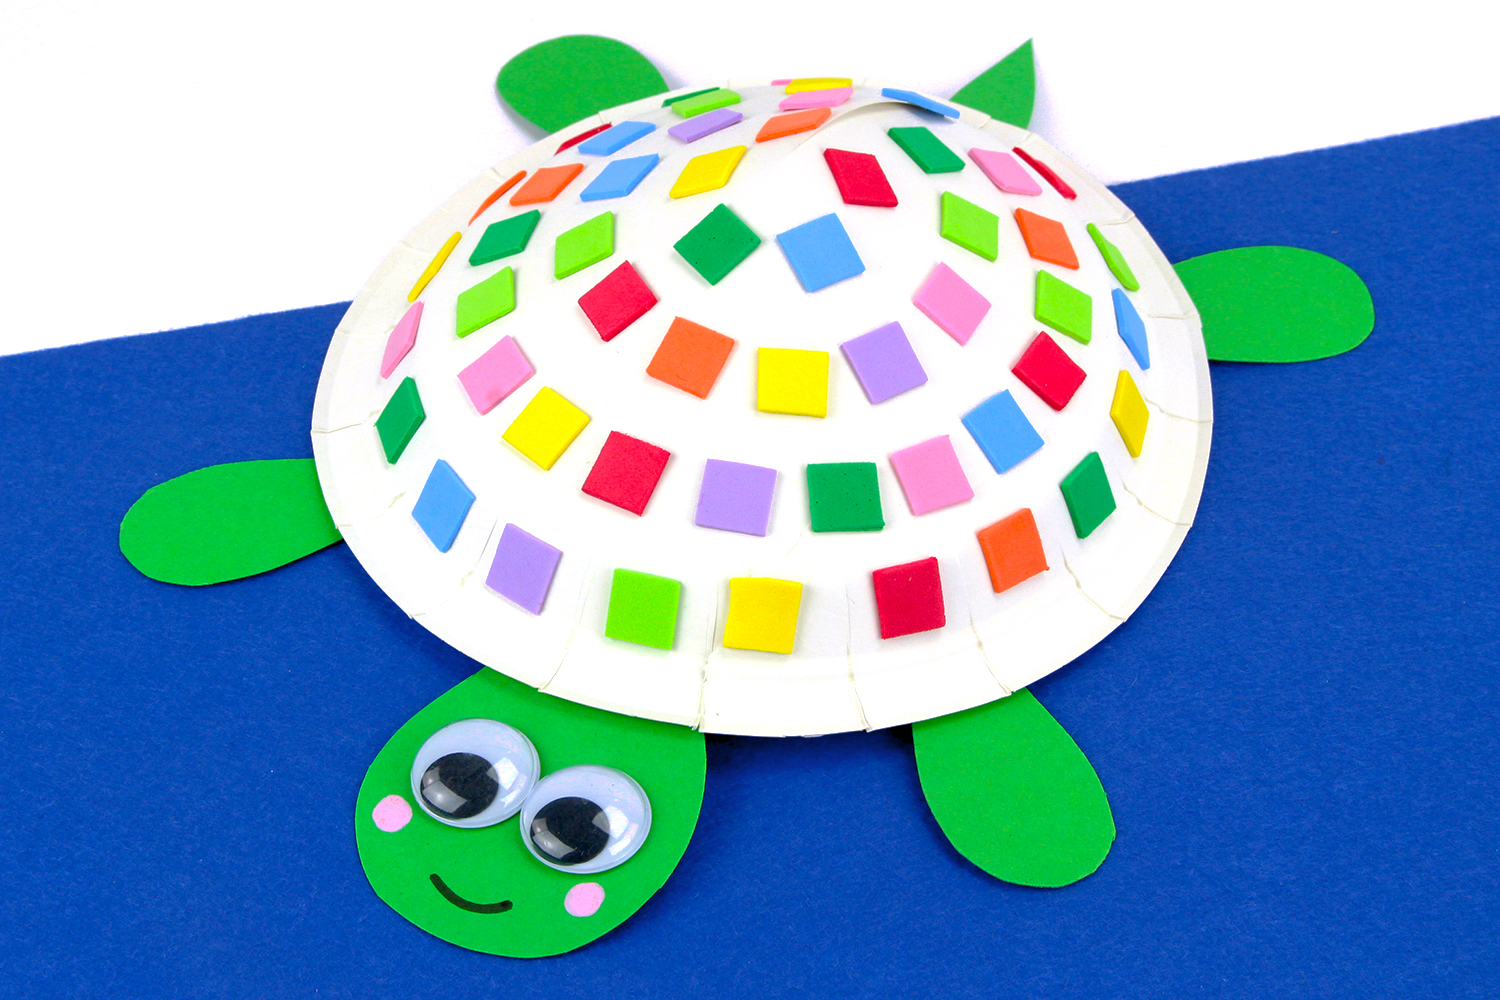


Turtle with a Paper Plate and Mosaics
A fun and easy activity for children aged 3 and up!
Your little artists will discover a simple method to create a beautiful turtle using a paper plate, colorful mosaics, and some paper.
Thèmes de l'idéa créa :
#Animal Tutorials
#Glue and Fold Tutorials
#Summer Tutorials
#Ocean Tutorials
#Mosaic Tutorials
How to complete this tutorial step by step?
Material
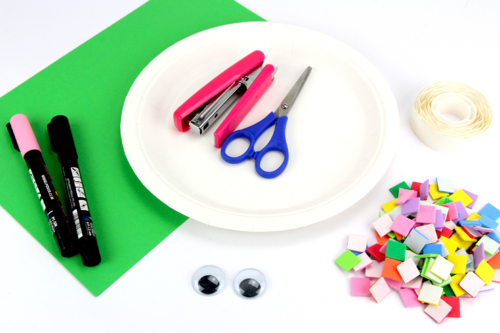
To make a turtle, you will need:
- a white paper plate
- a green cardstock
- rubber mosaic stickers
- 2 moving eyes Ø 2.5 cm
- a pair of scissors
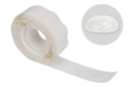
- adhesive dots
- a stapler
- markers / pens
Step 1
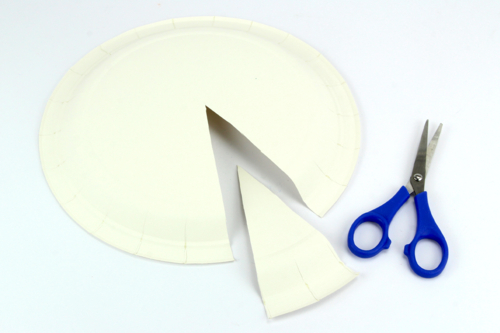
Cut about 1/8 of the plate as shown in the picture.
Step 2
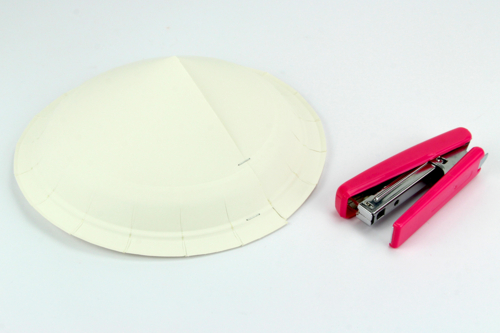
To shape the turtle's shell, join the two "ends" of the plate and staple them together.
Step 3
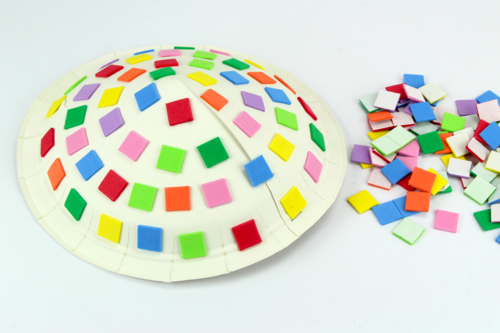
Decorate the turtle's shell with colored adhesive mosaics.
Step 4
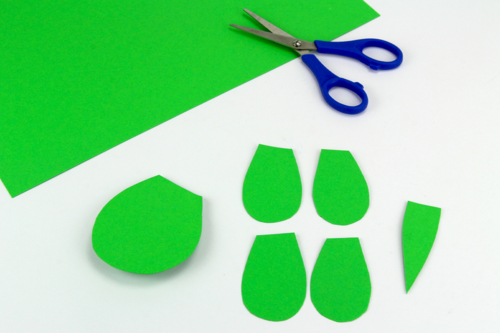
Cut the head, legs, and tail of the turtle from a strong green card.
Step 5
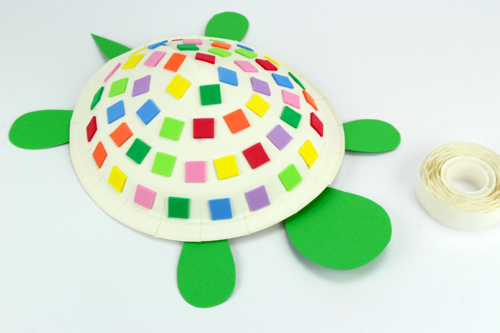
Stick the elements under the plate using adhesive dots.
Step 6
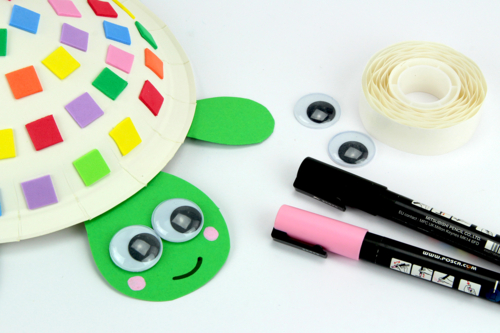
Glue 2 googly eyes and then draw a mouth with a marker.
The products used:
The products used:

1,49€
Available from 26/06/2026


3,59€ (either 0,36 € / pc)
Available


12,99€ (either 1,08 € / pc)
Available

Other tutorials on the theme "Animal Tutorials"
-
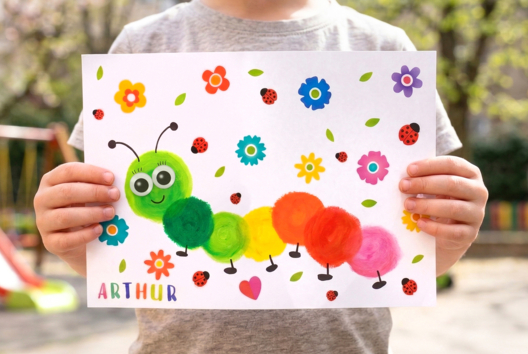
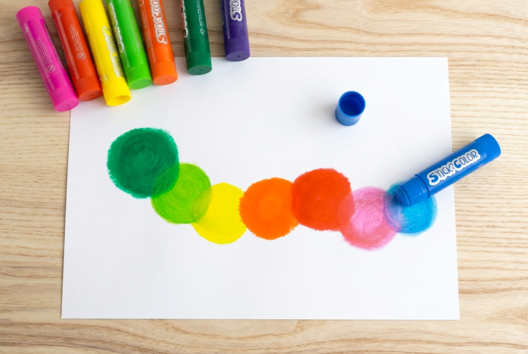
Drawing a caterpillar with toddlers
C11221View 15412 time


-
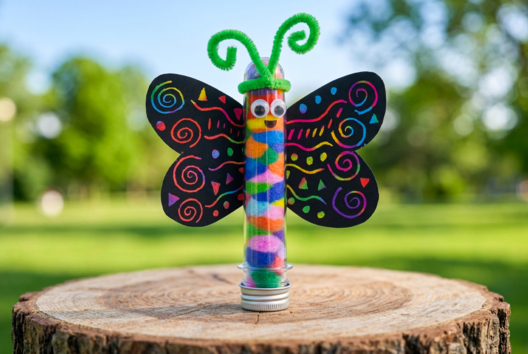
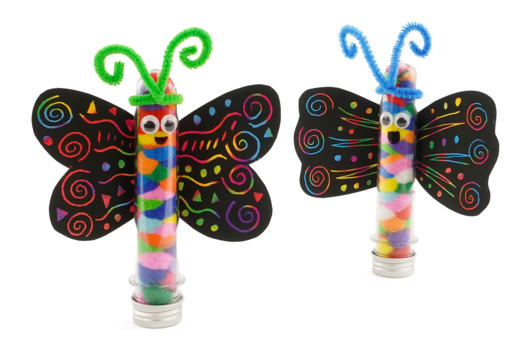
Scratch Card Butterfly
C11193View 9563 time

-
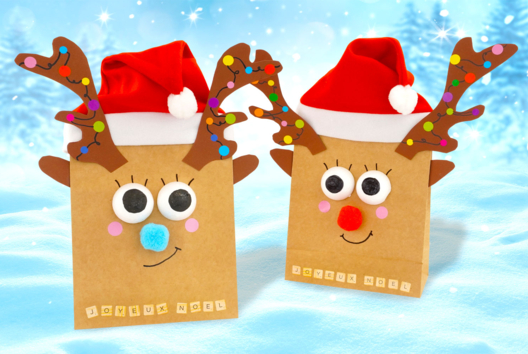
The Snow Reindeer
C9529View 8979 time
-
Squirrel Collage for Autumn
C11097View 32317 time
-

Handprint Christmas Reindeer
C11238View 55181 time
-

Christmas Reindeer with a Paper Cup
C11156View 22511 time
-
Bunny Bottom in a Flower Pot
C13426View 38691 time -
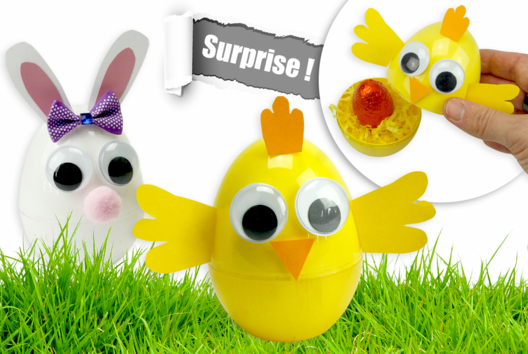
Easter Surprise Eggs: Chick and Bunny
C13418View 16246 time -
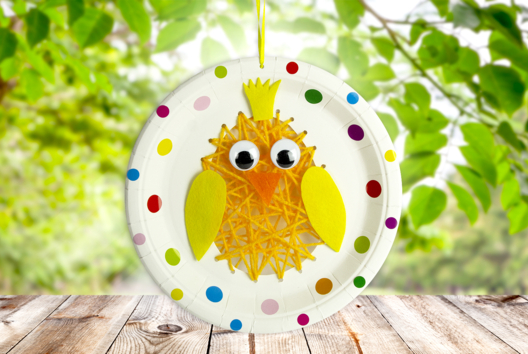
Embroidered Chick
C13416View 21133 time -
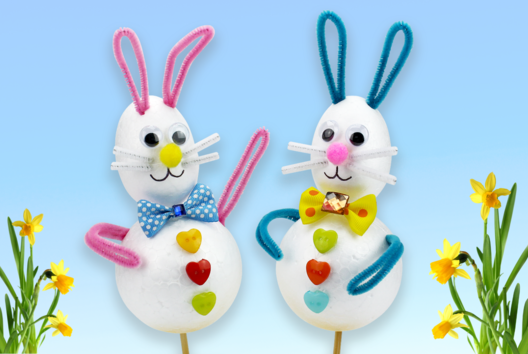
Funny Easter Rabbits
C13384View 23125 time
Vos créations inspirées par ce tuto
Customer review
Give your feedback
Turtle with a Paper Plate and Mosaics
Be the first to share your review of this product.
Post a review