Your cart is empty.
Liberty Pencil Pot
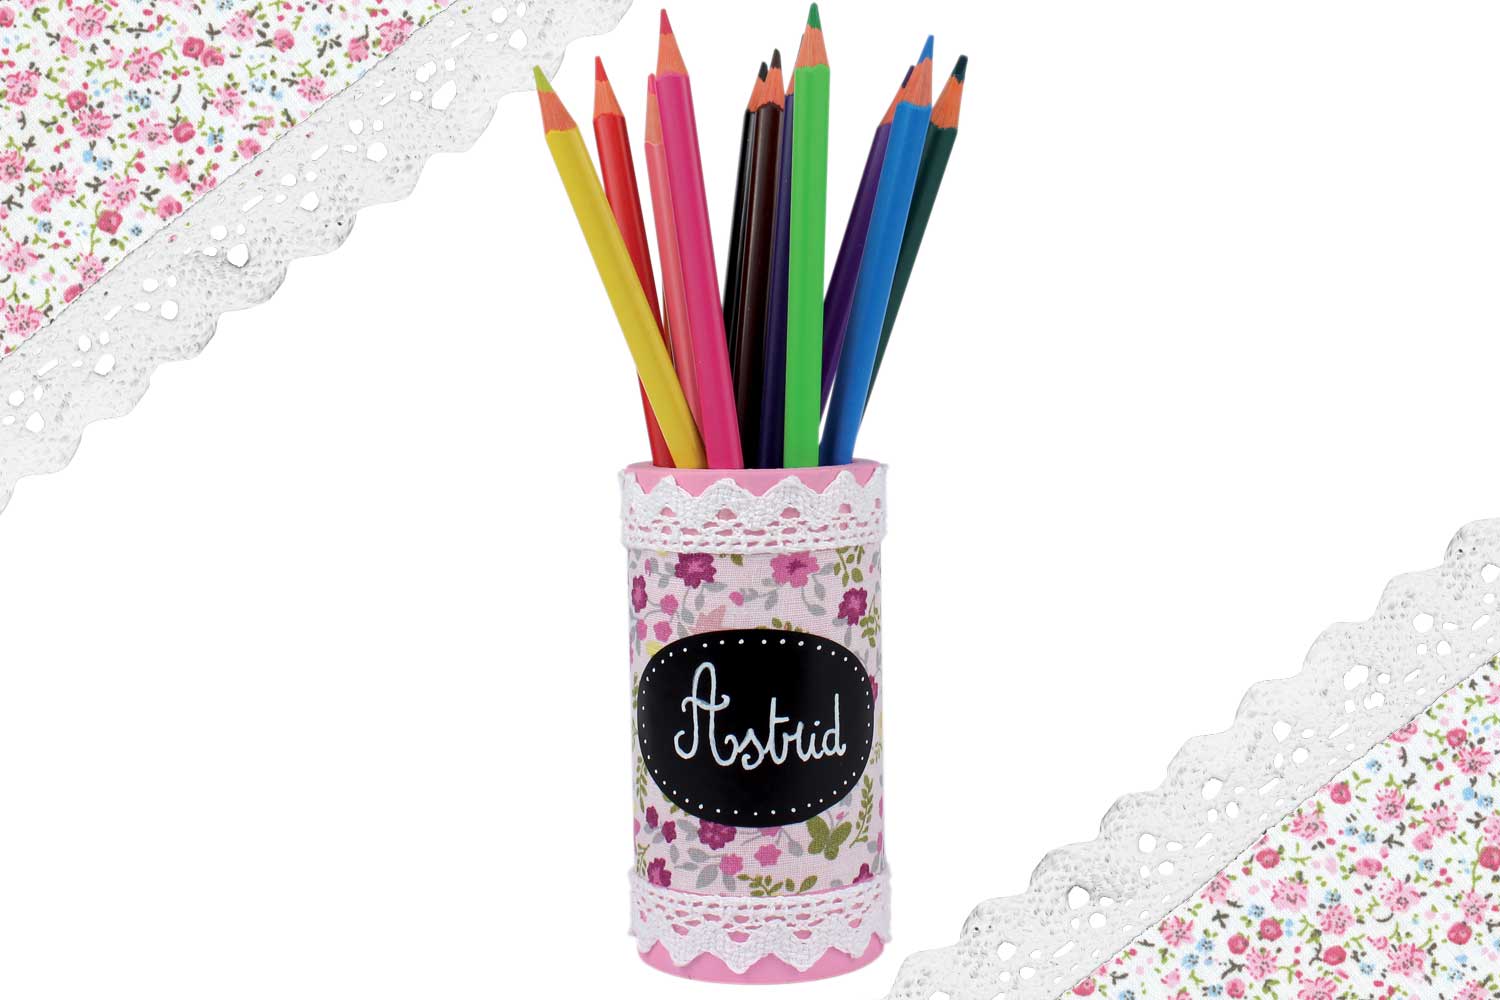


Liberty Pencil Pot
Decorate this pencil pot with floral adhesive fabric and lace adhesive tape. Here is a lovely pot that will delight moms or children!
Thèmes de l'idéa créa :
#DIY Home Decor Tutorials
How to complete this tutorial step by step?
Etape 1.
Materials needed to create a Liberty pencil pot:
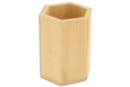
- a round wooden pencil pot (Ø 5 cm - height: 10.5 cm)
- acrylic paint
- a flat brush
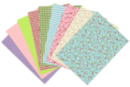
- floral self-adhesive fabric
- self-adhesive lace ribbon
- a self-adhesive blackboard sheet
- a pair of scissors
- a white marker
Etape 2.
Select the self-adhesive fabric coupon you will use, then choose a paint color that matches well with the fabric.
Once you have chosen the color, paint the wooden pencil pot and let it dry for about 10 minutes.
Etape 3.
Cut a strip of self-adhesive fabric measuring 18 x 7 cm and stick it to the center of the pencil pot.
Once the fabric is adhered, there should be approximately a 1.7 cm margin above and below the fabric.
Etape 4.
Cut 2 pieces of 18 cm of self-adhesive lace ribbon and then stick them on either side of the floral fabric.
Etape 5.
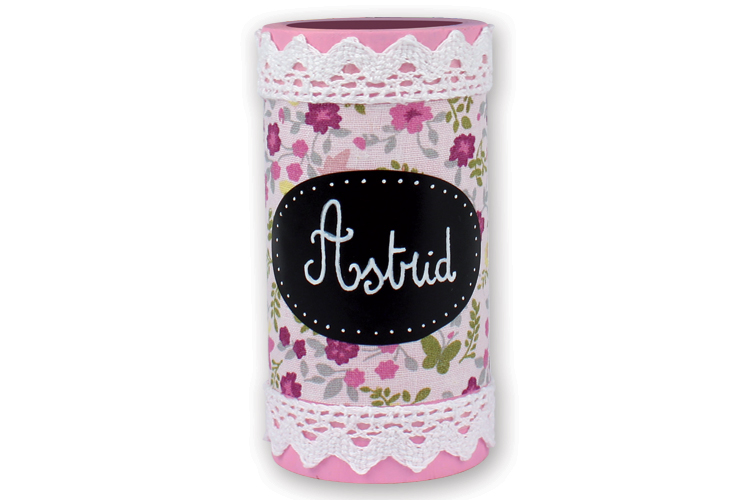
Cut a shape from a sheet of self-adhesive blackboard and stick it to the center of the pot.
Use a white lacquer marker to customize the pencil pot by adding a word, a name, or a drawing on the blackboard shape.
The products used:
The products used:


2,99€ (either 1,00 € / pc)
Available


1,99€ (either 1,00 € / pc)
Available


Other tutorials on the theme "DIY Home Decor Tutorials"
-
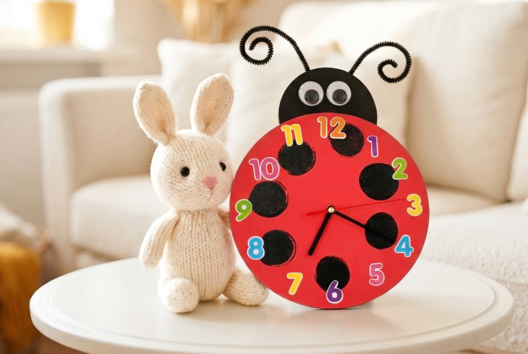
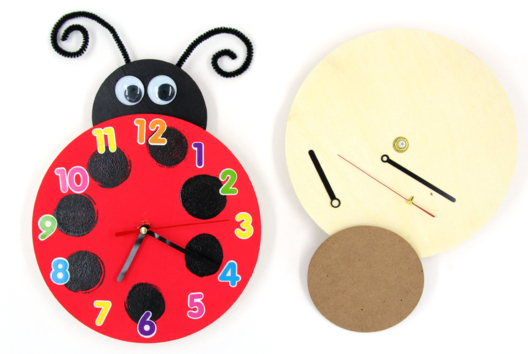
Ladybug Clock
C15159View 25734 time


-
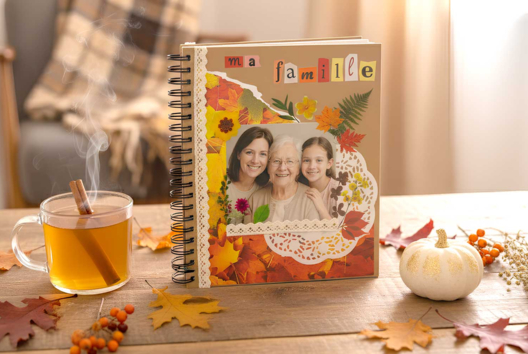
Family Album
C17299View 4326 time
-

Sailor Frame with Name
C14093View 13980 time -

Mosaic Frame Father's Day
C14067View 15782 time -

"Polaroid" Style Frame PAPA
C14066View 15420 time -
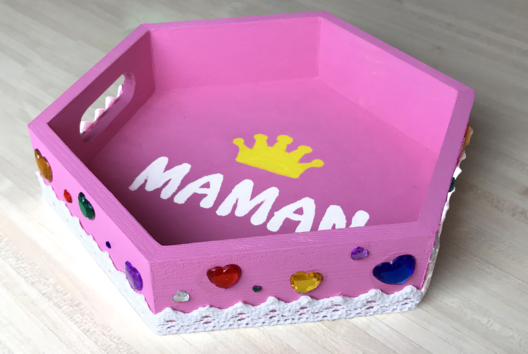
Mini Mother's Day Tray
C14055View 14507 time
-
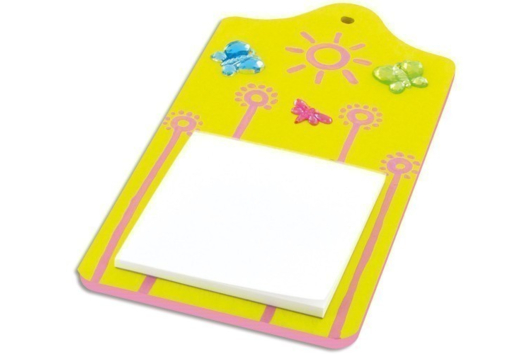
Decorative Thinking Board with Square Block
C8355View 8339 time
-
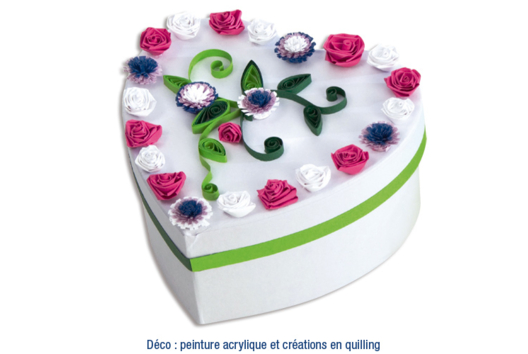
Heart Box in Quilling
C8350View 10492 time
-

Bottle Opener
C8345View 18355 time -
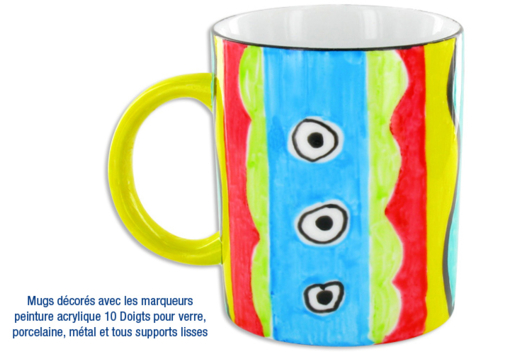
Exotic Style Mug
C8344View 6101 time
Customer review
Give your feedback
Liberty Pencil Pot
Be the first to share your review of this product.
Post a review