Your cart is empty.
Mummy with Plaster Strips
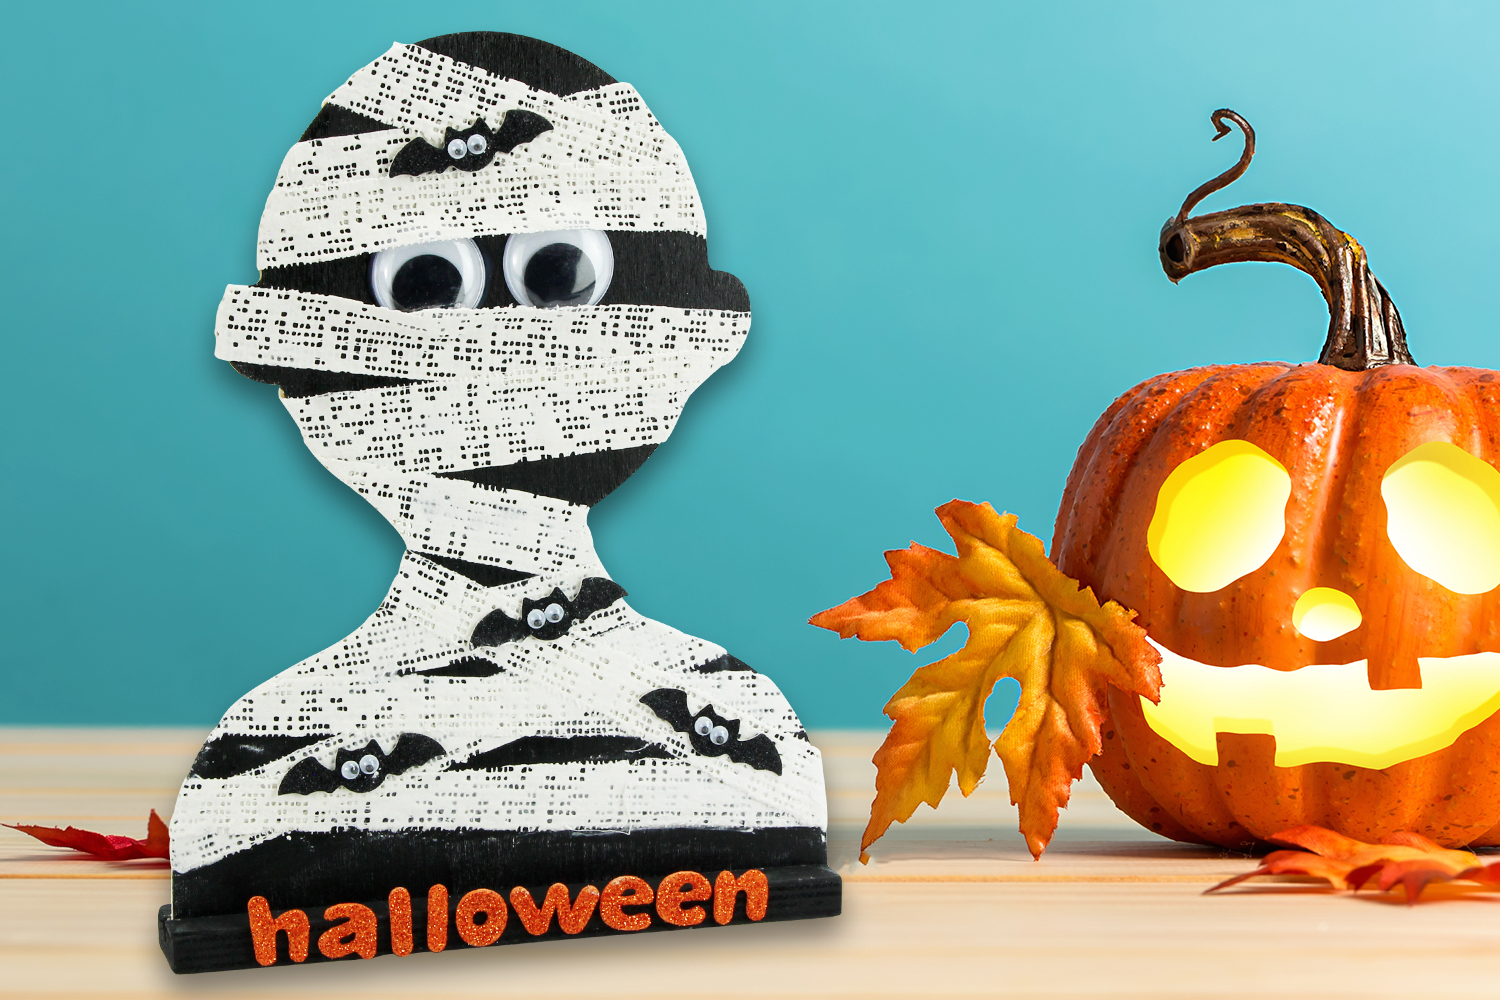
Mummy with Plaster Strips
For Halloween, here is a fun craft activity to create a mummy bust using strips of plaster that you cut, soak in water, and stick onto a wooden base!
Decorated with bats and the word "Halloween", this mummy will perfectly complement your Halloween decoration.
How to complete this tutorial step by step?
Materials
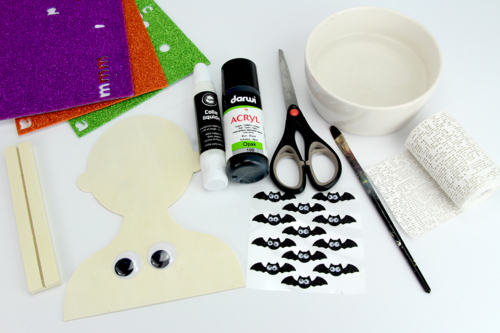
To make a mummy you need:
- a wooden torso
- black acrylic paint and a brush
- a plaster bandage
- a pair of scissors
- a bowl filled with water
- 2 movable eyes Ø 2.5 cm
- bat stickers
- adhesive letters
- white glue
Step 1
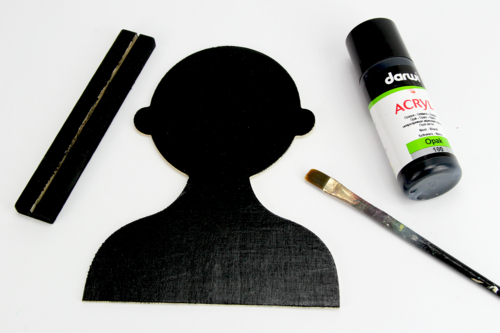
Paint the wooden bust and base with black paint, then let dry for about 30 minutes.
Step 2
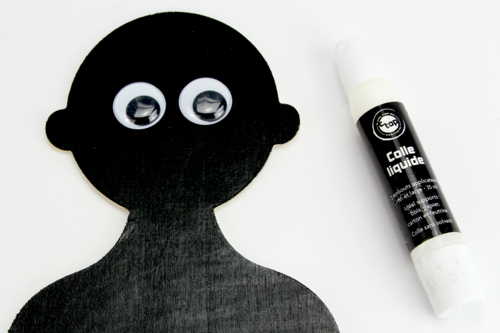
Glue 2 movable eyes Ø 2.5 cm.
Step 3
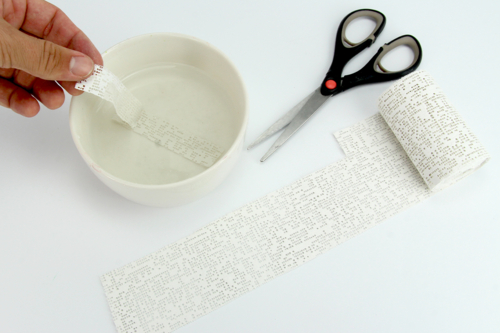
Cut a strip of plaster approximately 1.5 cm x 20 cm and then soak it in a bowl filled with water.
Step 4
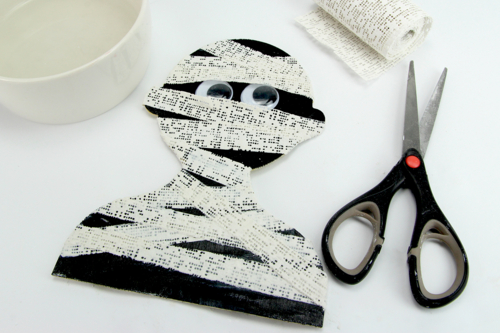
Stick the wet plaster band onto the wooden bust and then attach the ends to the back of it.
Repeat this step to create the mummy wrap.
Then allow the plaster strips to dry for a few hours.
Step 5
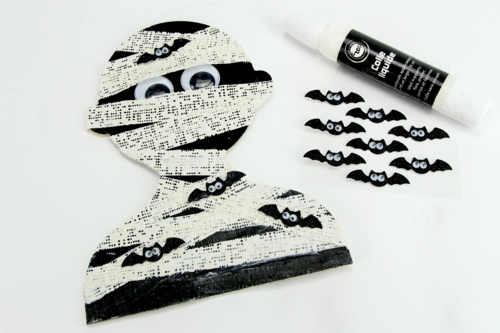
Stick bat stickers onto the mummy's white bandage.
Tip : use white glue to permanently attach the stickers.
Step 6
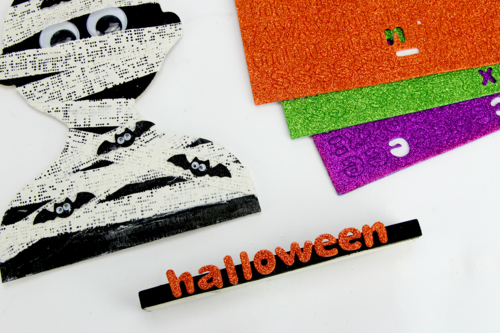
Stick adhesive letters onto the wooden base to form the word halloween.
Step 7
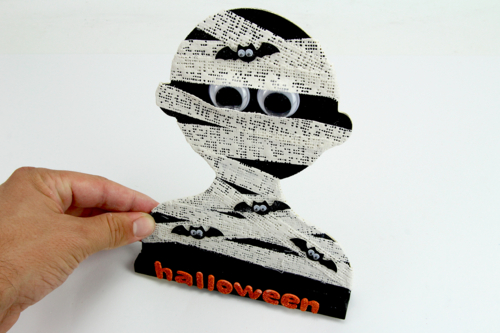
Place the bust back on its base.
The products used:
The products used:

Wood Bust with Base - Set of 6
Réf. 34078 - Product sheet
4,74€ 8,94 € (either 0,79 € / pc)
Available

7,95€ (either 1,59 € / pc)
Available

Bat stickers with moving eyes - Set of 15
Réf. 36240 - Product sheet
2,29€
Available from 14/07/2026


2,99€ (either 1,00 € / pc)
Available


Other tutorials on the theme "Halloween Tutorials"
-


The monstrous candy bags
C17716View 353 time


-
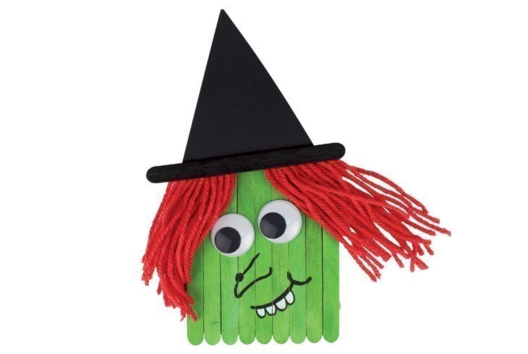
The Starry Witch
C17714View 341 time

-
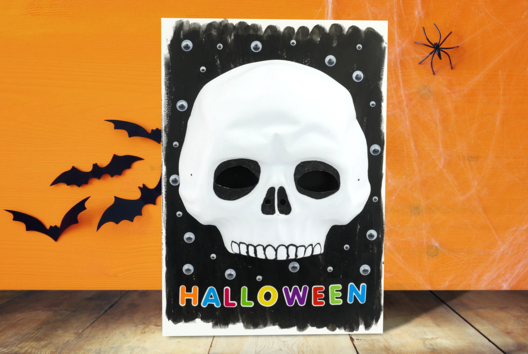
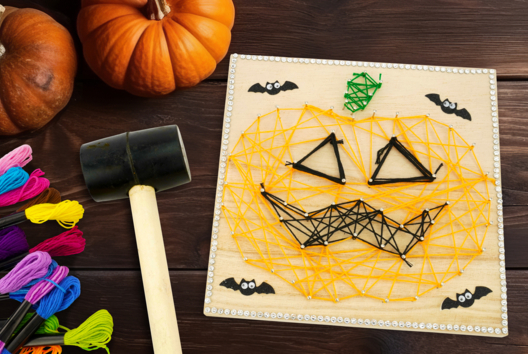
Halloween Artwork: Skull
C11037View 11298 time
-

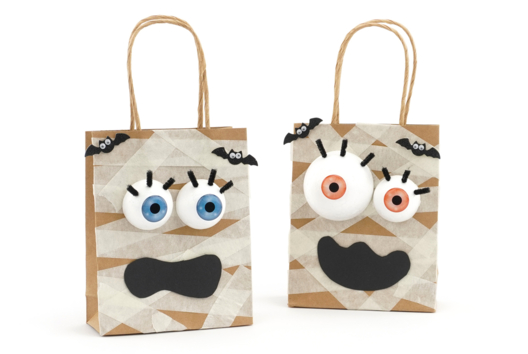
Mummy Candy Bag
C10940View 16394 time
-
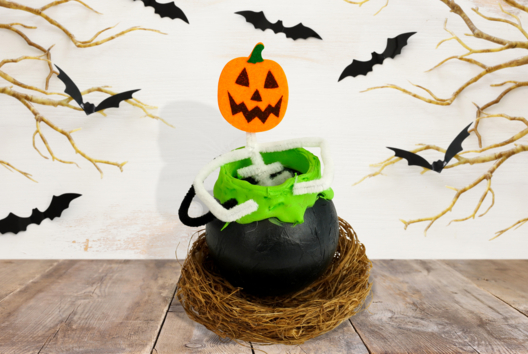
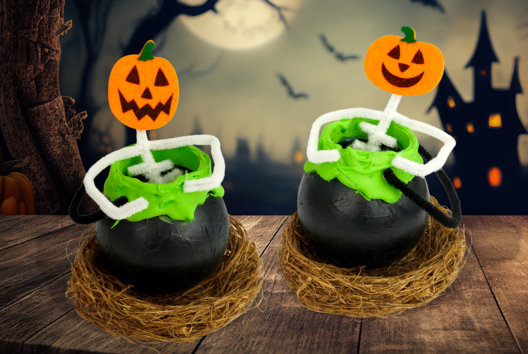
Skeleton in Its Magic Cauldron
C10965View 6597 time

-
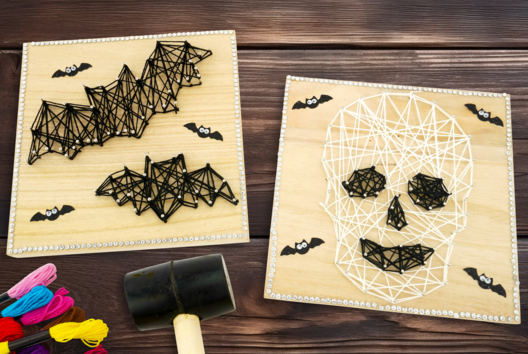
Halloween String Art
C11003View 14827 time
-
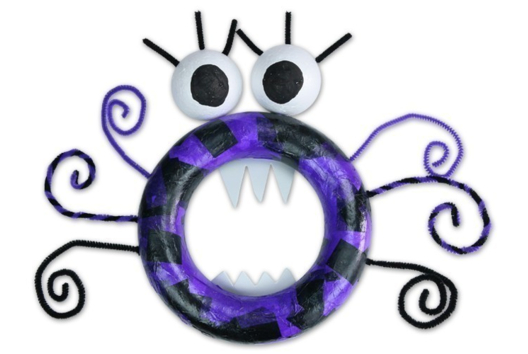
Halloween Monster Wreath
C12397View 13864 time -
Witch Craft Stick
C12110View 20967 time
-
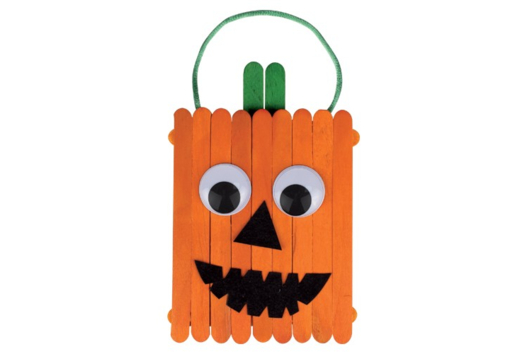
Pumpkin Sticks
C12090View 30813 time
-
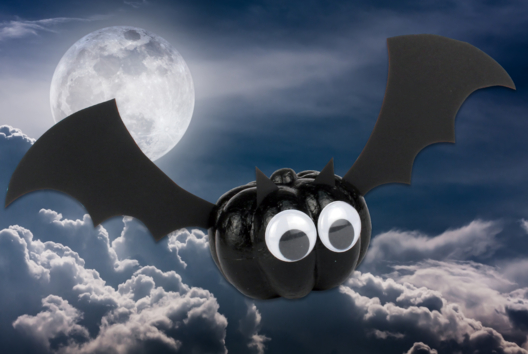
Bat
C11862View 29474 time
Vos créations inspirées par ce tuto
Customer review
Give your feedback
Mummy with Plaster Strips
Be the first to share your review of this product.
Post a review