Your cart is empty.
Small Clay Bowls
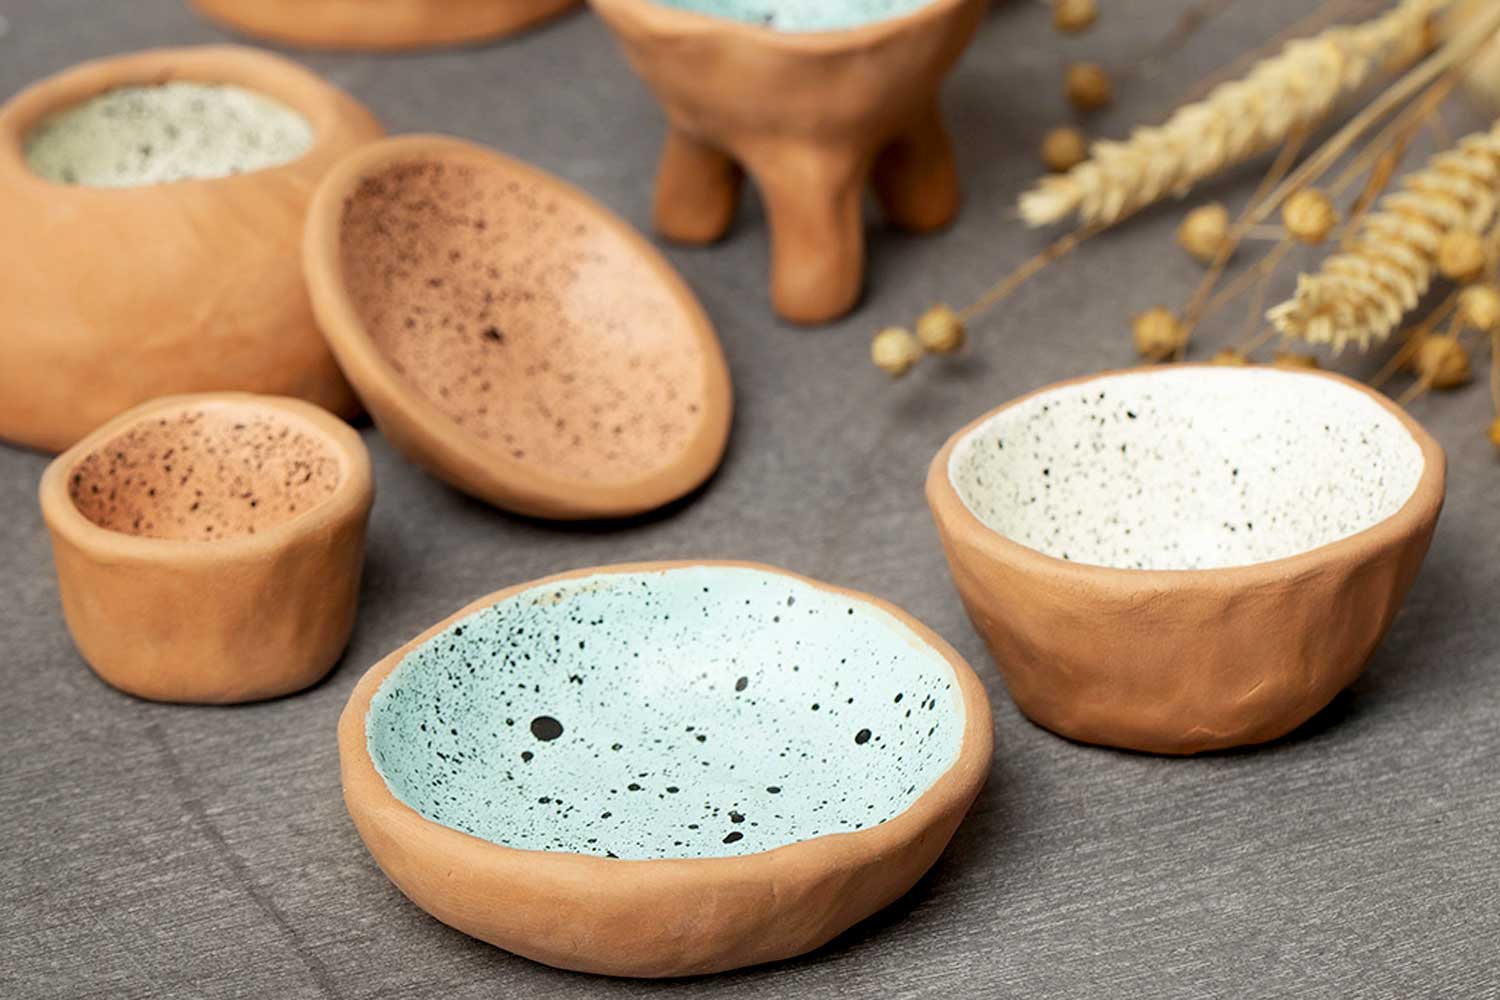
Small Clay Bowls


Learn to shape small saucers with natural clay without the need for baking. No tools are required for this tutorial; your hands and fingers will be the only tools needed to create these decorative small bowls.
How to complete this tutorial step by step?
Step 1
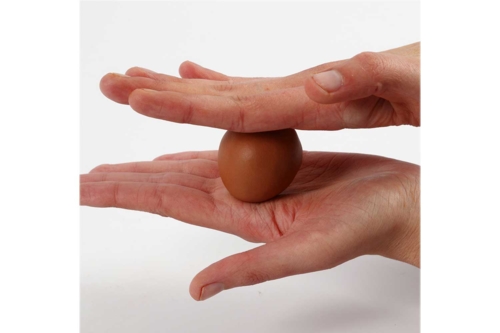
Knead the clay and soften it in your hands to form a ball. You can moisten it to make it more pliable.
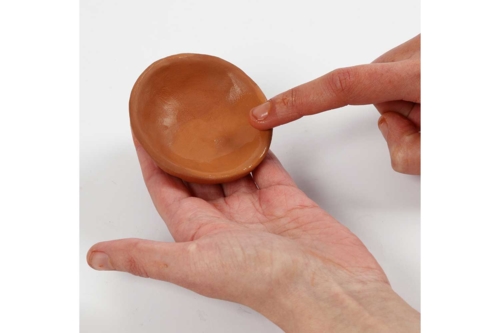
Step 2
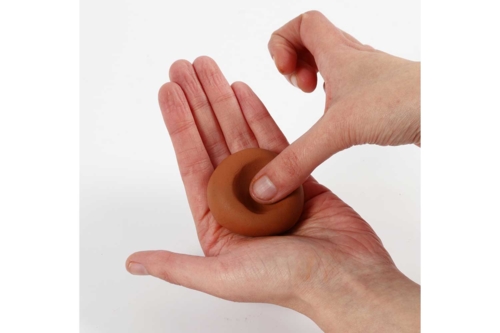
Place the ball in the palm of your hand, and with the thumb of the other hand, make a hole by gradually pushing the dough.
Step 3
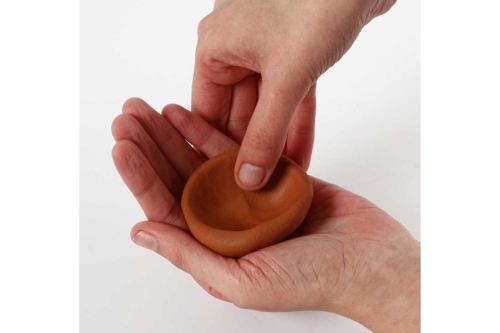
When the saucer takes shape, pinch the edges to raise the dough and refine the shape of the bowl.
Step 4
Lightly moisten your fingers to help the dough take the shape you want.
Step 5
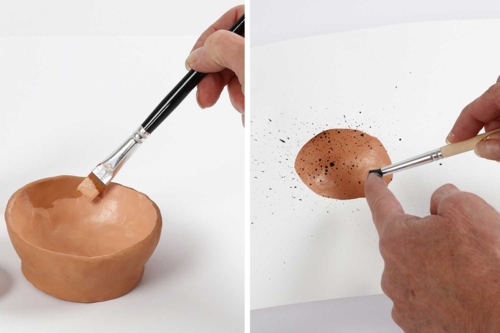
Let it dry for 24 to 48 hours before painting.
Paint the inside with flesh-colored or blue acrylic paint. Then, using a stiff brush and a splatter plate, splatter black paint for a speckled effect.
Tip: If cracks appear in the pottery once dry, you can repair them by mixing a small amount of clay with a little water until you achieve a creamy consistency. Fill the crack with the mixture, preferably using a brush.
The products used:
The products used:


Flat Brush Set No. 16 - 5 Pieces
Réf. 02358 - See the full range
2,99€ (either 0,60 € / pc)
Available

Other tutorials on the theme "Modeling Tutorials"
-
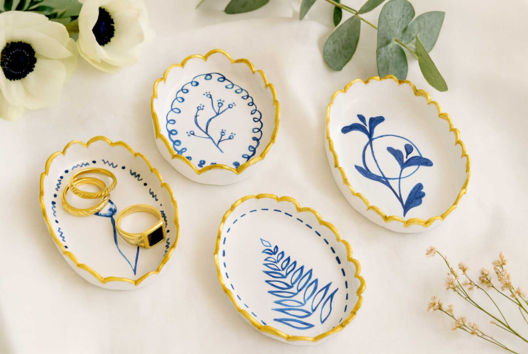
Porcelain Effect Bowls
C17290View 6093 time


-

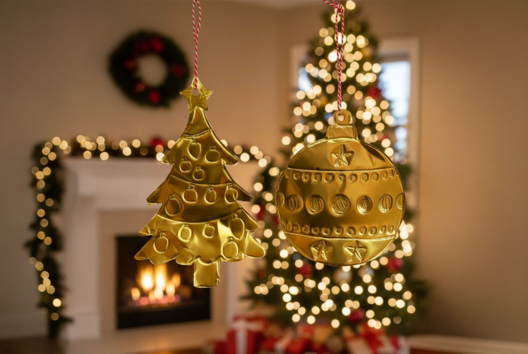
Embossed Metal Christmas Ornaments
C17434View 17682 time

-

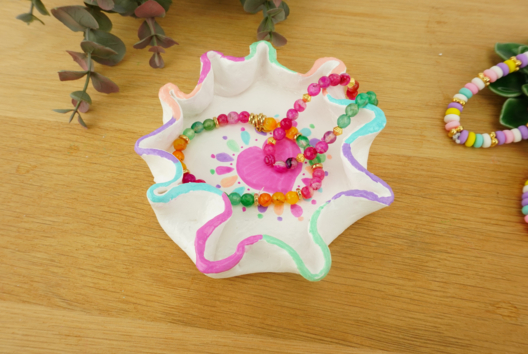
Wavy Trinket Dish
C11069View 13520 time

-
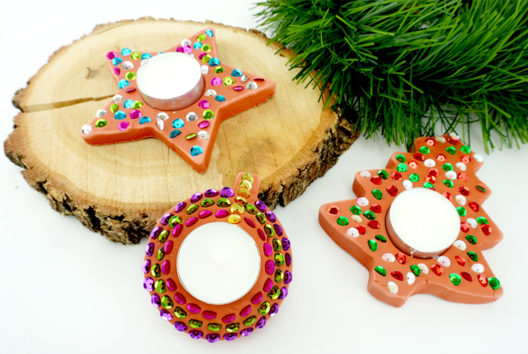
Festive Candle Holders
C11126View 21195 time

-
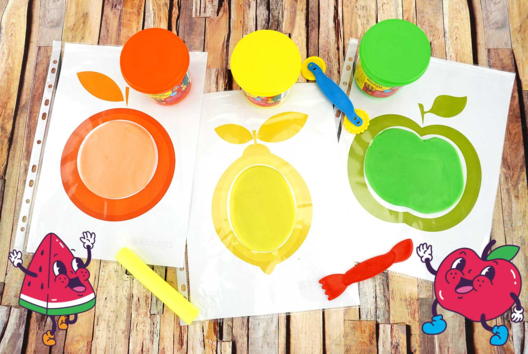
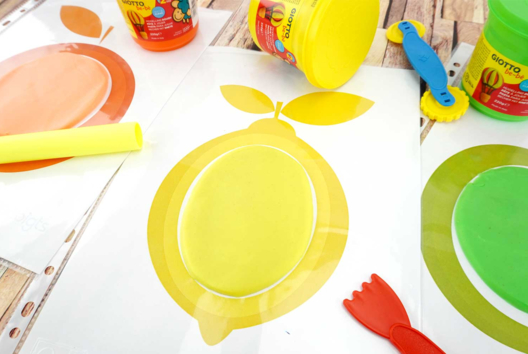
Modeling Clay Fruits
C11065View 19160 time

-
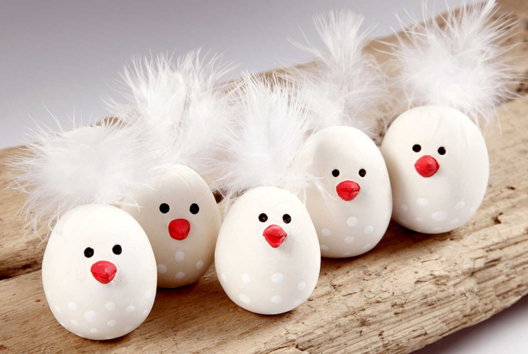
Round Modeling Chicks
C11184View 15556 time
-
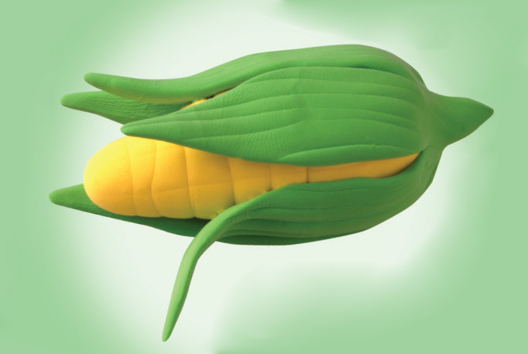
Corn Cob in Modeling Clay
C14299View 4520 time -
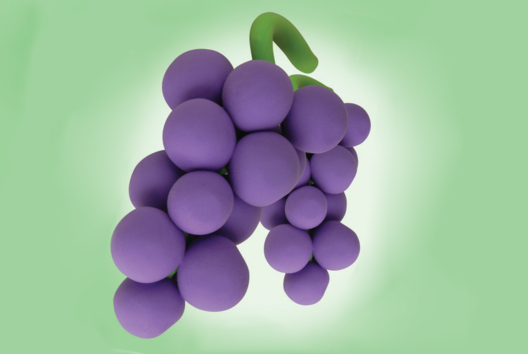
Bunch of Grapes in Modeling Clay
C14298View 6341 time -
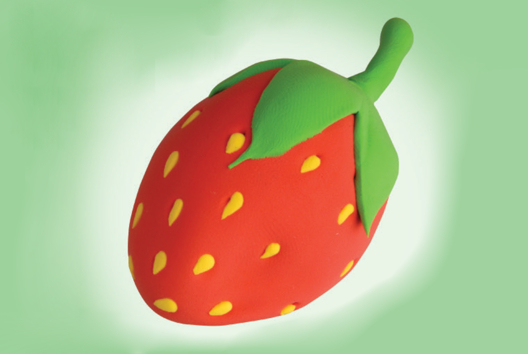
Strawberry in Modeling Clay
C14296View 7448 time -
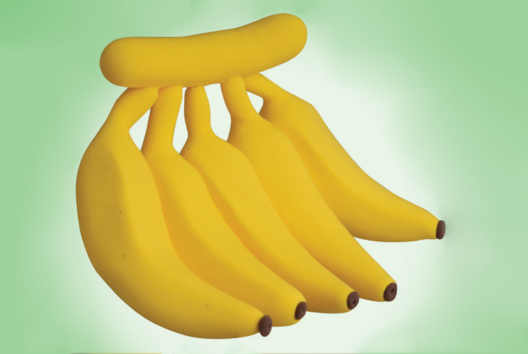
Modeling Dough Bananas
C14295View 5805 time
Customer review
Give your feedback
Small Clay Bowls
Be the first to share your review of this product.
Post a review