Your cart is empty.
String Art: Turtle
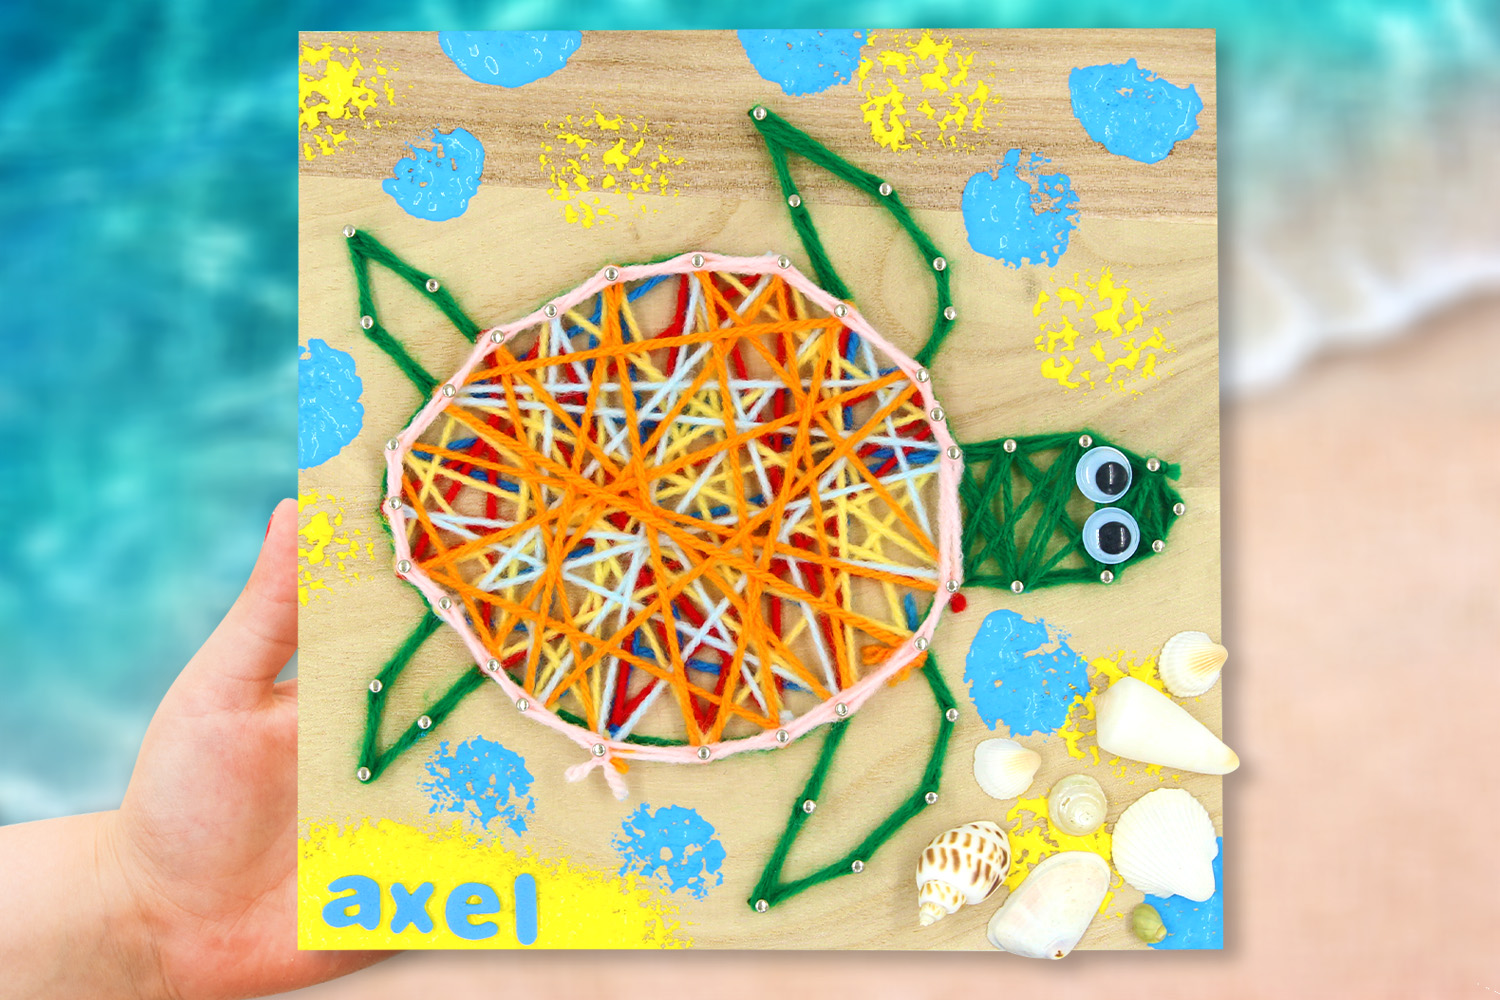

String Art: Turtle
Discover our special summer String Art!
This activity will allow your children not only to create a beautiful picture but also to develop their motor skills, creativity, and precision!
To PRINT the template click here or on "Printable template" below the main photo.
How to complete this tutorial step by step?
Materials:
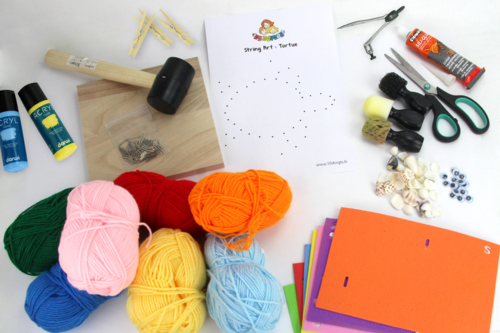
To make a turtle, you will need:
- The printable turtle template
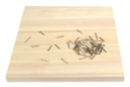
- A wooden support (20 x 20 cm) and nails
- A hammer / mallet
- Some wool
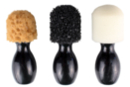
- Fancy stamps
- Yellow and blue paint
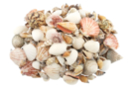
- Seashells
- Black 1.2 cm wiggle eyes
- Adhesive letters
- A clothes peg
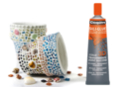
- Silicone glue
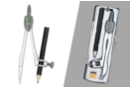
- A compass
- A pair of scissors
Step 1:
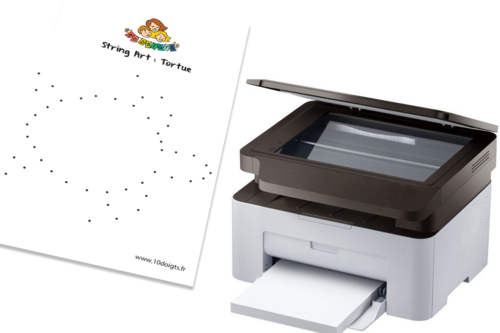
Print the turtle template by clicking here below the main photo located at the top of this page.
Step 2:
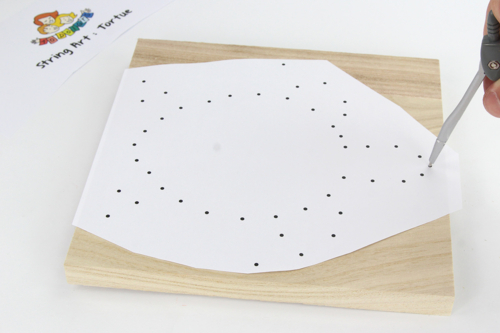
Place the template on top of the wooden board from the String Art kit and, using the point of a compass, mark the spots where the nails should be driven in.
Step 3:
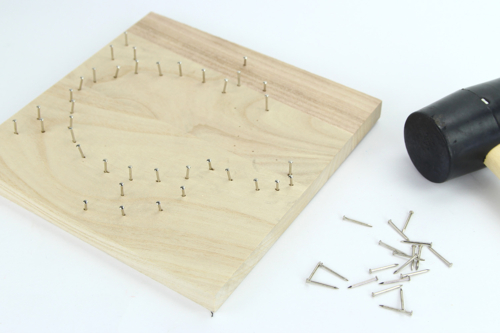
WARNING this step may require the assistance of an adult.
Drive the nails one by one into the marked spots using a mallet (or hammer)
Tip: To easily drive the nails without risking hitting your fingers, use a wooden clothespin. Place the nail in the center of the clothespin and close it to hold the nail securely while you drive it!
Step 4:

Start by making a knot around a nail with green wool. Then connect the nails together while making sure to keep the thread taut. The weaving can be done in an organized or random manner depending on the children's age.
Return to the starting point with the first thread and make another knot.
Tip : Always go back through the previous nail to add volume.
Step 5:
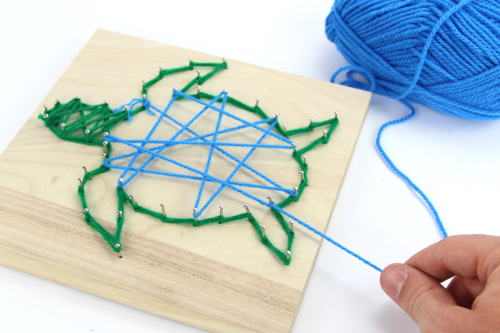
To continue your weaving while changing colors, press down on your threads to move them towards the board, so you can easily pass around the already used nails.
Step 6:

Repeat these steps until the turtle's shell is completely filled, varying the colors.
Step 7:
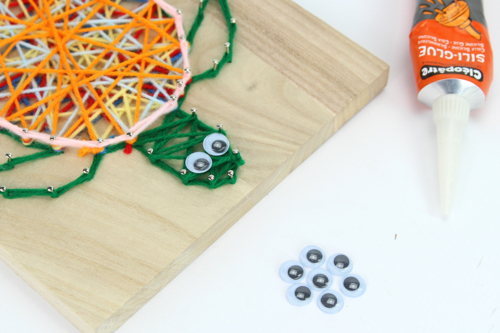
Glue the movable eyes onto the turtle with silicone glue.
Step 8:
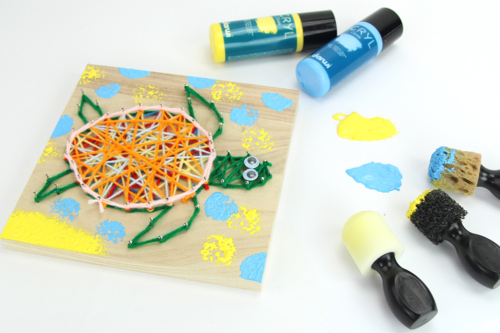
Finally, use the fancy stamps and yellow and blue gouache to stamp all over the drawing.
Step 9:
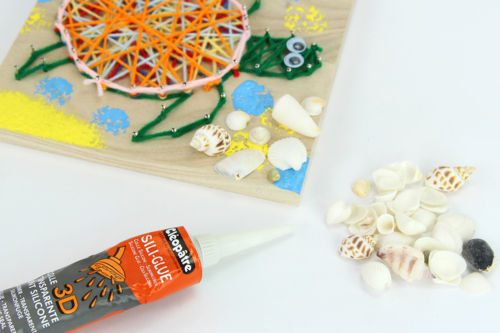
Glue some shells onto the board with silicone glue.
Step 10 :
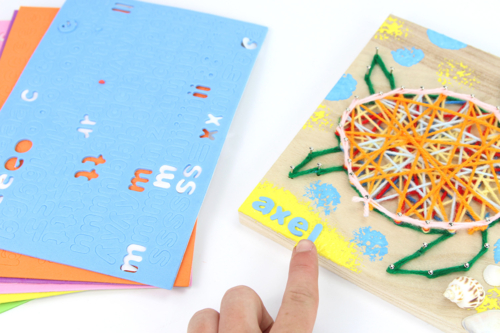
Finally, customize the board by writing a first name using adhesive letters.
The products used:
The products used:

11,12€ (either 1,39 € / pc)
Available


Foam Letter Stickers - 7 Colors
Réf. 13774 - See the full range
4,59€ (either 0,66 € / pc)
Available


3,99€ (either 1,33 € / pc)
Available


Other tutorials on the theme "String Art Tutorials"
-
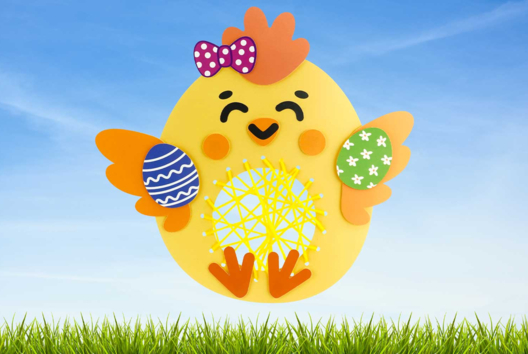
Chick in String Art
C8383View 6110 time


-
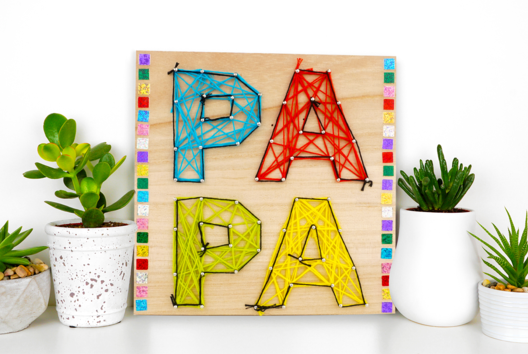
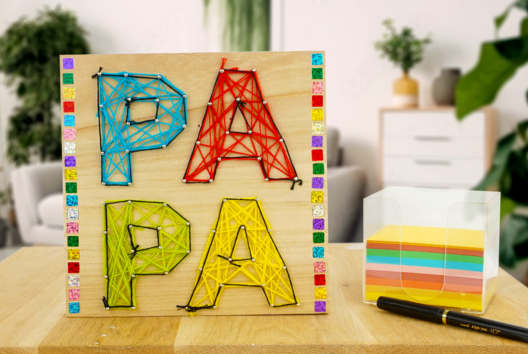
String Art for Father's Day
C8347View 12054 time


-
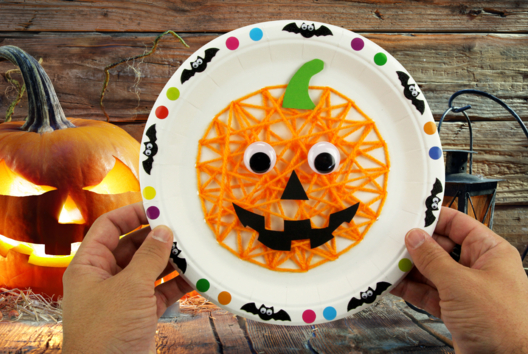
Pumpkin with Yarn and a Paper Plate
C13655View 35590 time -
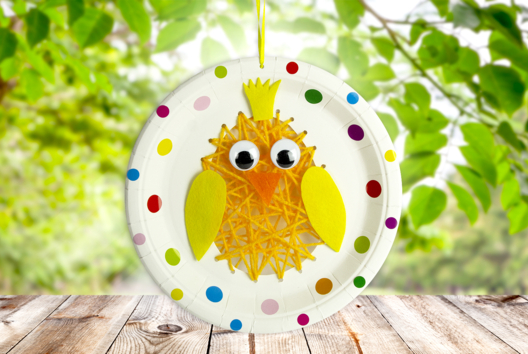
Embroidered Chick
C13416View 21354 time -
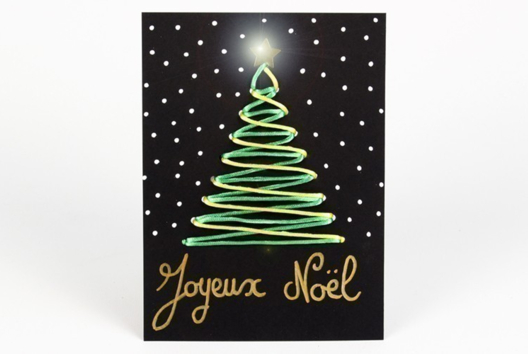
Christmas Tree Embroidery Card
C11502View 100486 time
trop beau bonne idée