Your cart is empty.
Thank You Teacher Ruler
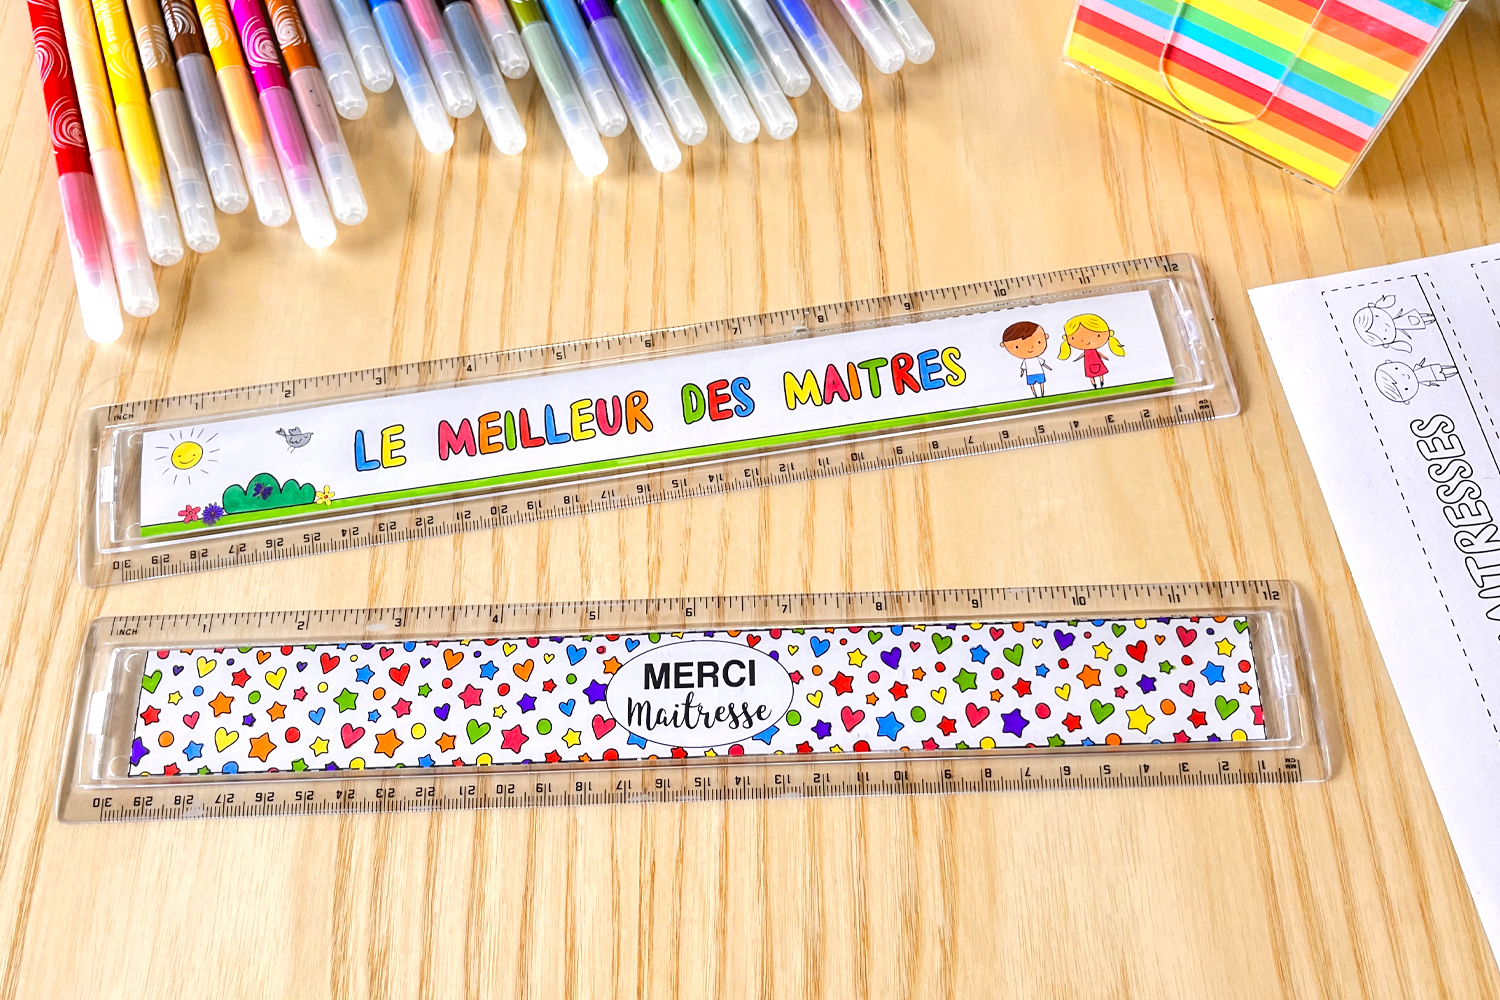


Thank You Teacher Ruler
This year, your child could give a unique handmade gift to thank their teacher!
Here’s an affordable and easy-to-make tutorial that will make an impression! The teacher will be delighted to receive such a lovely gift and will be proud to use it in the coming years.
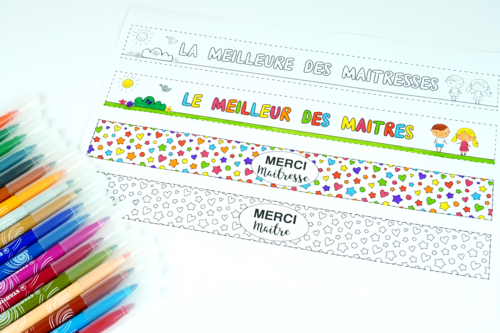
To PRINT the templates click here or on "Printable Template" in the third photo.
How to complete this tutorial step by step?
Materials:
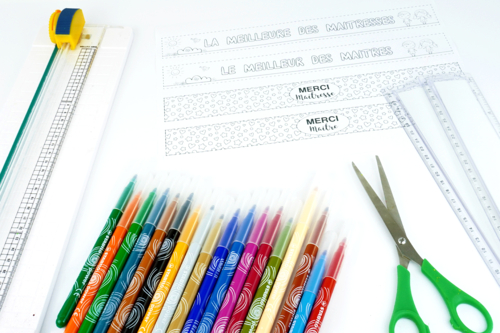
To carry out this activity you will need:
- A free "Thank you teacher" printable template
- A transparent ruler to personalize
- White A4 paper - 120 g
- Markers
- A pair of scissors or a paper cutter
Step 2:
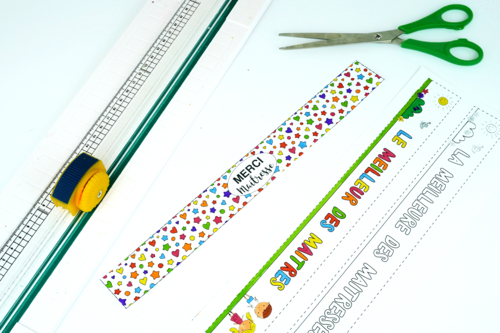
Cut the model with a pair of scissors following the dotted lines.
Tip: the paper cutter is a very handy tool that children can safely use to cut the strips neatly.
Step 3:
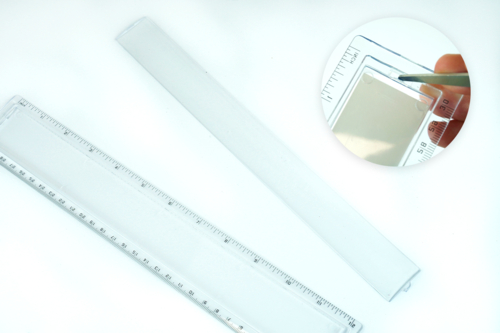
Unclip the upper part of the ruler which allows you to insert a drawing.
To do this, simply press down with the tip of a pair of scissors.
Step 4:
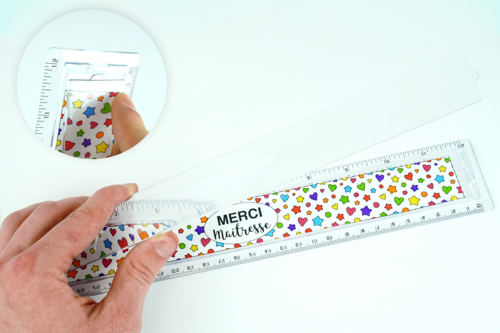
Slide the drawing into the bottom part and then reassemble the two parts of the ruler by clipping them together.
The products used:
The products used:


Other tutorials on the theme "School Gift Tutorials"
-
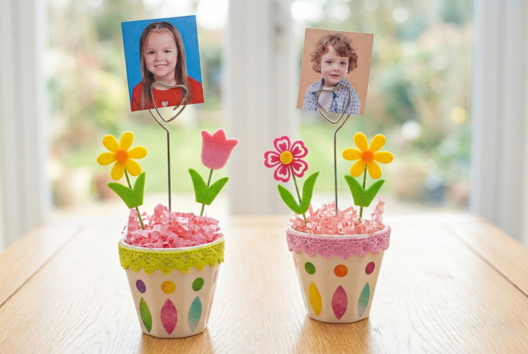
Flower Photo Holder
C17387View 15780 time


-

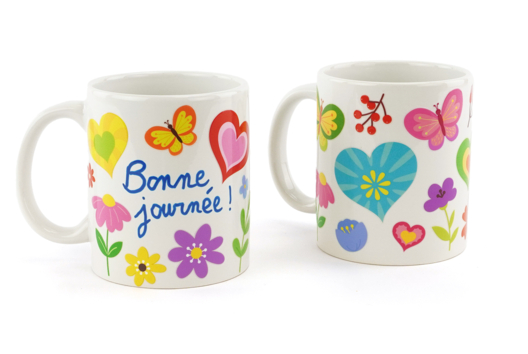
A Beautiful Mug for Mother's Day
C17384View 7052 time

-
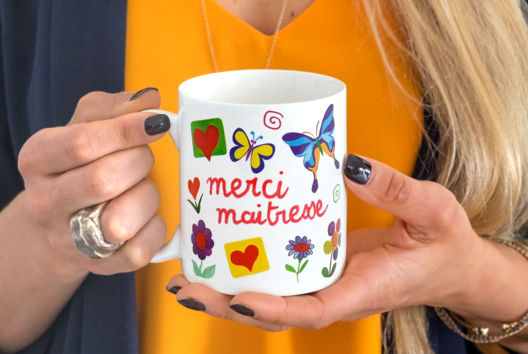

Personalized Mug
C10889View 18133 time
-

Fresh Flowers Gift Box
C8325View 3809 time
-
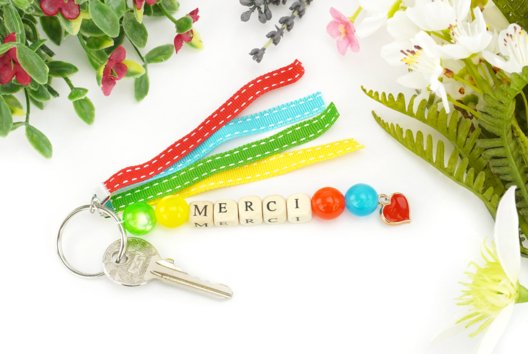
Keychain "thank you" (teacher gift)
C15115View 10880 time
-
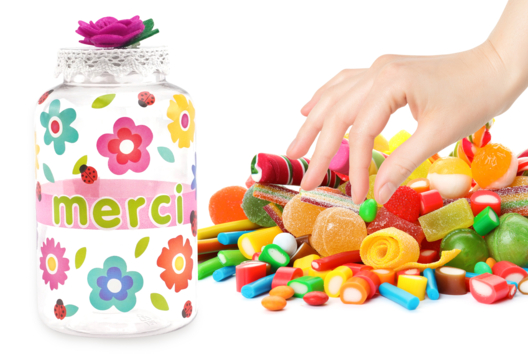
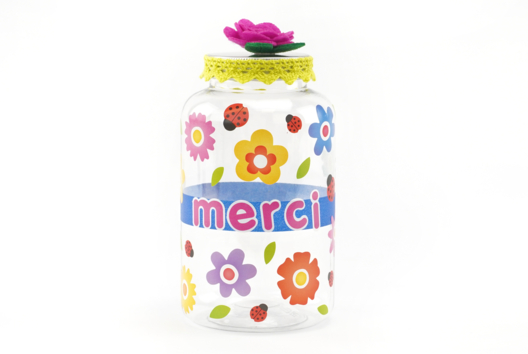
Candy Jar
C11063View 19832 time -
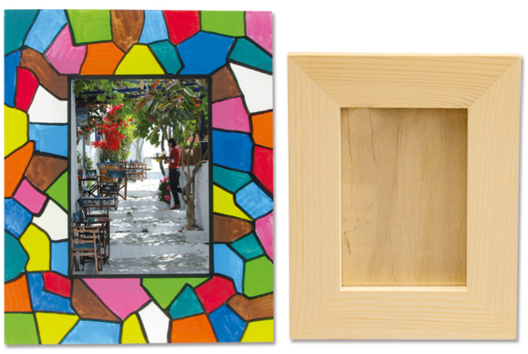
Stained Glass Frame
C8288View 13708 time
Customer review
Give your feedback
Thank You Teacher Ruler
Be the first to share your review of this product.
Post a review