Your cart is empty.
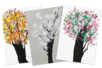
Trees of the 4 Seasons


Trees of the 4 Seasons
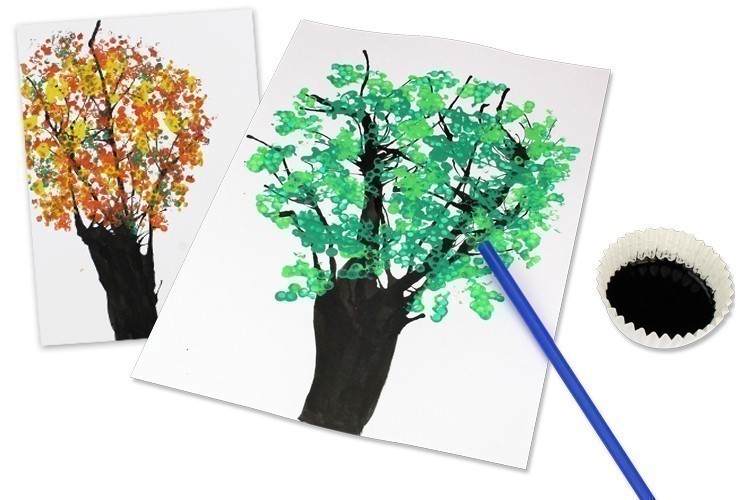
In this tutorial, you will discover a simple technique to draw beautiful trees using ink, a straw, paint, and cotton swabs. It's an easy and fun activity that will allow children to rediscover the changing colors of nature throughout the seasons.
To watch the video tutorial, click on "VIDEO" below the main photo.
How to complete this tutorial step by step?
Etape 1.
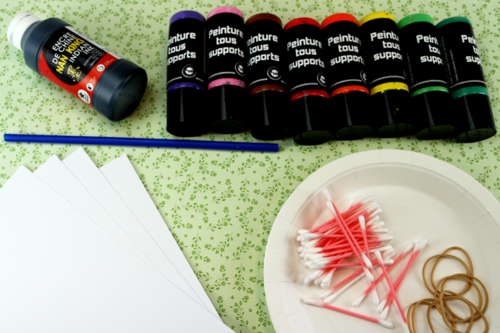
To draw beautiful trees, you will need:
- strong A4 white cardstock (300 g/m²)
- Chinese ink
- a straw
- acrylic paint
- a paintbrush
- cotton swabs
- rubber bands Ø 6 cm
- a paper plate
Etape 2.
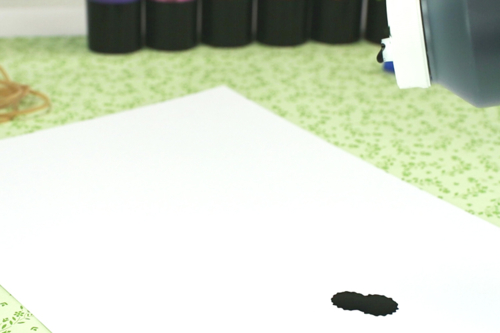
Pour a few drops of Chinese ink at the bottom of the white thick card.
Etape 3.
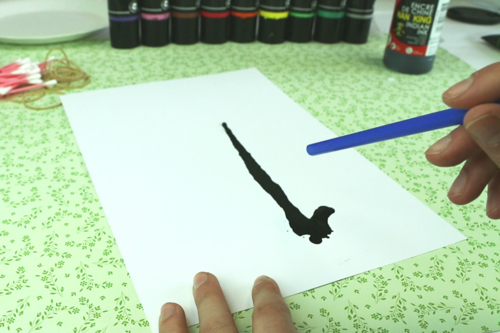
Blow through a straw to create the trunk and branches of the tree.
If necessary, add a few drops of India ink.
Etape 4.
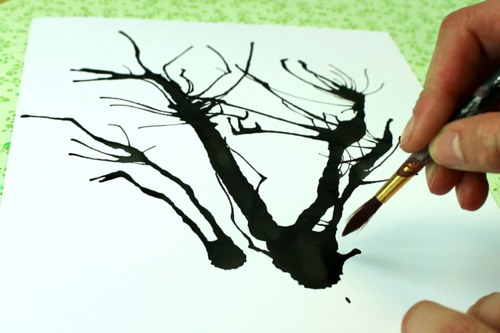
For a nice finish, you can complete the trunk of the tree with a brush.
Etape 5.
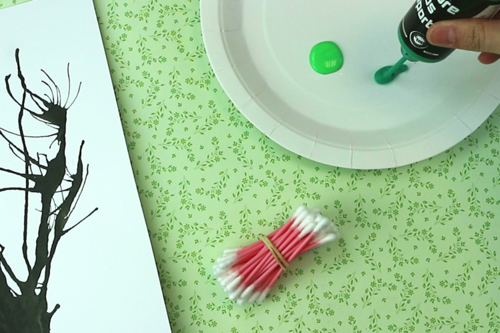
Using an elastic band, tie together about twenty cotton swabs.
Select acrylic paint in colors that match your tree's foliage, then pour the paint into a paper plate.
Etape 6.

Dip the cotton swabs in the paint and then dab them on top of the branches to create the tree foliage.
Etape 7.
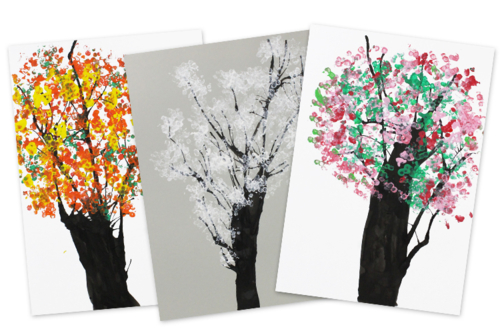
By choosing the appropriate colors for each season, you will be able to create beautiful trees similar to those seen in spring, summer, autumn, or even winter.
The products used:
The products used:

3,59€ (either 0,36 € / pc)
Available


26,94€ (either 4,49 € / pot)
Available


2,99€ (either 1,00 € / pc)
Available
Other tutorials on the theme "Board Tutorials"
-
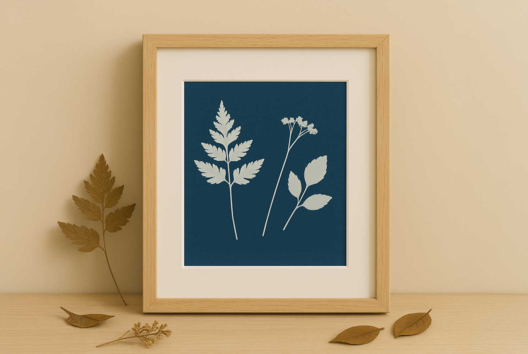
Still Life in Cyanotype
C10928View 5658 time


-


Silk Paper Flower Bouquet
C17022View 11312 time

-
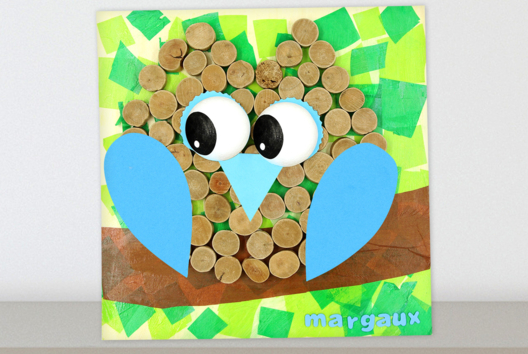
Owl Artwork with Driftwood and Tissue Paper
C14160View 16719 time
-

My Dad, My Hero Poster
C14099View 16775 time -

Rainbow Fish
C14017View 45427 time -
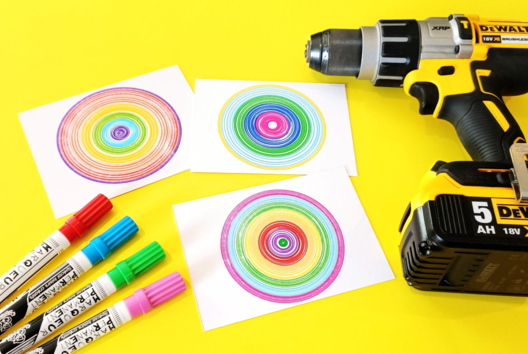

Drawing Colorful Circles with a Screwdriver
C14010View 9914 time
les enfants de mon association 1.2.3 bébé vont adorer j en suis certaine. merci