Your cart is empty.
Still Life in Cyanotype
Still Life in Cyanotype


Create stunning cyanotype artworks using dried leaves and flowers!
Looking to introduce children (or adults!) to a fascinating and poetic artistic activity? Cyanotype is an ancient printing technique that allows you to create beautiful images in negative, featuring white silhouettes on a deep blue background.
This tutorial guides you step by step to make your own cyanotype from natural elements. Arrange your dried leaves and flowers on a photosensitive sheet, expose it to sunlight, and then rinse with clear water to reveal your creation… Magical!
This activity is accessible to everyone and can be easily completed with:
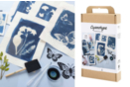
- our all-inclusive cyanotype kit, which allows you to make your own photosensitive solution using the provided components
- or our set of pre-treated sheets ready for use, previously soaked in cyanotype solution, for an immediate start!
Did you know? The exposure time for a cyanotype in sunlight varies according to the season and UV index:
- Summer (UV index > 6): 1 to 10 minutes.
- Spring and Autumn (UV index between 3 and 6): 5 to 30 minutes.
- Winter (UV index < 3): 10 minutes to over an hour.
How to complete this tutorial step by step?
Step 1: Composition
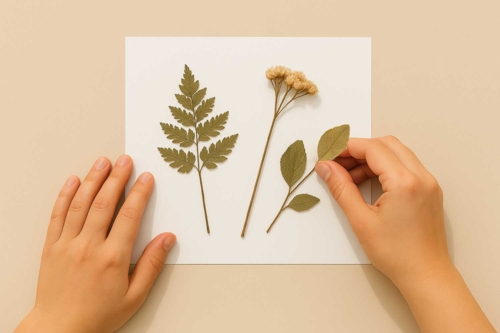
Arrange the dried leaves and flowers on a white sheet that has been coated with a photosensitive solution (cyanotype solution). Create a lovely composition by placing the elements harmoniously.
Optionally, use our Cyanotype kit where you can make your own cyanotype solution, or use our ready-to-use sheets that are already impregnated with the solution ;-)
Step 2: Exposure to Light
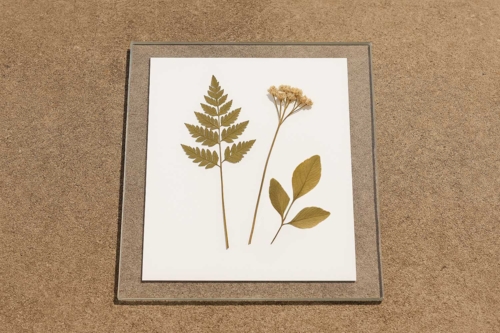
Cover the sheet with a transparent plate (included in the cyanotype kit, as well as with the pre-sensitized sheets) to hold the elements in place, then expose everything to full sunlight.
The UV light will trigger the chemical reaction, and the sheet will begin to darken.
Step 3: First Revelation
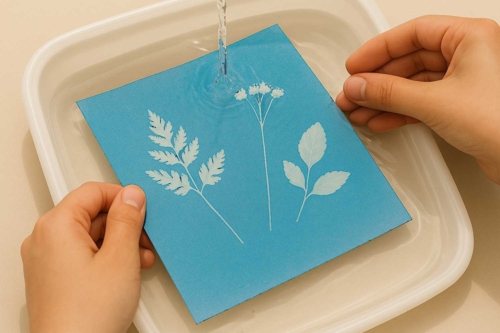
After removing the natural elements, the image already appears in negative: the areas exposed to sunlight turn dark blue, while the protected areas remain light.
Rinse the sheet with clear water to stop the chemical reaction and permanently reveal the image.
Step 4: Rinsing
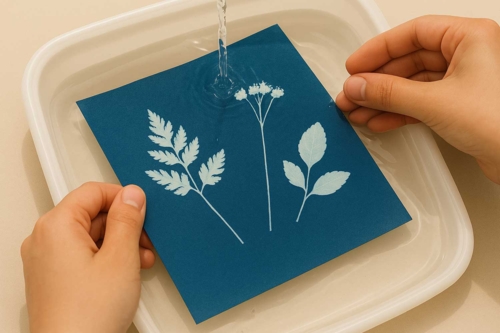
The excess product is removed and the contrasts are enhanced.
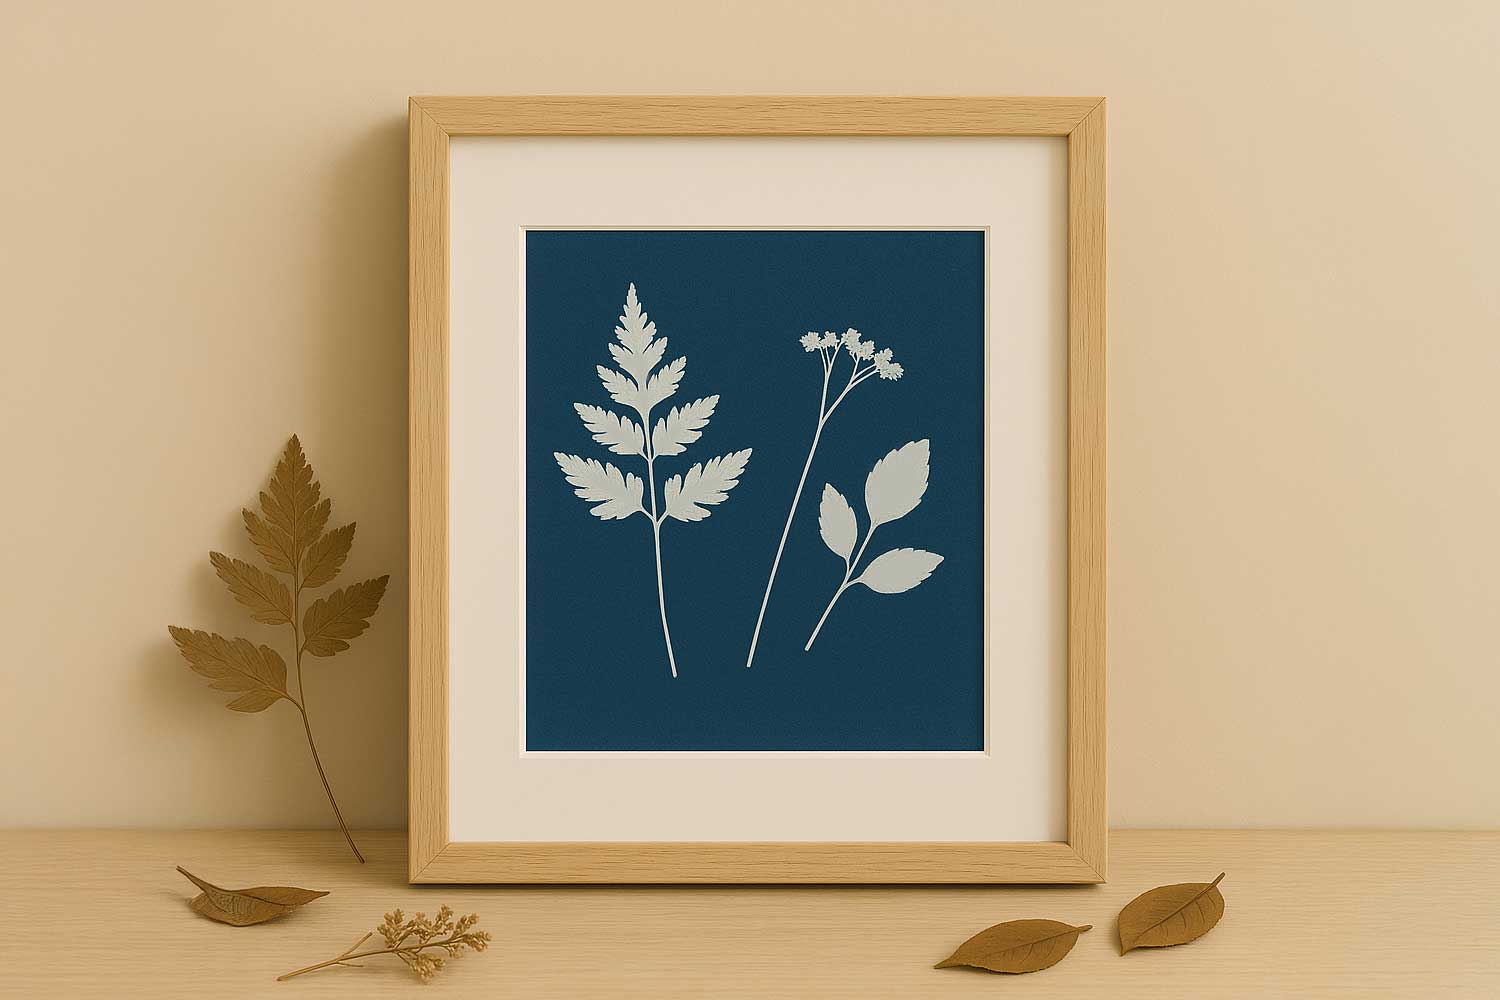
Step 5: Final Result
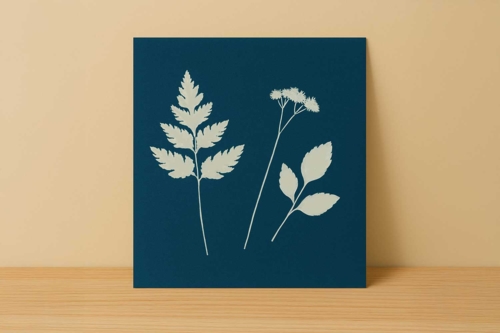
Once dry, the creation is complete! The silhouettes of the plants appear in white on a beautiful deep blue background, typical of cyanotype.
The products used:
The products used:
Pre-coated Cyanotype Sheets - 10 Sheets
Réf. 57280 - Product sheet
14,90€ (either 1,49 € / pc)
Available within 15 days
Other tutorials on the theme "Nature"
-
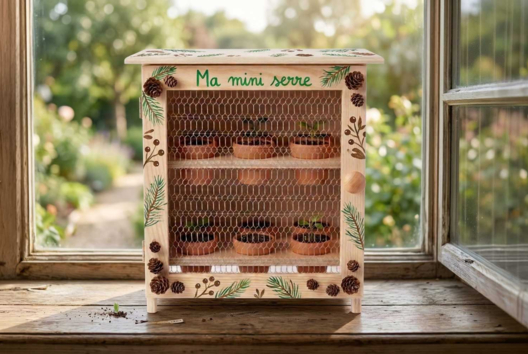
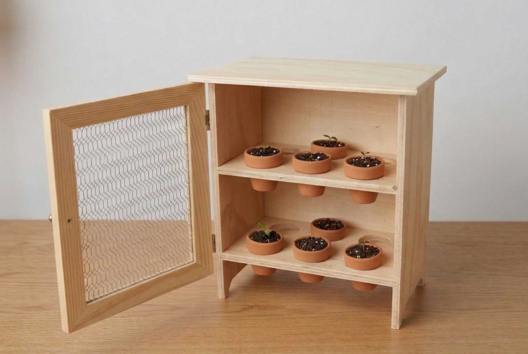
Mini Germination Greenhouse
C17705View 3322 time


-

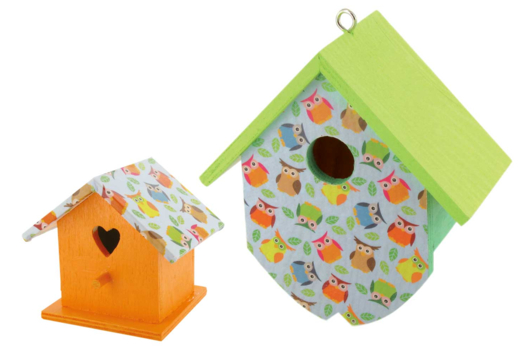
Decopatch Birdhouses
C17294View 5954 time

-
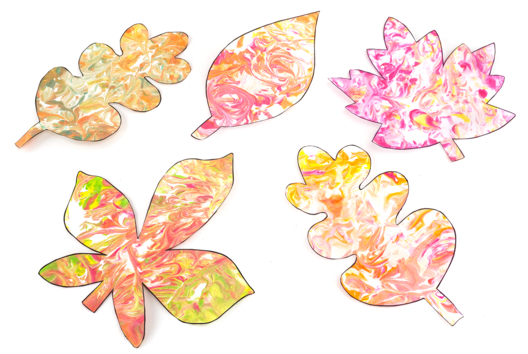
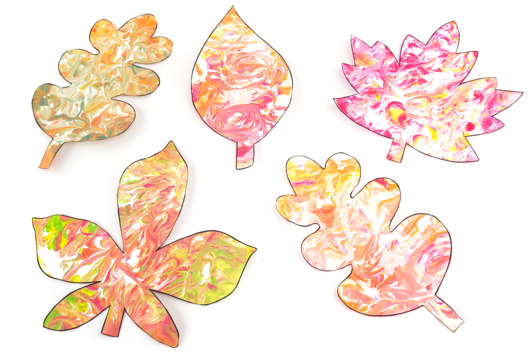
Marbled Autumn Leaves - Shaving Foam
C13306View 29210 time
-
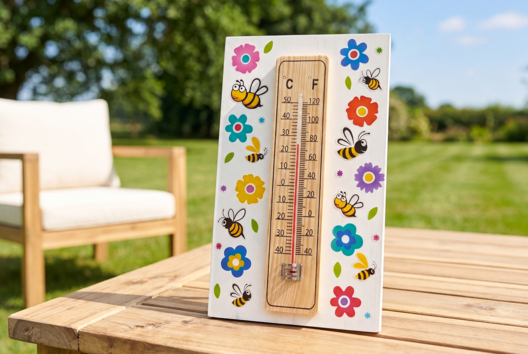
Outdoor Thermometer
C14616View 21188 time
-
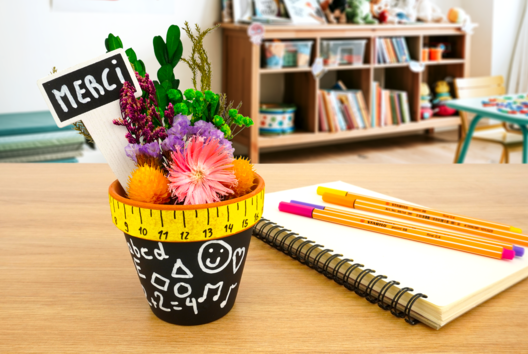
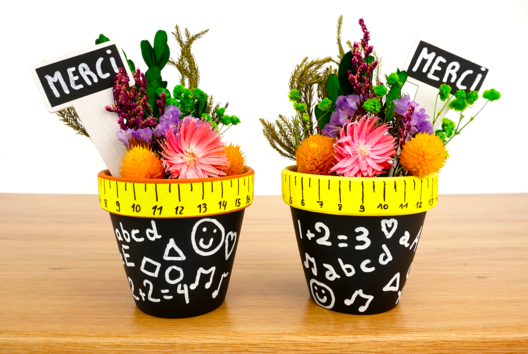
Dried Flower Pot "THANK YOU TEACHER"
C8378View 14694 time
-
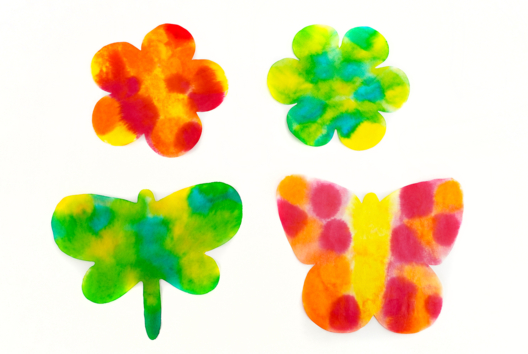
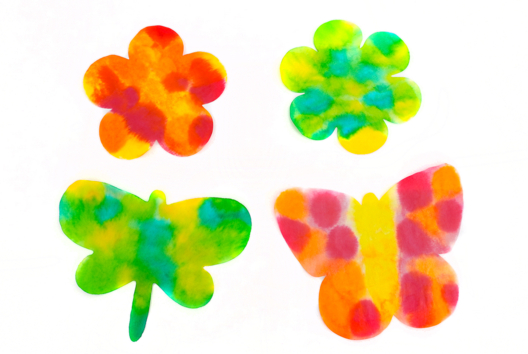
Flowers and Butterflies with Ink
C8782View 13352 time
-
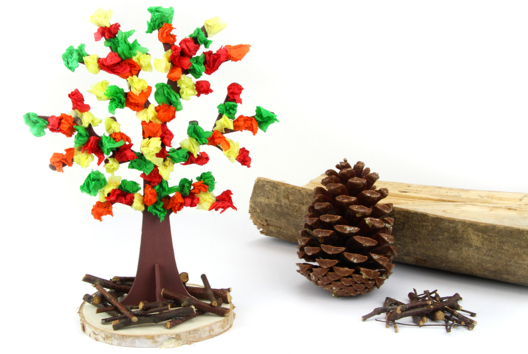
Autumn Tree with Tissue Paper
C14782View 27784 time
-
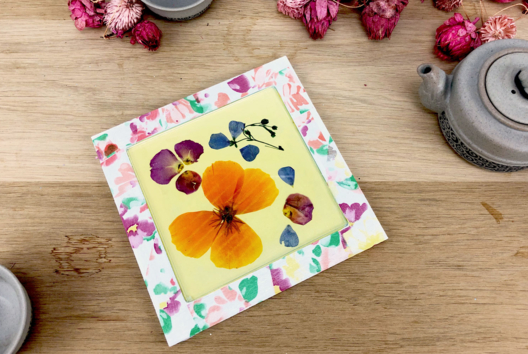
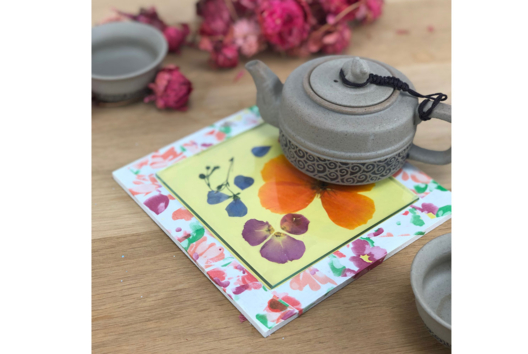
Dried Flower Trivet
C13523View 16351 time
-
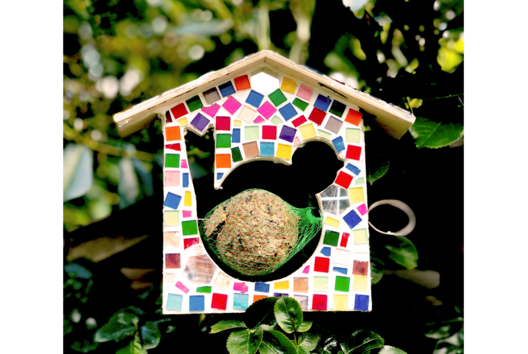
Mosaic Feeder
C13456View 12645 time
-
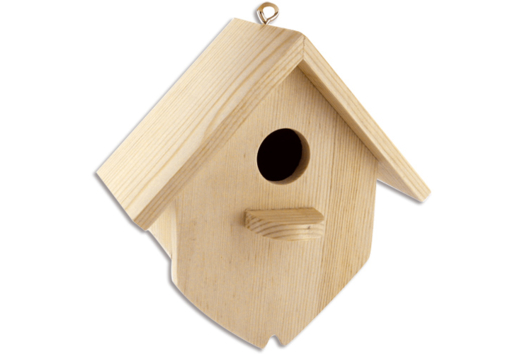
Wooden Owl Deco Birdhouse
C11282View 9575 time
Vos créations inspirées par ce tuto
Customer review
Give your feedback
Still Life in Cyanotype
Be the first to share your review of this product.
Post a review