Your cart is empty.
Turtle with Buttons
Turtle with Buttons
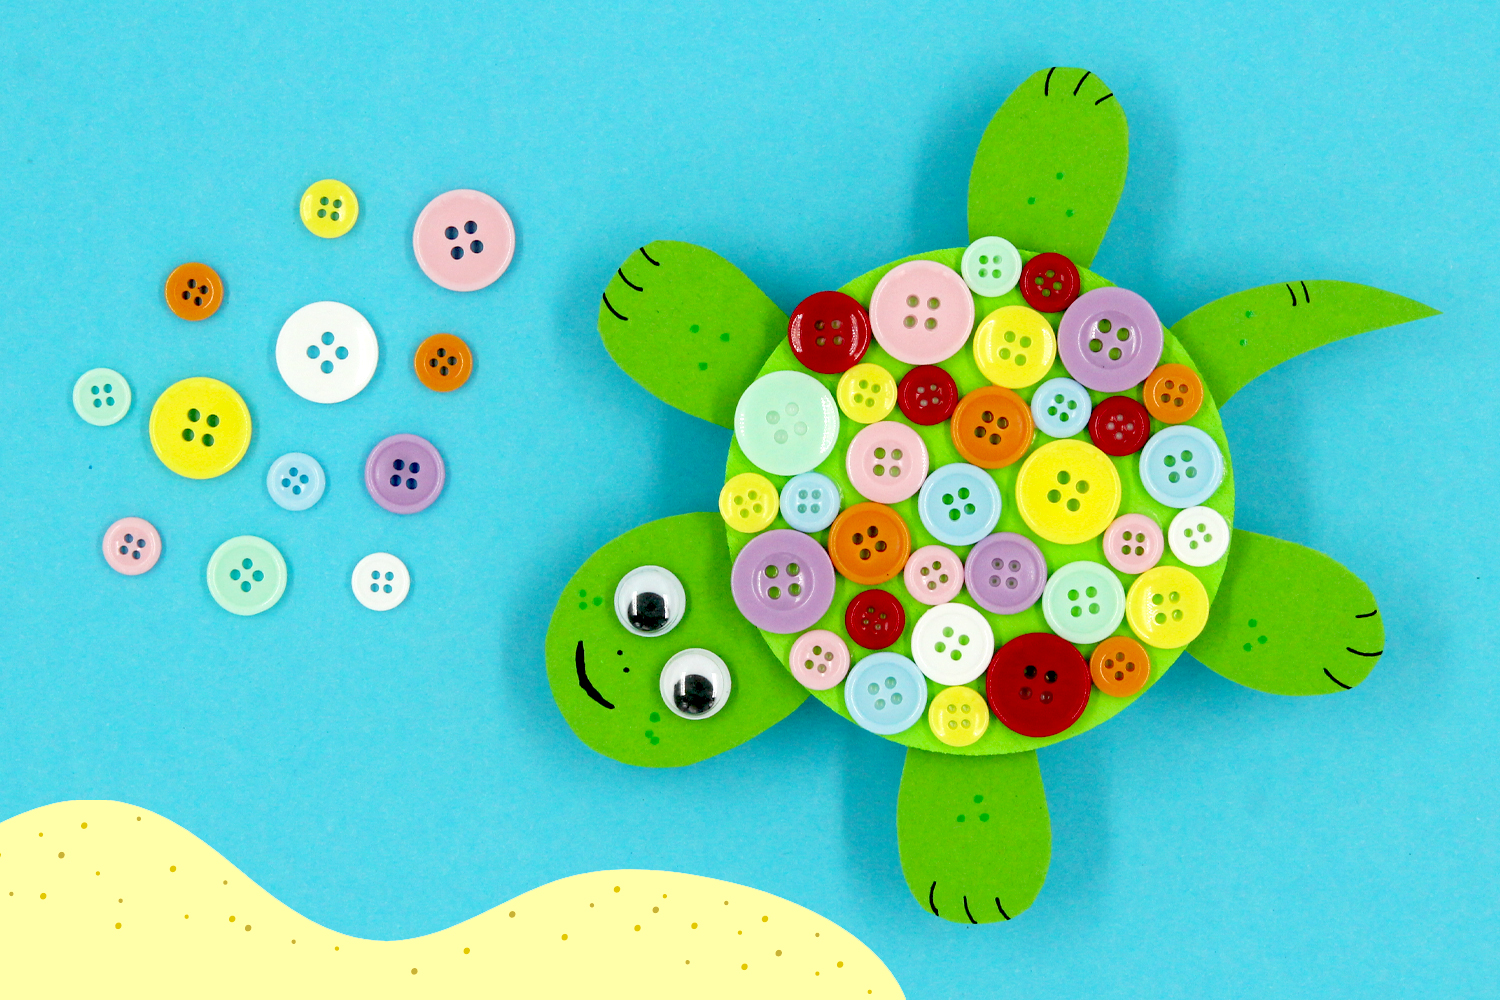
Discover a simple and fun craft activity for children that allows you to create beautiful turtles using a round wooden base, paper, and buttons!
Thèmes de l'idéa créa :
#Animal Tutorials
#Funny Characters Tutorials
#Craft Tutorials
#Ocean Tutorials
#Summer Tutorials
How to complete this tutorial step by step?
Material
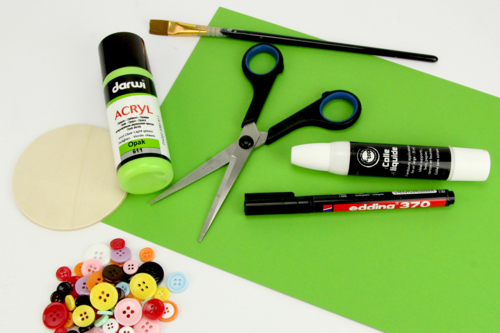
To make a turtle you need:
- a round wooden shape Ø 8.5 cm
- green acrylic paint and a brush
- plastic buttons
- a strong green card (300 g/m²)
- 2 googly eyes Ø 12 mm
- a tube of white glue
- a pair of scissors
- a black marker
Step 1
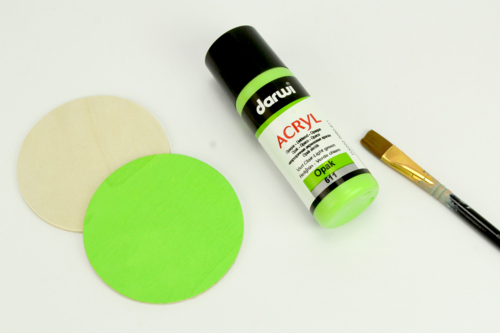
Paint the round wooden shape with green acrylic paint. This round shape will represent the turtle's shell.
Let the paint dry for about 15 minutes.
Step 2

Glue plastic buttons onto the wooden shape to decorate the turtle's shell.
Step 3

Cut the head, legs, and tail of the turtle from a strong green cardstock.
Step 4
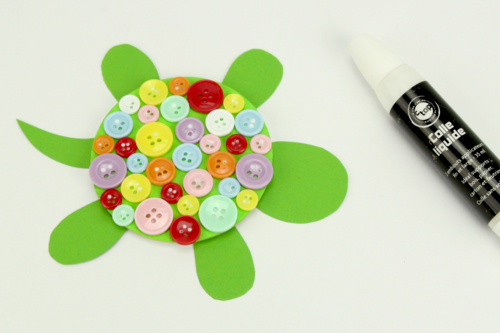
Glue the previously cut elements below the wooden shape.
Step 5
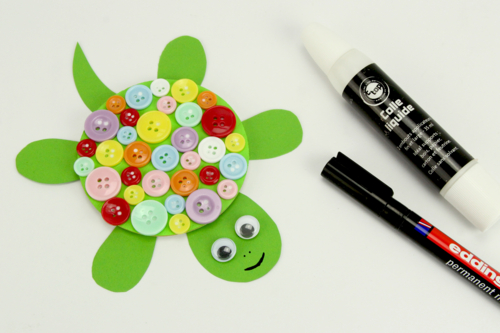
Glue 2 movable eyes Ø 12 mm and draw a nice smile on your turtle's face.
The products used:
The products used:

3,90€ (either 0,39 € / pc)
Available


2,99€ (either 1,00 € / pc)
Available


3,59€ (either 0,36 € / pc)
Available


Other tutorials on the theme "Animal Tutorials"
-
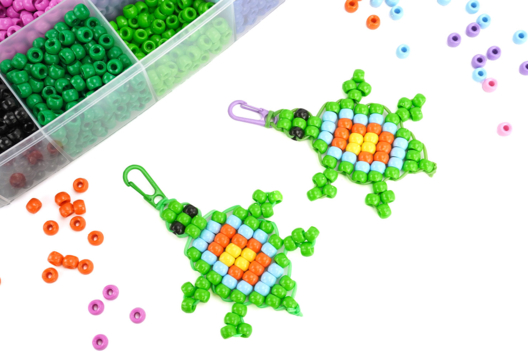
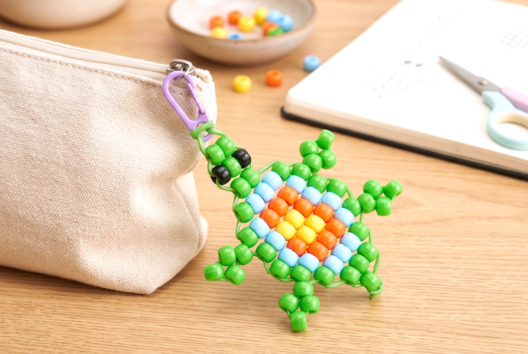
Turtle made of pony beads
C17833View 2988 time


-
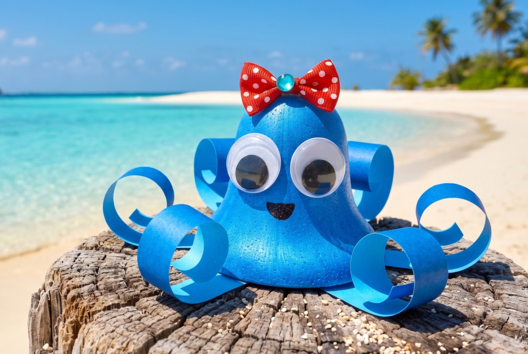
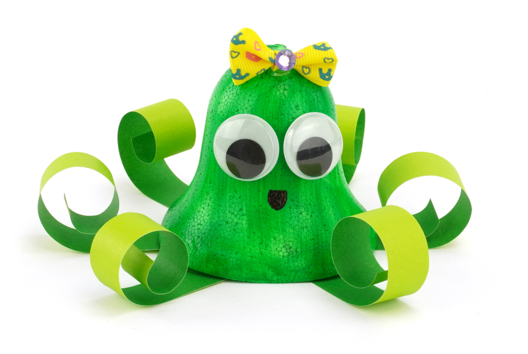
Cute Octopus
C17809View 6169 time

-
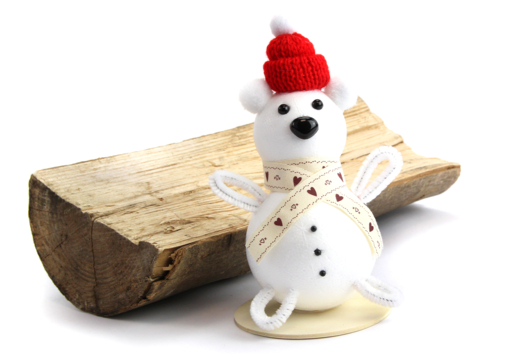
Polar Bear with Styrofoam Balls
C15060View 17682 time -
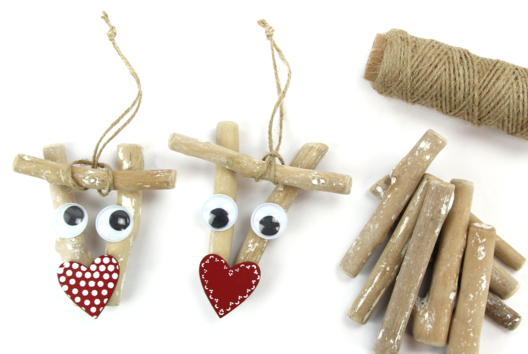
Driftwood Reindeer
C14820View 11146 time -
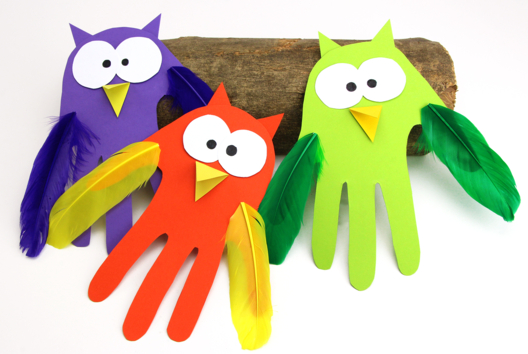
Handprint Owls
C14769View 18364 time
-
Hedgehog in Modeling Dough
C15037View 13798 time
Vos créations inspirées par ce tuto
Sabrinouille
2 Your comments:
Avis client
5.0/5
1 avis publié
5
100%
4
0%
3
0%
2
0%
1
0%
Customer review
tortue avec boutons
trop mignon!!! je vais certainement la faire avec mes loulous (je suis assistante maternelle) ils aimeront à coup sûr et ce sur un CD. merci pour ce joli projet.