Your cart is empty.
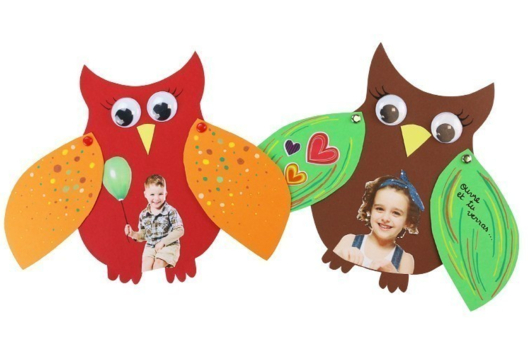
Handprint Owls
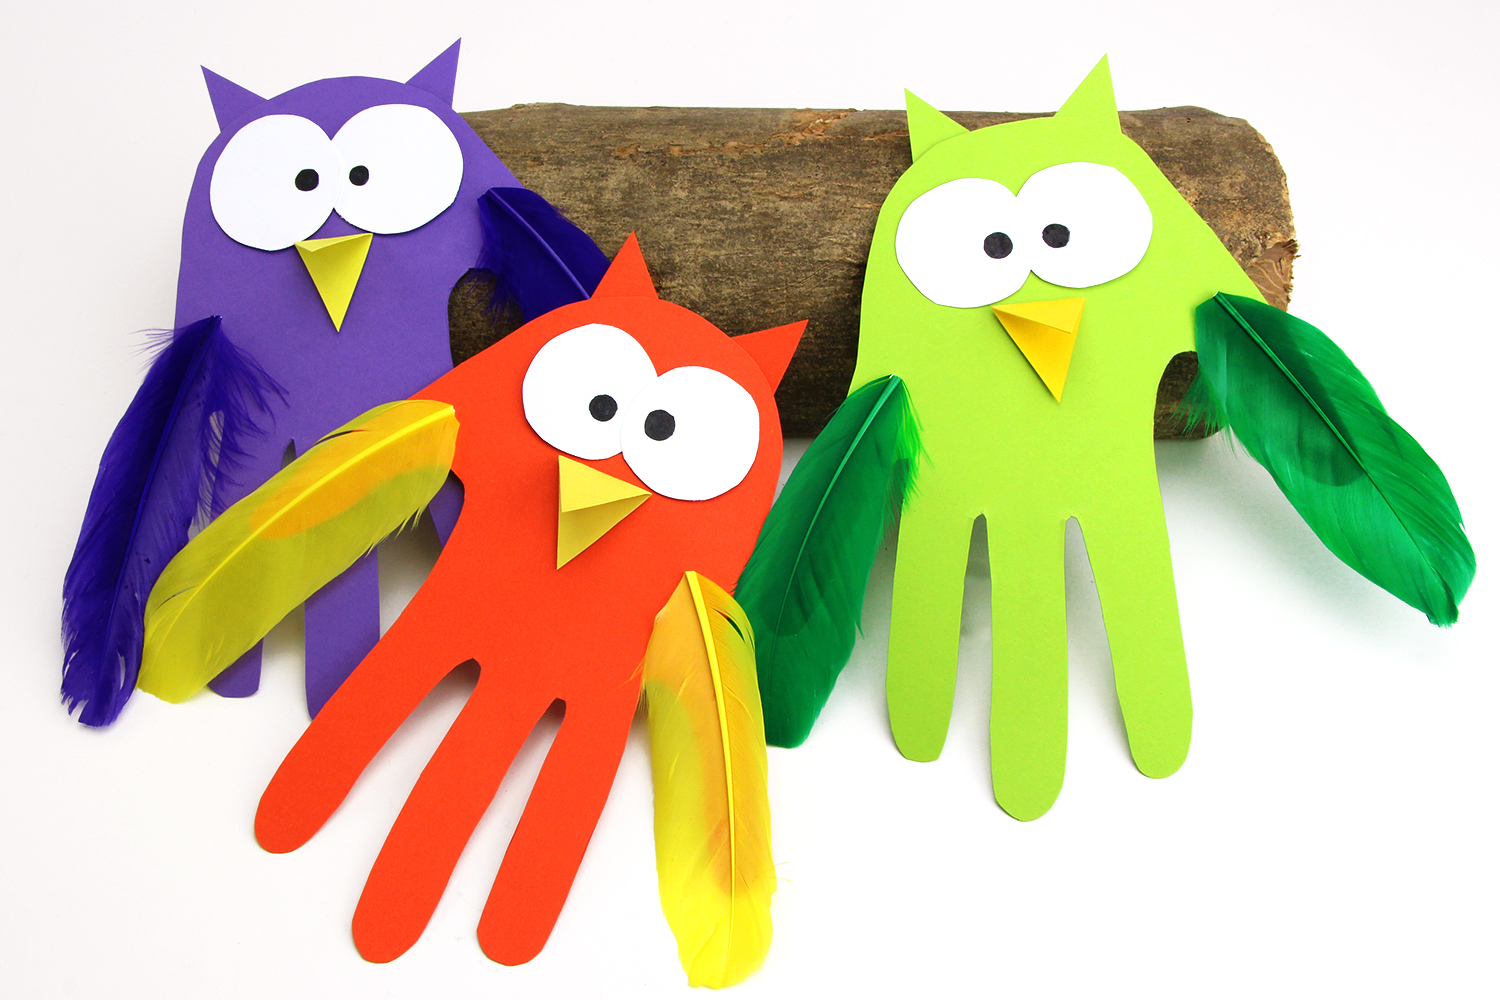
Handprint Owls

An easy and fun activity for children where they will enjoy making owls from their handprints!
How to complete this tutorial step by step?
Materials
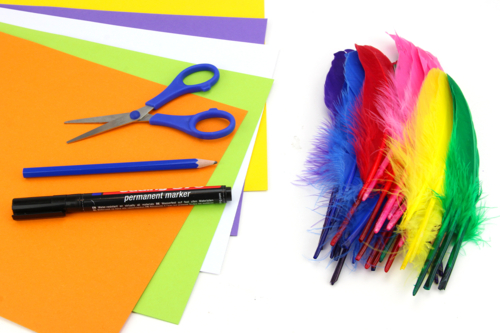
To make an owl, you will need:
- colored heavy cardstock (300 g/m²)
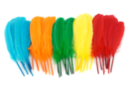
- feathers
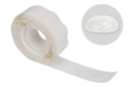
- gel adhesive dots
- a black marker
- a pencil
- a pair of scissors
Step 1
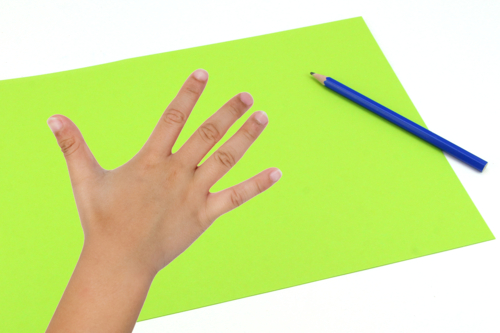
Choose a colored strong card and then trace the outline of a hand (with fingers spread) using a pencil.
Step 2
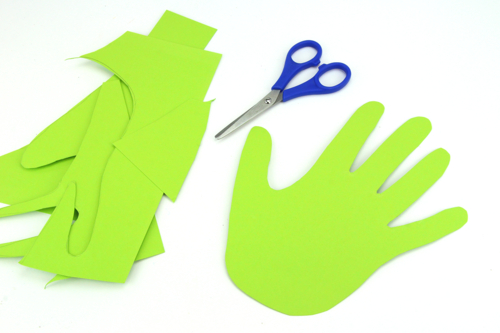
Cut out the handprint following the outline.
Step 3
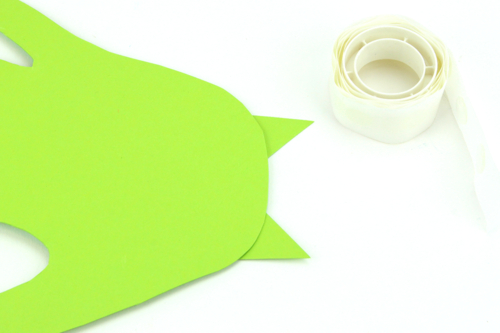
Cut out 2 small triangles and glue them behind the handprint to create the owl's ears.
Step 4
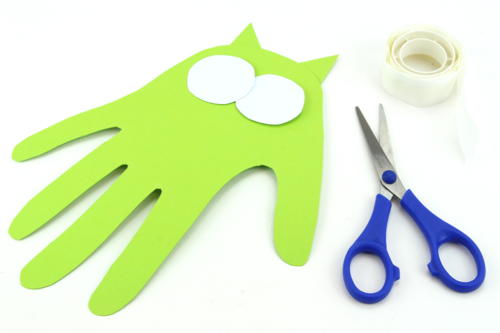
Cut out 2 white paper circles for the owl's eyes and then stick them on with adhesive dots.
Step 5
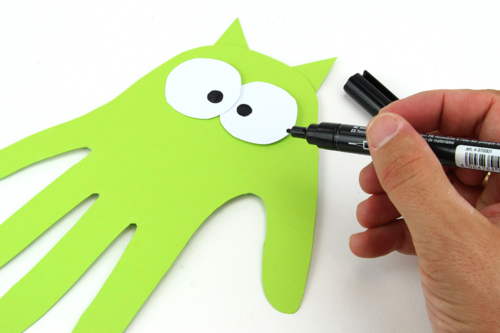
Draw 2 black dots inside the eyes.
Step 6
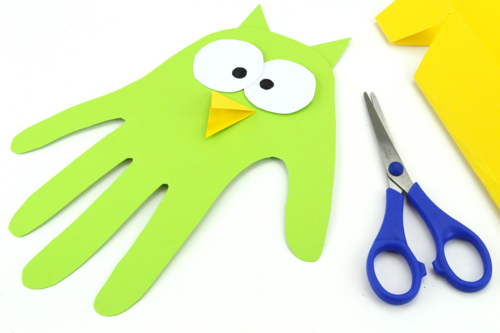
Fold a yellow sheet in half, cut a triangle at the fold to create a "double" beak, then glue it onto the owl.
Step 7
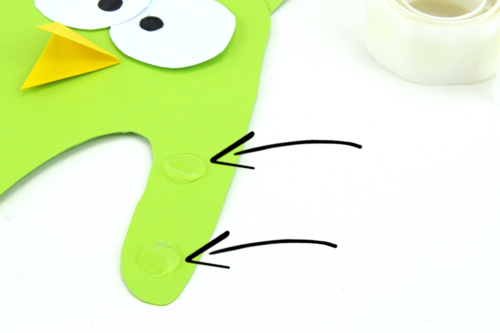
Stick 2 adhesive pads on the thumb and the little finger.
Step 8
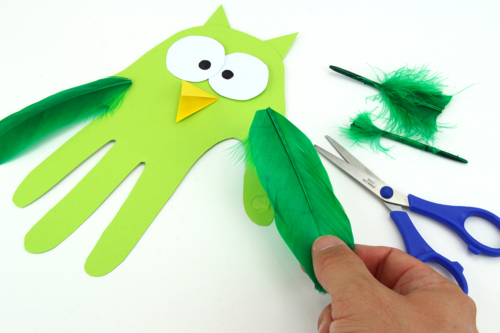
Glue the feathers to form the owl's wings.
If necessary, trim the base of the feathers with a pair of scissors.
The products used:
The products used:

13,99€ (either 0,28 € / pc)
Available
6,99€
Available


Other tutorials on the theme "Autumn Tutorials"
-
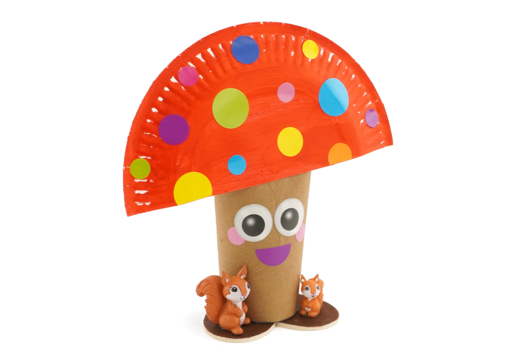
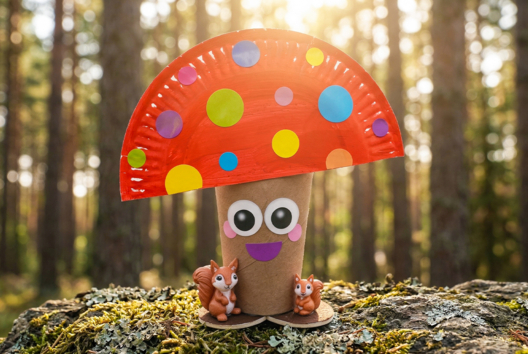
Funny Mushroom and Little Squirrels
C17711View 988 time


-
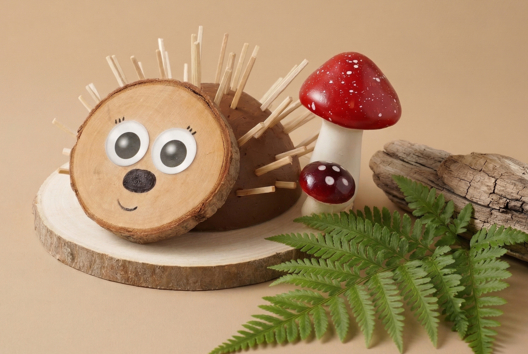
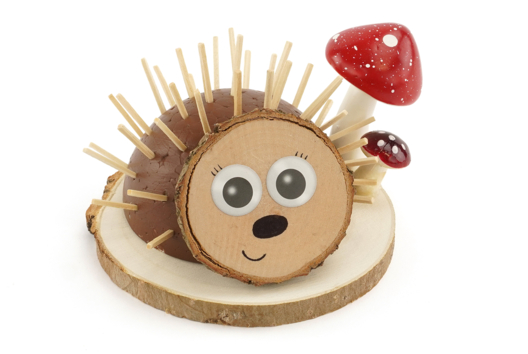
Hedgehog and Wooden Matches
C17707View 821 time
-

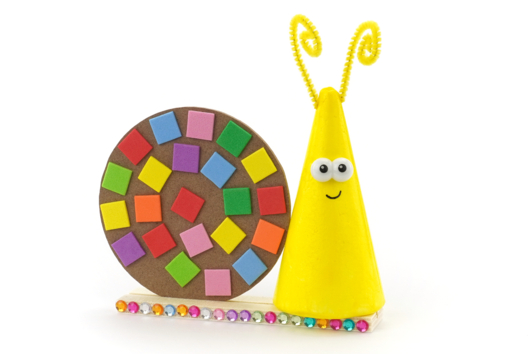
Nono the Snail
C10963View 13394 time
-
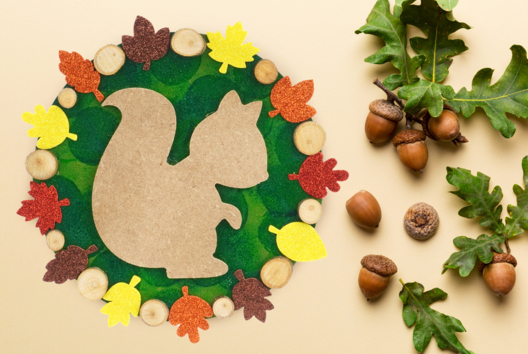
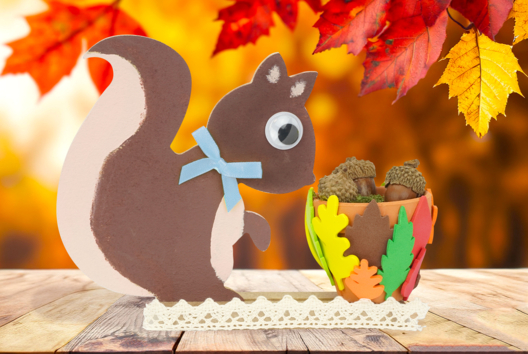
Squirrel Collage for Autumn
C11097View 32579 time
-
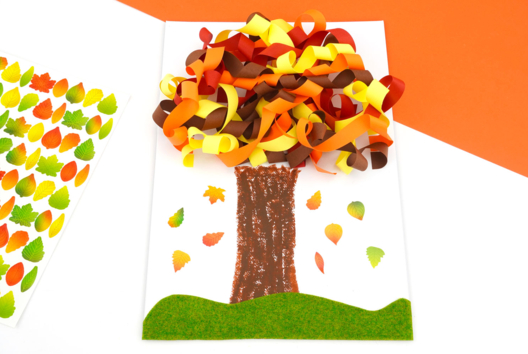
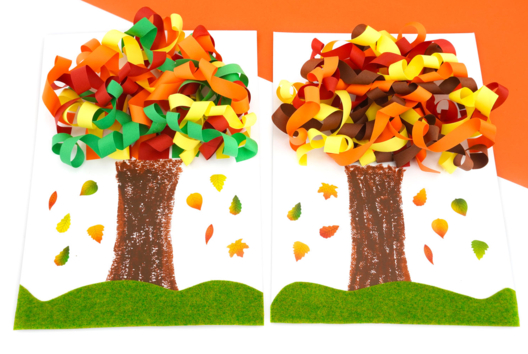
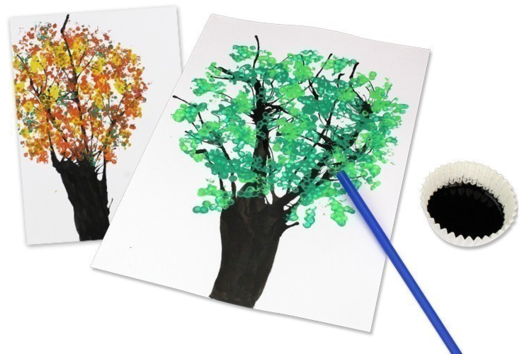
Autumn Tree in Rolled Paper
C11192View 52953 time
-
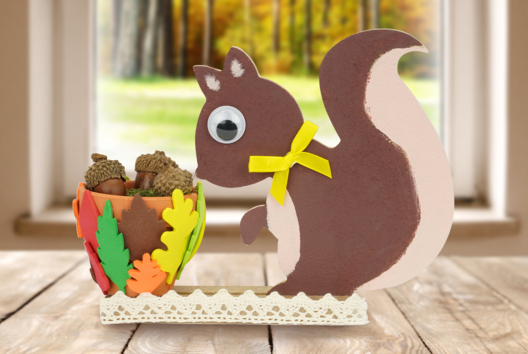
Squirrel and Its Autumn Harvest
C11030View 14692 time
-
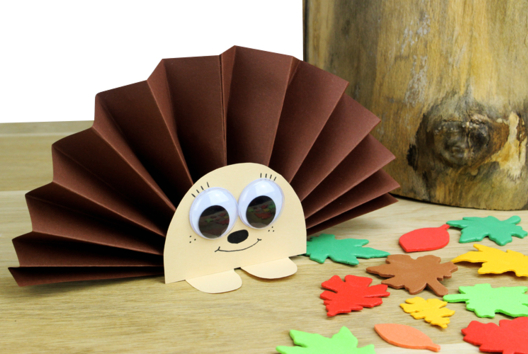
Paper Hedgehog
C12991View 62764 time
-
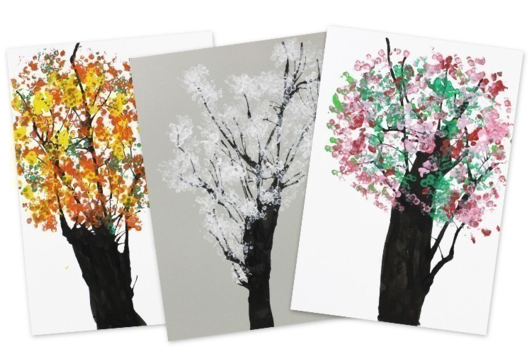
Trees of the 4 Seasons
C12432View 23959 time -
Owl Card
C12217View 68235 time
-
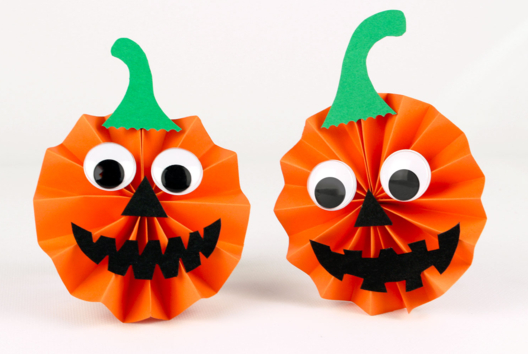
Small Paper Pumpkins
C11345View 200554 time
Vos créations inspirées par ce tuto
Avis client
5.0/5
1 avis publié
5
100%
4
0%
3
0%
2
0%
1
0%
réalisé le 31.12.21 avec ma Nana qui avait 4 ans et demie