Your cart is empty.
Vampire with a Light-Up Nose


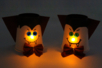
Vampire with a Light-Up Nose
In this new kids craft for Halloween, you will discover how to make these scary light-up nose vampires!
An easy and fun activity for children aged 5 and up!
How to complete this tutorial step by step?
Materials:
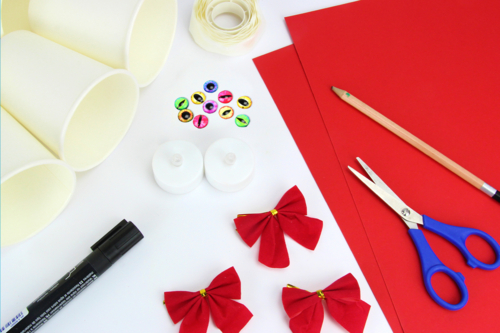
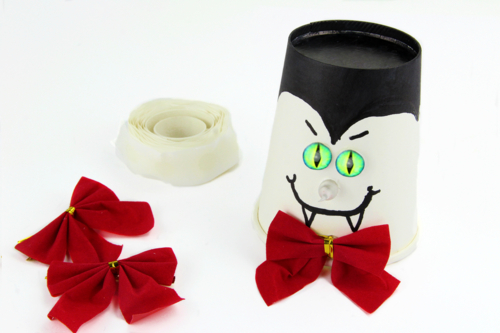
To make a vampire, you will need:
- A white cardboard cup
- An electric candle
- Two colored glass eyes
- A red fabric bow tie
- A sheet of red paper
- A black marker
- A pair of scissors
- Adhesive glue dots
- A wooden pencil
Step 1:
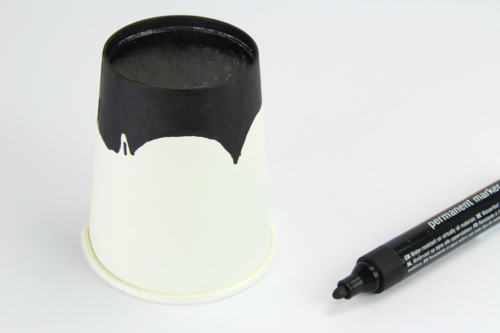
Turn the cup upside down and then draw the vampire's hair with a black marker.
Step 2:

Glue two colored glass eyes Ø 1.2 cm with adhesive gel dots.
Step 3:

Make a hole in the cup below the eyes using the tip of a wooden pencil.
Then insert the "flame" of the electric candle through the inside of the cup.
Step 4:
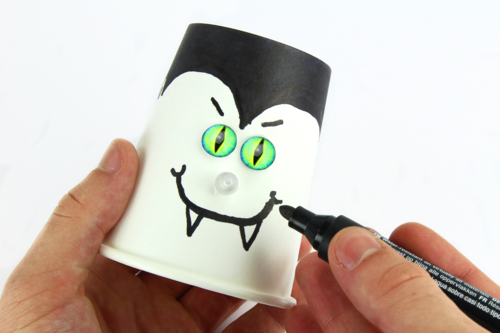
Draw the vampire's eyebrows, mouth, and teeth.
Step 5:
Glue a red fabric butterfly bow with an adhesive dot.
Step 6:
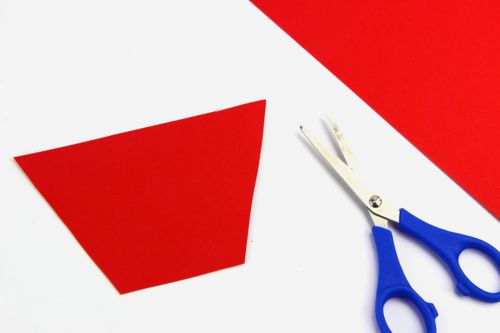
Cut out a trapezium of about 12.5 x 8 cm from a red sheet of paper.
Step 7:
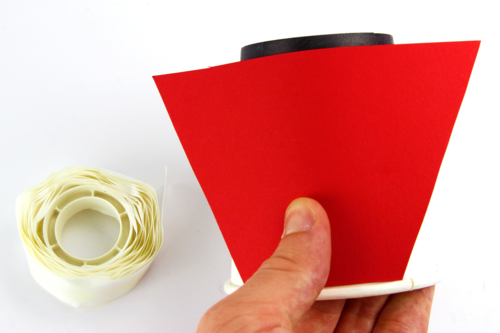
Glue the paper shape to the back of the cup to create the vampire's cape.
Step 8:

Light the candles and turn off the lights to create beautiful Halloween decorations!
The products used:
The products used:
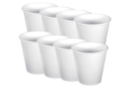
White cardboard cups - 1 set (8 cups)
Réf. 28186 - See the full range
1,49€
Available from 26/06/2026

LED Electric Candles - 6 Pieces
Réf. 07125 - See the full range
5,34€ (either 0,89 € / pc)
Available


3,49€
Available

3,59€ (either 0,36 € / pc)
Available


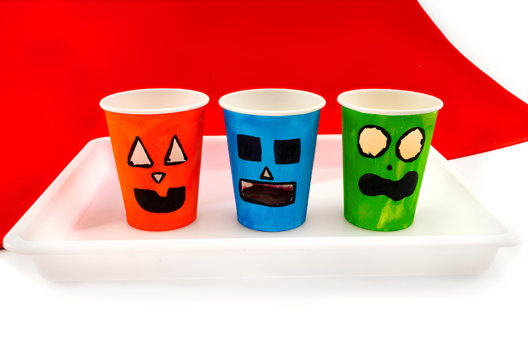
Other tutorials on the theme "Halloween Tutorials"
-
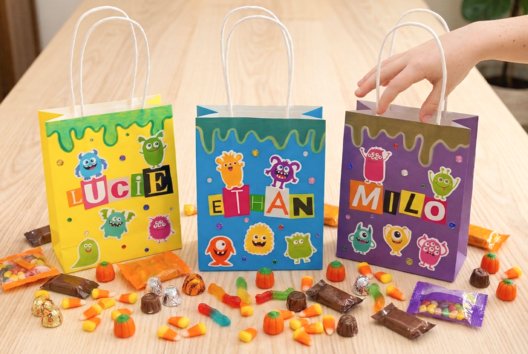

The monstrous candy bags
C17716View 394 time


-
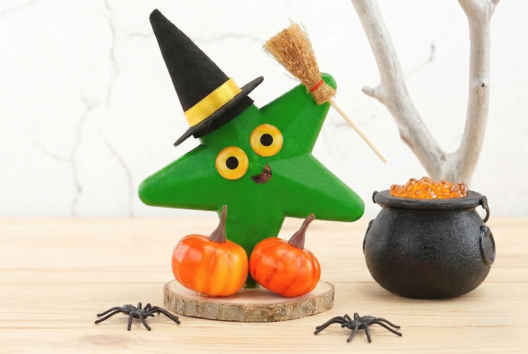
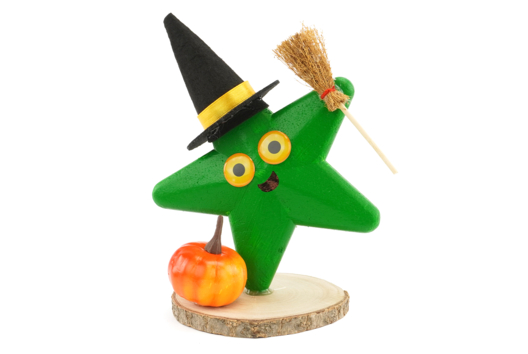
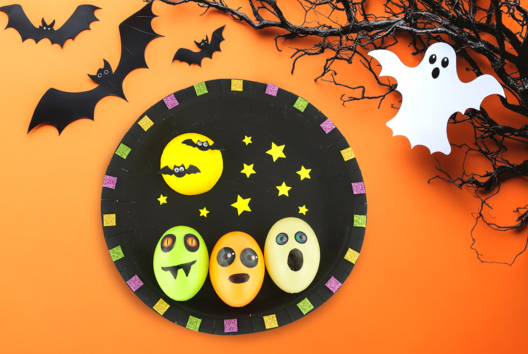
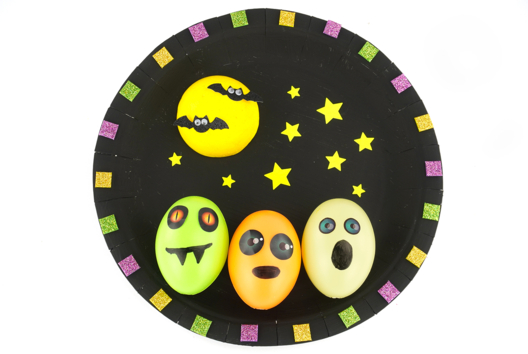
The Starry Witch
C17714View 382 time

-
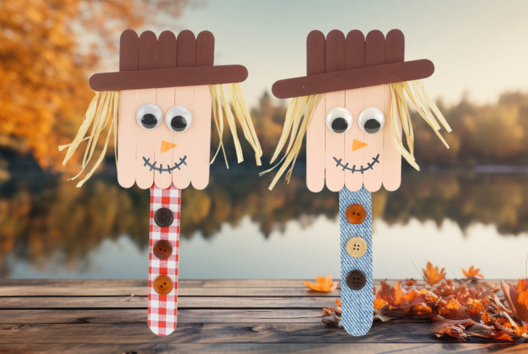
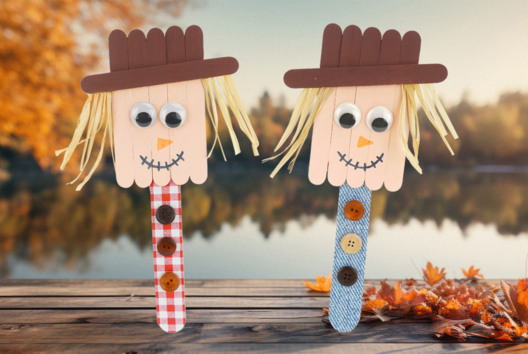
Scarecrow with Wooden Sticks
C8329View 19650 time

-
Halloween Monster Board
C8346View 14950 time
-
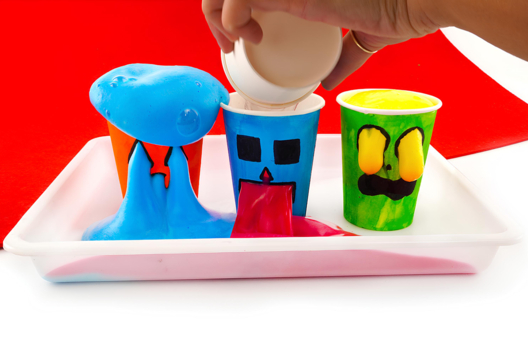
Dripping Monsters
C8368View 11561 time
-
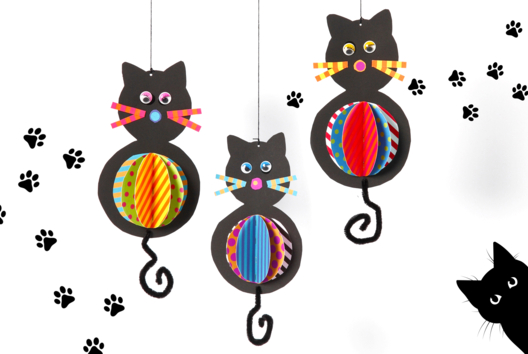
Hanging Cats
C14103View 53321 time
-
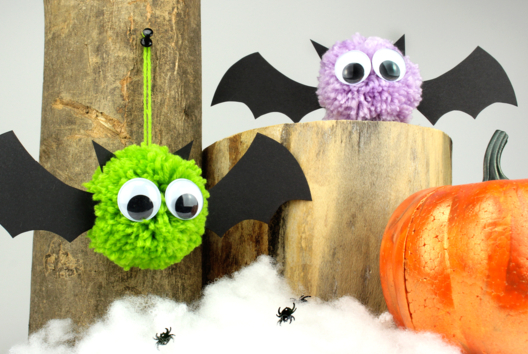
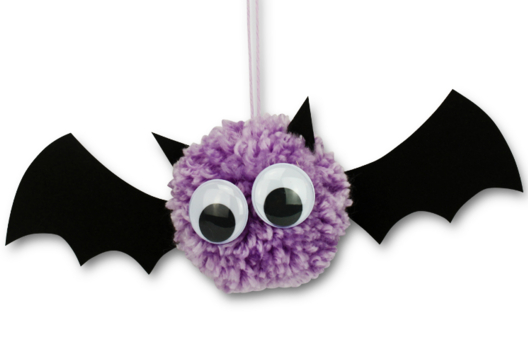
Pom Pom Bats
C13073View 123975 time -
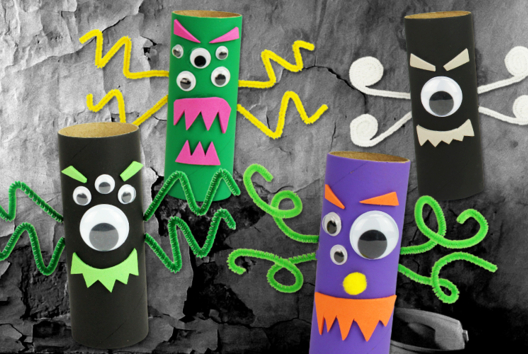
Cardboard Roll Monsters
C13047View 46032 time -
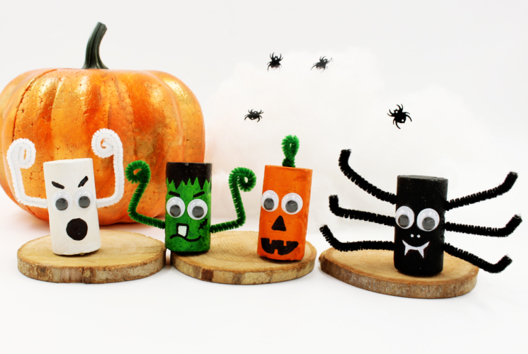
Halloween Monsters Made from Corks
C13046View 34789 time -
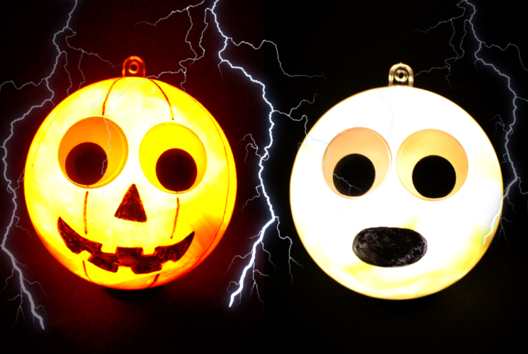
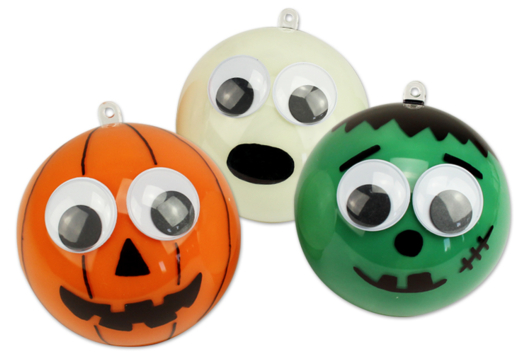
Halloween Light Balls
C13045View 27834 time