Your cart is empty.
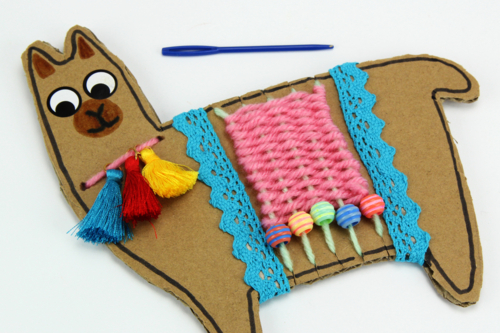
Weaving Llama
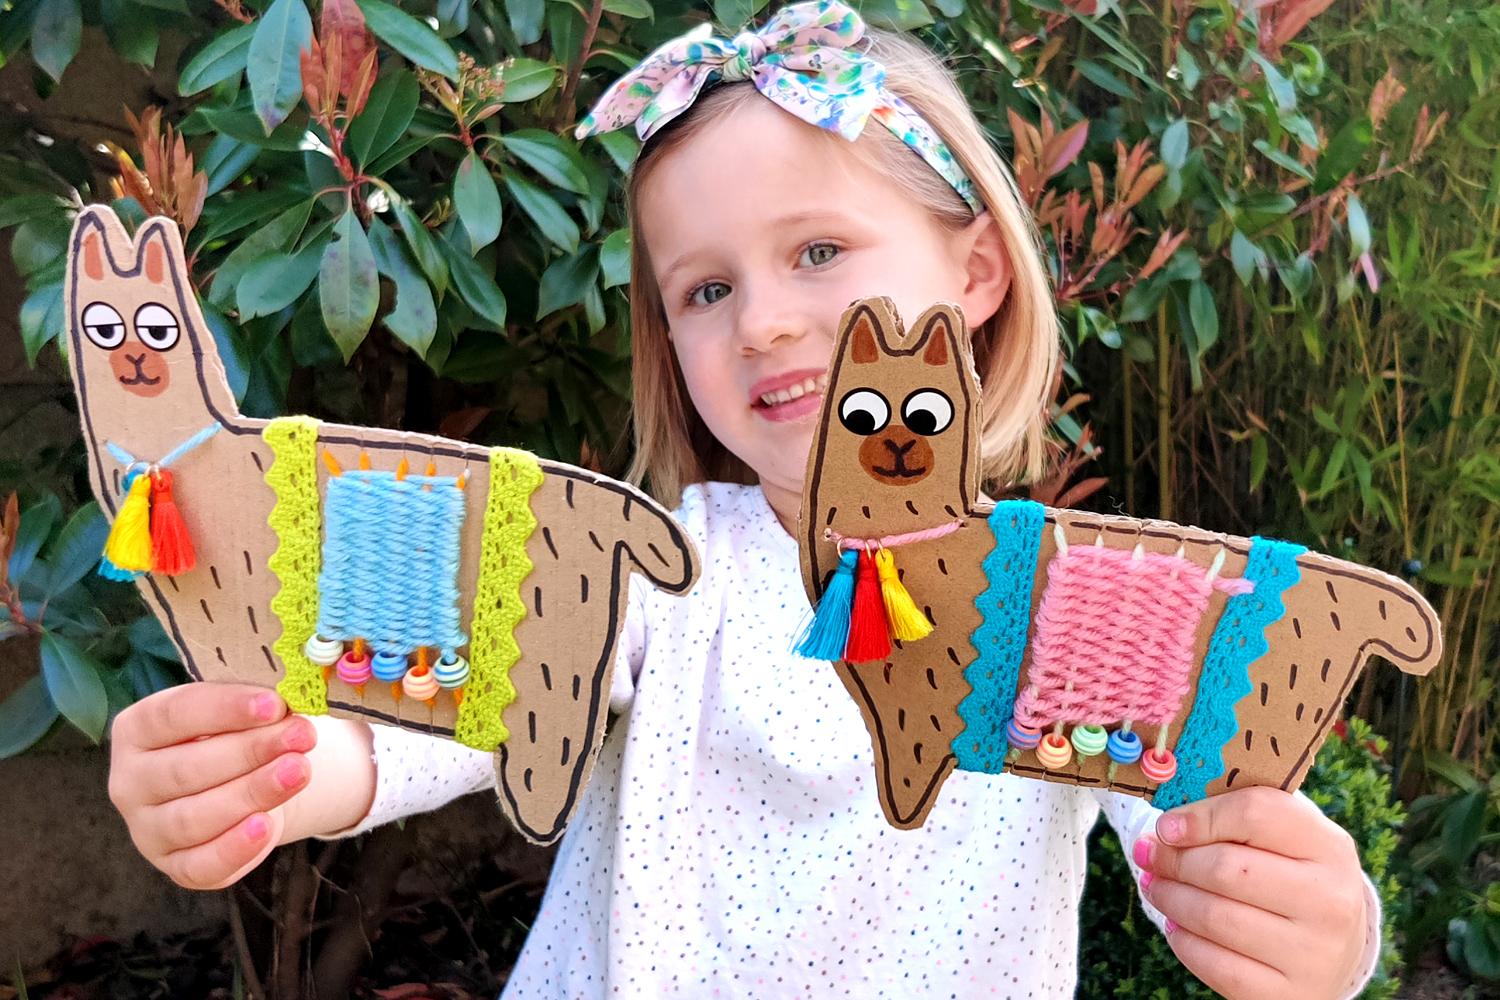


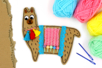

Weaving Llama


Thanks to this activity, we will give a second life to our cardboard packaging!
With a piece of cardboard, some yarn, a few beads, pom poms, and markers, children can have fun creating beautiful colorful llamas.
This original craft will help them discover weaving and will be very effective in developing the fine motor skills of your little artists.
To PRINT the template, click here or on "Printable Template" in the second photo.
How to complete this tutorial step by step?
Materials
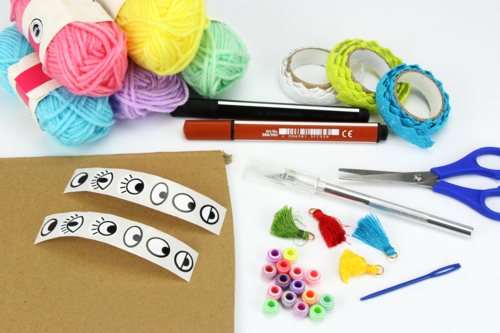
For this activity, you will need:
- a printable llama template
- a piece of cardboard
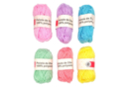
- wool
- a plastic needle
- a cutter and a pair of scissors
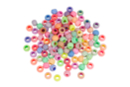
- large hole beads
- ring pom-poms
- adhesive lace
- self-adhesive eyes
- markers
Step 1
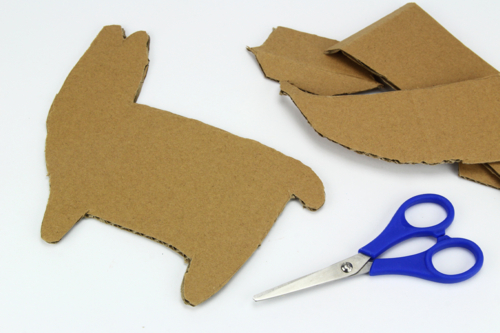
Trace the outline of the llama on a piece of cardboard, then cut along the outline.
To download and print our template, click here.
Step 2
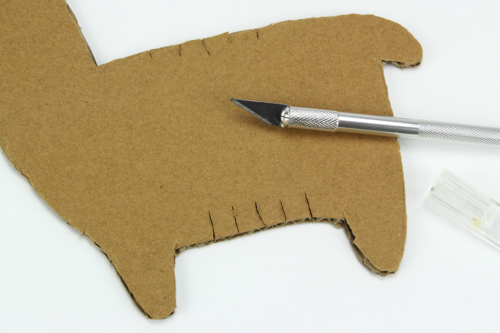
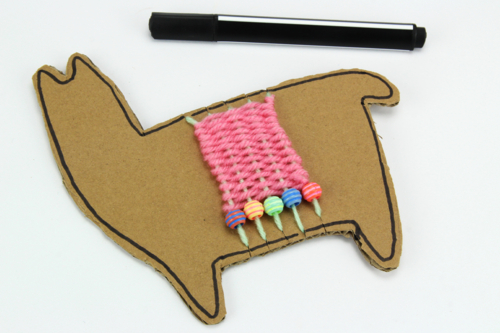
Step reserved for adults: make 10 small cuts spaced about 1 cm apart: 5 at the belly and 5 at the back of the llama.
Step 3
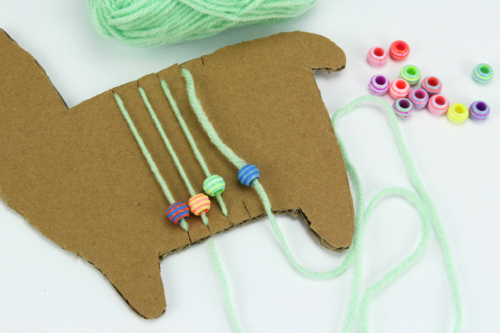
Cut a piece of wool about one meter long and then wedge the end into the first notch at the top.
Thread a bead and then wedge the piece of wool into the first notch at the bottom.
Repeat the process on all the notches to create the weaving base.
Step 4
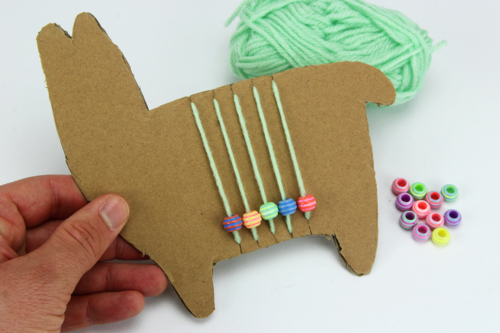
This is an overview of the weaving base at this step.
Step 5

Cut a piece of colored wool about 1.5 meters long and then attach one end to a plastic needle.
Step 6
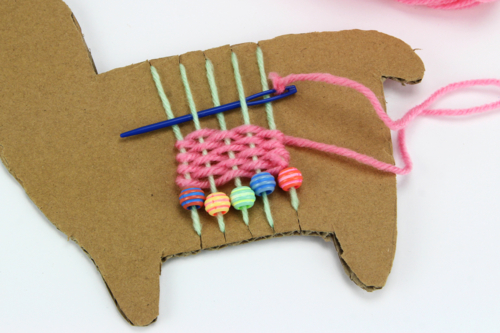
Weave using the plastic needle by passing it once over and once under the central threads.
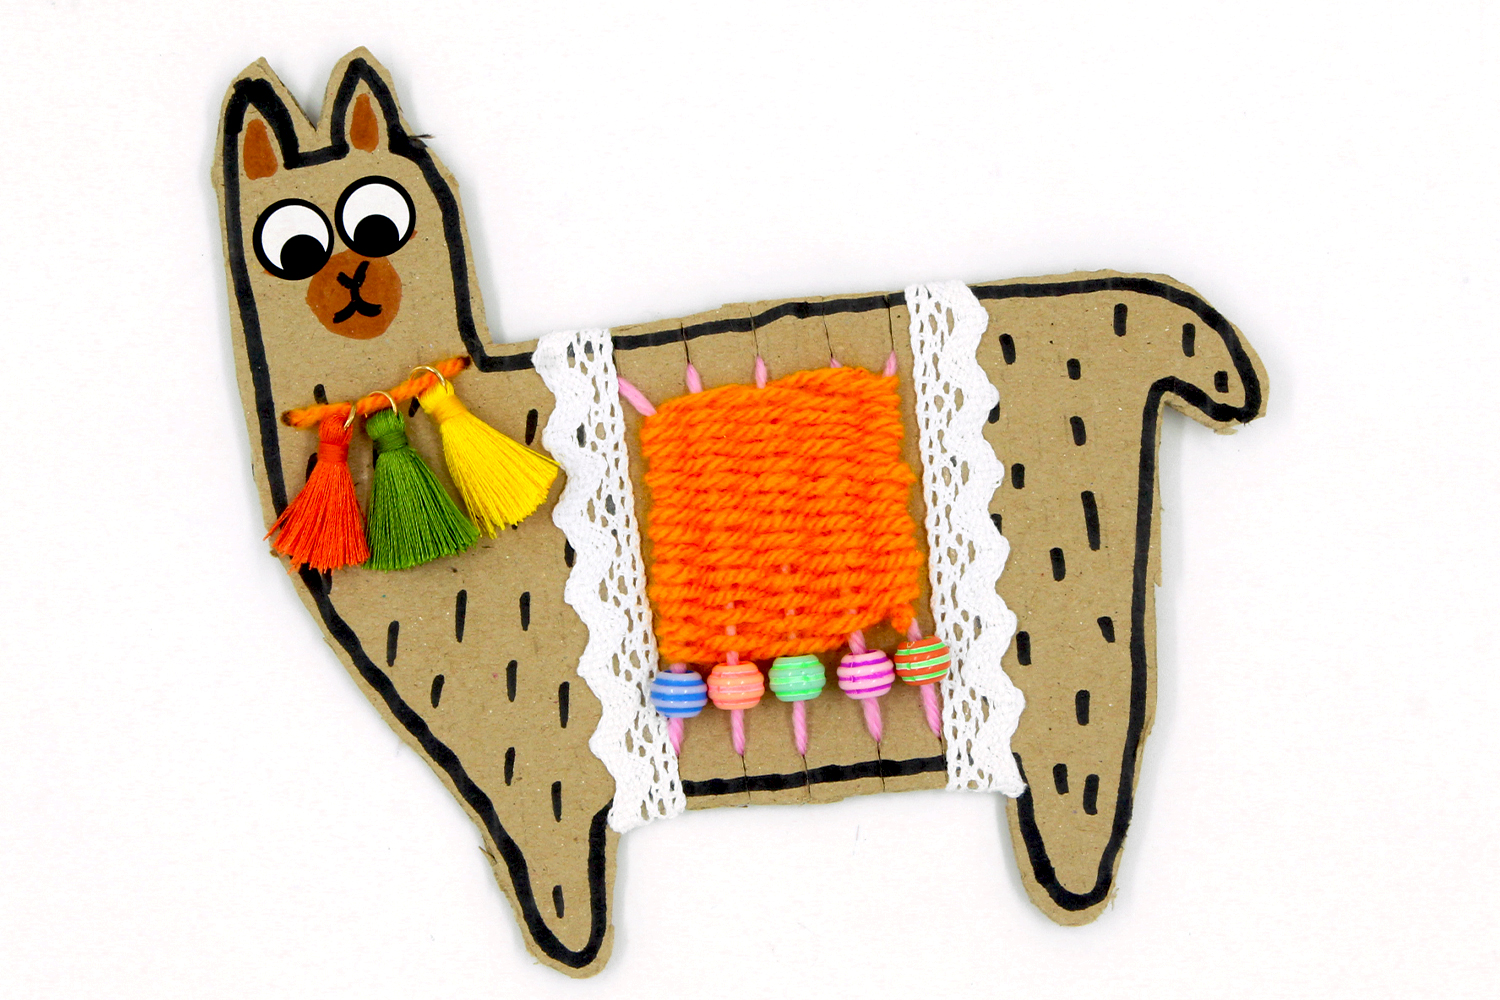
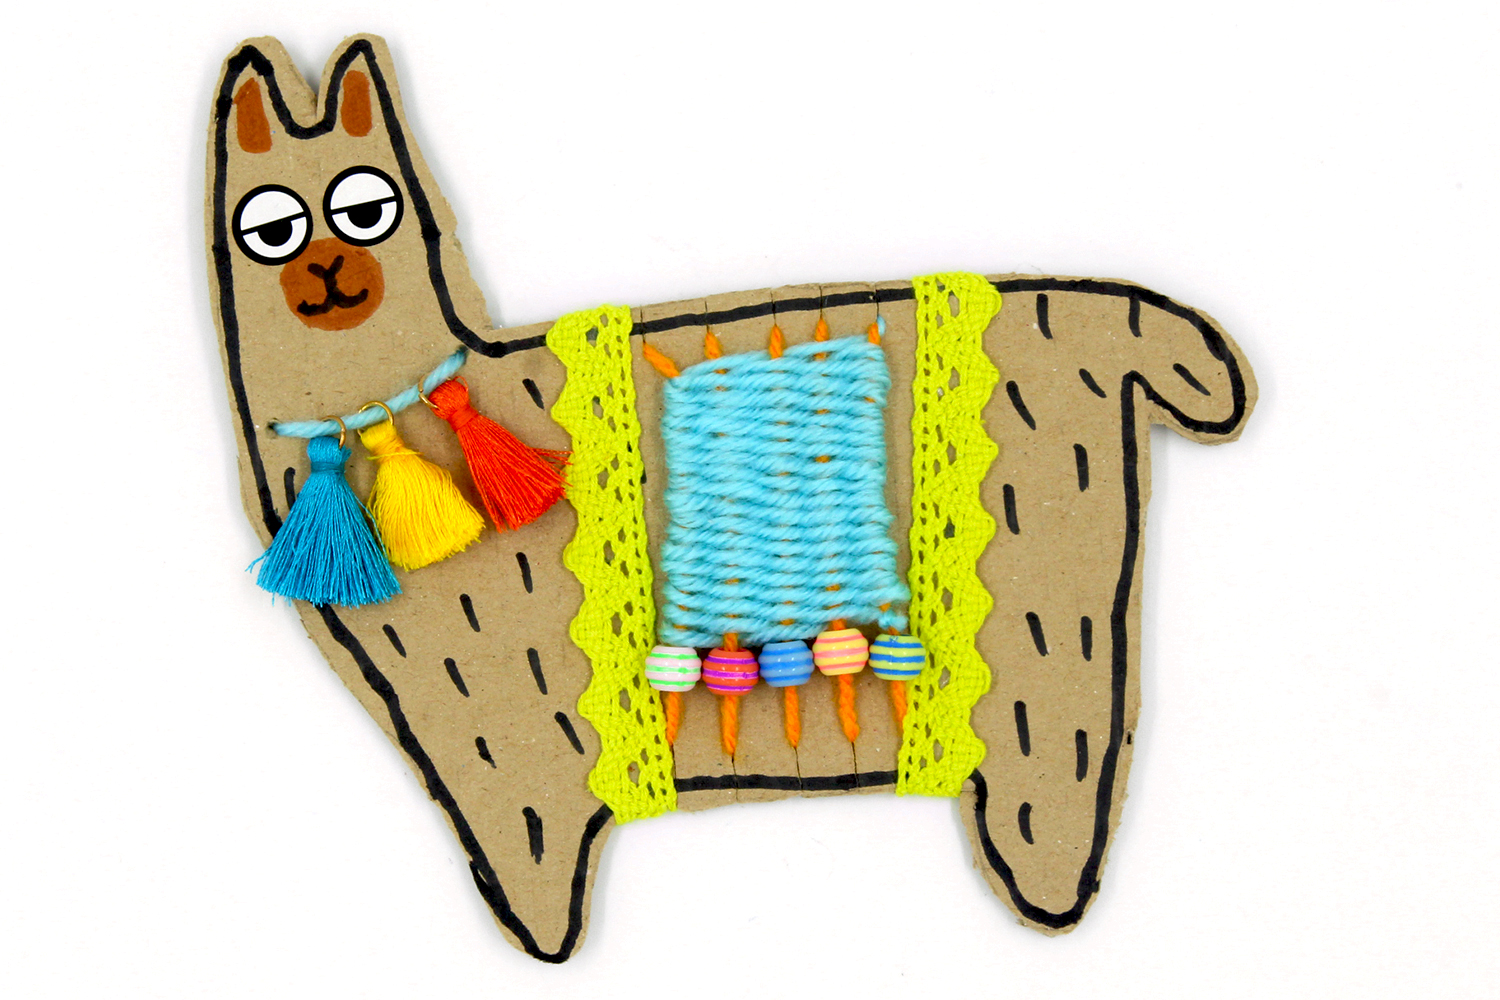
This will recreate the colored blanket that is placed on the backs of the llamas.
Step 7
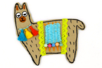
Once the weaving is finished, trace the contours of the llama with a black marker.
Step 8
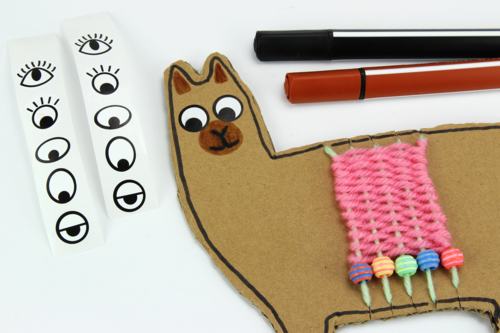
Draw the ears and mouth of the llama and then stick on 2 adhesive eyes.
Step 9
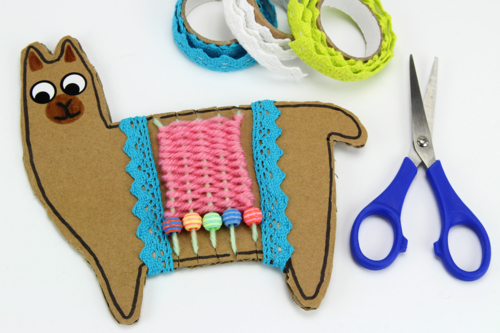
Glue colored adhesive lace on each side of the weaving.
Step 10
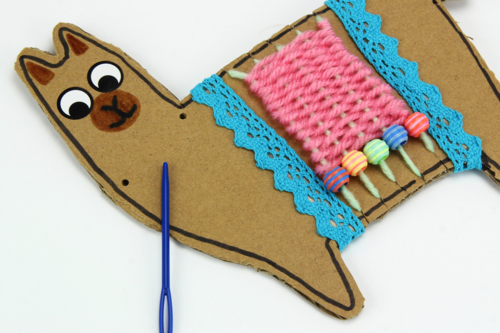
Drill 2 holes in the cardboard at the level of the llama's neck.
Step 11
Thread 2 or 3 colored pom-poms onto a piece of wool yarn, then pass the 2 ends of the yarn through the holes using the plastic needle.
Tie a double knot to secure everything.
Step 12
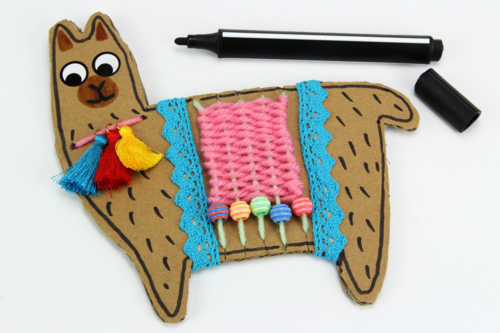
Draw the lama's fur with a black marker.
The products used:
The products used:


7,90€ (either 1,32 € / pc)
Available from 14/08/2026


Other tutorials on the theme "Animal Tutorials"
-
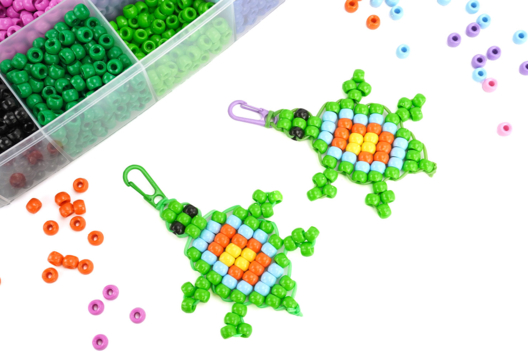
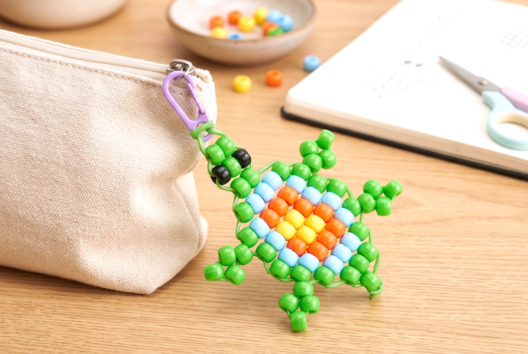
Turtle made of pony beads
C17833View 2991 time


-
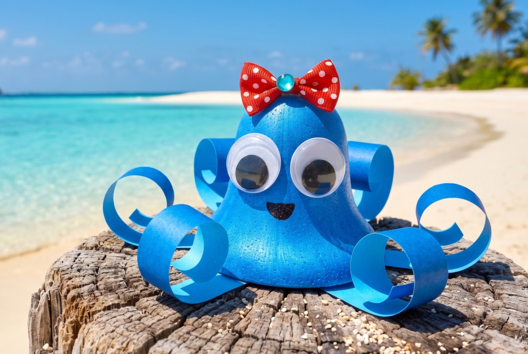
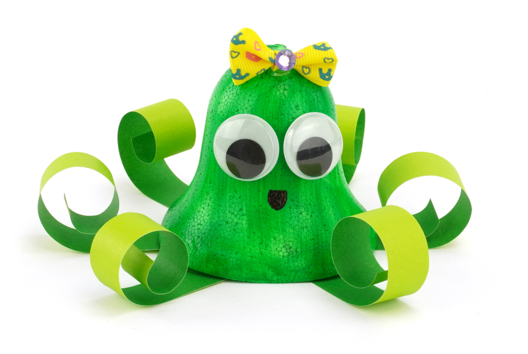
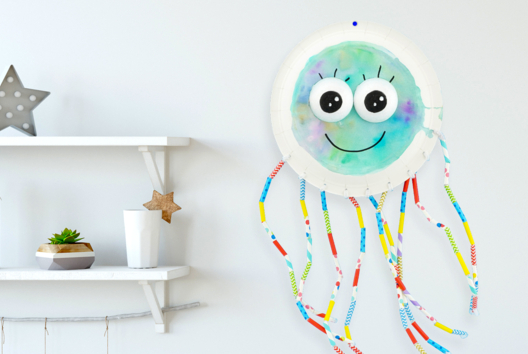
Cute Octopus
C17809View 6169 time

-
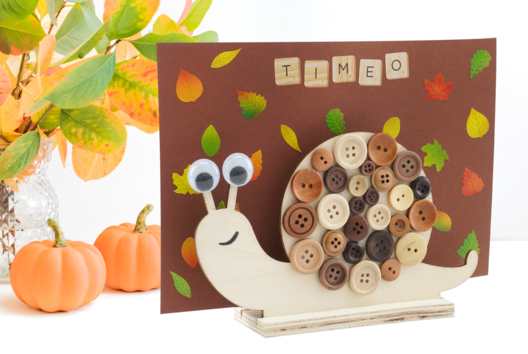
Snail Under a Rain of Leaves
C15736View 37043 time

-
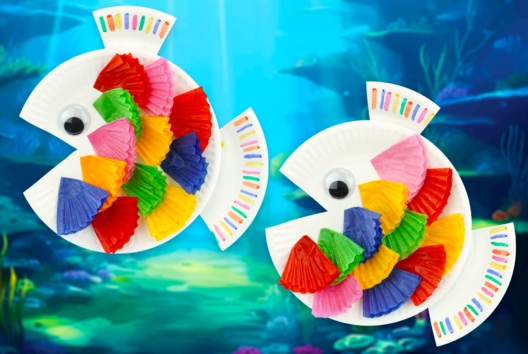

Fish with Paper Muffin Cups
C11096View 18471 time
-
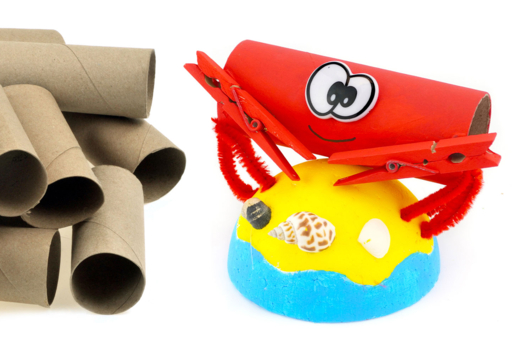
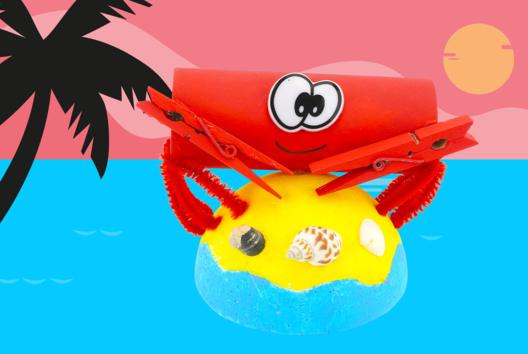
Basil the Crab on His Island
C11101View 18094 time
-
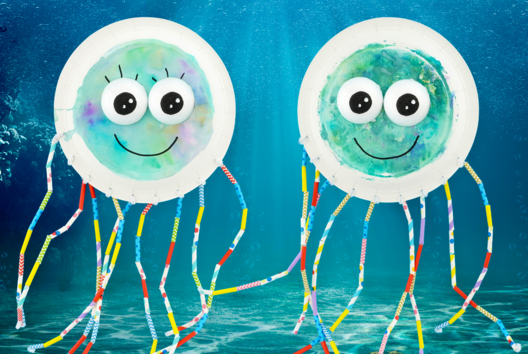
Pretty Watercolor Octopuses
C11105View 22005 time
-
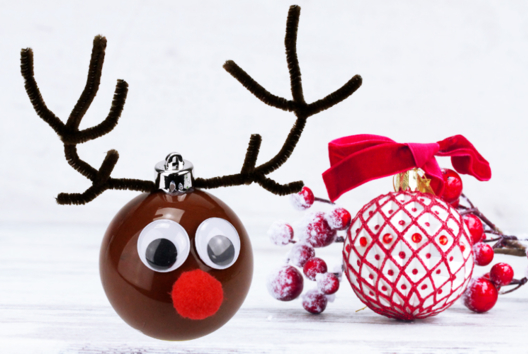
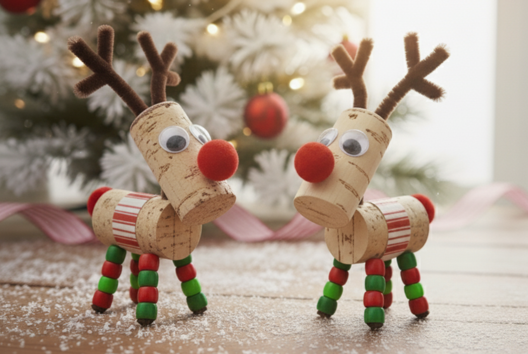
Christmas Ornament Reindeer
C12434View 45863 time -
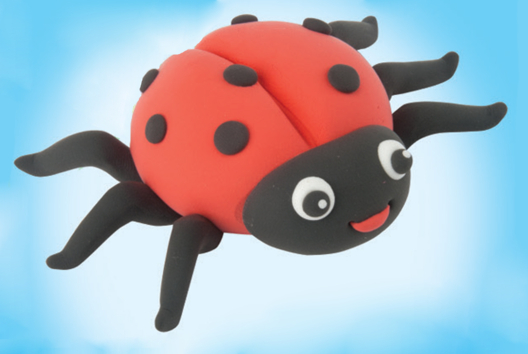
Ladybug in Modeling Clay
C14301View 11026 time -
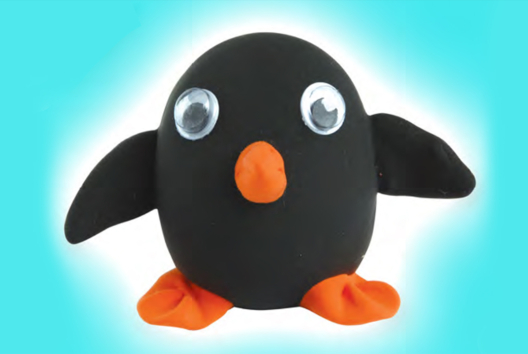
Modeling Clay Penguin
C14293View 10962 time -
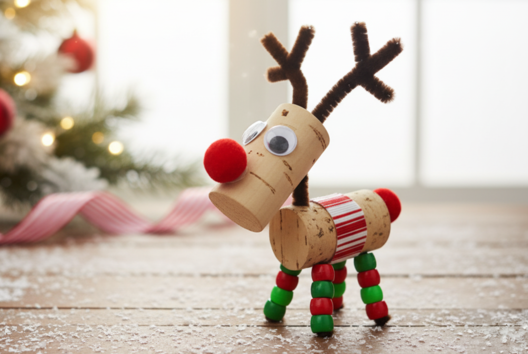
Rudolphs made from corks
C12433View 96652 time
Vos créations inspirées par ce tuto
Avis client
5.0/5
4 avis publiés
5
100%
4
0%
3
0%
2
0%
1
0%
Customer review
Très joli !
Ma fille de 5 ans a adoré, il a fallu l'aider un peu, selon les étapes, mais elle a pris beaucoup de plaisir à décorer son lama, choisir les matières, les couleurs... du pur bonheur ! Et quel résultat ! Formidable !
Très amusant
Ma petite-fille de 7 ans et moi avons passé un bon moment à fabriquer ce charmant lama. Merci pour cette bonne idée.
Super
Activité faite avec ma fille.de.6 ans : elle a adoré !
J'ai adoré faire cette création dans un centre aéré. Les enfants ont adoré, par contre trop difficile le tissage en laine pour les jeunes enfants. Vraiment j'ai adoré et le rendu est sublime. J'ai posté une image de ma création pour vous donner un aperçu de ce que j'ai proposé ??