Your cart is empty.
Witch Hat
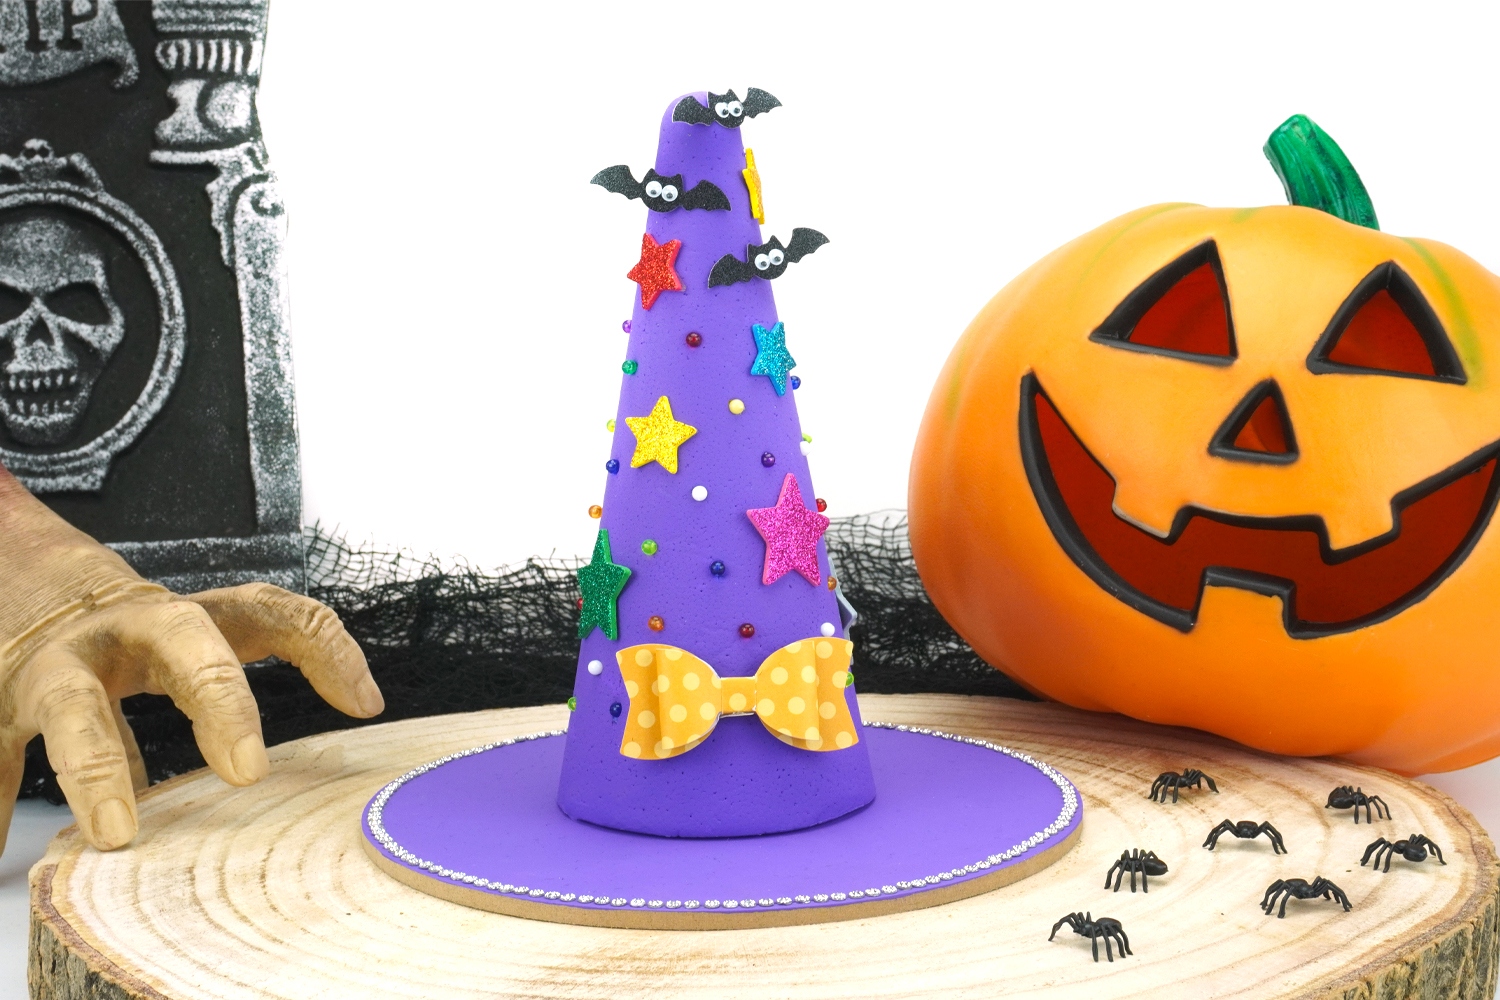
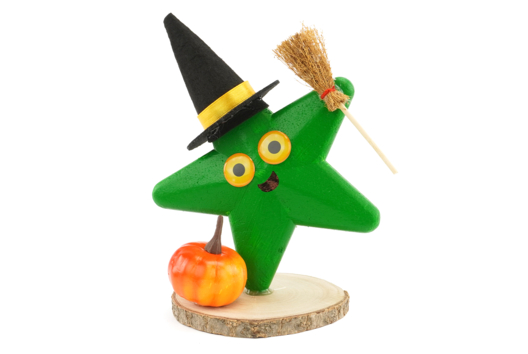
Witch Hat


Discover an original Halloween craft to make a lovely decorative witch hat.
This activity includes: painting, sticker collage, and pin pricking (using plastic pins). A simple and fun craft that children can do from a very young age.
Thèmes de l'idéa créa :
#Halloween Tutorials
How to complete this tutorial step by step?
Materials
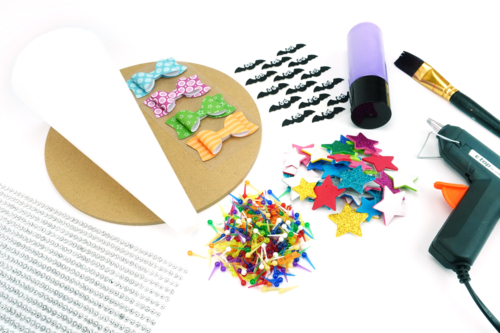
To make a witch's hat you will need:
- a round wooden base (Ø 20 cm)
- a polystyrene cone (20 cm)
- acrylic paint and a brush
- a bow tie sticker
- star stickers
- plastic pins
- bat stickers
- adhesive rhinestone strips
- a glue gun
Step 1
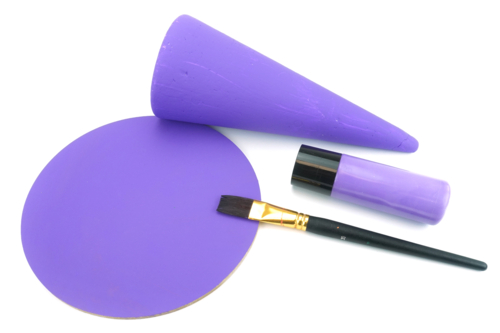
Paint the wooden support and the polystyrene cone with acrylic paint and then let dry for about an hour.
Step 2

Stick a bow tie sticker at the base of the cone.
Step 3
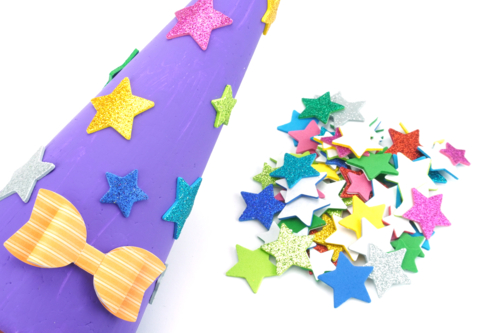
Decorate the cone with star stickers.
Step 4
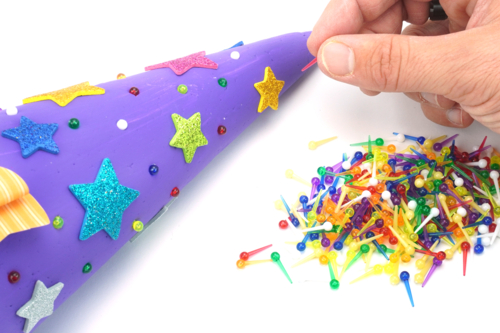
Insert colorful plastic pins into the polystyrene to add an extra touch of color.
Step 5
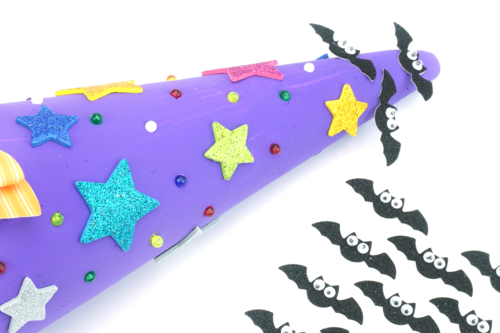
Glue a few small bats to the top of the hat.
Step 6
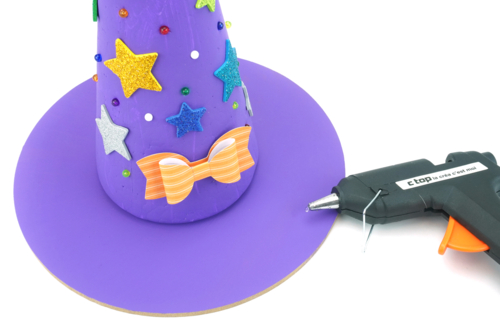
Glue the polystyrene cone in the center of the wooden support using a glue gun.
Step 7
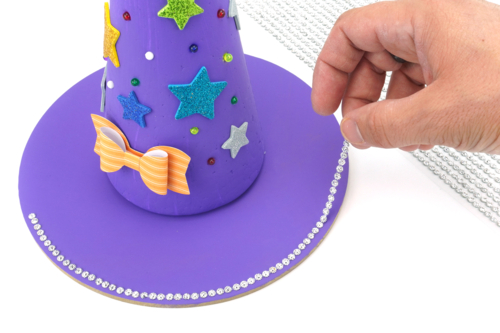
Decorate the edge of the hat with adhesive rhinestone strips.
The products used:
The products used:

5,94€ (either 0,99 € / pc)
Available


2,99€ (either 1,00 € / pc)
Available


3,99€
Available

Other tutorials on the theme "Halloween Tutorials"
-
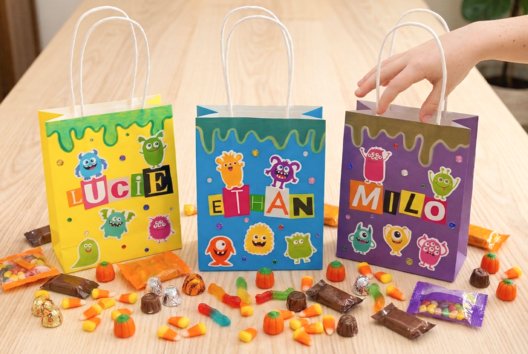

The monstrous candy bags
C17716View 623 time


-
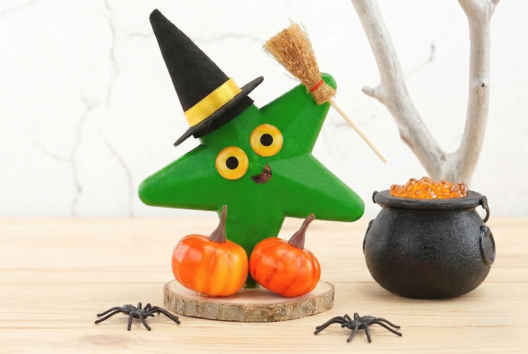
The Starry Witch
C17714View 620 time

-
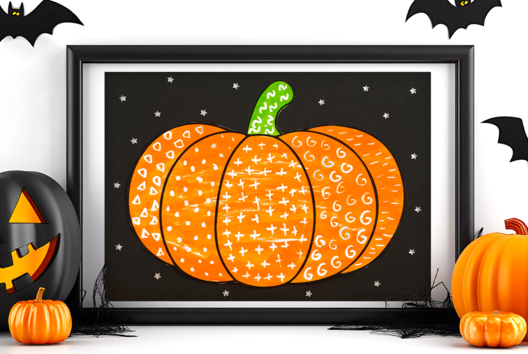
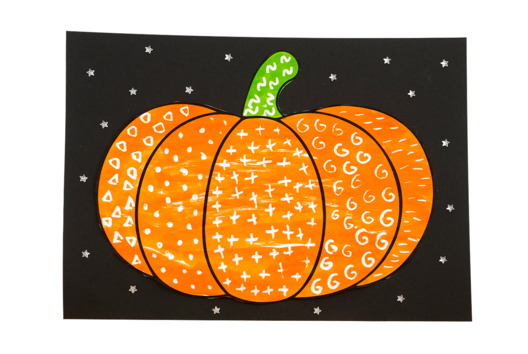
Pumpkin Drawing Gum
C8371View 28366 time
-
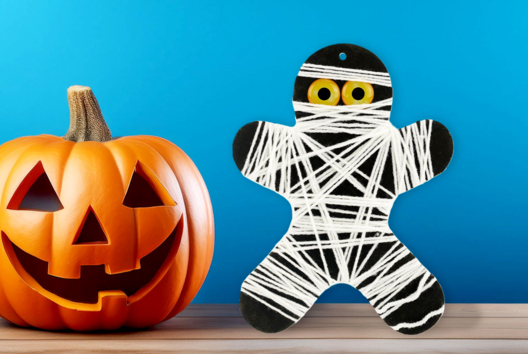
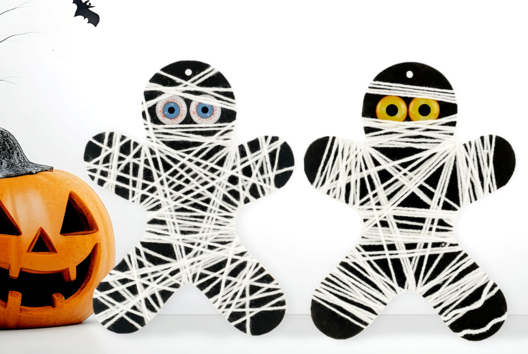
Wool Mummy
C8365View 20198 time
-
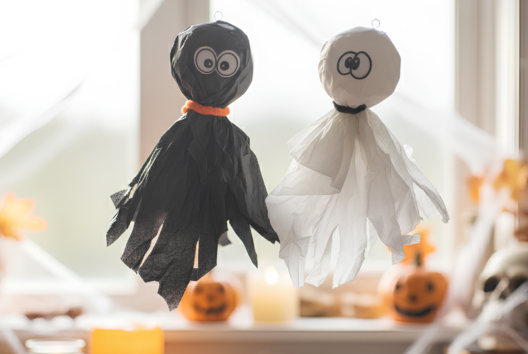
Hanging Ghosts
C11348View 63106 time
-
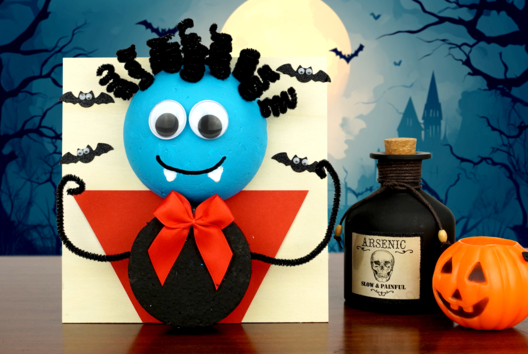
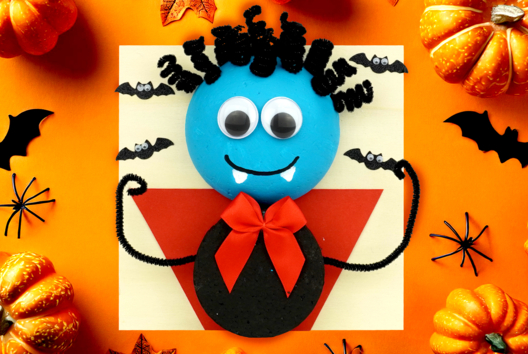
3D Vampire Board
C10991View 10389 time
-
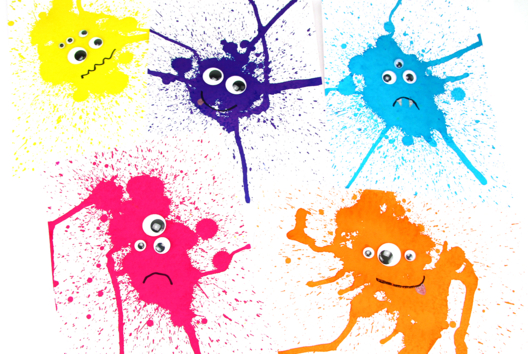
Monsters with Ink
C14749View 19691 time
-
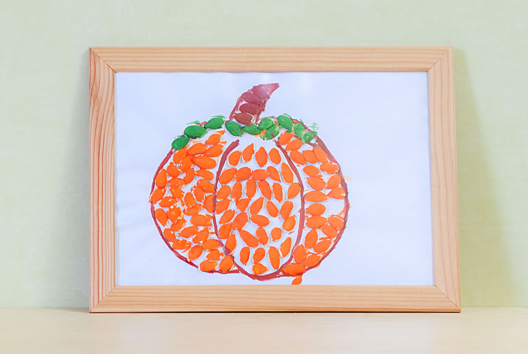
Pumpkin Seed Artwork
C11347View 29535 time -
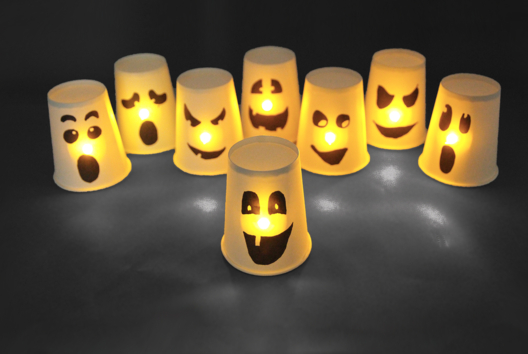
Glowing Ghosts with Cups
C13711View 35188 time -
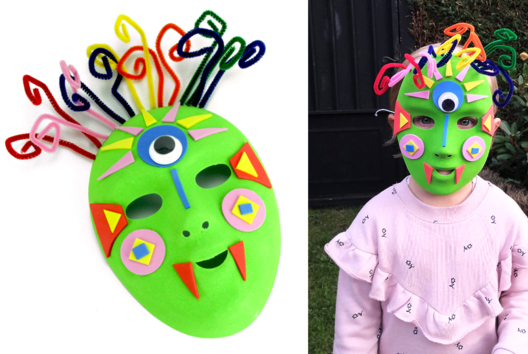

Make a Halloween Mask
C13700View 21779 time
Vos créations inspirées par ce tuto
Customer review
Give your feedback
Witch Hat
Be the first to share your review of this product.
Post a review