Your cart is empty.
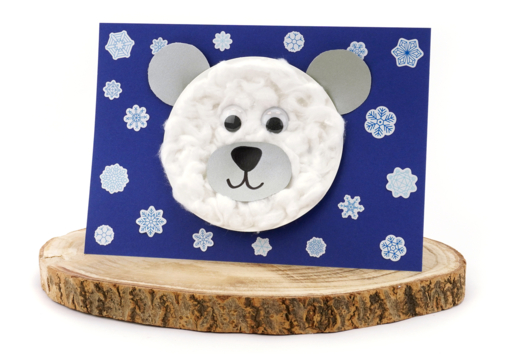
Bubble Wrap Painting: White Bear
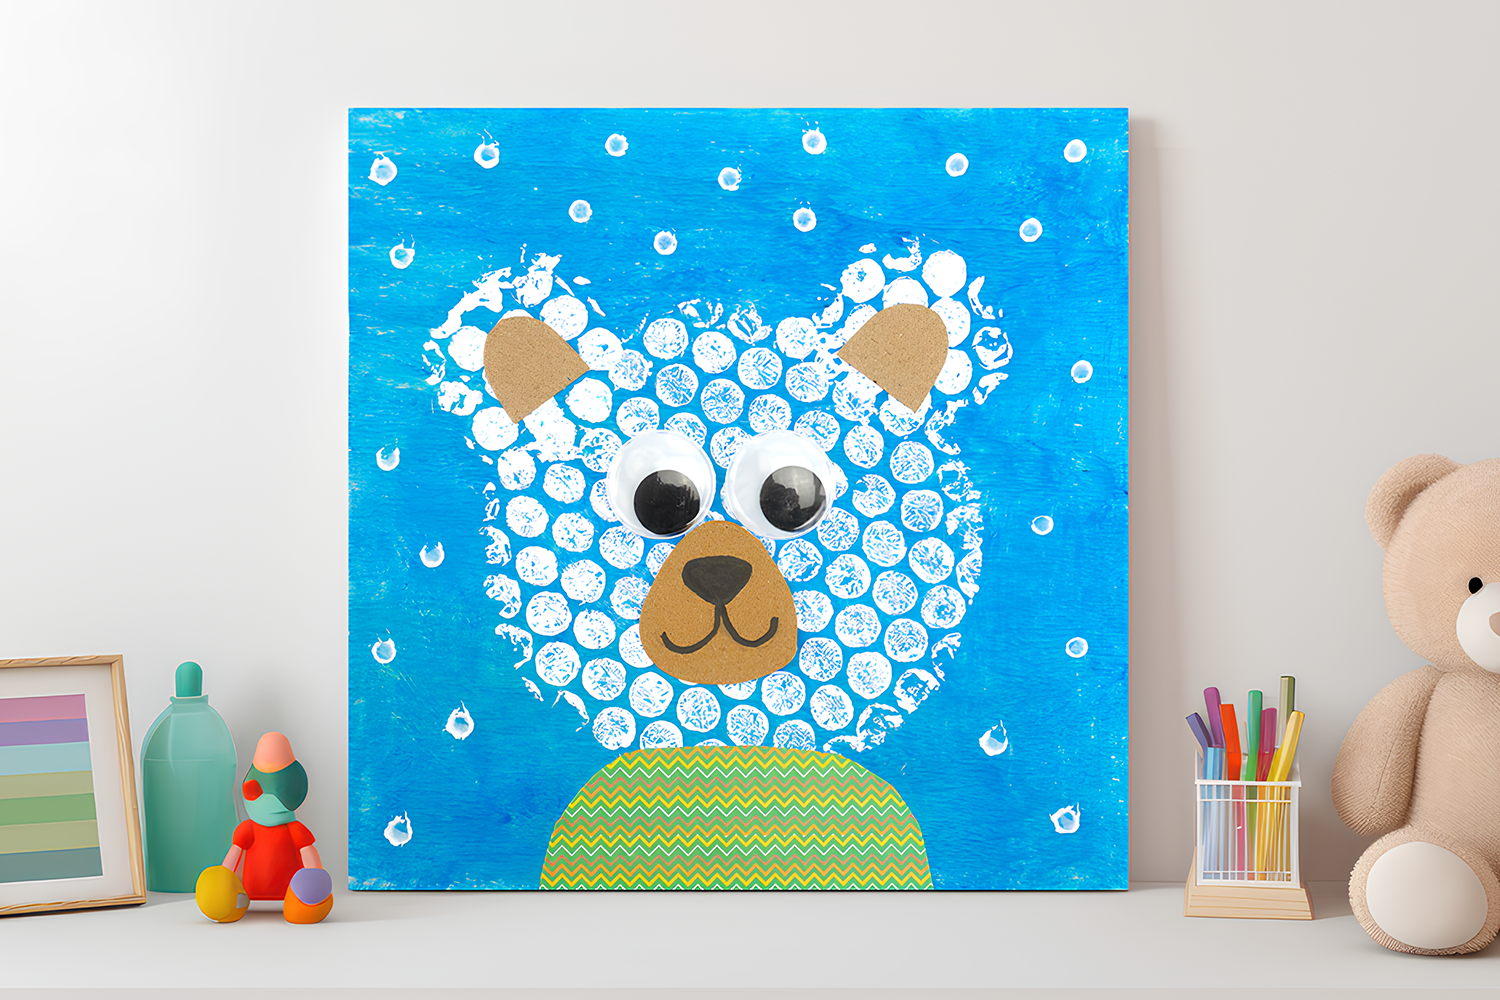

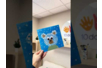

Bubble Wrap Painting: White Bear


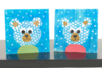
Explore two fun and creative techniques with this winter craft: bubble wrap painting and q-tip painting! Children from 3 years old will love discovering the magic of bubble wrap to create an original texture that brings an adorable white bear to life. Then, they can perfect their creation by adding snowflakes precisely with a q-tip!
This winter-themed activity for kids is perfect for developing their creativity and fine motor skills while having fun during the cold season!
To PRINT the template click here or on the "Printable Template" in the second photo.
Thèmes de l'idéa créa :
#Animal Tutorials
#Painting Tutorials
#Funny Characters Tutorials
#Winter Tutorials
How to complete this tutorial step by step?
Materials:
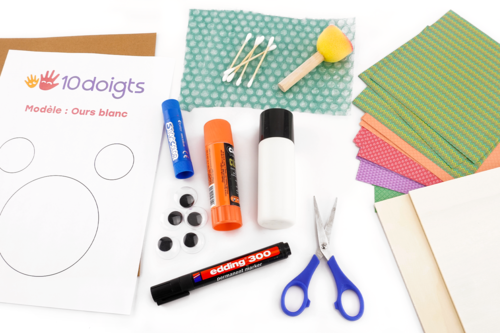
To create a lovely bear canvas, you will need:
- bubble wrap
- a printable white bear template
- a square wooden board (18 x 18 cm)
- a sheet of patterned paper
- a sheet of kraft paper
- 2 google eyes (Ø 2.5 cm)
- white acrylic paint
- a blue gouache stick
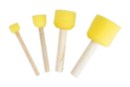
- a foam stamp
- a cotton swab
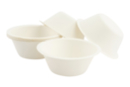
- a cardboard bowl
- a glue stick
- a pair of scissors
- a black marker
Step 1:
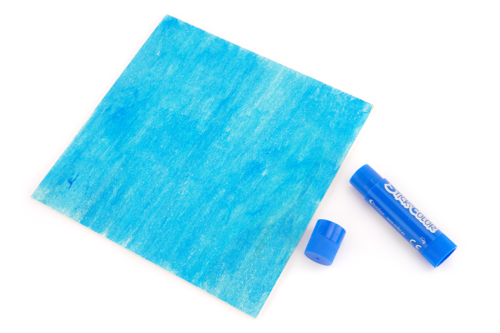
Paint the square wooden surface using a solid poster paint stick.
Note: solid poster paint provides excellent coverage and dries almost instantly!
Step 2:
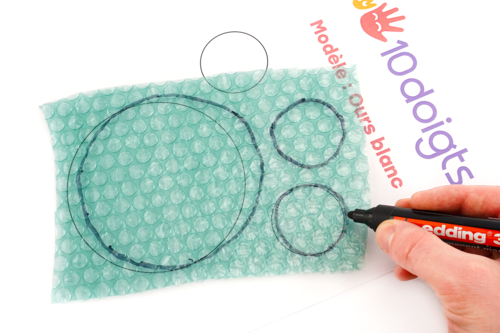
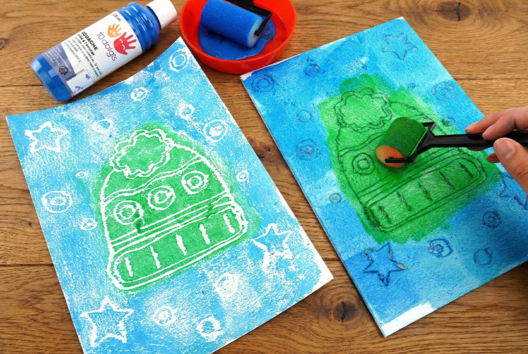
After printing our bear template here, lay bubble wrap over it and trace the outlines of the circles with a black permanent marker.
Step 3:
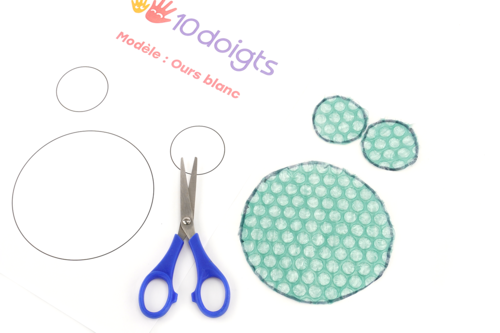
Cut the bubble wrap along your traced line.
Step 4:
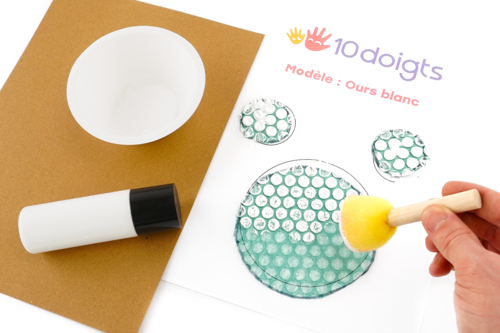
In a cardboard bowl, prepare some white acrylic paint. Then, stamp the bubble wrap circles with white paint using a stamp.
Tip: don’t hesitate to put plenty of paint on the bubbles.
Step 5:
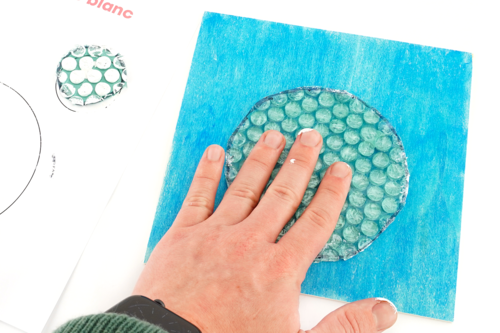
Without waiting for the paint to dry, flip the large bubble wrap circle and apply it to the blue-painted wooden surface.
Then gently tap on the entire surface of the bubble wrap to ensure the paint is well transferred.
Step 6:
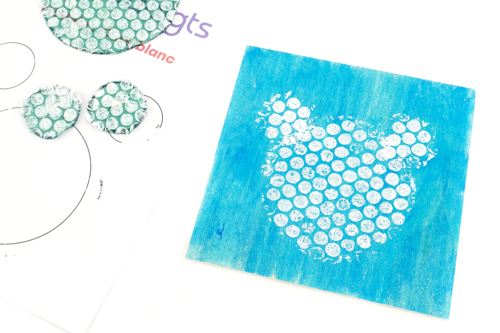
Do the same thing with the two small circles to draw the ears of the polar bear.
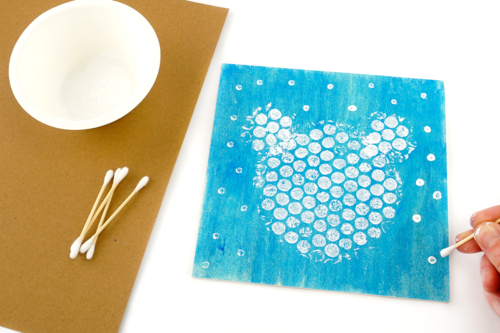
Step 7:
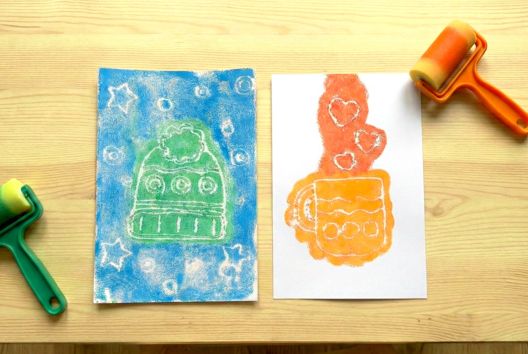
Using a cotton swab, make small dots around the bear's head to create little snowflakes.
Step 8:
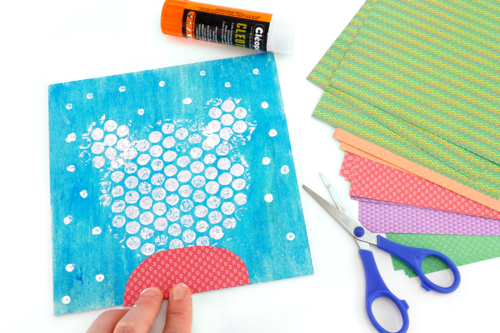
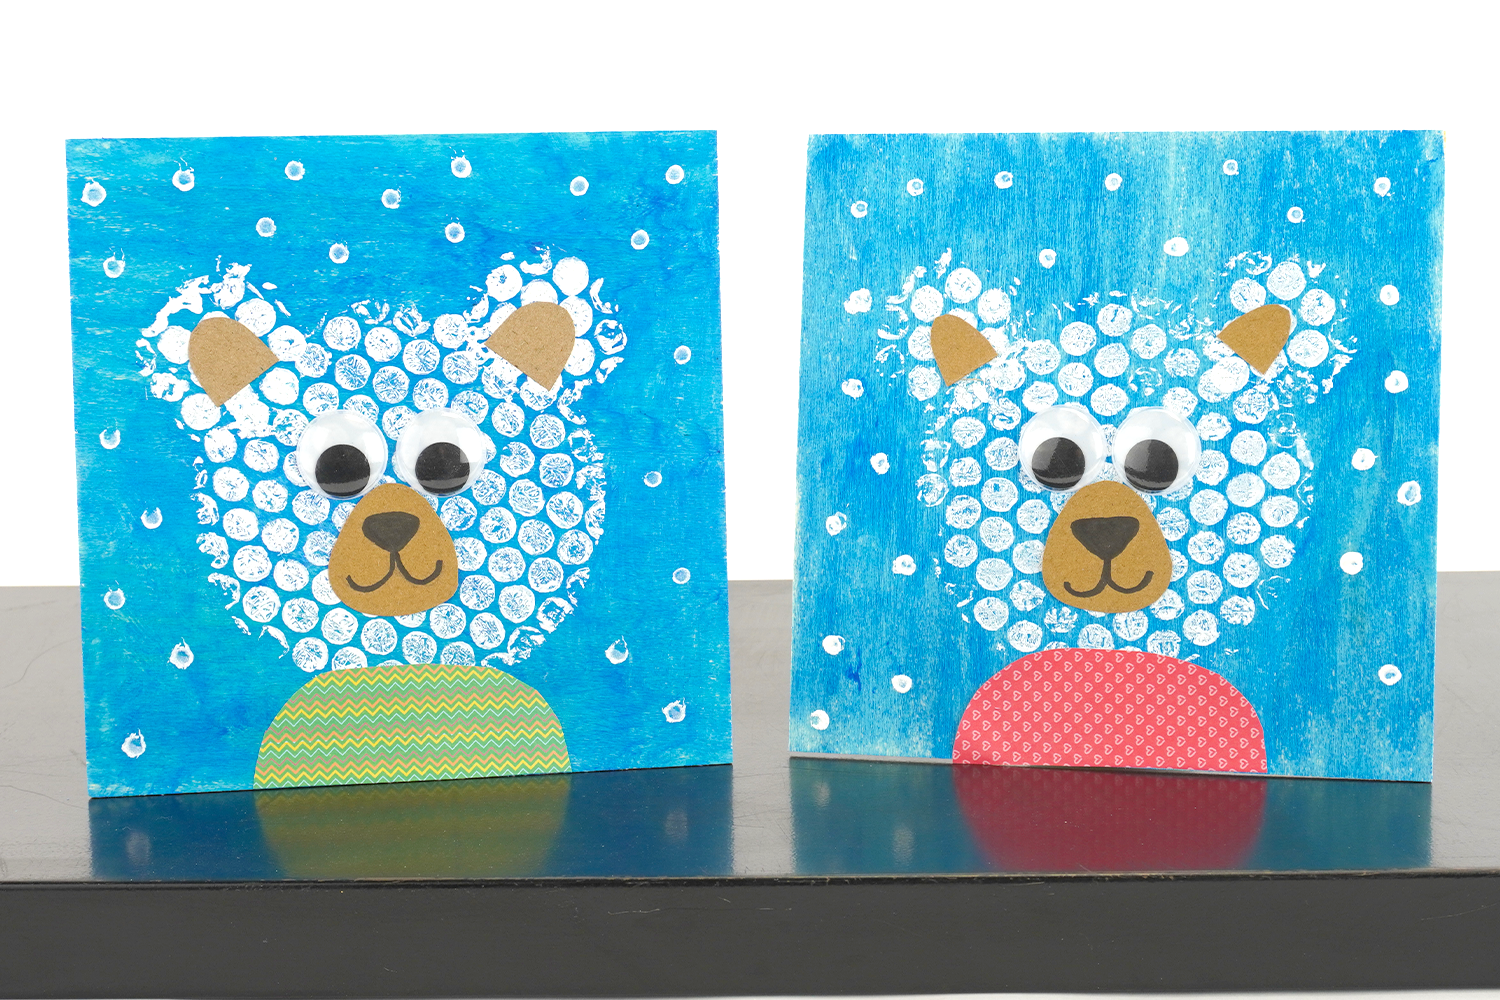
From patterned paper, cut out a small rounded shape, then glue it under the bear's head to make a little wool sweater.
Step 9:
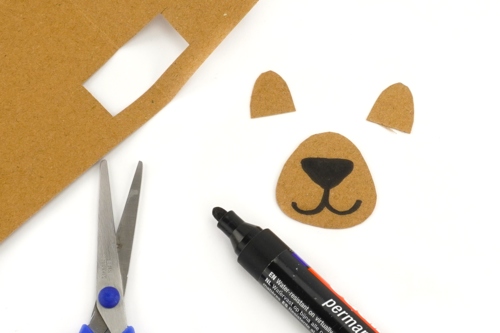
Cut out a triangular shape (approximately 4 x 3.5 cm) and 2 small ears from a sheet of kraft paper.
Draw the bear's snout and mouth on the oval shape using a black marker.
Step 10:
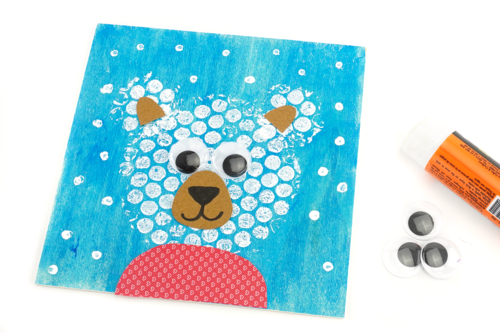
Glue the paper shapes and 2 googly eyes onto the bear's head to bring a cute little bear to life.
The products used:
The products used:


1,79€ (either 0,18 € / pc)
Available


9,99€ (either 0,83 € / pc)
Available


Other tutorials on the theme "Winter Tutorials"
-
Winter Styrography
C17653View 3609 time


-
Balloon Painting and Stickers: The Ice Floe
C11194View 12928 time


-
Polar Bear with Cotton Balls
C10933View 18945 time
-
Styrofoam Snowman
C11587View 38139 time
-
Snowman with Puffy Paint
C11162View 32243 time
-
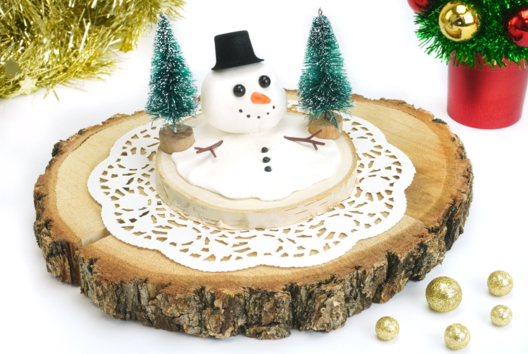
Melting Snowman
C15414View 38887 time
-
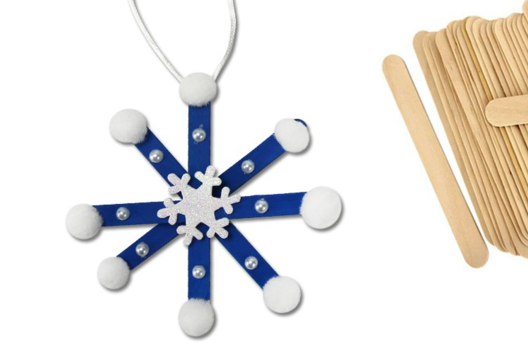
Snowflake Sticks
C12435View 69112 time
-
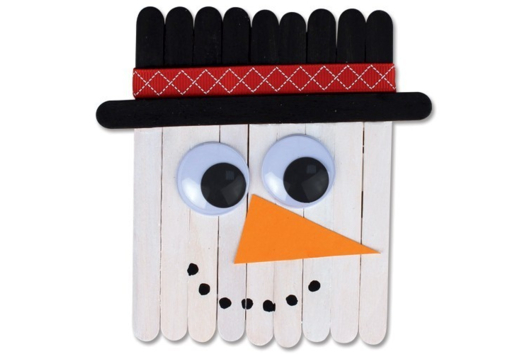
Snowman Craft Sticks
C12089View 27591 time
-
Conical Snowman
C11926View 19895 time -
Snowman with a Bucket on Its Head
C11895View 25988 time
Customer review
Give your feedback
Bubble Wrap Painting: White Bear
Be the first to share your review of this product.
Post a review