Your cart is empty.
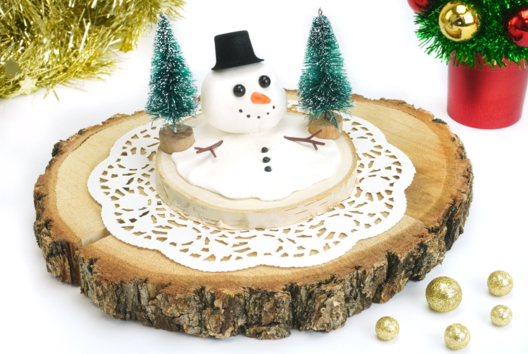
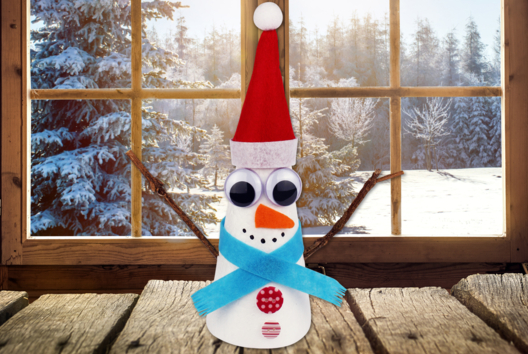
Styrofoam Snowman

Styrofoam Snowman


Winter comes to your creative workshops with our tutorial “Snowman,” a simple and fun craft activity to share with children. With accessible materials, both young and old can create an adorable snowman to display or gift.
This craft is perfectly suited for children thanks to its straightforward and easy-to-follow steps. It also allows for great creative freedom: everyone can personalize their snowman by choosing the expressions, accessories, colors, and decorative details according to their imagination.
Creative Tips
-
Change the colors of the ribbon or pipe cleaner to create versions in various tones.
-
Add buttons, mini-poms, glitter, or marker graphics for even more personalization.
How to complete this tutorial step by step?
Etape 1.
Here is the list of materials needed to create a snowman:
- A polystyrene ball Ø 7 cm
- A polystyrene ball Ø 5 cm
- 2 self-adhesive wiggle eyes
- 1 pipe cleaner (Length: 30 cm)
- 5 wooden sticks (Length: 5.5 cm - Width: 0.6 cm)
- 1 colored satin ribbon
- Permanent markers
Etape 2.
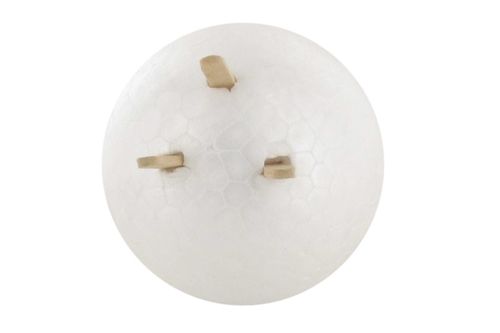
Cut 2 wooden sticks into 2 pieces each to obtain 4 smaller sticks.
Insert 3 of the 4 pieces obtained into the polystyrene ball Ø 7 cm to form a tripod (see photo beside).
Let the rounded part of the 3 sticks protrude by about 1 to 1.5 cm.
At the end of this step, the ball should balance thanks to the formed tripod.
Etape 3.
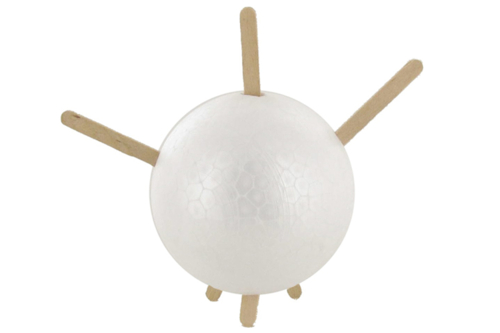
Insert 3 sticks into the polystyrene ball as shown in the adjacent photo.
The 2 lateral sticks will be the arms of the figure, and the central stick will support the head of the figure.
Etape 4.
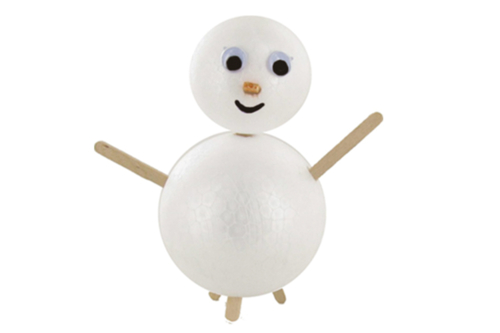
Stick the polystyrene ball Ø 5 cm onto the central stick to attach the head of the snowman.
Insert the remaining half stick from step 2 into the center of the small ball to create the snowman's nose.
You can now start personalizing your snowman with self-adhesive wiggle eyes and permanent markers.
Etape 5.
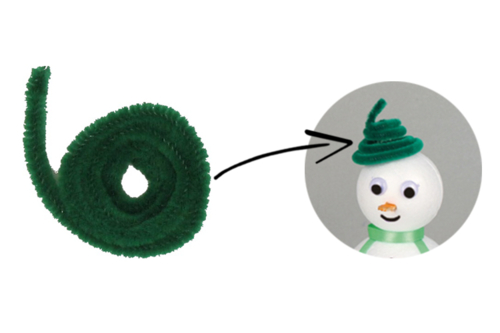
Wrap a 30 cm caterpillar in a spiral and then insert one end of the caterpillar above the snowman's head.
Then, pull the other end of the caterpillar upward to add volume and create a hat for your snowman.
Etape 6.
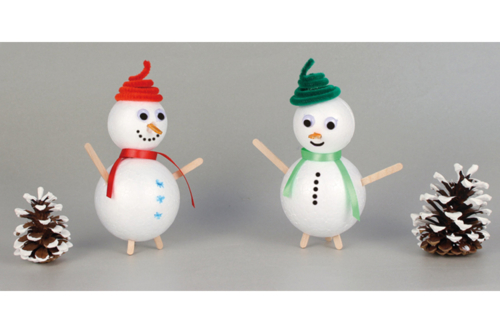
To create a scarf, simply wrap a satin ribbon around the neck of your snowman.
Personalize your creation with permanent markers.
The products used:
The products used:

Polystyrene Balls Ø 5 cm - 10 Pieces
Réf. 10361 - See the full range
2,39€ (either 0,24 € / pc)
Available

Styrofoam Balls Ø 7 cm - 10 pieces
Réf. 10362 - See the full range
3,39€ (either 0,34 € / pc)
Available

3,99€ (either 0,13 € / pc)
Available


Other tutorials on the theme "Winter Tutorials"
-
Winter Styrography
C17653View 3505 time


-
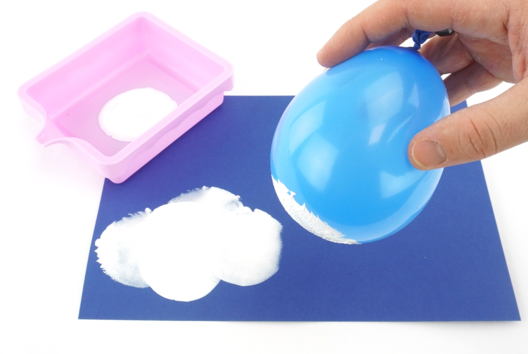
Balloon Painting and Stickers: The Ice Floe
C11194View 12810 time


-
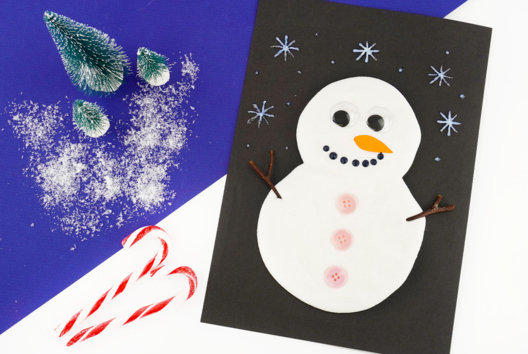
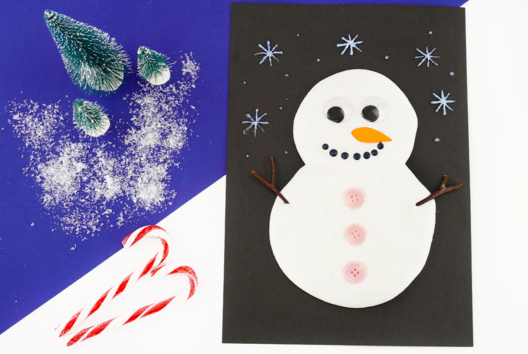
Snowman with Puffy Paint
C11162View 32167 time
-
Melting Snowman
C15414View 38799 time
-
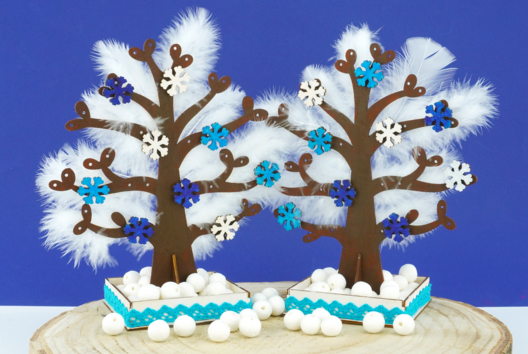
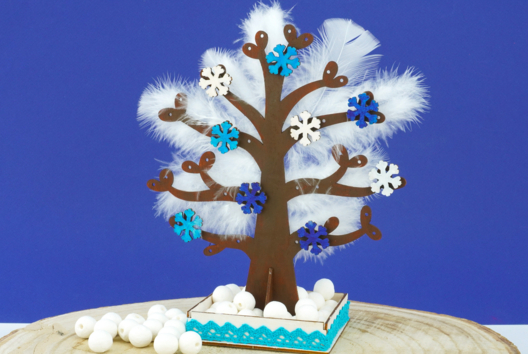
Winter Tree
C11088View 18835 time -
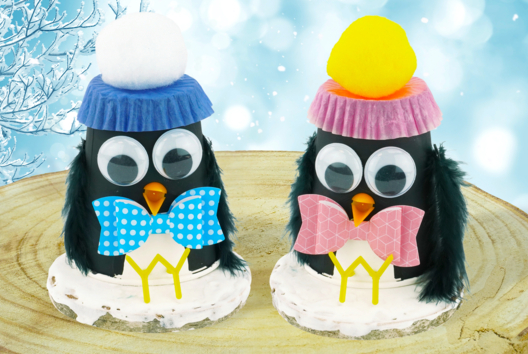
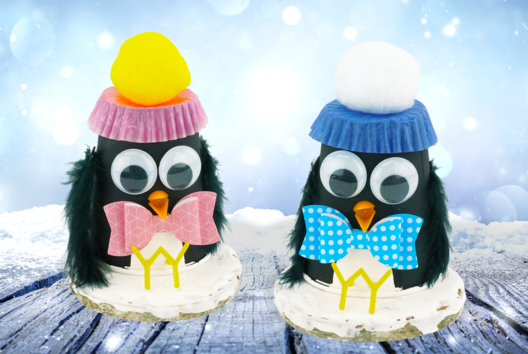
Diego and Cléo the Penguins
C11107View 16705 time -
Conical Snowman
C11926View 19835 time -
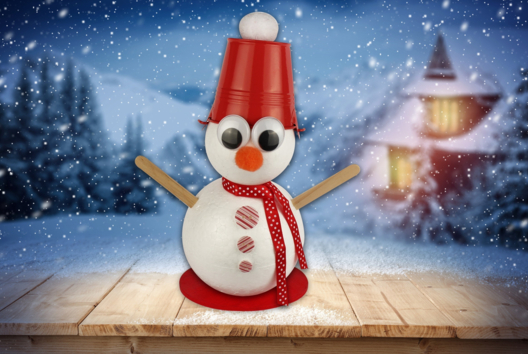
Snowman with a Bucket on Its Head
C11895View 25938 time -
Glowing Snowman
C11866View 30727 time
-
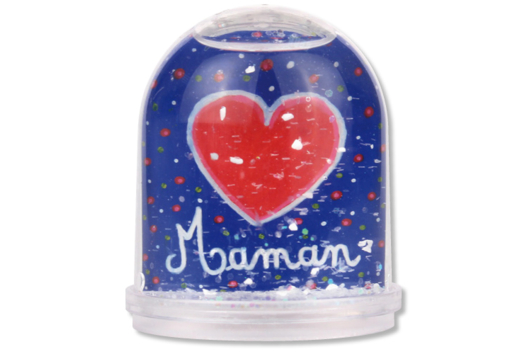

Snow Globe for Mother's Day or Father's Day
C11830View 23186 time
très bonne idée