Your cart is empty.
Christmas Trees with Sticks
Christmas Trees with Sticks


Discover how to create charming Christmas trees using wooden sticks. Our creative guide shows you each step for a festive and fun decoration, perfect for the end-of-year celebrations.
How to complete this tutorial step by step?
Etape 1.
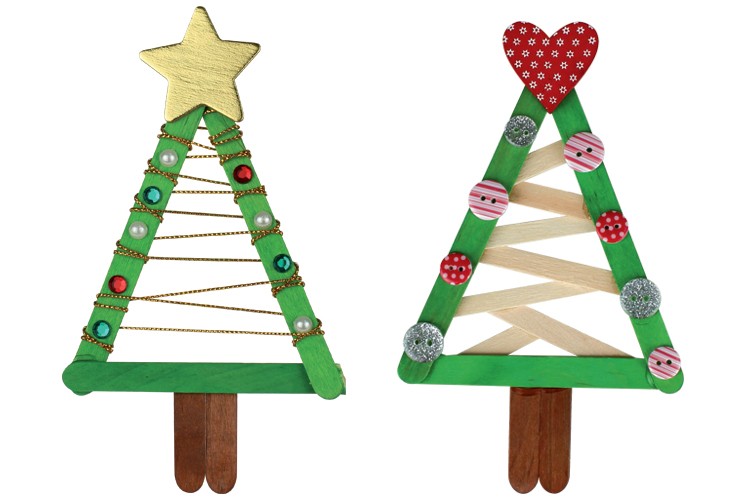
To make a Christmas tree you will need:
- 4 wooden sticks of 11.4 cm
- 7 mini wooden sticks of 5.5 cm or 80 cm of golden cord
- acrylic paint and a brush
- a wooden heart or a wooden star
- buttons or rhinestones
- strong white glue
Etape 2.
Paint 3 wooden sticks of 11.4 cm with green acrylic paint, then a fourth stick with brown acrylic paint.
Allow the paint to dry for about ten minutes.
Etape 3.
Using a pair of scissors, cut both ends of a green stick so that once cut, it measures only 9 cm.
Etape 4.
Glue the 3 green sticks in a triangle using a strong white glue.
Etape 5.
To create the trunk of the tree, cut the brown stick into 2 pieces and then glue them side by side at the base of the green triangle.
Etape 6.
To decorate the center of the tree:
- stick 5.5 cm mini wooden sticks with strong white glue.
or
- wrap a golden cord around the green sticks to create a garland effect.
Etape 7.
Decorate the edges of the Christmas tree by sticking on buttons or rhinestones.
Etape 8.
Glue a heart or a star to the top of the tree with strong white glue.
The products used:
The products used:


2,99€ (either 1,00 € / pc)
Available

2,49€
Available from 03/07/2026


Other tutorials on the theme "Christmas Ornement"
-

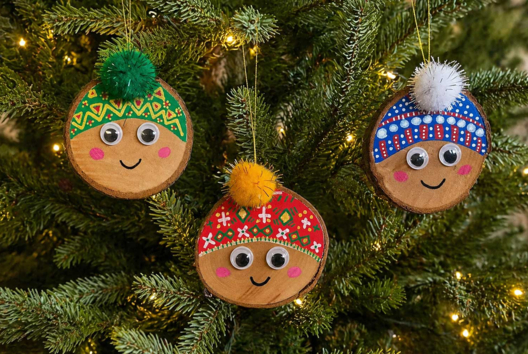
Penguin with a Styrofoam Cone
C15062View 481 time


-

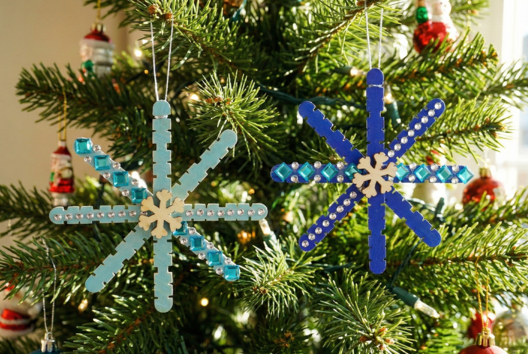
Snowflakes to Hang on the Christmas Tree
C17455View 12060 time

-

Christmas Reindeer Pom Pom
C14284View 112687 time -
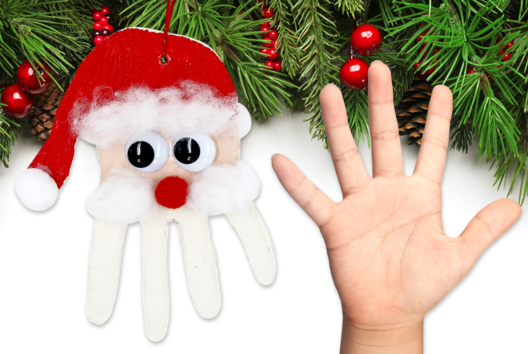
Christmas Father Figure Handprint
C14283View 54831 time
-

Christmas Reindeer Hanging Decoration with a Large Wooden Bead
C14272View 10187 time -

Snowman Balls
C14268View 39247 time
Customer review
Give your feedback
Christmas Trees with Sticks
Be the first to share your review of this product.
Post a review