Your cart is empty.
Cute Round Paper Santa Claus
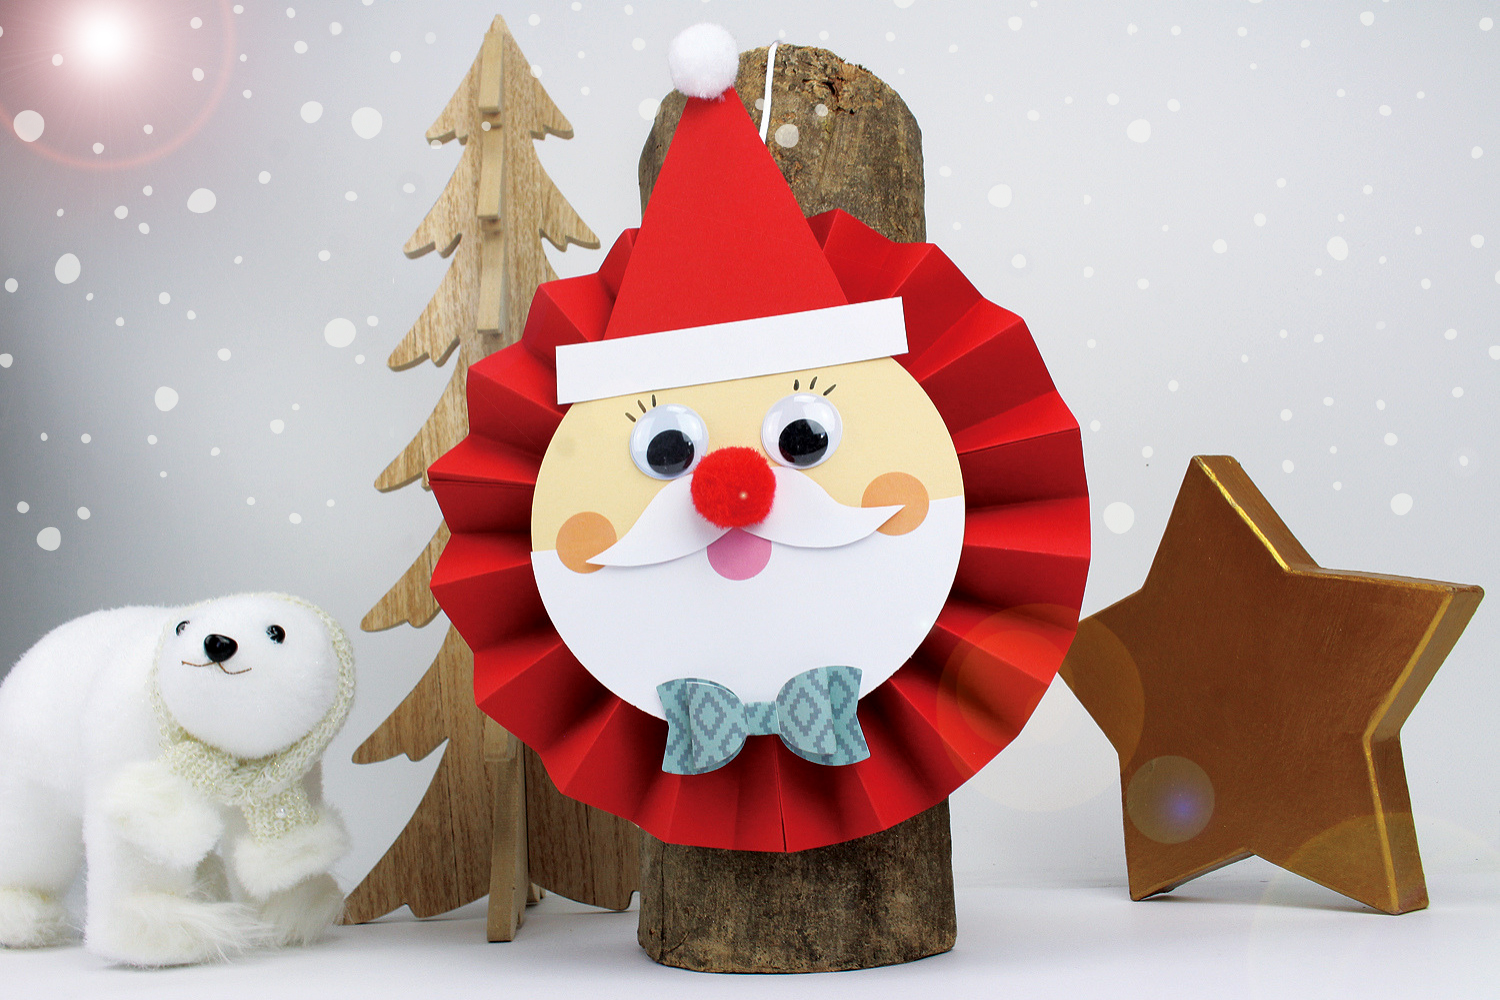
Cute Round Paper Santa Claus
This Christmas activity will allow children to create a lovely round and cute paper Santa Claus.
An easy craft that will enable children to combine cutting, folding, and gluing !
How to complete this tutorial step by step?
Materials
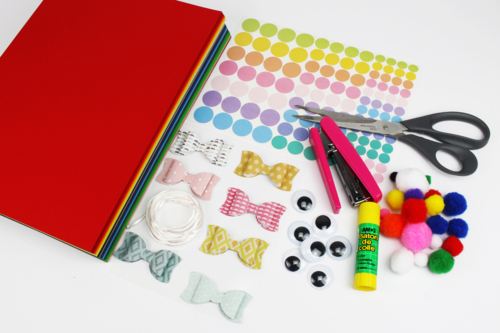
To make a Santa Claus, you will need:
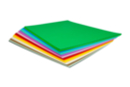
- 4 A4 sheets (130 g/m²): red x2, beige x1, white x1.
We recommend our assortment of sheets reference 03154 which contains all the necessary colors (and much more) to create about ten Santas. The weight of 130 g/m² is ideal for this activity: neither too flexible for good paper hold, nor too thick for easy cutting and folding.
- 2 googly eyes Ø 2.5 cm
- 2 pom-poms
- round pastel color stickers
- a paper bow
- about 20 cm of cord
- a glue stick
- a roll of double-sided tape
- a stapler
- a pair of scissors
Step 1
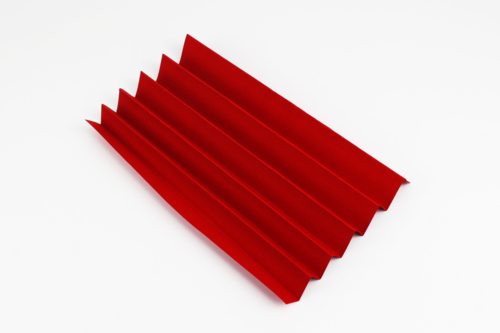
Fold a sheet of red paper (A4 size) in accordion style.
Step 2
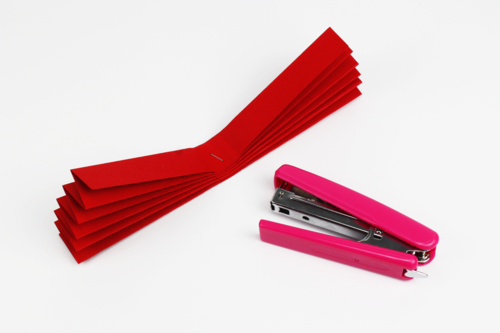
"Fold the paper accordion" and then staple it in the center of the band.
Step 3
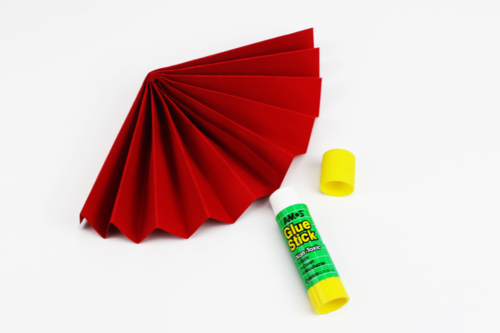
Fold the strip in half and then glue the two opposite ends together with a glue stick to create a fan.
Step 4
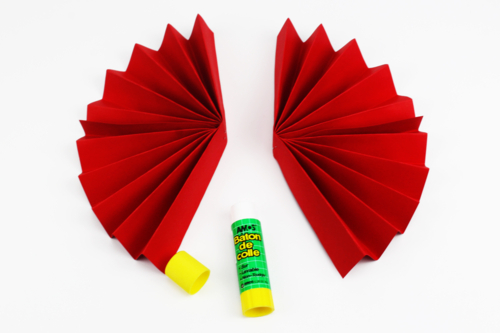
Make a second fan and then glue it to the first to finish the paper rosette.
Step 5
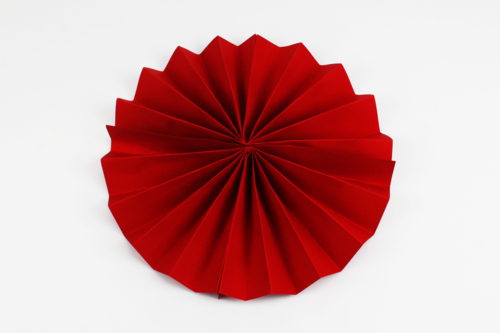
Here is the result obtained at this step.
Step 6
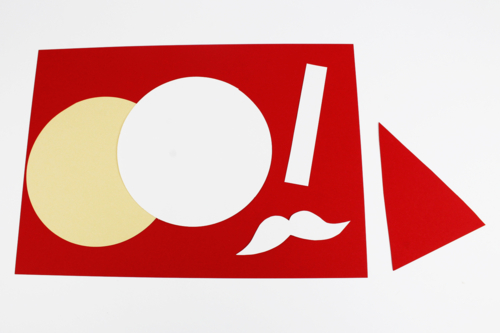
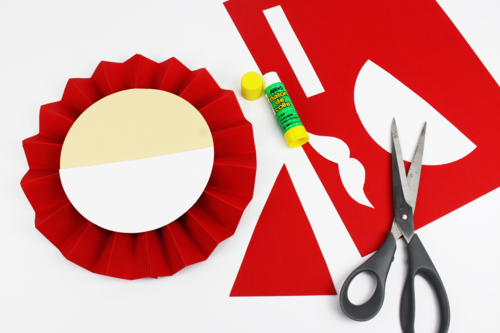
Cut out the following items:
- a beige paper circle with a diameter of 14 cm
- a white paper circle with a diameter of 14 cm
- a red triangle with a height of 12 cm
- a white paper strip of 11 x 2 cm
- a white paper mustache
Step 7

Glue the beige circle to the center of the rosette using a wide double-sided adhesive (3.5 cm).
Step 8
Cut the white circle in half and glue the half-white circle onto the beige circle to create Santa Claus's beard.
Step 9
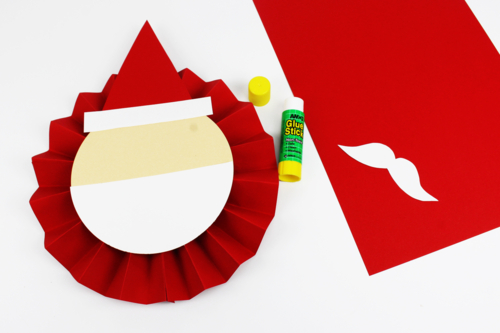
Paste the Santa Claus hat, which consists of the red triangle and the white band.
Step 10
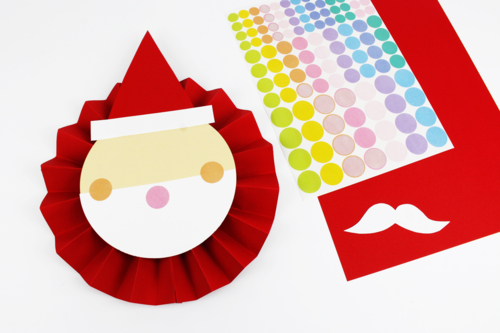
Stick 3 round pastel-colored stickers like in the photo: 2 stickers for the cheeks and 1 sticker for the mouth.
Step 11
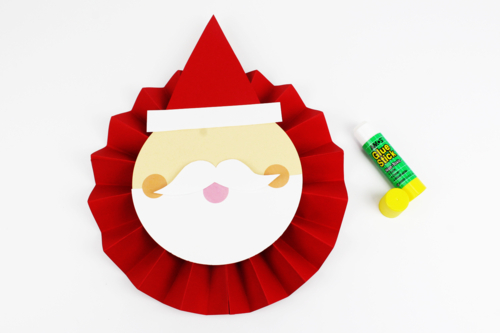
Glue Santa Claus's mustache.
Step 12
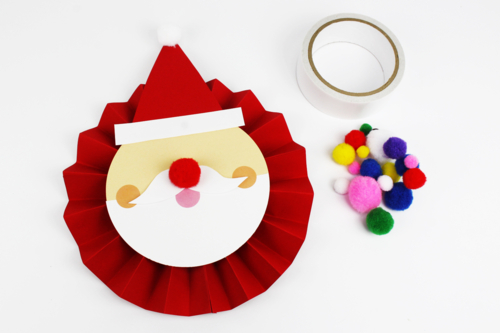
Using double-sided tape, stick a pom-pom on the mustache (for the nose) and another pom-pom on top of Santa Claus's hat.
Step 13

Stick 2 movable eyes Ø 2.5 cm with the glue stick, then draw eyelashes with a black pencil to give a cute look to Santa Claus.
Step 14

Glue a colored bowtie to the base of Santa Claus's beard.
Step 15
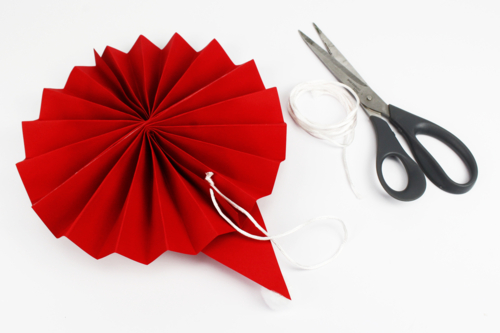
Make a small hole in the back of the rosette so you can hang a string that will allow you to suspend Santa Claus in the tree or in the house.
The products used:
The products used:
26,99€ (either 0,11 € / pc)
Available


1,99€
Available


Other tutorials on the theme "Christmas Characters"
-

Penguin with a Styrofoam Cone
C15062View 718 time


-
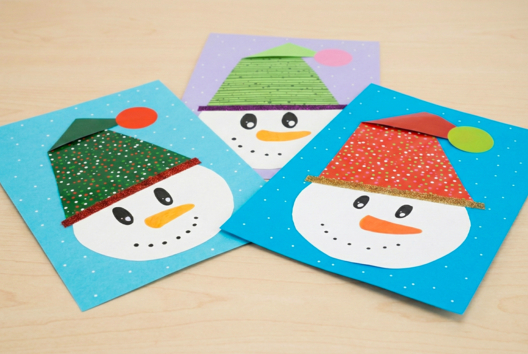
Snowman Collage
C17465View 11089 time
-
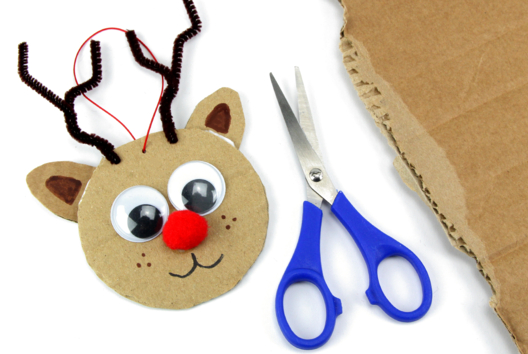
Recycled Cardboard Reindeer
C14450View 19764 time -
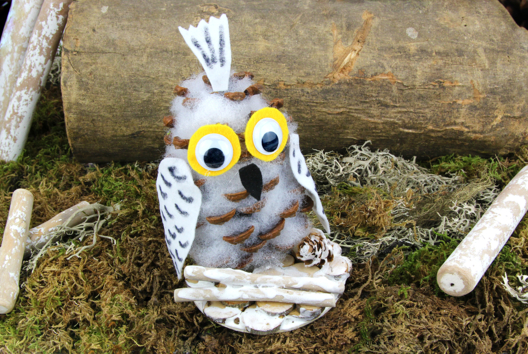
White Owl with a Pine Cone
C14533View 21054 time -
Snowman with a Paper Bag
C14313View 20166 time -
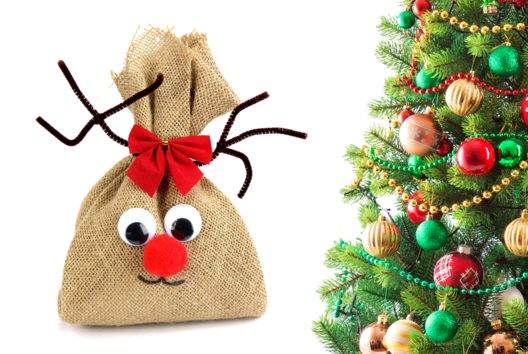
Jute Christmas Reindeer
C14279View 25411 time
Vos créations inspirées par ce tuto
SEV
4 Your comments:
Avis client
5.0/5
2 avis publiés
5
100%
4
0%
3
0%
2
0%
1
0%
Customer review
Petit soucis
Juste impossible de fermer la rosace avec seulement 2 éventails, obligé d'en mettre 3
Père Noël
Super de pouvoir fabriquer ce père Noël