Your cart is empty.
Dripping Candy Bucket


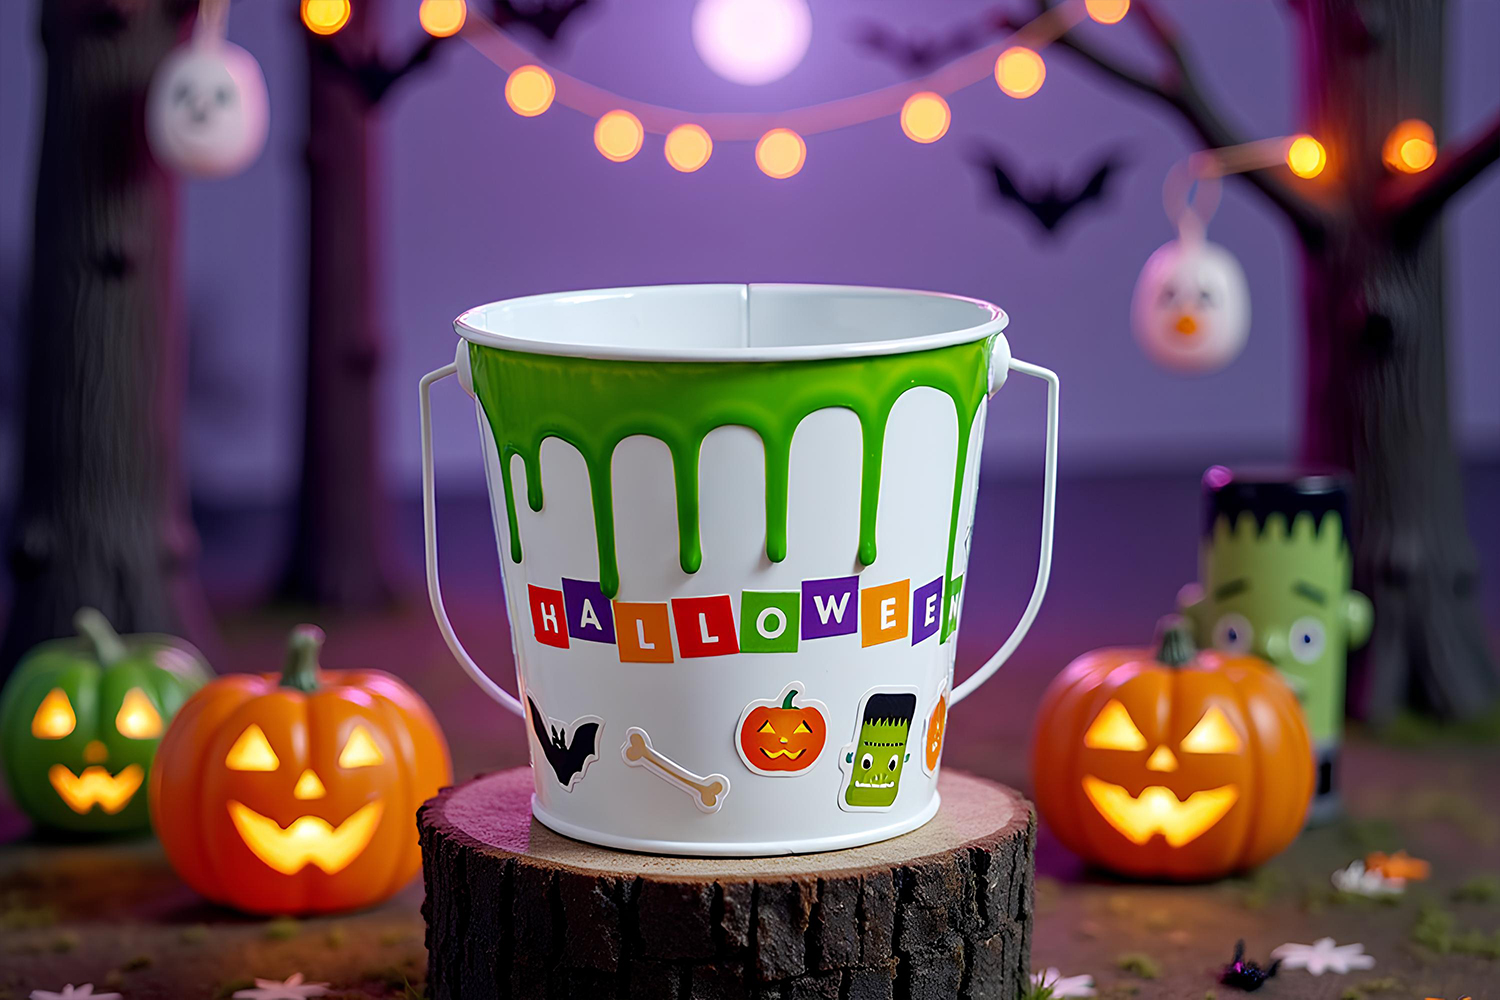


Dripping Candy Bucket


With this cauldron-style bucket that drips, kids can go on a candy hunt on Halloween night!
This easy and quick activity involves sticking on pretty stickers and creating drips using repositionable paint.
A Halloween DIY to be done without moderation before Halloween!
Thèmes de l'idéa créa :
#Halloween Tutorials
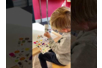
How to complete this tutorial step by step?
Materials
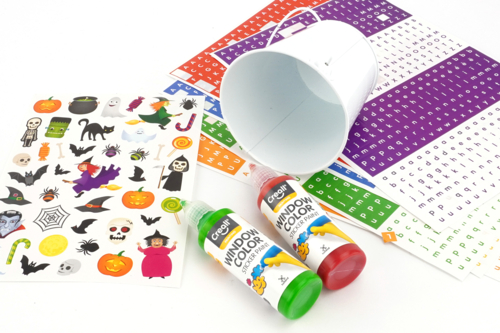
To create a spooky candy bucket, you will need:
- a white metal bucket
- repositionable paint (green, red)
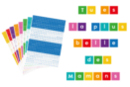
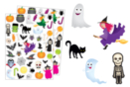
- Halloween stickers
- alphabet stickers
Step 1
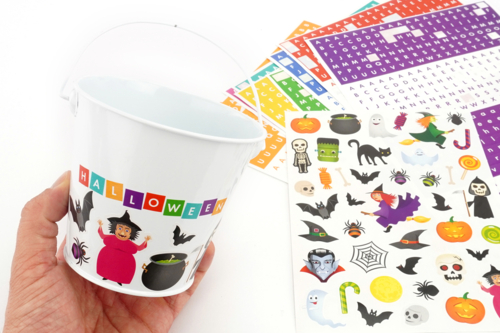
Stick Halloween stickers just above the edge at the bottom of the bucket, then write the word Halloween using the alphabet stickers.
Note: leave the upper part of the bucket blank.
Step 2
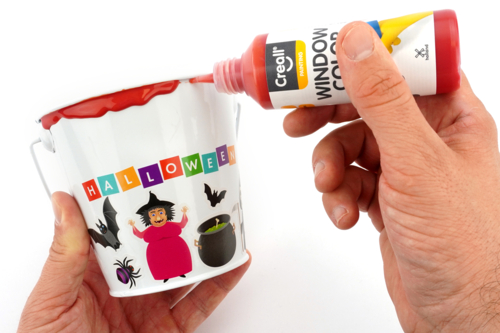
Place the nozzle of the repositionable paint bottle under the top edge of the bucket and pour the paint (not too much, not too little) along the edge.
Note: we used repositionable paint for its ideal texture to create drips and its translucent appearance, which will look stunning!
Step 3
Place the upright bucket back and observe the drips forming. These will likely flow over the stickers, but that's fine; it will make the effect even more realistic!
Next, let the paint dry for a few hours.
Step 4
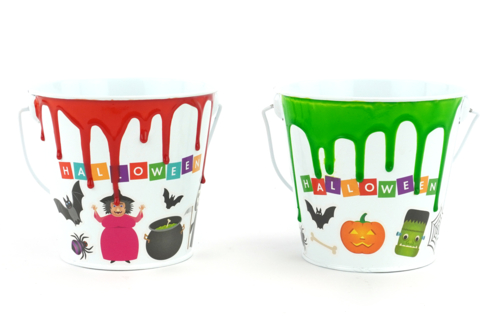
Note: for a drippy slime effect, you can use green paint!
Step 5
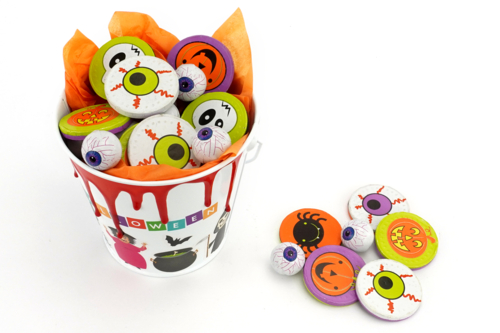
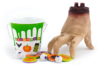
This bucket can be used for decoration to display delicious Halloween candies, but it can also be used by children for trick-or-treating. Handy!
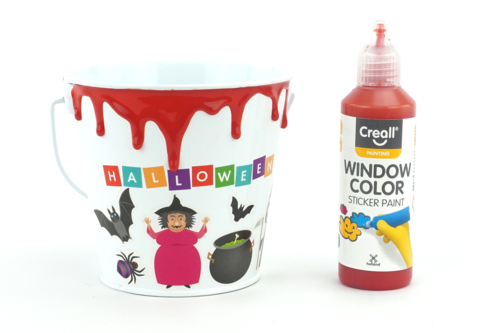
The products used:
The products used:


Other tutorials on the theme "Halloween Tutorials"
-
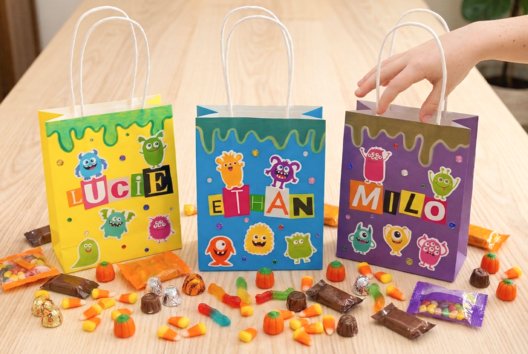

The monstrous candy bags
C17716View 354 time


-
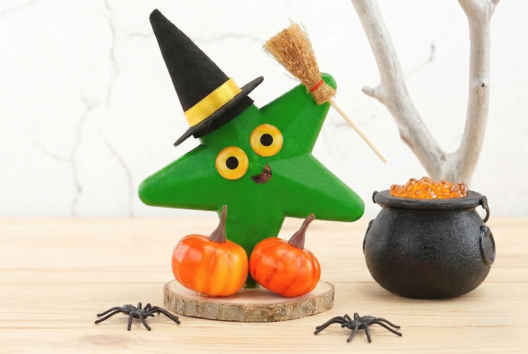
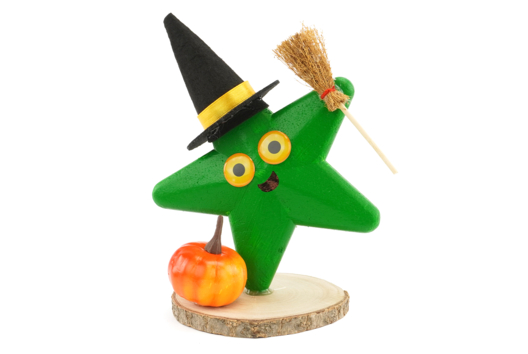
The Starry Witch
C17714View 343 time

-
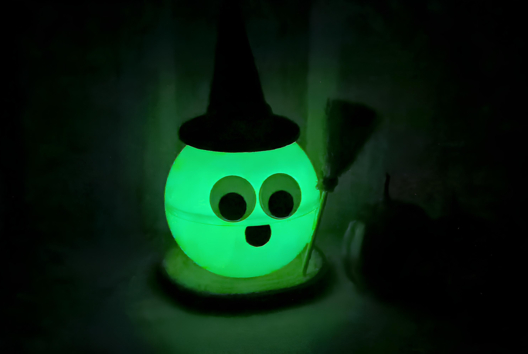
Glow-in-the-Dark Witch
C14065View 12669 time
-
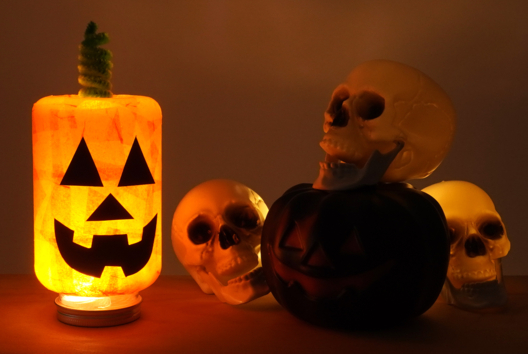
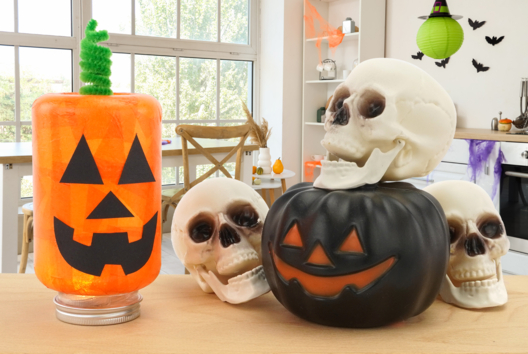
Pumpkin Lantern
C10877View 20991 time
-
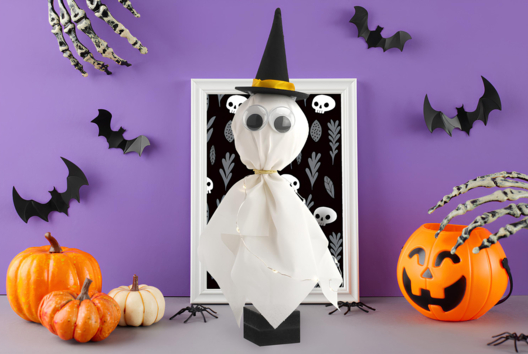
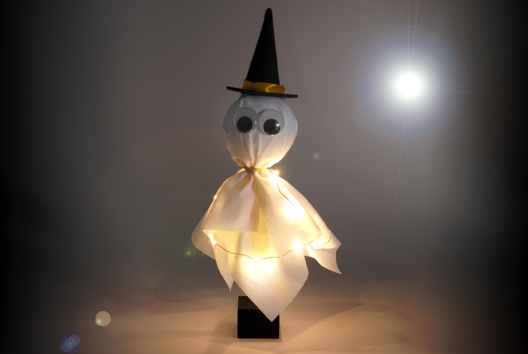
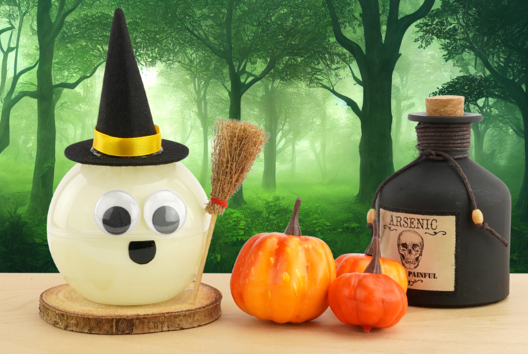
The Wizard Ghost
C10913View 19017 time
-
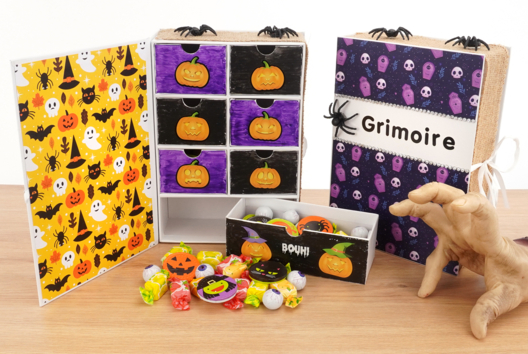
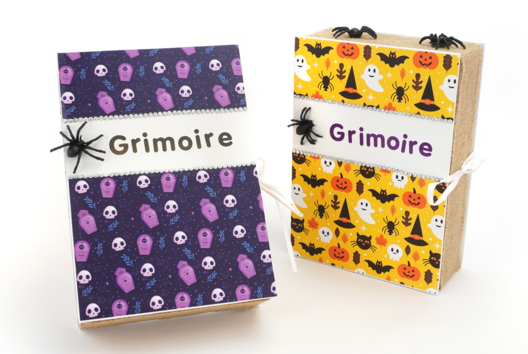
Candy Filling Grimoire
C10911View 14454 time


-
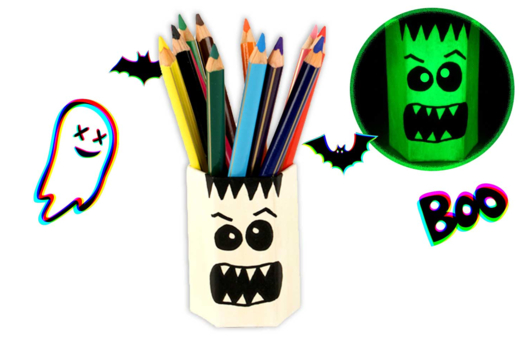
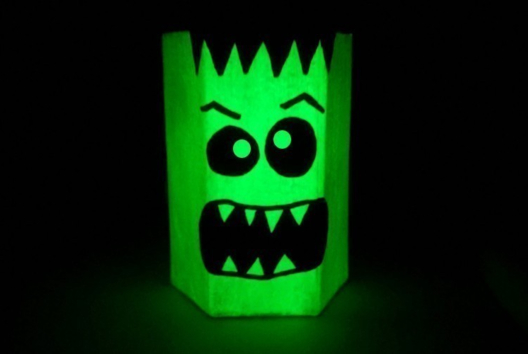
Glow-in-the-dark Pencil Pot
C11346View 23036 time -
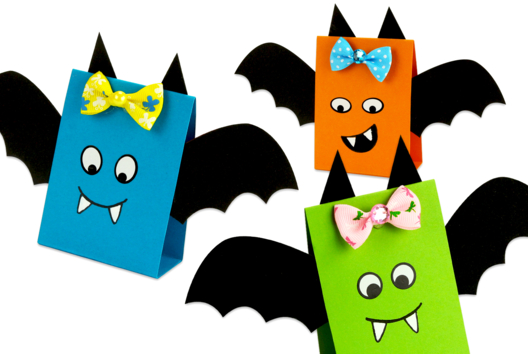
Easy Paper Bat to Make
C13687View 42455 time -
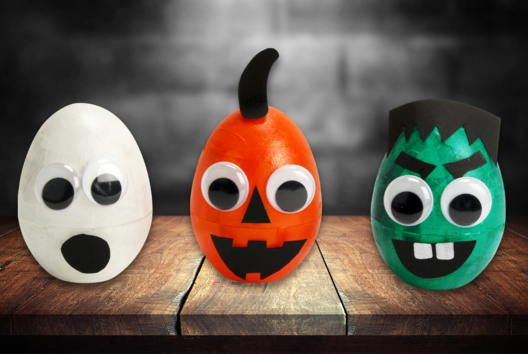
Glow-in-the-Dark Monsters
C13685View 19727 time -
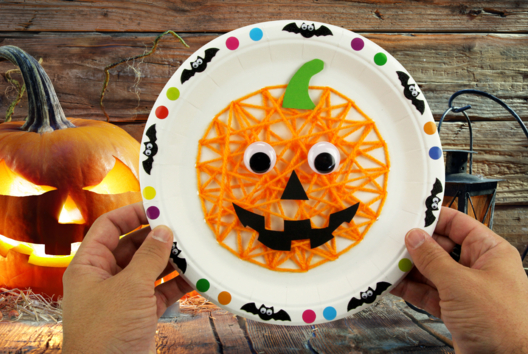
Pumpkin with Yarn and a Paper Plate
C13655View 35321 time
Vos créations inspirées par ce tuto
Customer review
Give your feedback
Dripping Candy Bucket
Be the first to share your review of this product.
Post a review