Your cart is empty.
Holiday Frame with Shells
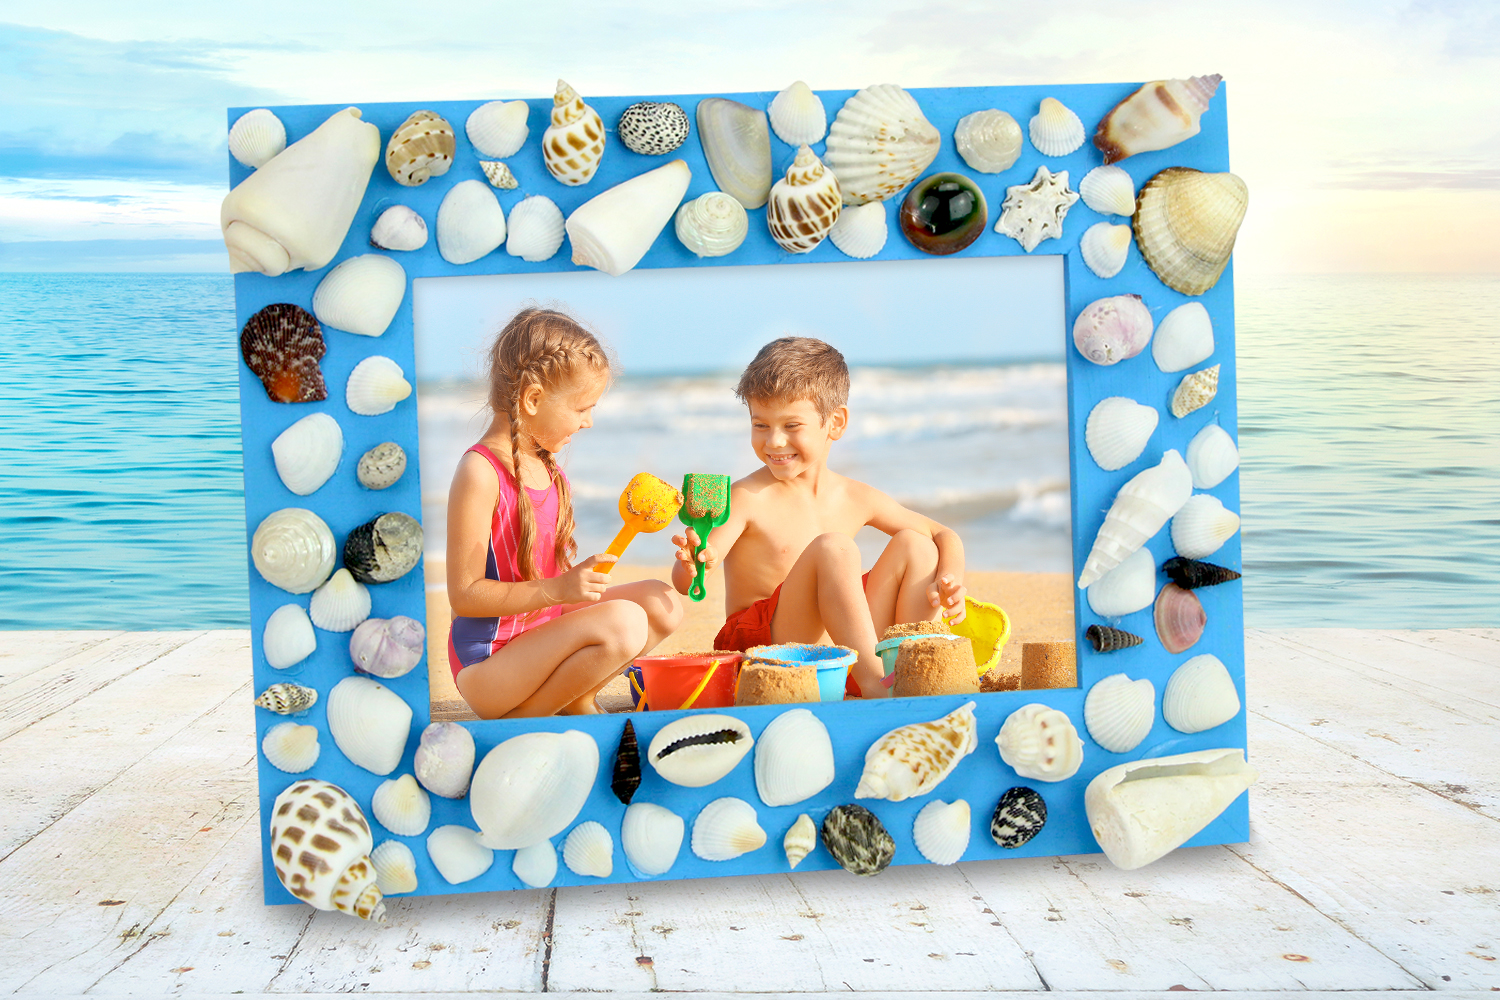
Holiday Frame with Shells
Today we invite you to turn a simple wooden frame into a true holiday keepsake!
This activity includes: painting and gluing shells
Thèmes de l'idéa créa :
#Nature
#DIY Home Decor Tutorials
#Summer Tutorials
#Ocean Tutorials
#School Gift Tutorials
#Frame Tutorials
How to complete this tutorial step by step?
Materials:
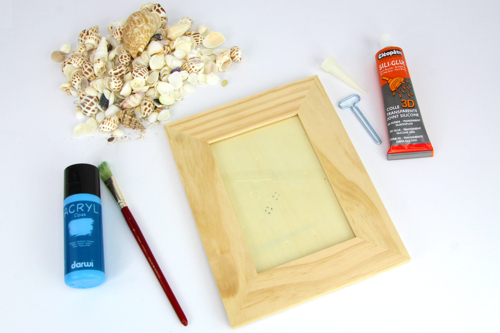
For this activity, you will need:
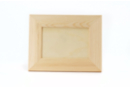
- A wooden frame 23 x 18 cm
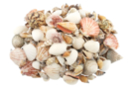
- Shells
- Silicone glue
- Blue acrylic paint and a paintbrush
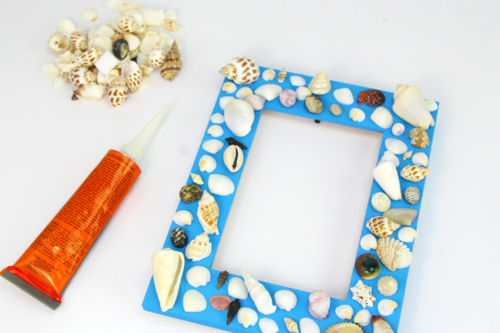
Step 1:
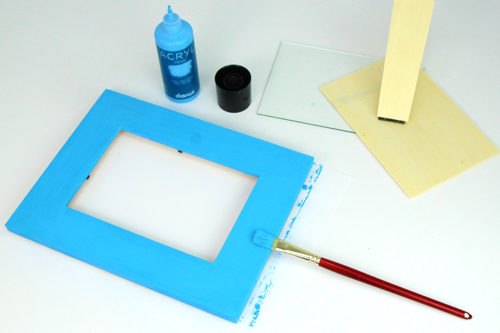
Remove the glass, then paint the frame blue.
Then let the paint dry for 20 minutes.
Step 2:
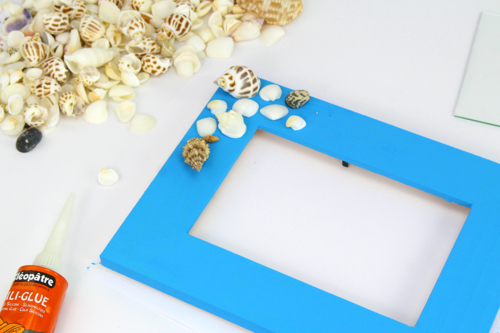
Using silicone glue (convenient because of its thick texture), glue the shells all around the frame in varying shapes.
Tip: Add the applicator tip to the silicone glue to easily control the dosage.
Step 3 :
The glue has adhesive properties right from the application, but you can adjust your bond even a few hours later.
For a permanent bond, let it dry for 24 hours.
Step 4:
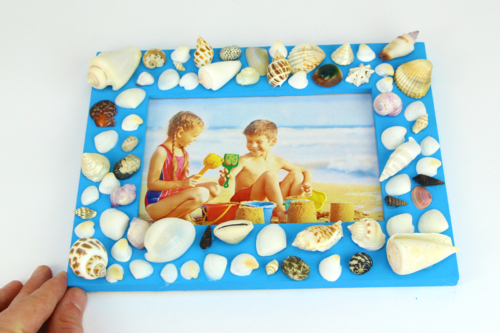
Put the glass back and add the photo inside the frame.
The products used:
The products used:


2,99€ (either 1,00 € / pc)
Available
Other tutorials on the theme "Nature"
-
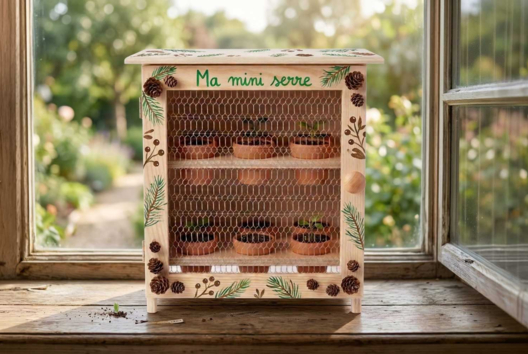
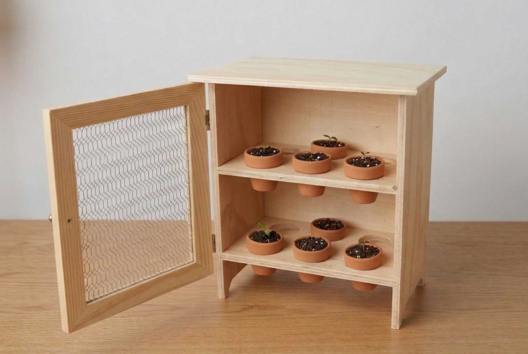
Mini Germination Greenhouse
C17705View 2925 time


-

Decopatch Birdhouses
C17294View 5607 time

-
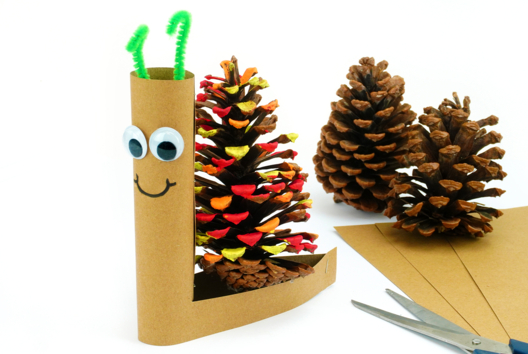
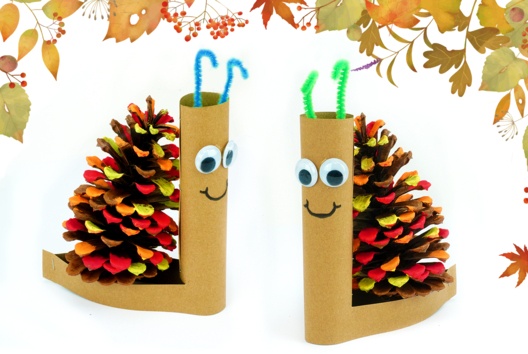
Pine Cone Snail
C10979View 26789 time -
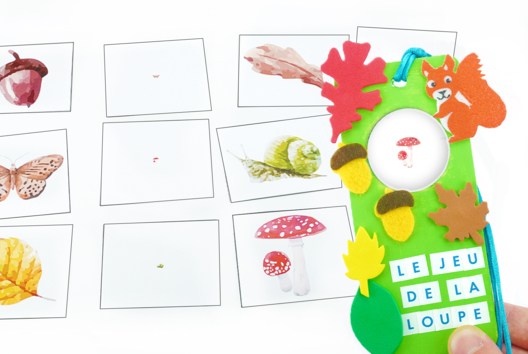
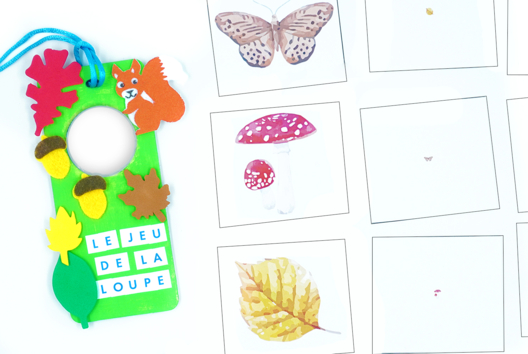
The Magnifying Glass Game - Autumn
C8392View 24207 time -
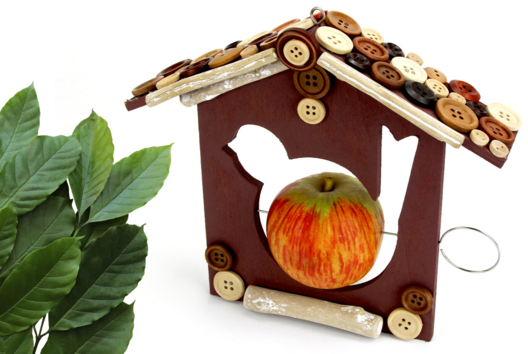
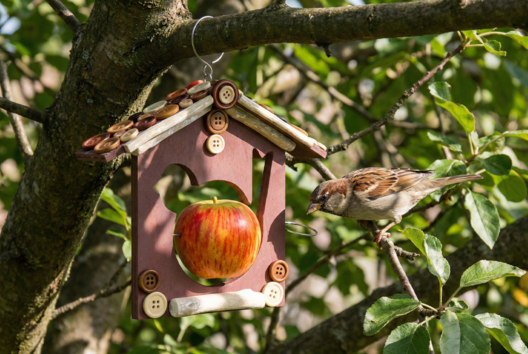
Bird Feeder
C14178View 25179 time -

Plastiroc Leaves Mobile
C12982View 25641 time
Customer review
Give your feedback
Holiday Frame with Shells
Be the first to share your review of this product.
Post a review