Your cart is empty.
Mini Germination Greenhouse
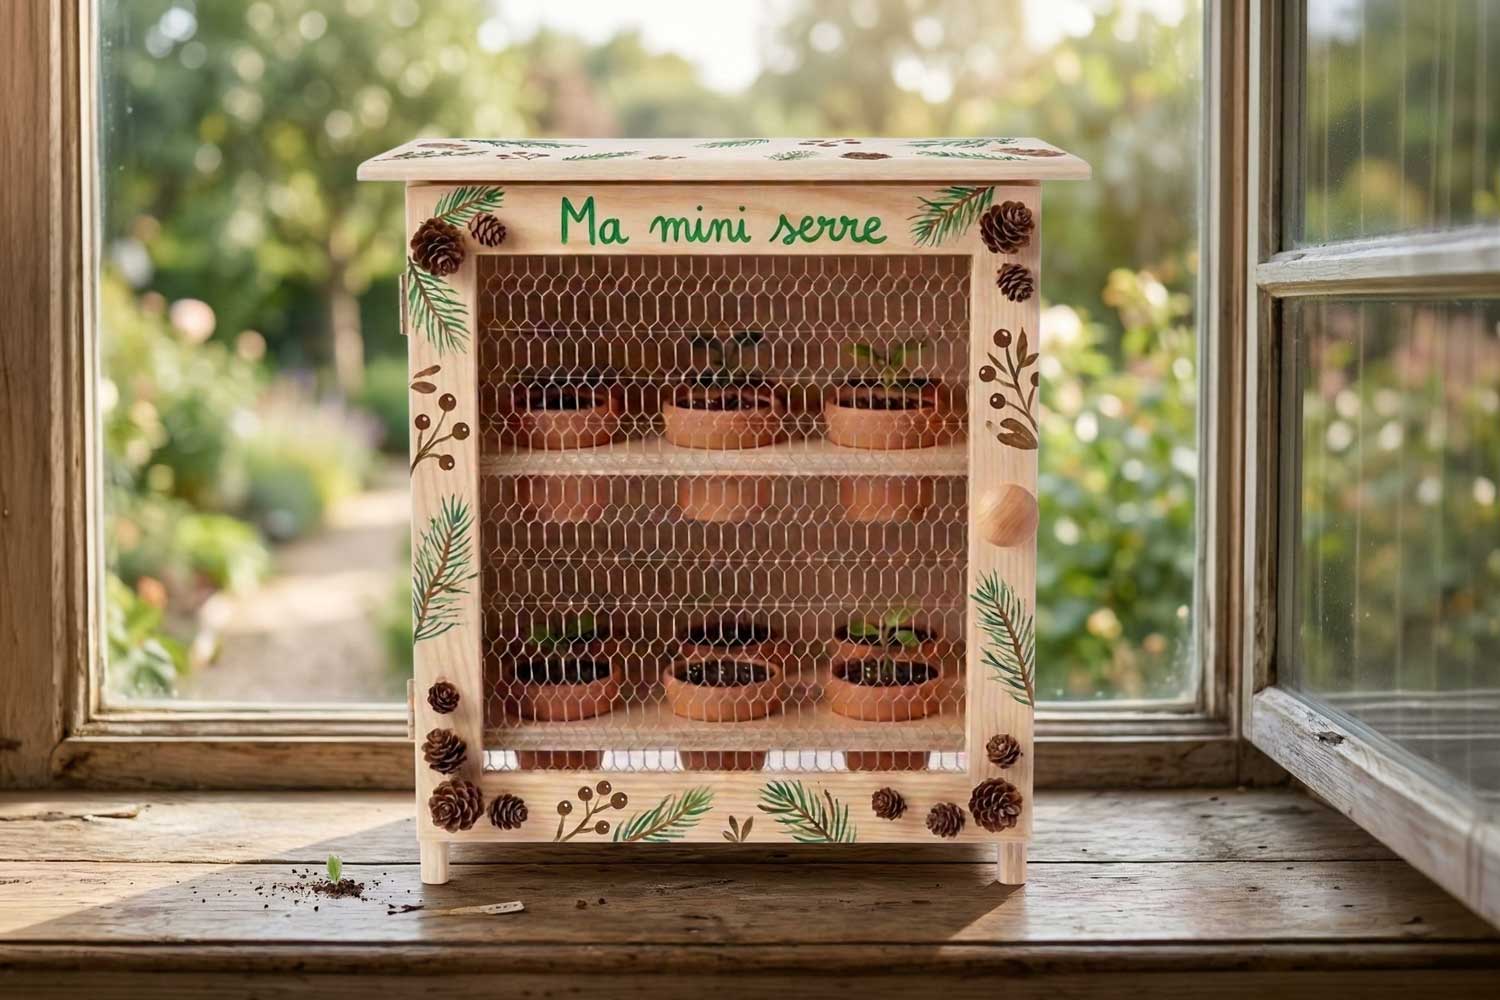


Mini Germination Greenhouse


Here is a simple and practical guide to bringing your own miniature green space to life. This tutorial guides you through the preparation and maintenance of your decorative mini greenhouse. Find a wide selection of seeds to plant by clicking here!
Download the Educational Sheet "My Mini-Greenhouse":
Give your students an immersive and hands-on experience to understand living things. To accompany the creation of your mini-greenhouse, we offer a complete educational pack for download that transforms this hands-on activity into a genuine structured scientific project.
This document is designed as a customizable student sheet where everyone can write their name and class to take ownership of their gardening project. It is the perfect tool to combine practical work with lessons.
Click on the printable template under the main photo to receive your free documents!
How to complete this tutorial step by step?
The material:
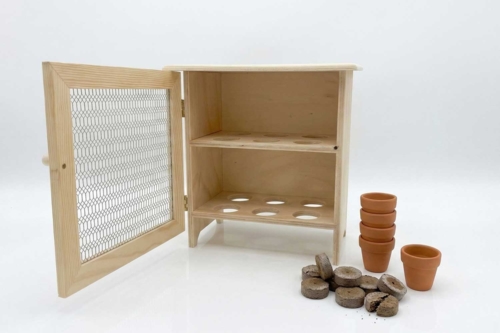
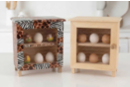
To make this mini greenhouse, you will need our egg carton, the small 3 cm diameter terracotta pots, and potting soil.
Don't forget to choose your seeds, we offer a wide selection, which can be found under the steps of this tutorial!
Step 1: Preparing the substrate
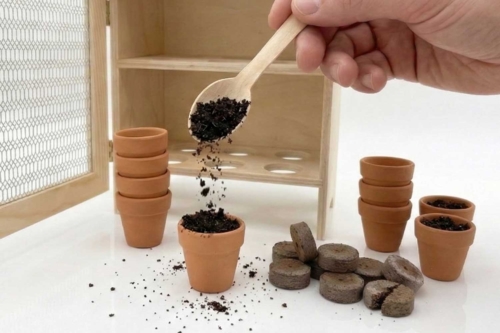
The first phase involves preparing the base for your future plants. Fill each small pot with the previously moistened soil pellets.
You can use a small spoon to handle the soil with precision and avoid scattering it everywhere.
Step 2: Humidification and Sowing
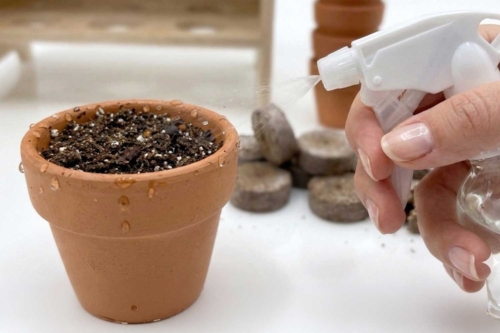
Once your pots are filled, place your seeds at the center of each container.
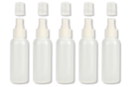
To promote germination without drowning the seeds, use a mist sprayer to water them. This allows for uniform and gentle moistening of the soil, ensuring an ideal environment for the awakening of the young shoots.
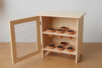
Step 3: Installation in the greenhouse
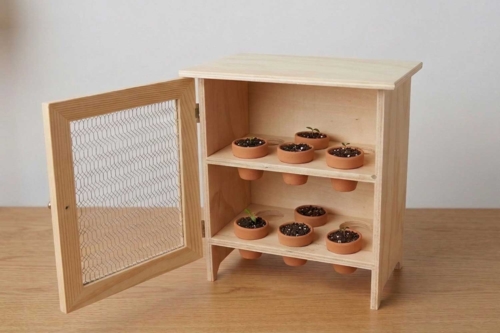
Carefully place your pots on the perforated shelves of the wooden structure. These openings are designed to hold the pots in place while allowing air to circulate.
Put the whole setup in a bright location, admire the result, and watch your micro-garden thrive day by day.
Step 4: Personalization and Growth
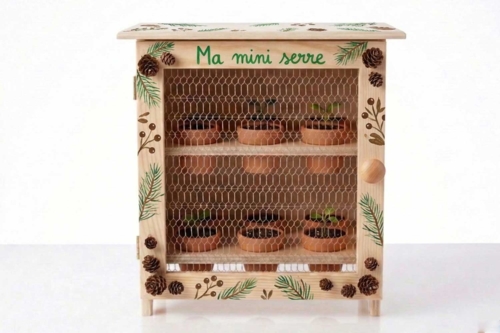
For an aesthetic touch, feel free to decorate the wooden frame with natural patterns, such as pine cones and some natural foliage designs using a paint marker.
The products used:
The products used:

2,59€ (either 0,43 € / pc)
Available

Compressed Potting Soil Discs - 12 Pieces
Réf. 27782 - Product sheet
5,99€ (either 0,50 € / pc)
Available


Other tutorials on the theme "Nature"
-

Decopatch Birdhouses
C17294View 5951 time


-
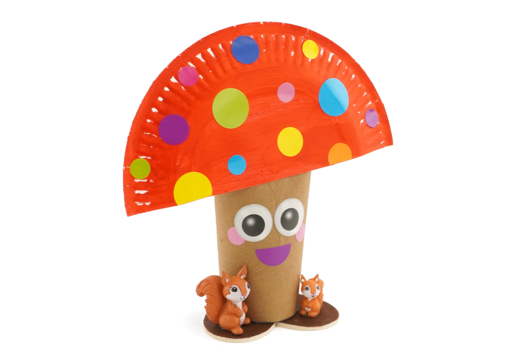
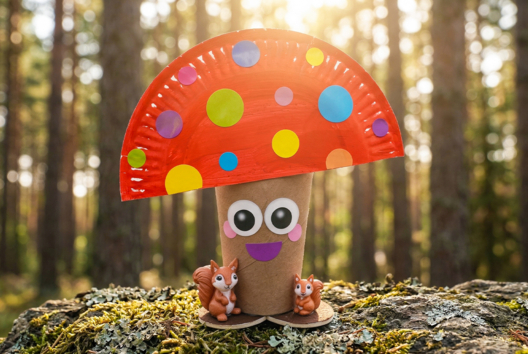
Funny Mushroom and Little Squirrels
C17711View 984 time

-
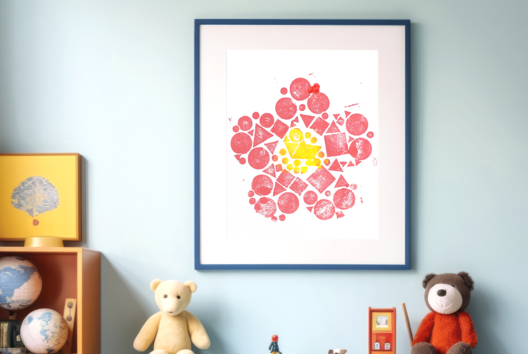

Easy Linocut for Kids
C17098View 10790 time

-
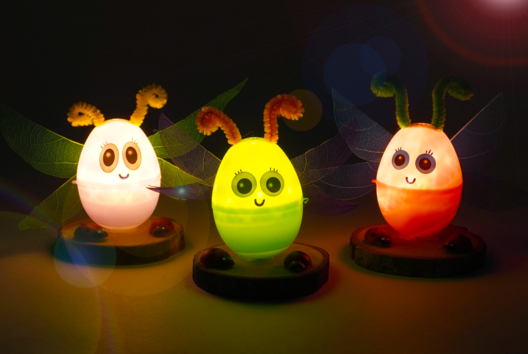
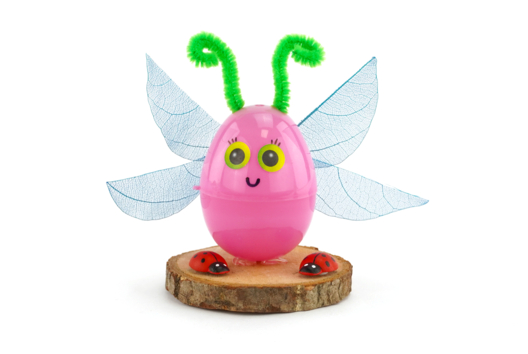
The Little Fireflies
C17092View 17910 time
-
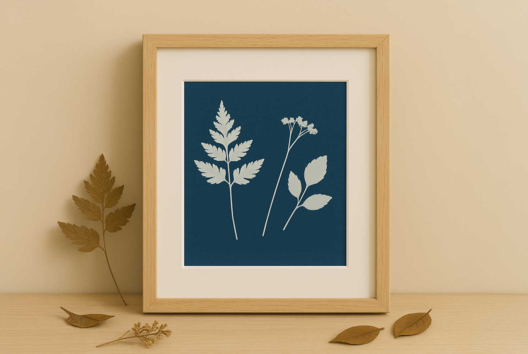
Still Life in Cyanotype
C10928View 5659 time
-
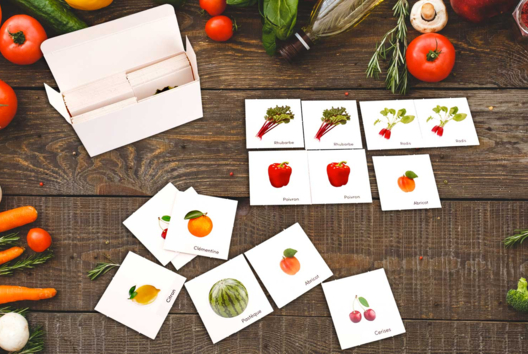
Memory Fruits & Vegetables
C14569View 4475 time
-
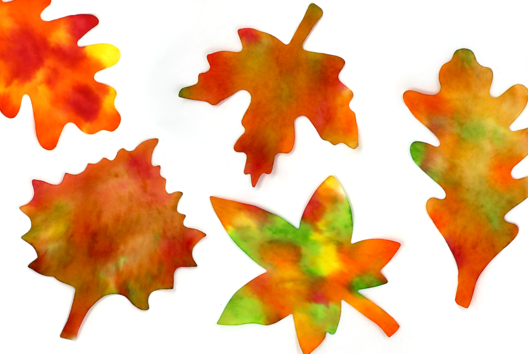
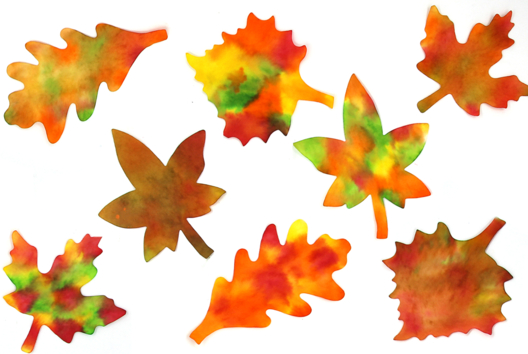
Autumn Leaves with Ink
C14253View 69151 time
-
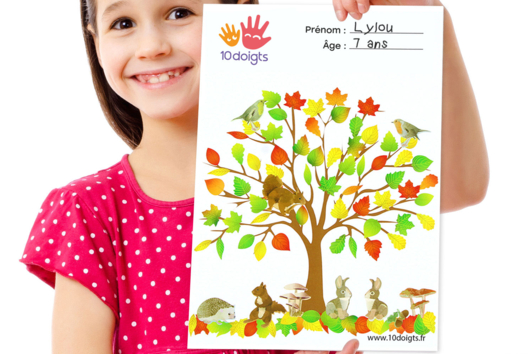
Autumn Tree to Decorate with Stickers
C14164View 42835 time
-
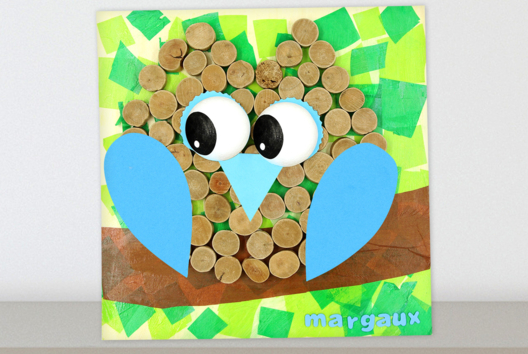
Owl Artwork with Driftwood and Tissue Paper
C14160View 16722 time
-
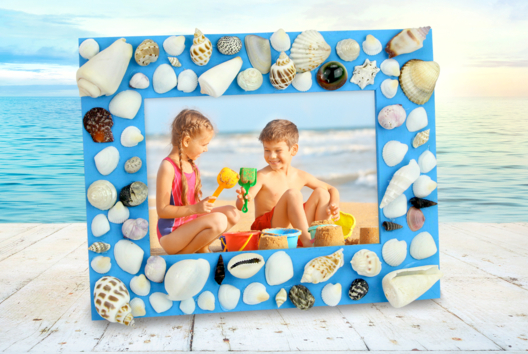
Holiday Frame with Shells
C14138View 23869 time
Customer review
Give your feedback
Mini Germination Greenhouse
Be the first to share your review of this product.
Post a review