Your cart is empty.
Ice Cream Cone Postcard
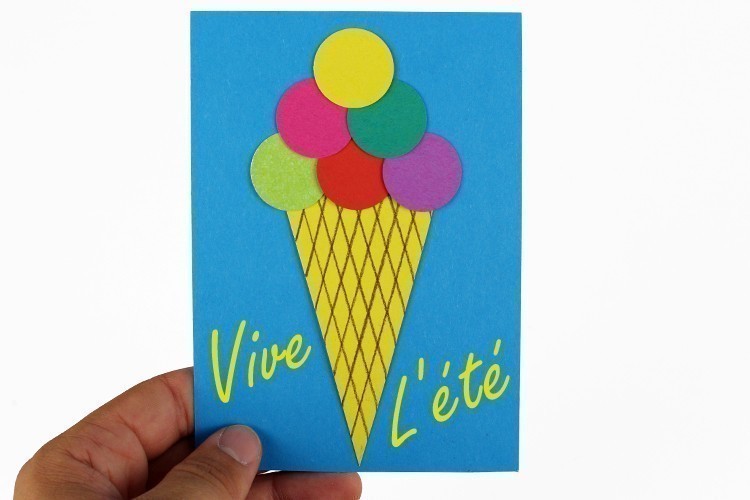
Ice Cream Cone Postcard


Send a dose of summer freshness with our postcard adorned with a paper ice cream cone. A fun and refreshing way to send summer greetings to your loved ones. Discover how to create this unique card with our creative tutorial.
How to complete this tutorial step by step?
The Materials
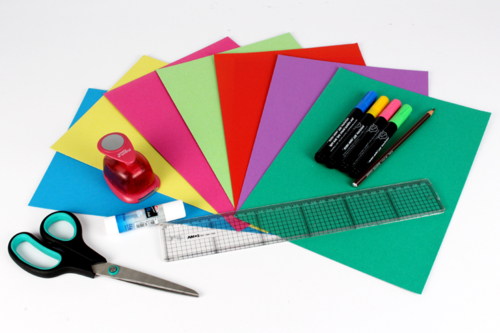
Here is the list of materials needed to create "ice cream cone" postcards:
- A few colored cardstock sheets in A4 size
- A round hole punch Ø 2.5 cm
- A tube of glue
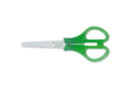
- A pair of scissors
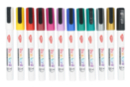
- Paint markers
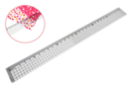
- A ruler
- A brown colored pencil
Step 1
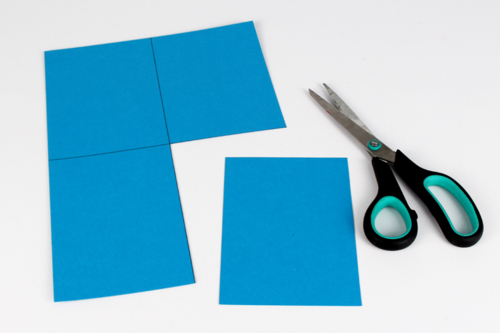
Cut a sturdy card into 4 pieces to create 4 small postcards approximately 10 by 15 cm.
Step 2

In a strong yellow card, cut out a triangle with a base of 5 cm and a height of 9 cm.
Step 3
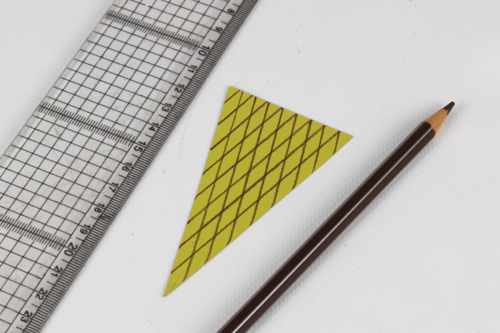
Using a brown colored pencil, draw parallel lines along the sides of the triangle to imitate the texture of an ice cream cone.
Step 4
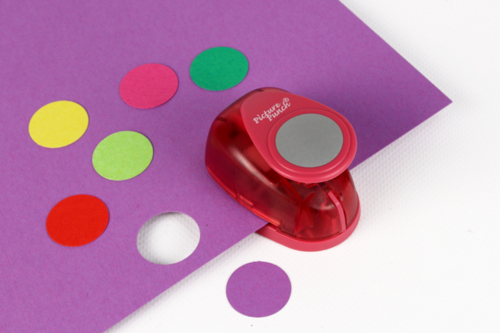
Using the hole punch, cut out small circles from different colored cards.
For a cone, we will need 6 circles with a diameter of 2.5 cm.
Step 5
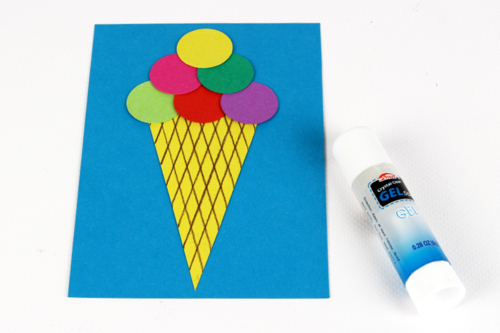
Using a glue stick, adhere the geometric shapes to create an ice cream cone.
Start by gluing the cone, then add the scoops.
Step 6
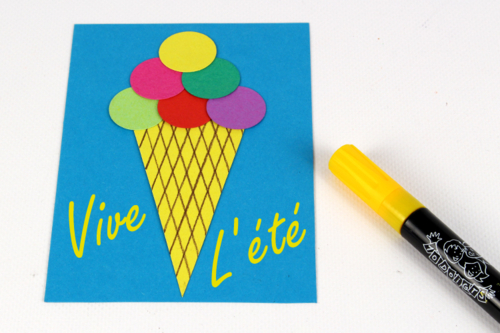
Using a paint marker, add a catchy phrase (Hooray for summer, Yum Yum, ...).
Then let the paint dry for a few minutes.
Step 7
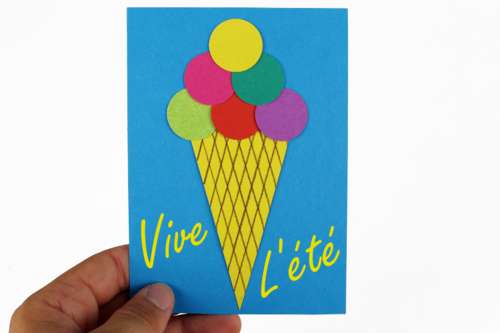
All you have to do is flip the card over, write a short message, and slip it into an envelope to send it.
This personalized card will delight its recipient!
The products used:
The products used:

2,59€
Available from 03/07/2026


1,39€
Available

5,94€ (either 0,99 € / pc)
Available
Other tutorials on the theme "Card Making Tutorials"
-
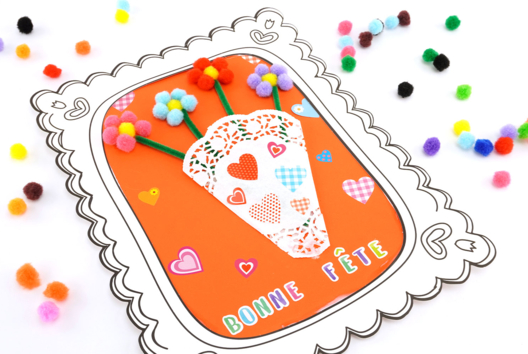

Pom Pom Flower Bouquet
C17682View 6603 time


-
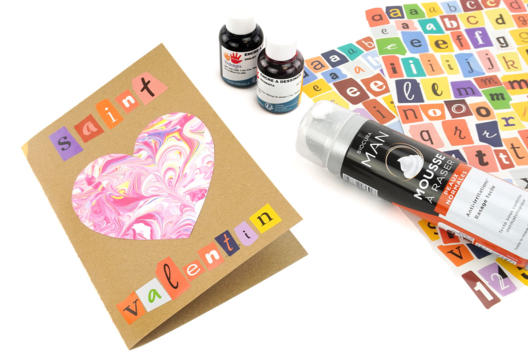
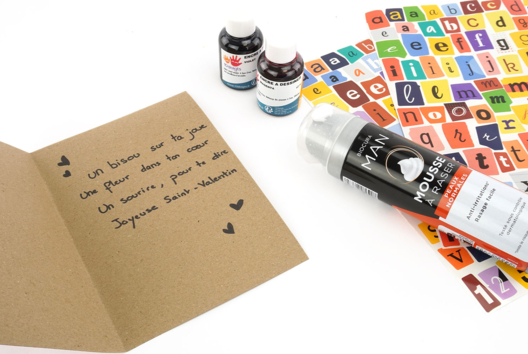
Marbled Valentine's Day Card - Shaving Foam
C17664View 3952 time
-
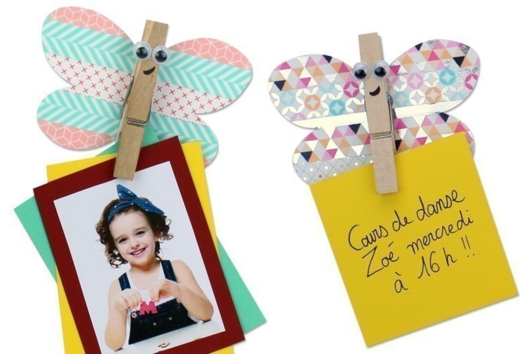
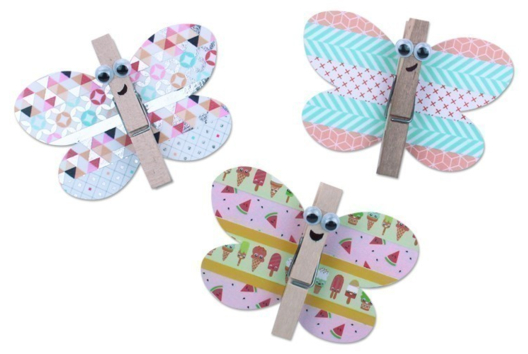
Butterfly Magnet with a Clothespin
C12201View 24576 time -
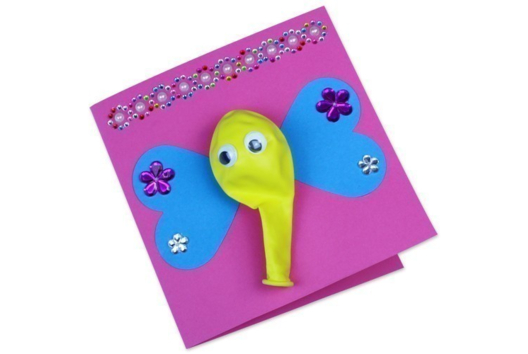
Elephant Card
C12172View 15669 time -
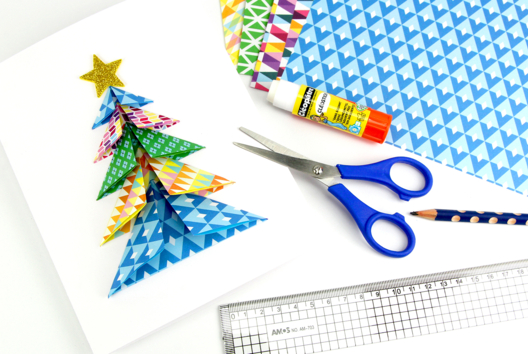

3D Origami Christmas Tree Card
C11929View 198391 time -
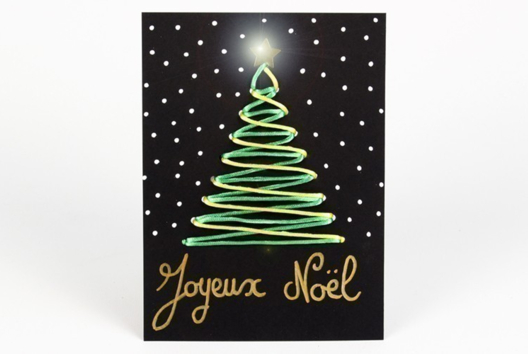
Christmas Tree Embroidery Card
C11502View 100206 time

Vos créations inspirées par ce tuto
Customer review
Give your feedback
Ice Cream Cone Postcard
Be the first to share your review of this product.
Post a review