Your cart is empty.
Magic Plastic Handprint Keychain
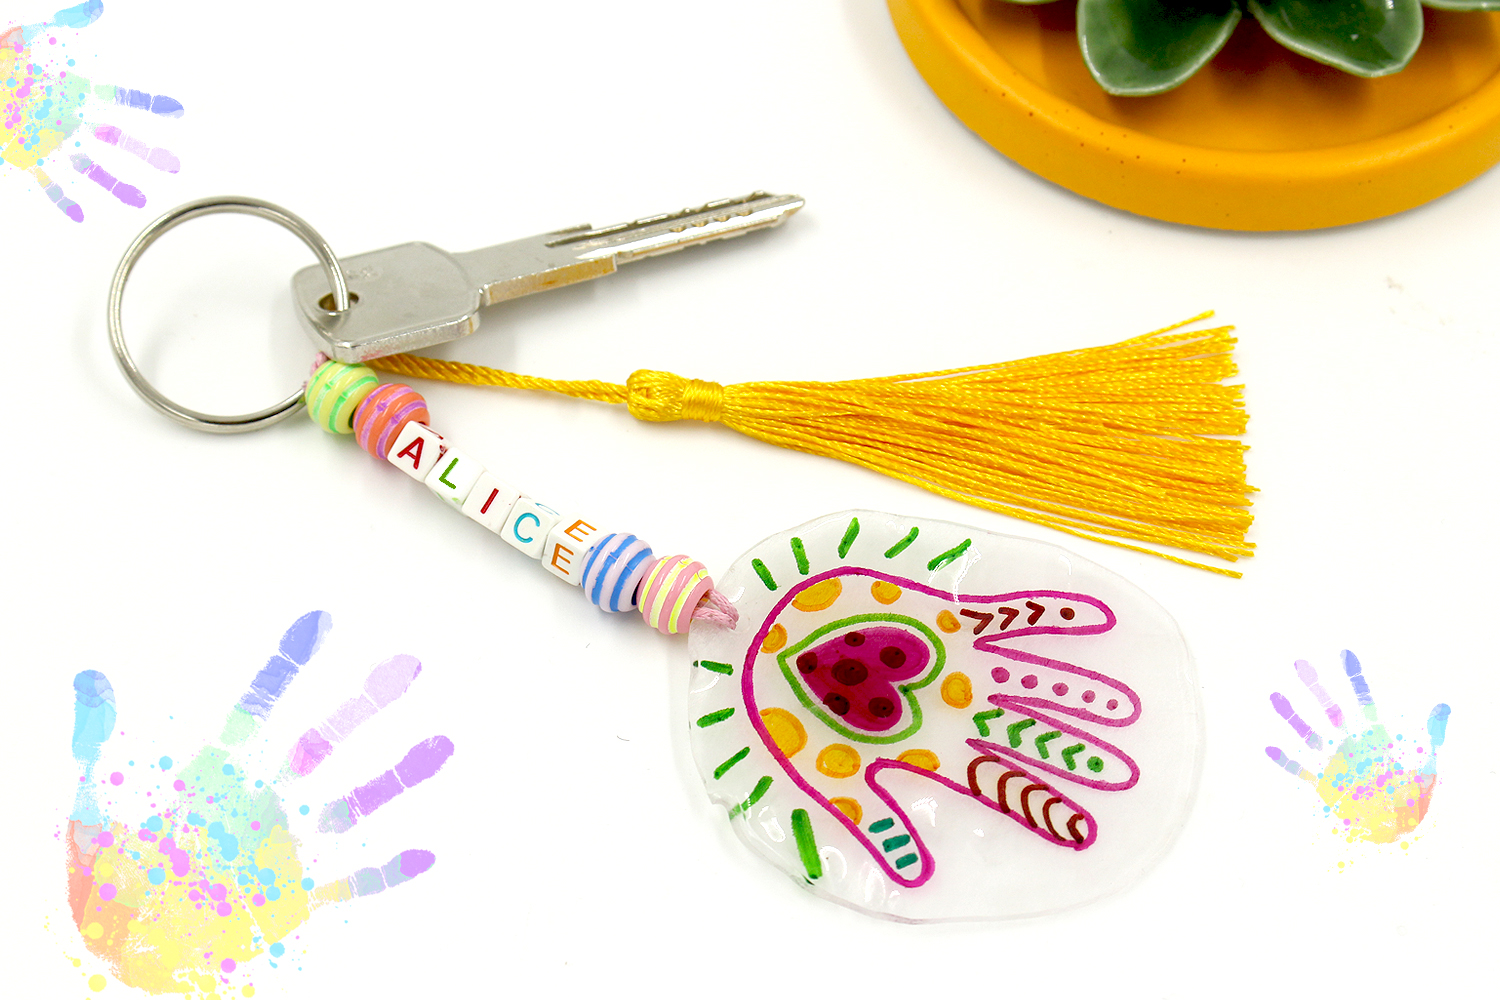


Magic Plastic Handprint Keychain

In this activity, children can create a lovely keychain with plastic fun using their handprint. This charming keychain will be decorated with alphabet beads, colorful beads, and a pretty pom-pom to make a perfect gift for Mother's Day !
If you are not familiar with magic plastic / plastic fun, click on the video below the main photo to discover this incredible activity !
How to complete this tutorial step by step?
Matériel
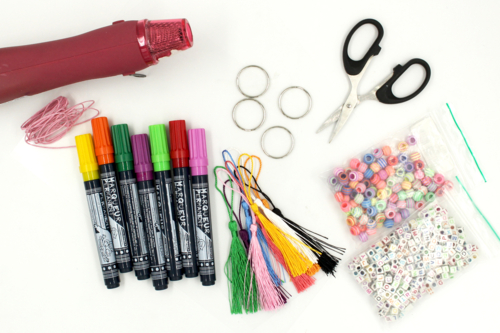
Pour fabriquer ce joli porte-clés il faut :
- une feuille de plastique magique transparent
- des marqueurs permanents colorés
- du cordon en coton ciré Ø 1 mm (environ 50 cm par porte-clés)
- des perles alphabet
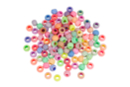
- des "perles abeilles" couleurs pastels
- un pompon à gland
- un anneau en métal Ø 3 cm
- une perforette
- une paire de ciseaux
- un pistolet à chaleur (ou un four)
Step 1
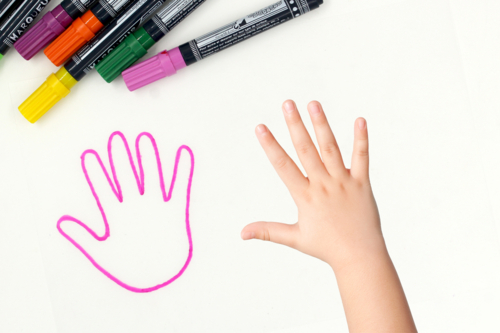
Place your hand, fingers spread apart, on the rough side of the magic plastic and trace the outline with a pencil. Then go over the outline with a colored permanent marker.
An A4 sheet of magic plastic will allow you to make 2 keychains.
Step 2
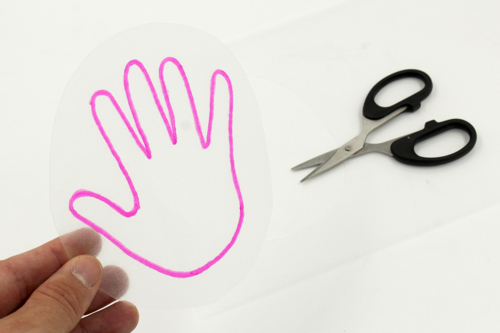
Cut the magic plastic, leaving a 2 cm border all around the hand.
Step 3
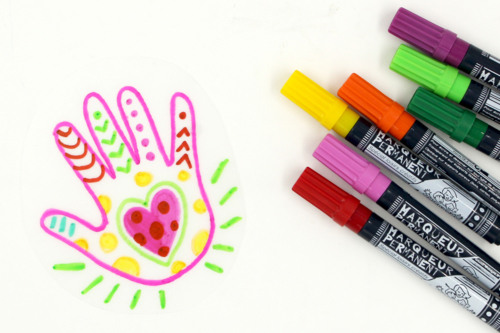
Decorate the inside of the hand with permanent markers.
For Mother's Day, draw a big heart on the inside of the hand!
Step 4
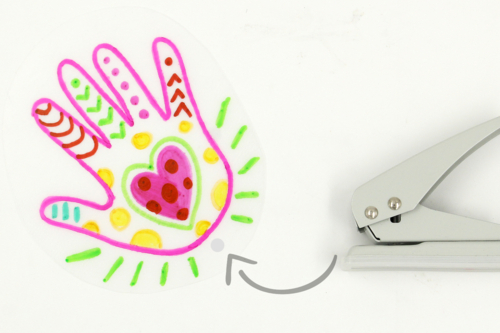
Make a hole of Ø 6 mm at the bottom of the hand using a hole punch.<\/p>\r\n\r\n
<\/p>\r\n\r\n
It is important to make a hole of Ø 6 mm to be able to pass a cord later, as the magic plastic shrinks with the action of heat!
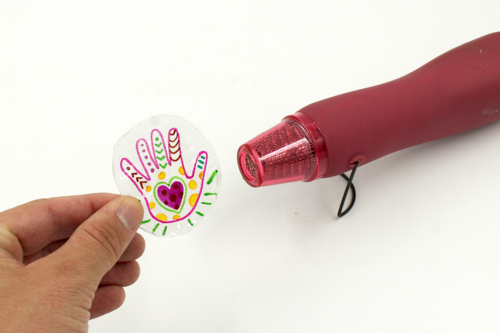
Step 5
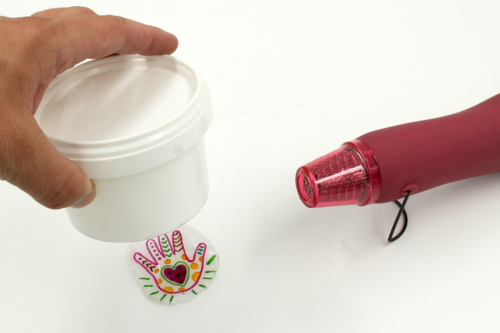
Once the hand is decorated, you will have 2 options to heat the magic plastic:
1) Place the hand in a conventional oven preheated to 150°C for a few minutes (the plastic will first deform then shrink to return to its flat shape. We recommend watching the video at the top of the page to learn how to use the magic plastic)
2) If you do not have an oven, you can use a heat gun. Heat the hand evenly with the heat gun until its size is reduced by about 4 or 5 times. The plastic will deform under the heat, which is normal. Continue heating until the hand returns to its flat shape, then immediately place it under a flat, heavy object to maintain its shape.
Step 6
The plastic is now 4 to 5 times smaller and very thick, ideal for making a keychain!
Step 7
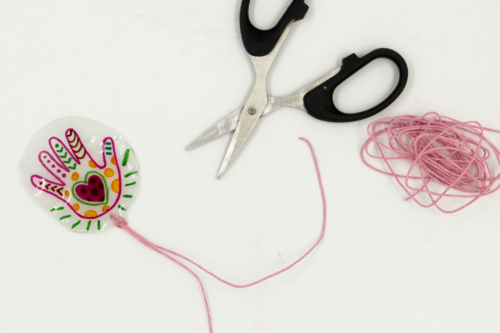
Cut approximately 50 cm of waxed cotton cord Ø 1 mm and then attach it to the magic plastic shape by passing it through the hole made earlier.
Step 8
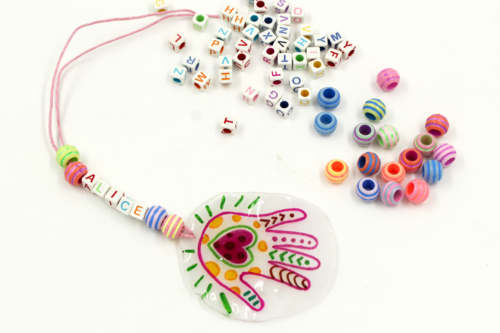
Thread "bee" beads on the cord as well as alphabet beads to write a name and thus personalize the keychain.
Step 9
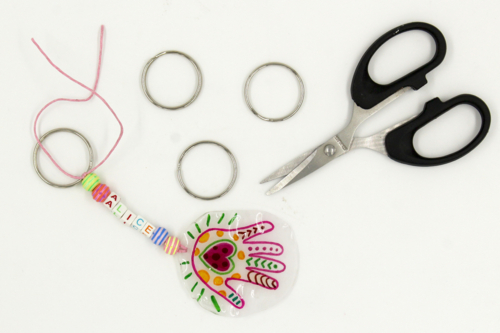
Attach everything to a metal ring with a diameter of 3 cm.
Step 10
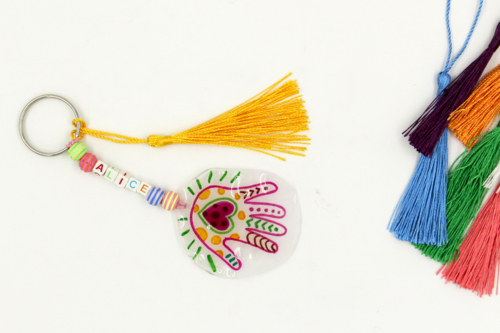
For a pretty colorful finish, attach a large tassel pompom to the metal ring.
The products used:
The products used:

Translucent Magic Plastic - 5 Sheets
Réf. 01600 - See the full range
6,90€ (either 1,38 € / pc)
Available

10 FINGERS Permanent Markers - 12 Colors
Réf. 03271 - Product sheet
16,90€ (either 1,41 € / pc)
Available


17,97€ (either 0,25 € / pc)
Available

Broken Rings Ø 3 cm - 12 pieces
Réf. 01860 - See the full range
2,49€ (either 0,21 € / pc)
Available


Other tutorials on the theme "Mother's Day Tutorials"
-
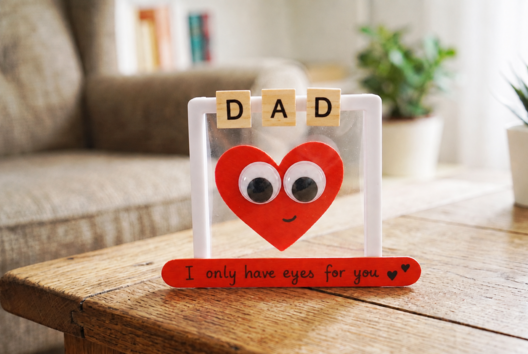
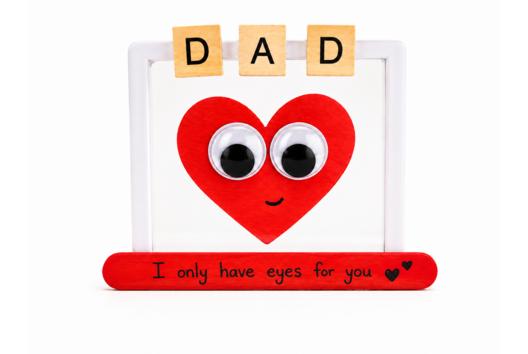
Heart frame Father's Day
C17797View 7309 time


-
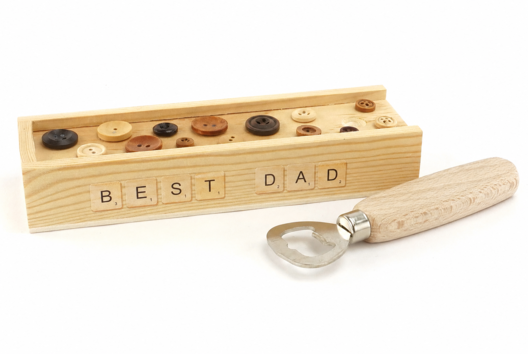
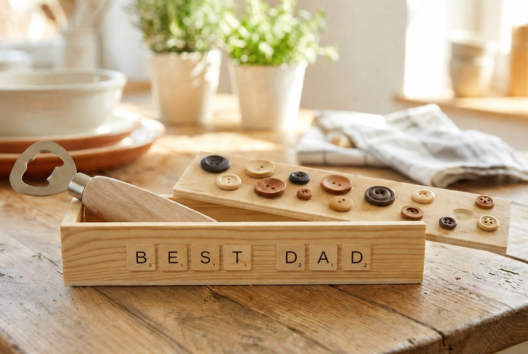
Bottle Opener Set
C17389View 4205 time
-
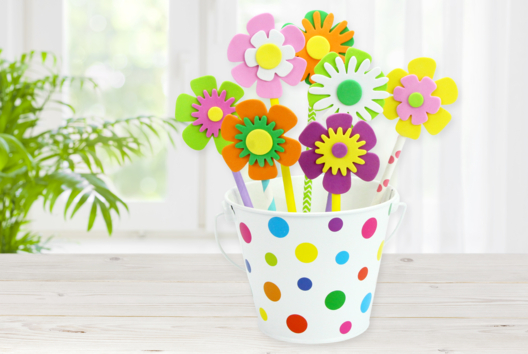
Colorful Flower Pot
C14005View 63862 time -

Heart necklace made of magic plastic
C15195View 24774 time
-
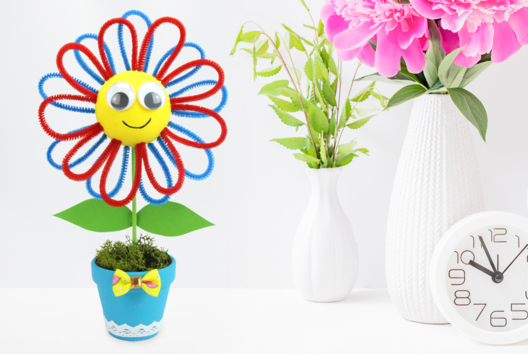
Small Flower in Its Pot
C13952View 50543 time -
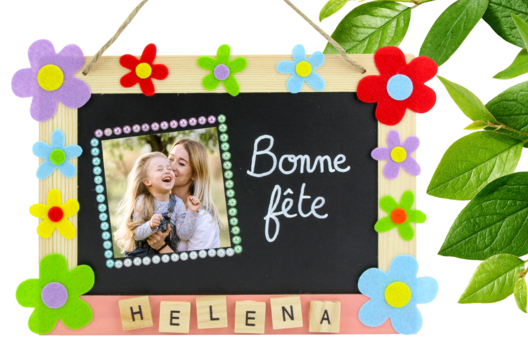
Slate "Happy Celebration"
C15183View 19907 time
-
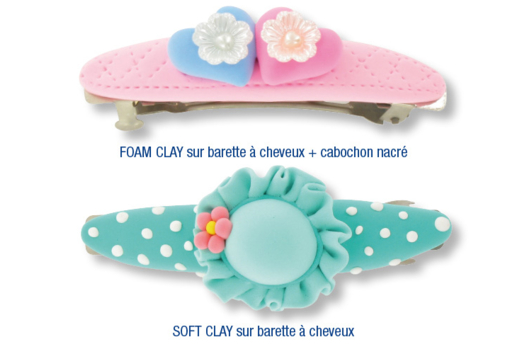
Hair Clips with Modeling Clay
C10918View 7251 time
-
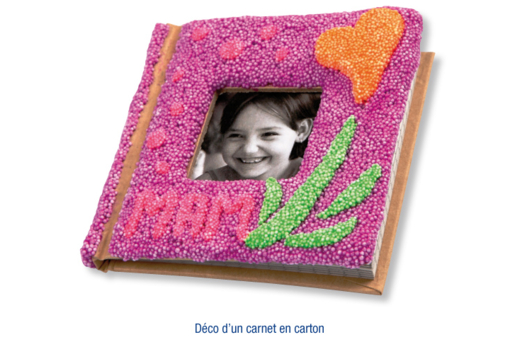
Cardboard Notebook Covered in FOAM CLAY
C10899View 4228 time
-
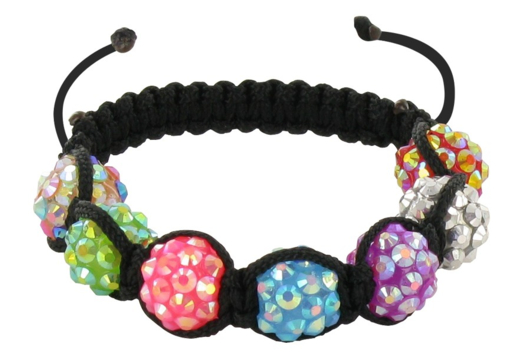
Disco Bead Shamballa Bracelet
C10625View 9104 time
-
Spring Decorative Vase
C9545View 18943 time
Très bonne idée. Merci