Your cart is empty.
Marbled Halloween Pumpkins
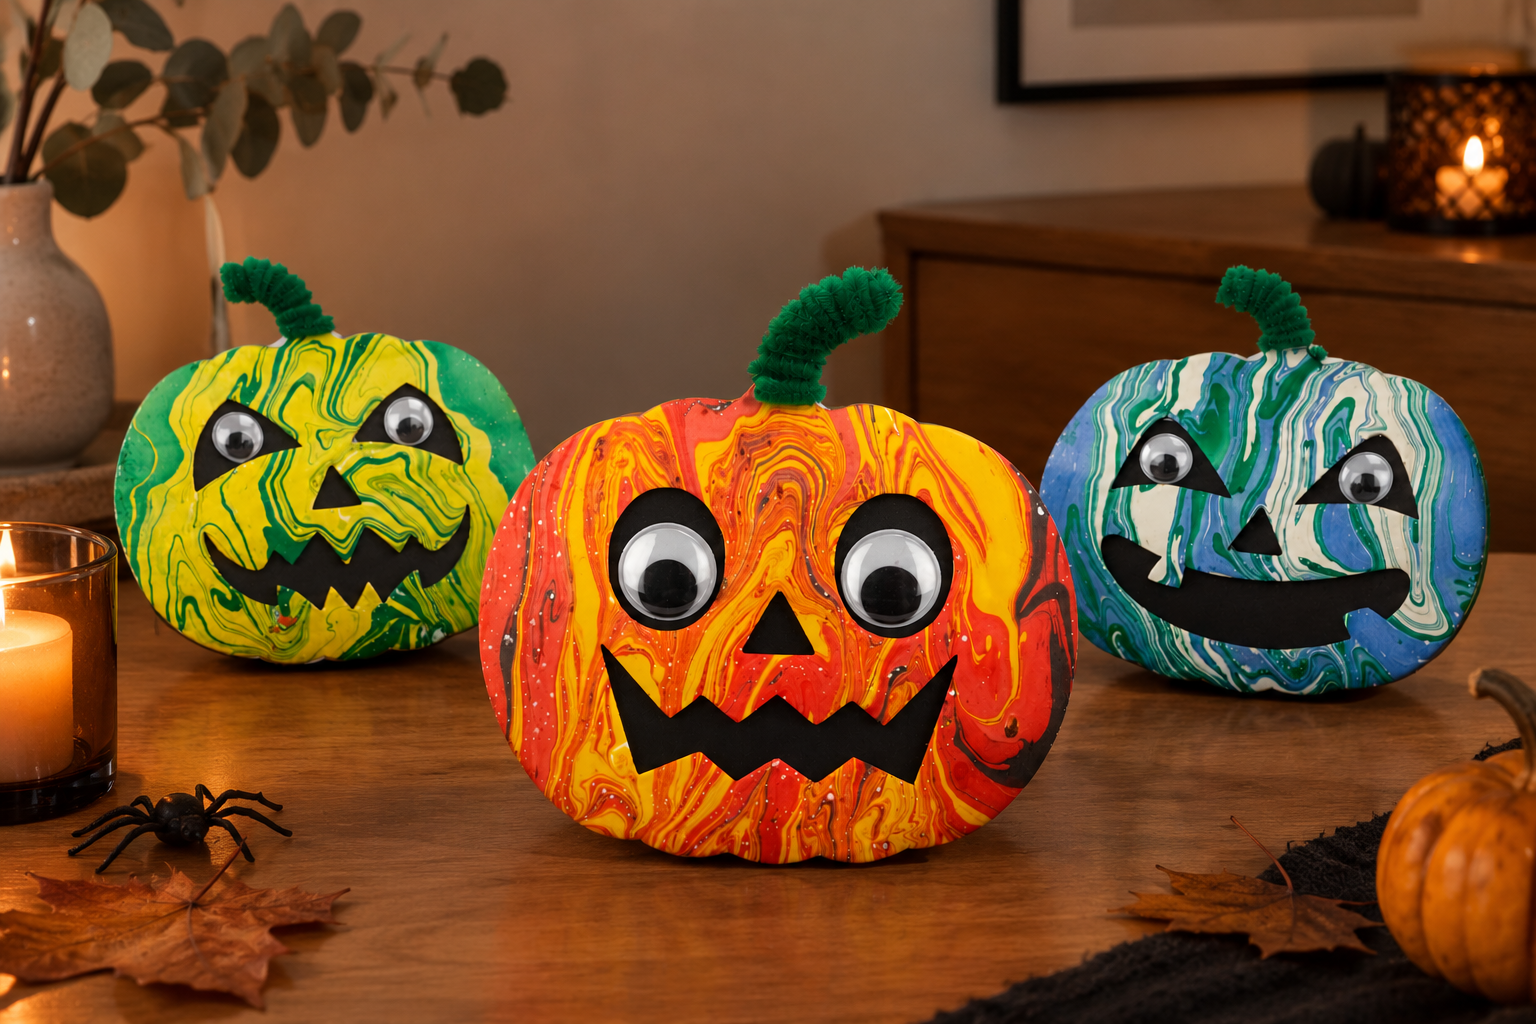
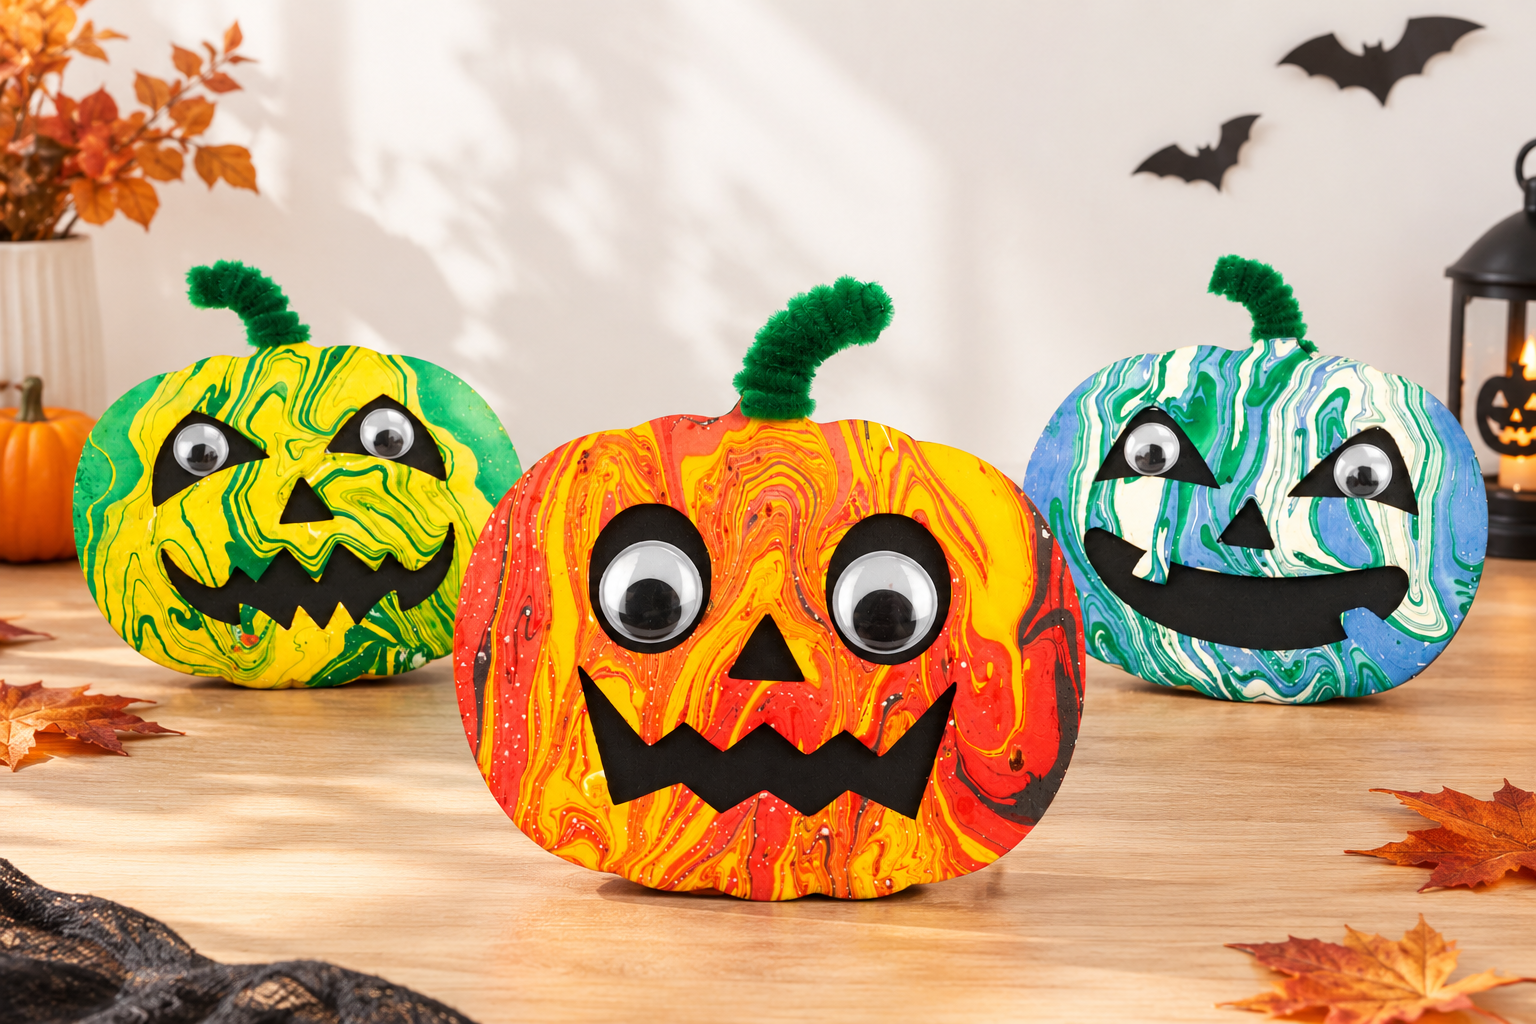
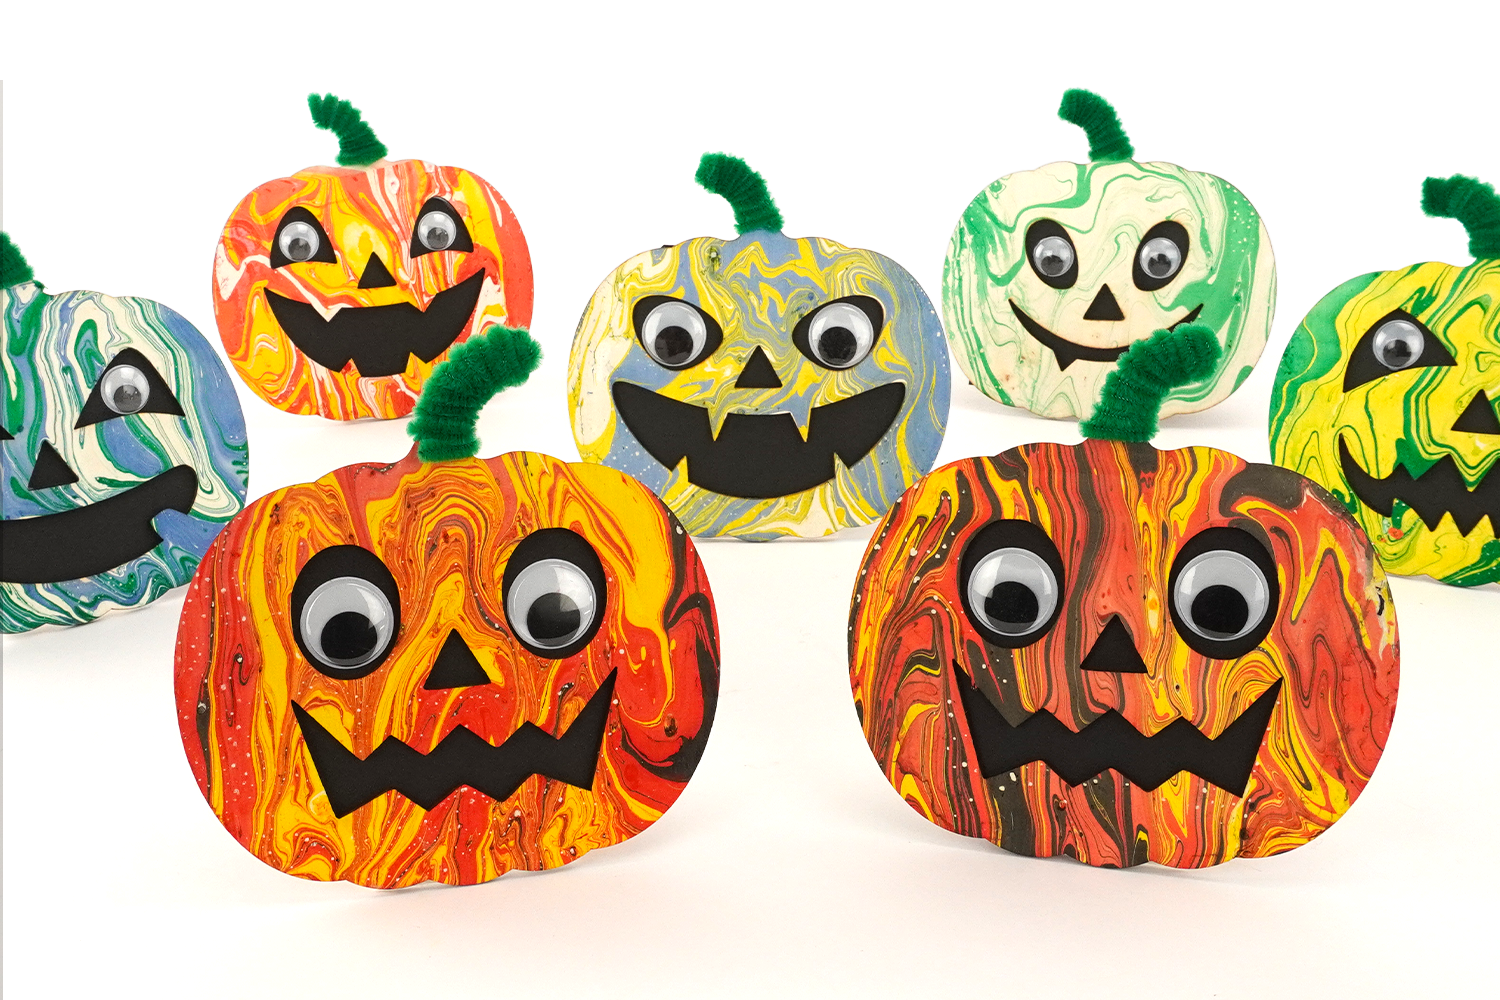
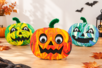

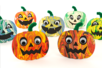
Marbled Halloween Pumpkins



Discover a spectacular and fascinating DIY Halloween project for kids! Thanks to the marbling paint technique on water (marbling), little artists transform a wooden pumpkin into a true work of art with unique swirling patterns. By simply dipping the base into a colored bath, the pigments instantly adhere to the wood, creating vibrant psychedelic effects. It’s the perfect Halloween craft activity to liven up a creative workshop at school or at home!
Why we love this activity?
- The hypnotic result of marbling is unlike any other; each dip reveals a unique and spectacular pattern.
- A sensory experience: children marvel at the inks floating on the water and enjoy mixing the shades.
- Very easy to execute from a young age for a professional-looking result.
- A durable wooden decoration that can be reused every year for Halloween.
An ideal creative activity to discover an original painting technique with a lovely Halloween base to customize.
How to complete this tutorial step by step?
Materials:
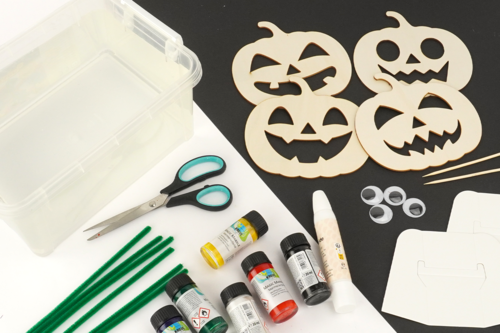
To create a marbled Halloween pumpkin, you will need:
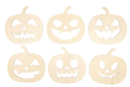
- a wooden pumpkin shape
- marbling paint
- a green pipe cleaner
- two googly eyes Ø 18 mm
- a sheet of thick black paper
- a pair of scissors
- white glue
- a wooden stick
- a basin or bucket filled with water
- a cardboard base
Step 1:
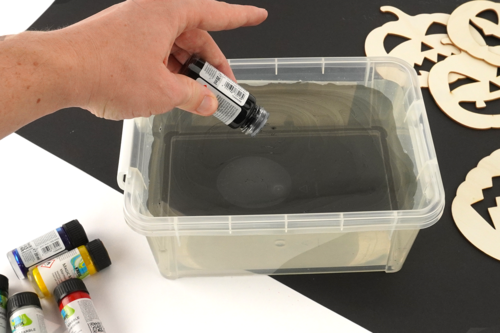
Fill a bucket or basin with water.
Shake the bottles, then drop a few drops of the first color of marbling paint (starting with the darkest).
Step 2:
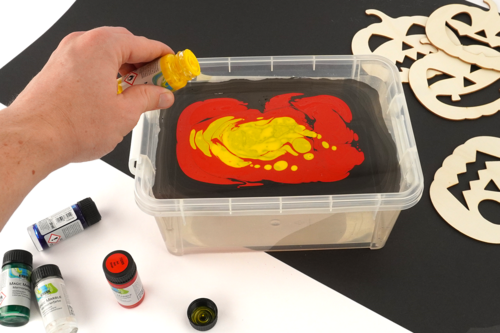
Then add the other colors, from darkest to lightest.
Step 3:
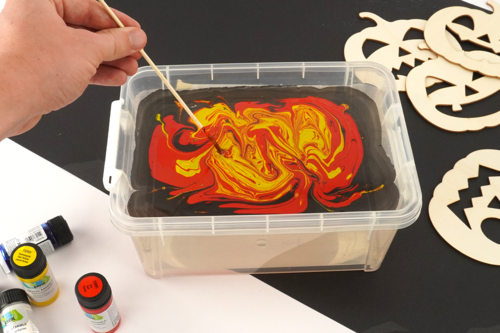
Gently slide the stick across the surface to create marbling, without mixing the colors too much.
Step 4:
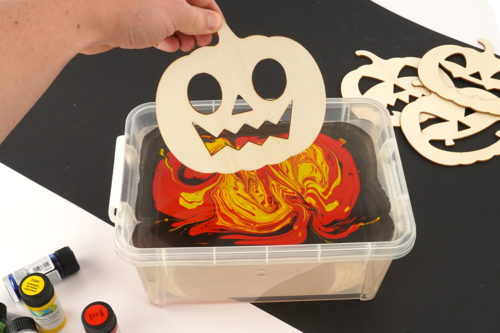
Then gently dip the wooden pumpkin into the water, through the layer of paint, holding it by the stem.
Step 5:
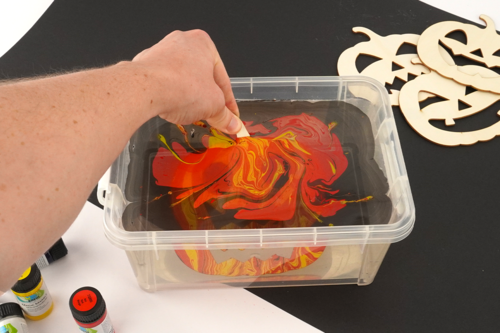
Once the pumpkin is fully submerged, blow gently on the water to push away the remaining paint on the surface.
Step 6:
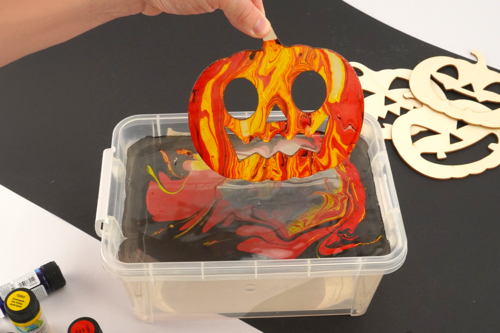
Then carefully remove the pumpkin from the water: the marbled pattern will clearly appear on the base.
Let the pumpkin dry for about 1 hour.
Step 7:
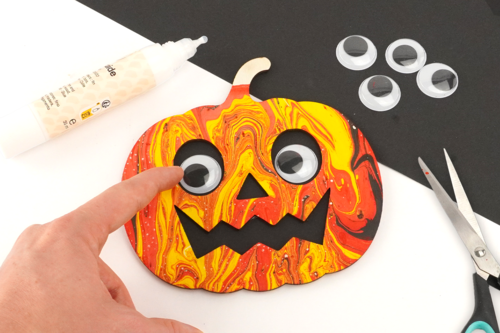
Glue a sheet of black paper to the back of the pumpkin to highlight the eyes, nose, and mouth.
Then glue 2 googly eyes on the front with white glue.
Step 8:
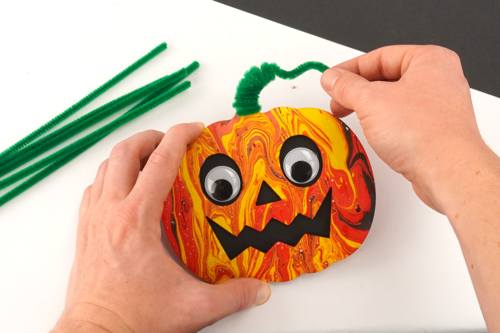
Wrap a green pipe cleaner around the pumpkin's stem.
Step 9:
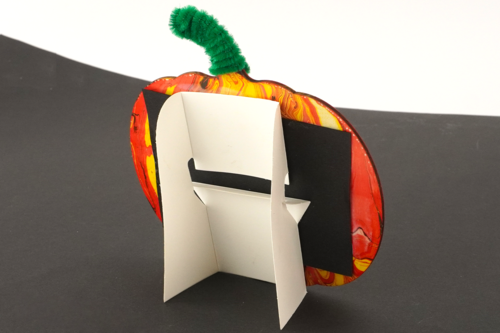
Tip: to display the children's pumpkin vertically, you can use our cardboard bases to glue to the back of the creations!
The products used:
The products used:

Marbling Paint Set - 6 Basic Colors
Réf. 04005 - Product sheet
26,99€ (either 4,50 € / pc)
Available


3,59€ (either 0,36 € / pc)
Available



Other tutorials on the theme "Halloween Tutorials"
-
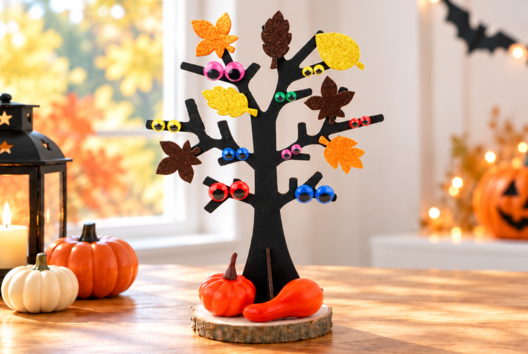
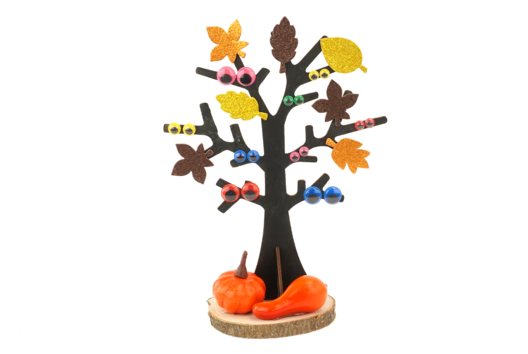
Halloween tree with funny eyes
C18052View 529 time


-
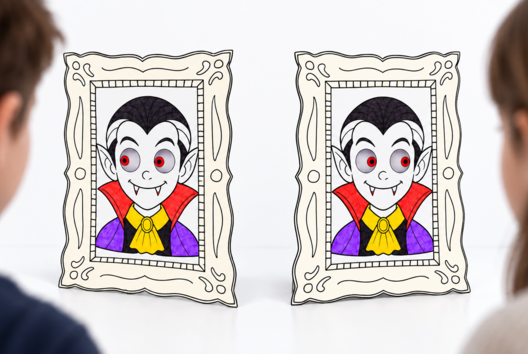
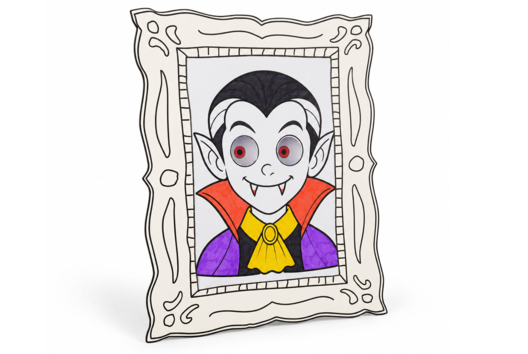
3D Vampire Coloring Page
C18040View 12723 time

-
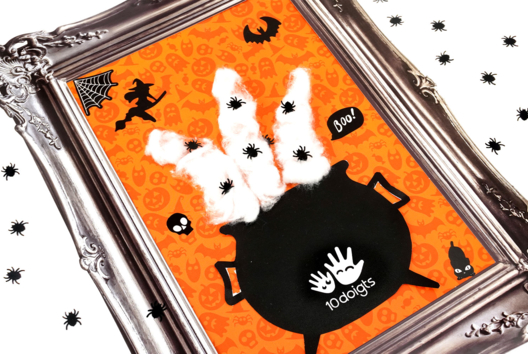
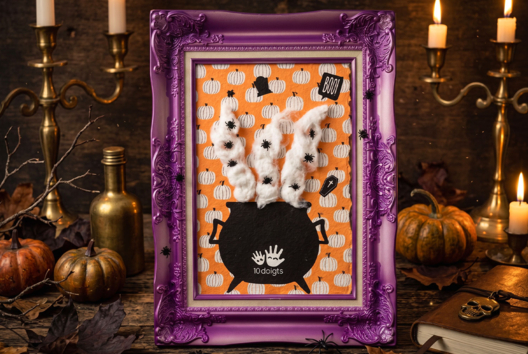
Magic Cauldron Board
C17962View 3825 time
-
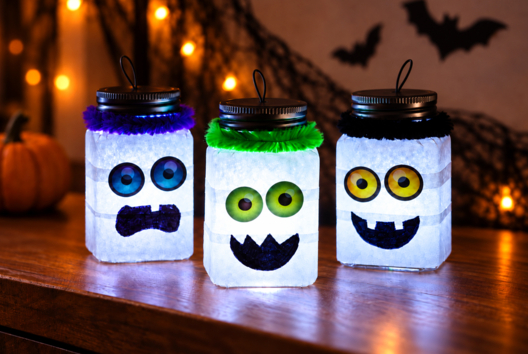
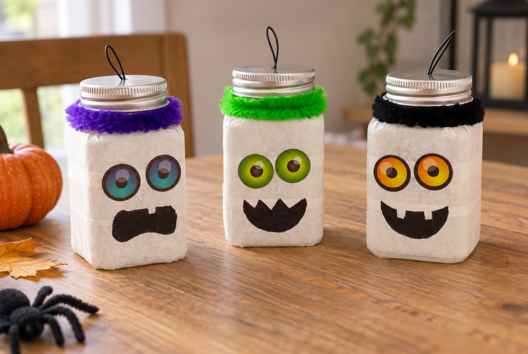
Little Halloween Monsters with Lights
C17964View 15671 time
-
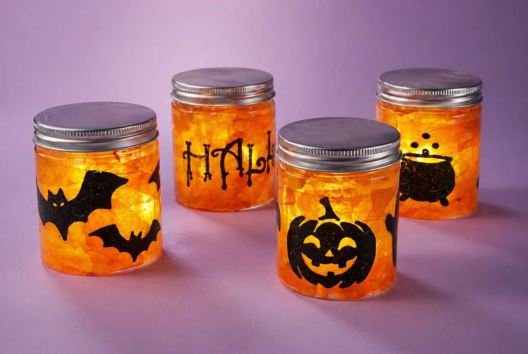
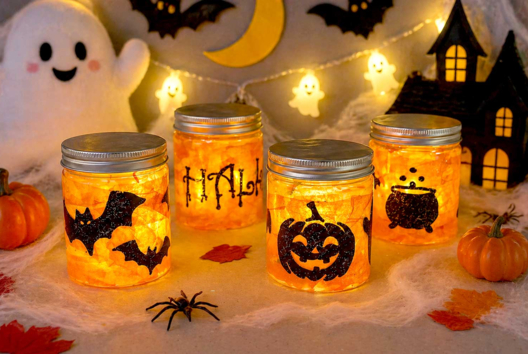
Halloween Crafts
C11083View 9621 time

-
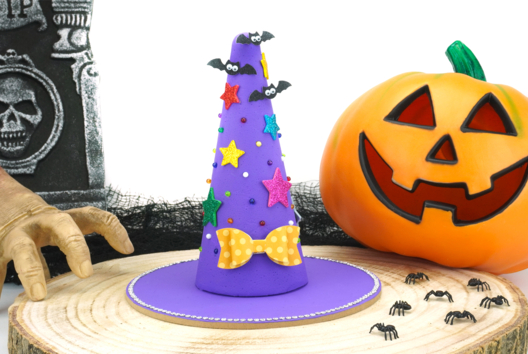
Witch Hat
C15382View 37130 time
-
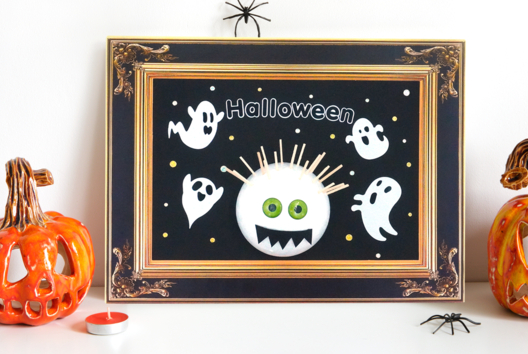
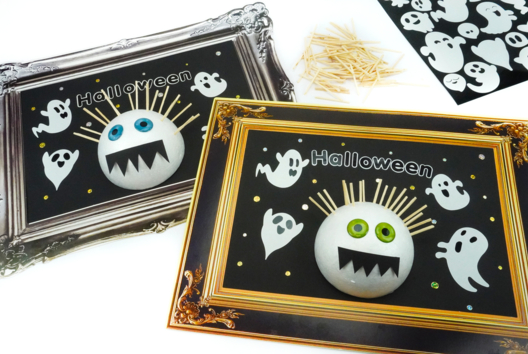
Monster Board
C15378View 18672 time
-
Flying Saucer with a Plate
C11136View 25898 time
-
Halloween Black Cats
C14770View 29479 time
-
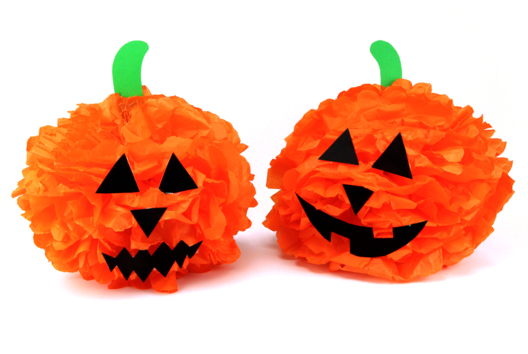
Giant Halloween Pumpkins Made of Tissue Paper
C14753View 52989 time
Customer review
Give your feedback
Marbled Halloween Pumpkins
Be the first to share your review of this product.
Post a review