Your cart is empty.
Owl Hangings with Wooden Slices

Owl Hangings with Wooden Slices

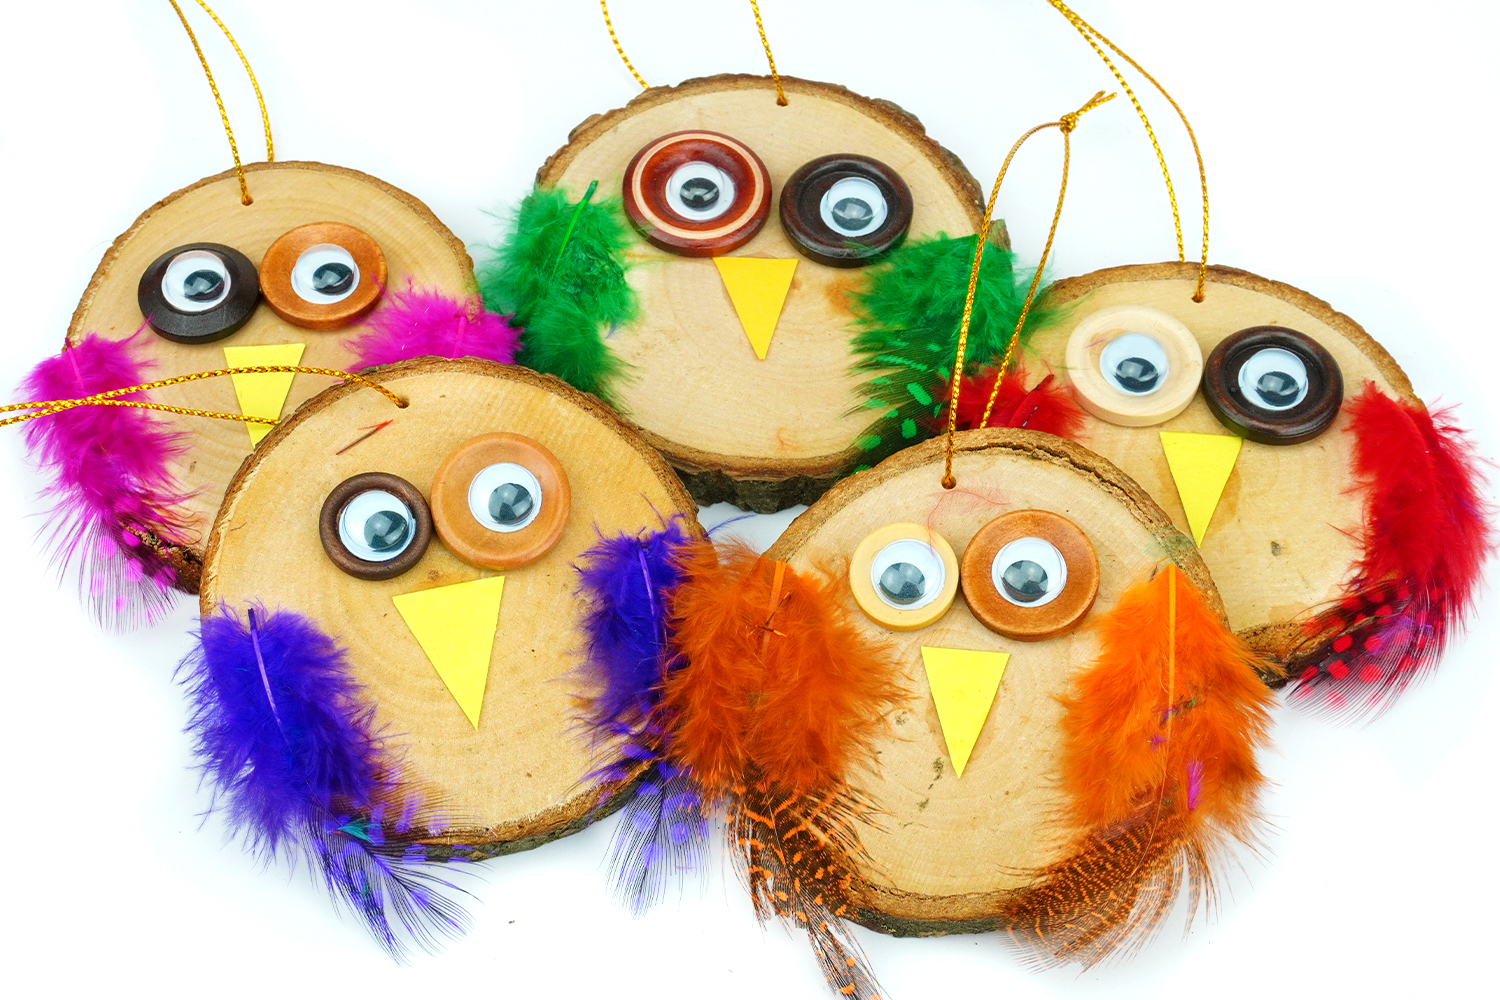
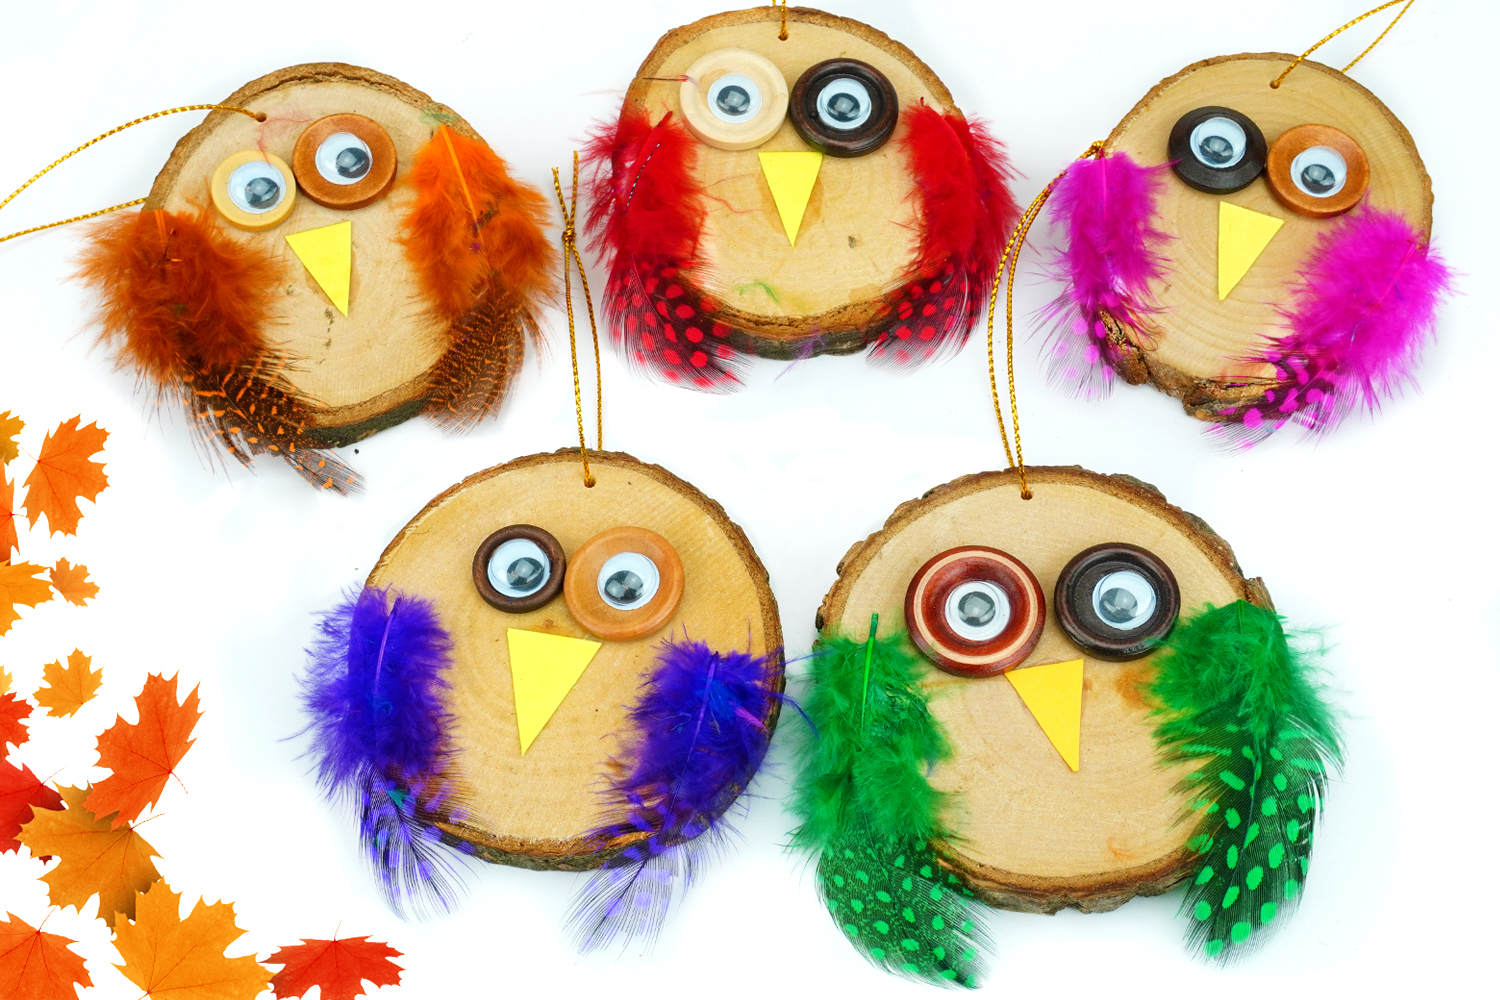
For this autumn craft, we will create owl hangings using wooden slices, wooden buttons, and beautiful colored pheasant feathers!
An easy creative activity on the theme of nature to do with children from the age of 5.
Thèmes de l'idéa créa :
#Animal Tutorials
#Craft Tutorials
#Funny Characters Tutorials
#Nature
#Autumn Tutorials
#Adult Tutorials
How to complete this tutorial step by step?
Materials:
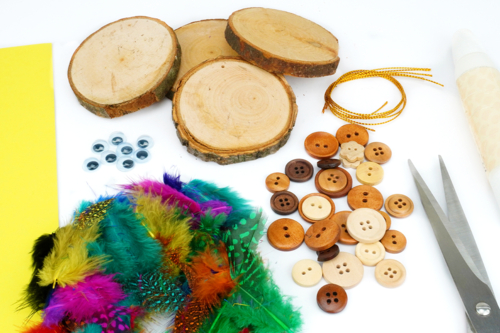
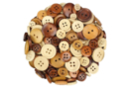
To make an owl you will need:
- a wood slice suspension
- wooden buttons
- colorful pheasant feathers
- a thick yellow sheet of paper
- two googly eyes Ø 10 mm
- white glue
- a pair of scissors
Step 1:
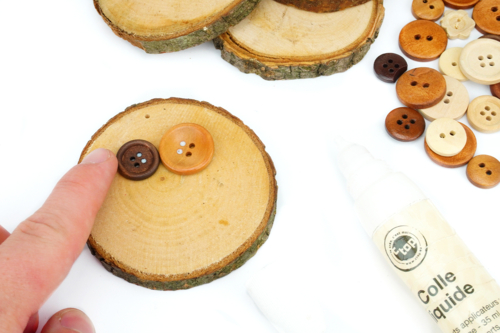
To begin, glue two wooden buttons onto a slice of wood.
Step 2 :
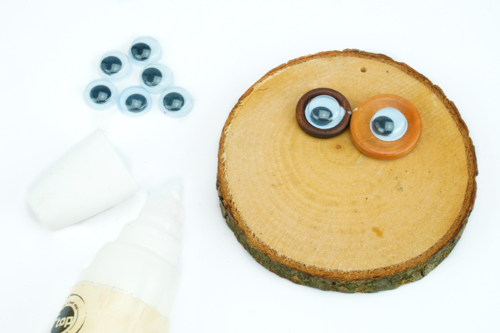
On each button, stick a movable eye Ø 10 mm.
Step 3:
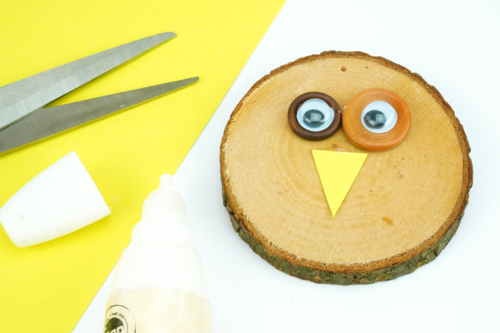
Cut a triangle from a sheet of yellow paper and then glue it onto the wooden edge.
Step 4:
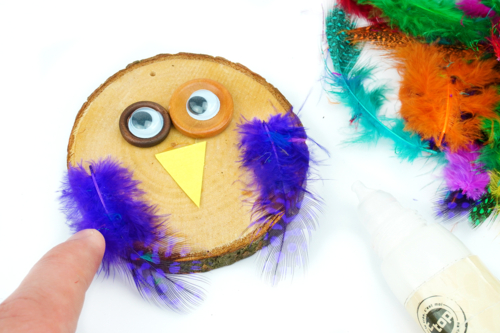
With white glue, stick a feather on each side of the wooden slice to form the owl's wings.
Step 5:
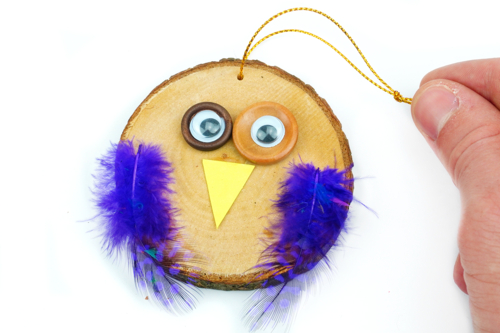
Finally, pass the cord (provided with the wooden slices) through the hole intended for this purpose so that you can hang the owl.
The products used:
The products used:
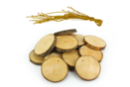
Wood Slice Hangings + Cords - 12 Pieces
Réf. 46698 - Product sheet
6,99€ (either 0,58 € / pc)
Available

5,99€
Available

3,59€ (either 0,36 € / pc)
Available


Other tutorials on the theme "Autumn Tutorials"
-
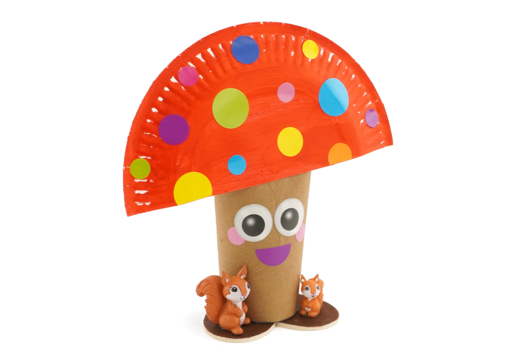
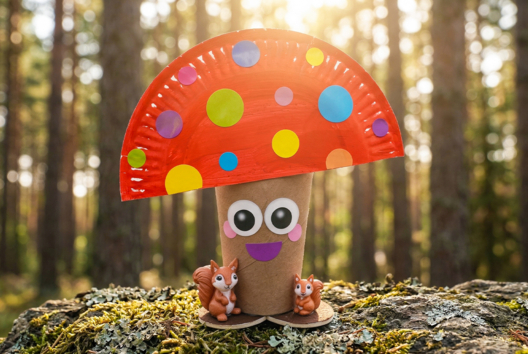
Funny Mushroom and Little Squirrels
C17711View 988 time


-
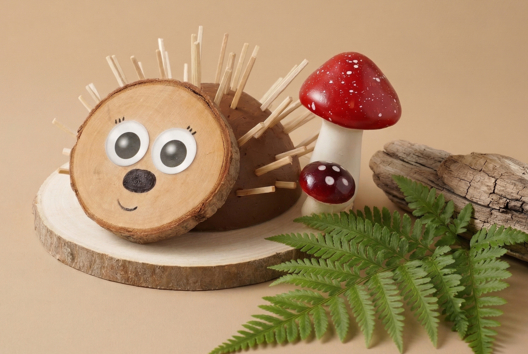
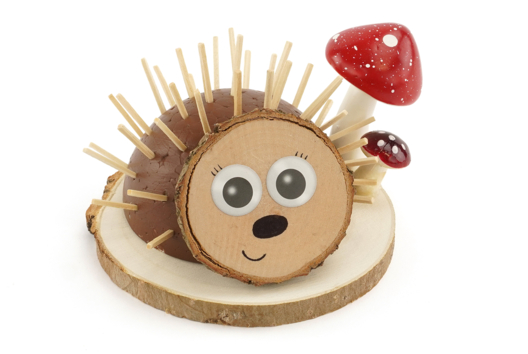
Hedgehog and Wooden Matches
C17707View 821 time
-
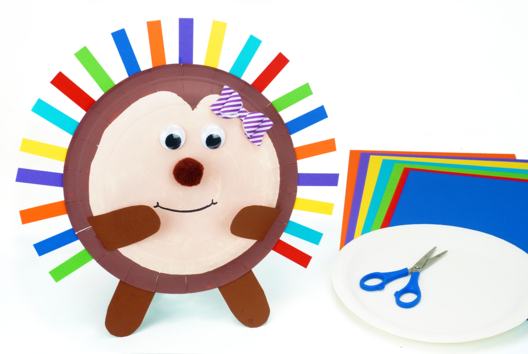
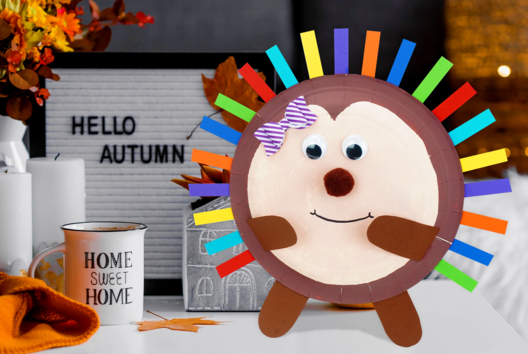
Hedgehog with a Plate and Paper Strips
C8278View 17386 time
-
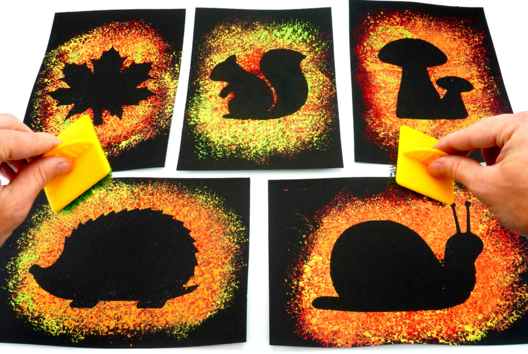
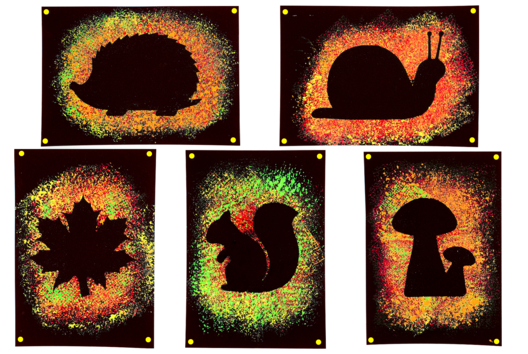
Autumn Silhouettes with Textured Stamps
C10988View 256248 time
-
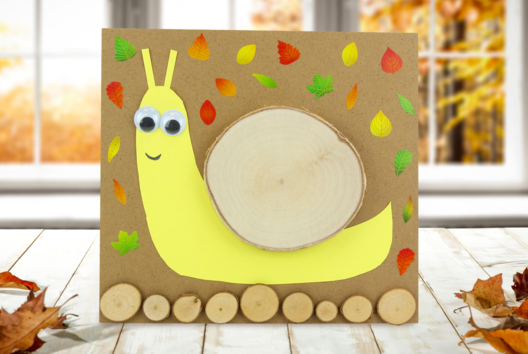
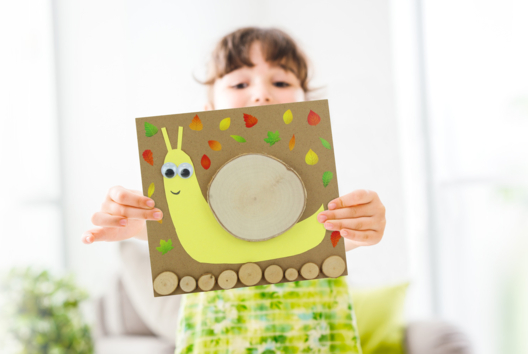
Autumn Snail
C15173View 25998 time
-
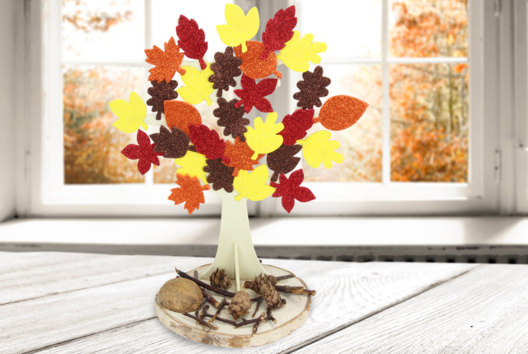
Autumn Tree
C14751View 15278 time
Vos créations inspirées par ce tuto
Avis client
5.0/5
1 avis publié
5
100%
4
0%
3
0%
2
0%
1
0%
Très mignon et facile le petit garçon de 2 ans et 8 mois que je garde était très heureux de la realiser