Your cart is empty.
Paper Caterpillars
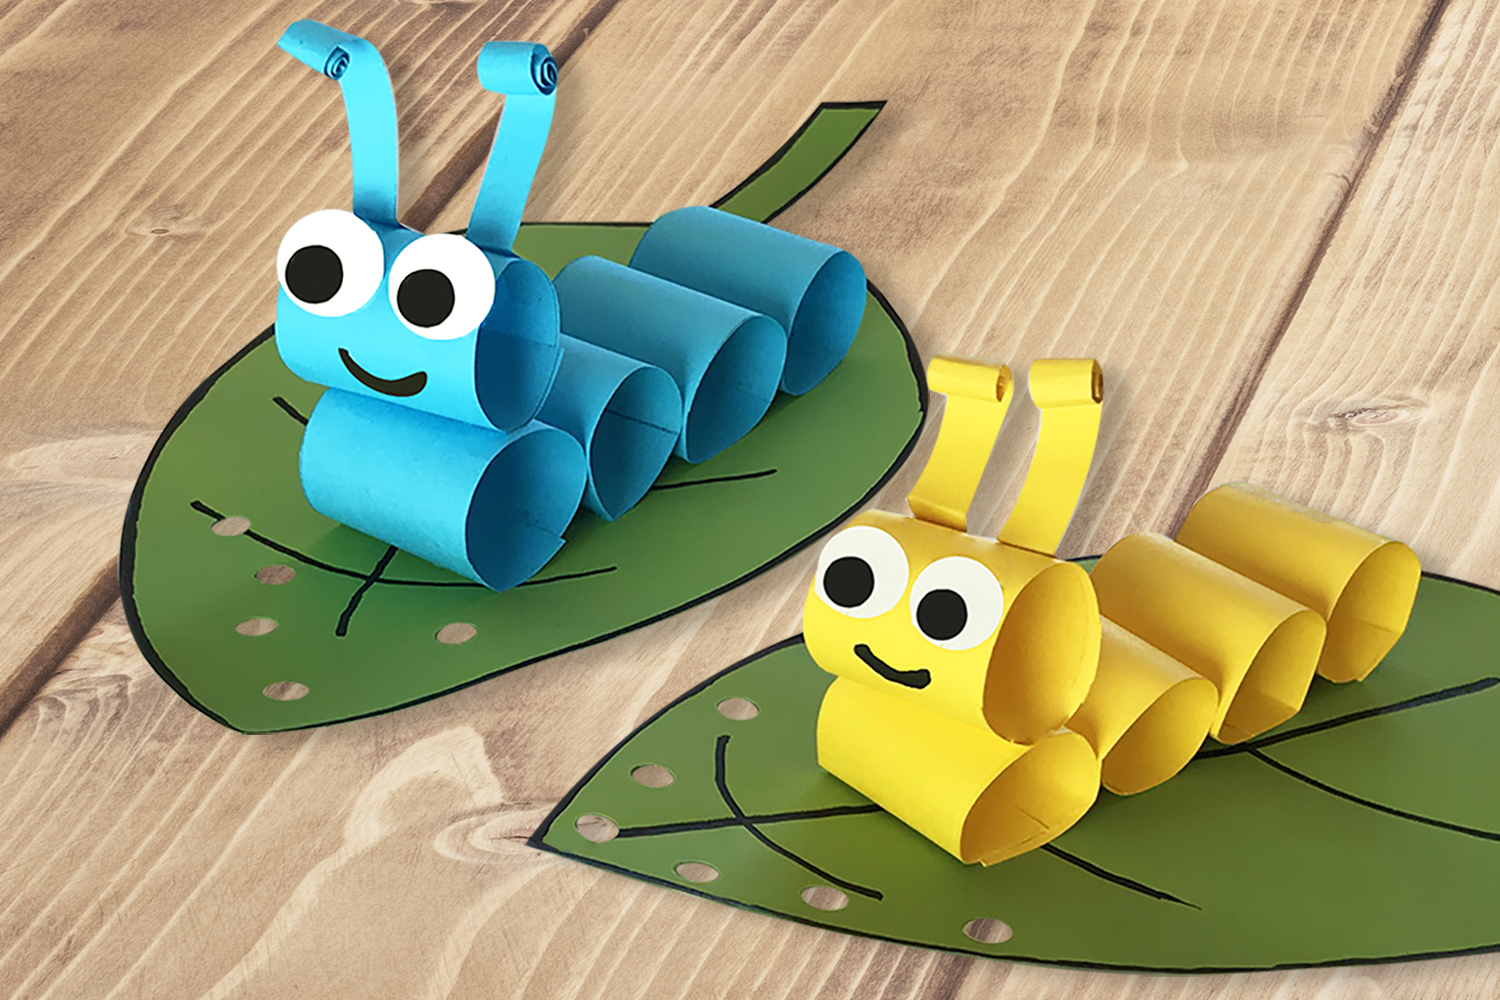
Paper Caterpillars
A super fun craft to do with kids.
To make these little caterpillars in all colors, little ones will simply use sheets of paper, a pair of scissors, a black marker, and a hole punch.
How to complete this tutorial step by step?
Materials:
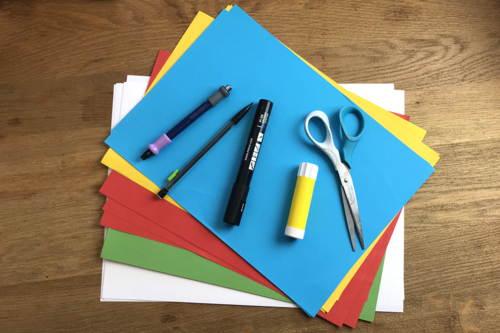
To make a caterpillar, you need:
- Colored A4 paper sheets
- A pair of scissors
- A glue stick
- A black marker
- A pencil
- A hole punch
- A cutting mat
Step 1 :
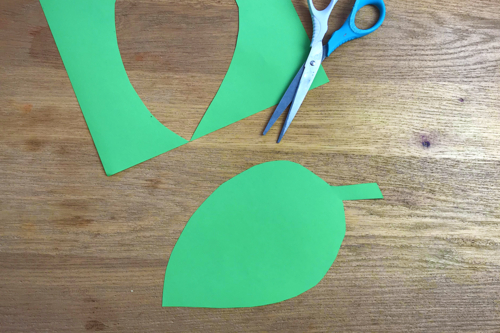
Cut out a leaf shape from a sheet of A4 green paper.
Step 2:
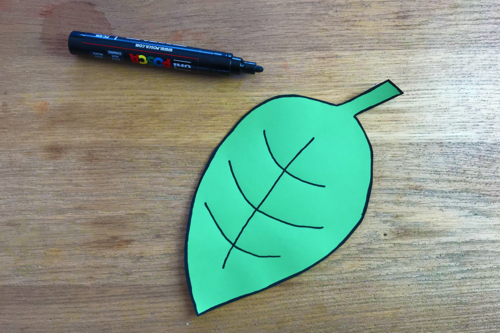
Draw the outlines and veins of the leaf with a permanent marker.
Step 3:
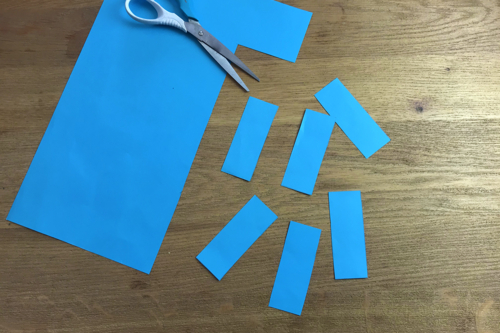
Cut six rectangles of 8 cm x 3 cm from a sheet of colored paper.
Step 4:
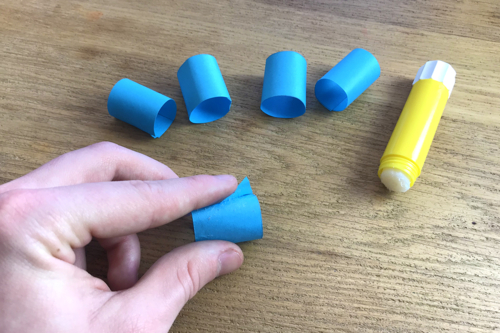
Form cylinders with five strips of paper by applying glue to the ends.
Step 5:
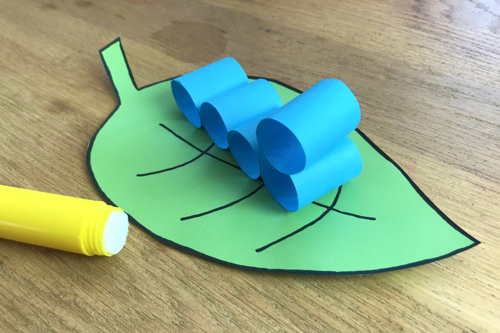
Glue the cylinders onto the sheet, overlapping the first two to form the head of the caterpillar.
Step 6:
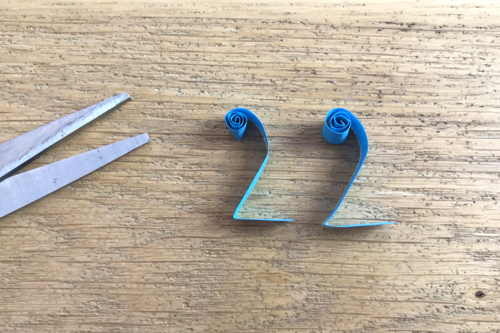
Cut 2 strips of paper measuring 0.8 cm x 8 cm, roll the ends, and then fold at the base to form a "2".
Step 7:
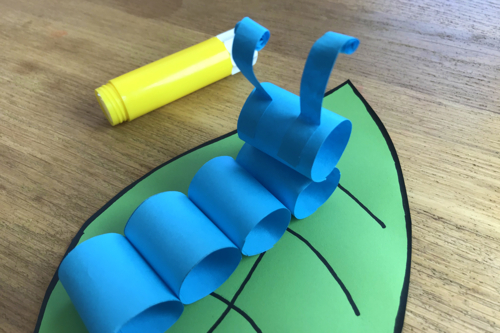
Glue the two antennas onto the head.
Step 8:
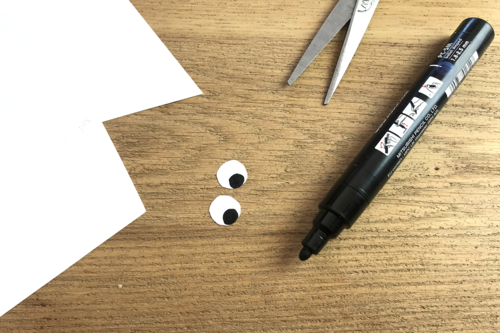
Cut out two circles of about Ø 1.5 cm.
Then draw the pupils
Step 9:
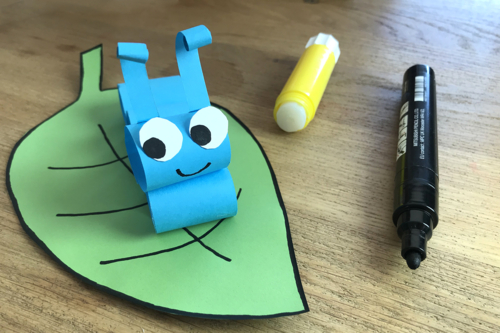
Glue the eyes and draw the mouth with the black marker.
Step 10:
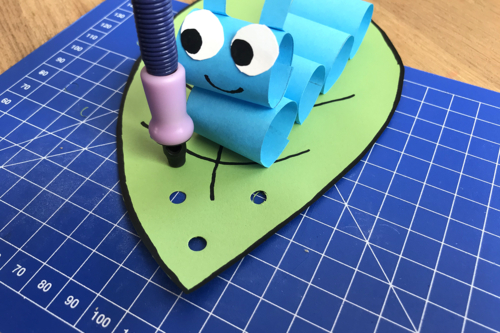
Finally, punch small holes around the caterpillar.
The products used:
The products used:
26,99€ (either 0,11 € / pc)
Available




Other tutorials on the theme "Glue and Fold Tutorials"
-
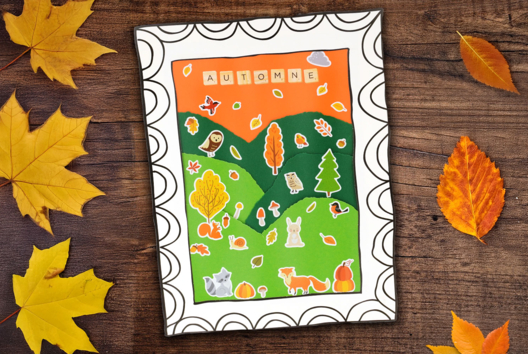

Autumn Collage Board
C17958View 1324 time


-
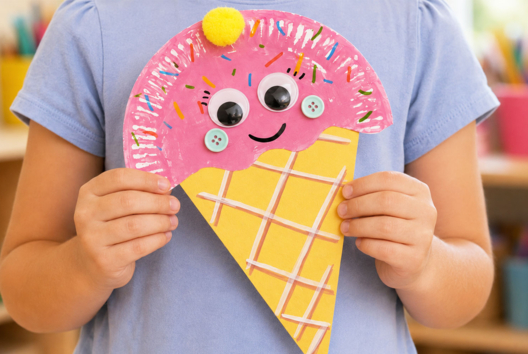
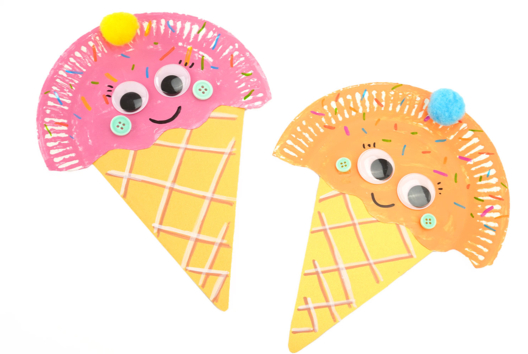
Ice cream cone with a cardboard plate
C17845View 18001 time


-
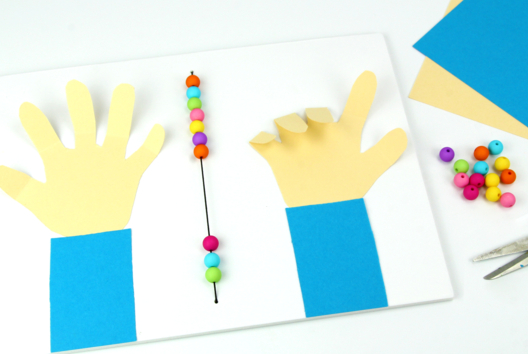
Montessori Activity: I'm Learning to Count
C14525View 33976 time

-
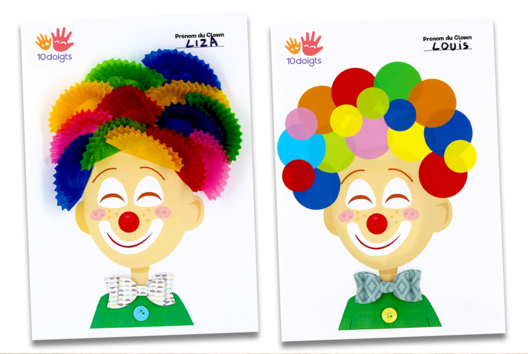
Printable Clown to Decorate
C14521View 59782 time
-
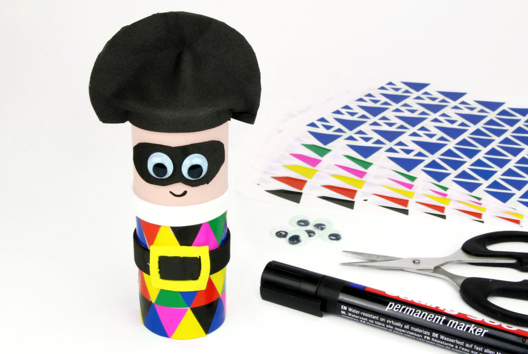
Harlequin with a Cardboard Roll
C14520View 20430 time -
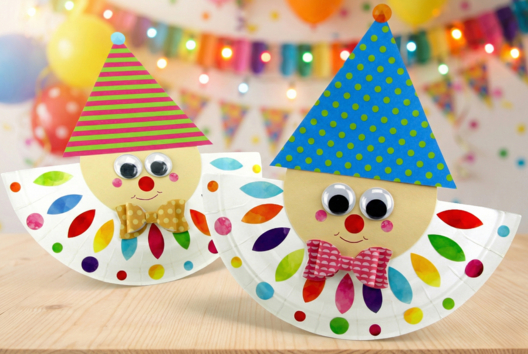
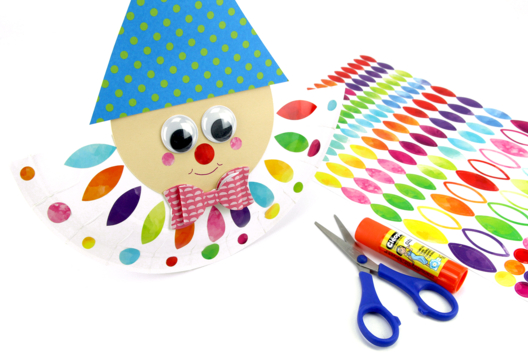
Harlequin with a Paper Plate
C14496View 98012 time
-
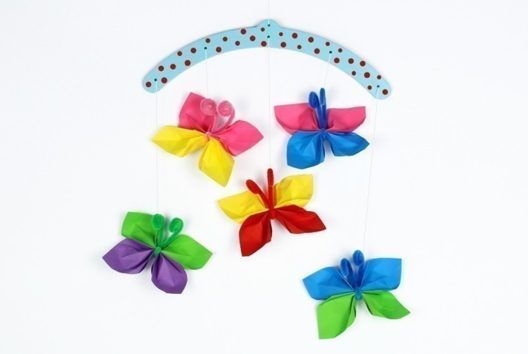
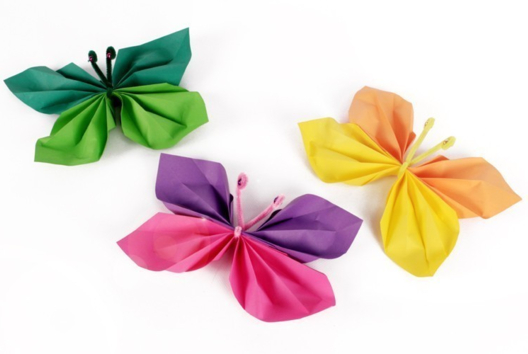
Paper Butterflies
C11323View 109140 time -
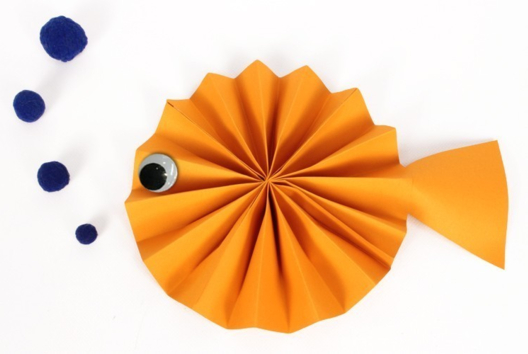
Paper Fish
C11321View 47765 time
-
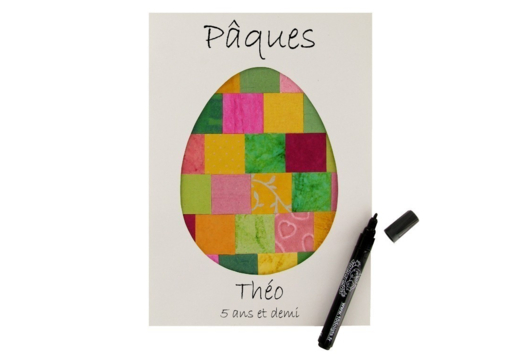
Easter Egg Collage
C11320View 27076 time -
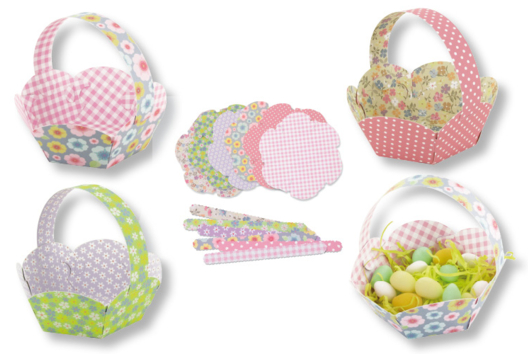
Floral Baskets
C11243View 13531 time
Vos créations inspirées par ce tuto
Avis client
5.0/5
1 avis publié
5
100%
4
0%
3
0%
2
0%
1
0%
Customer review

Nice caterpillar!
Everything is provided, even the holes in the sheet!
Chenille sympa !
Tout est prévu, même les trous dans la feuille !
 AI Translation •Show the original