Your cart is empty.
Paper Ladybug with Spring
Paper Ladybug with Spring
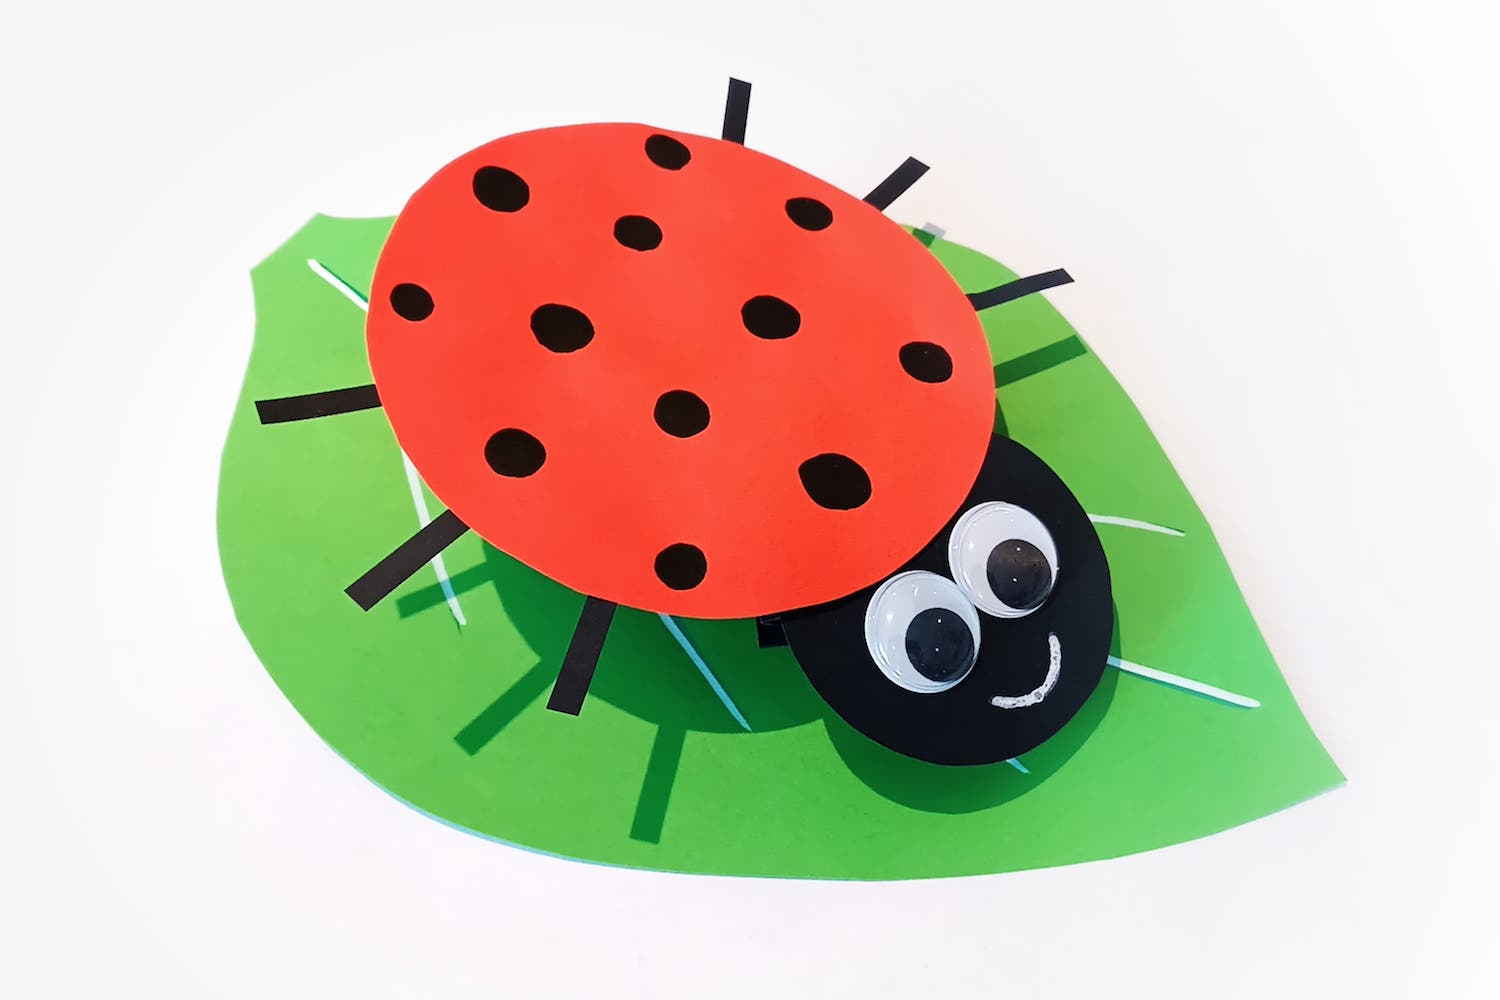
Discover a simple craft that will allow children to make a paper ladybug mounted on a spring!
An easy and fun creative activity that only requires a few sheets of paper, a pair of scissors, and a tube of glue.
How to complete this tutorial step by step?
Materials
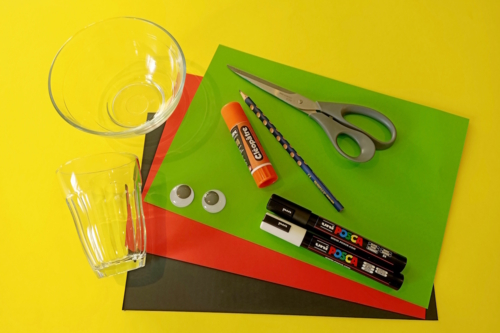
To make this paper ladybug you will need:
- colored A4 paper
- a glue stick
- a pencil
- a pair of scissors
- 2 googly eyes
- a bowl and a cup
- paint markers
Step 1
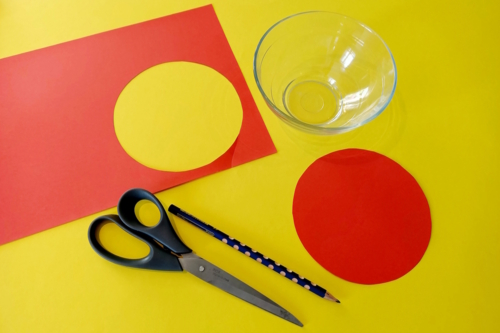
Trace a circle on a sheet of red paper using a bowl and a pencil.
Then cut out the circle with a pair of scissors.
Step 2
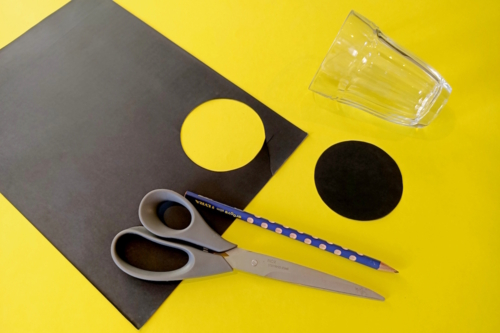
Trace a circle on a piece of black paper using a glass or a cup.
Then cut out the circle with a pair of scissors.
Step 3
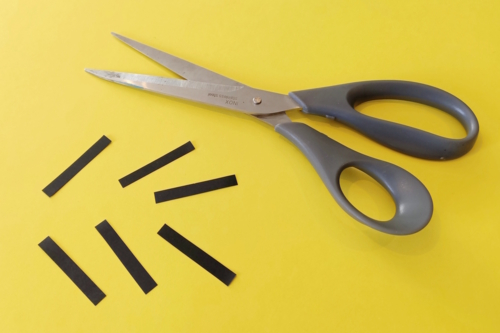
Cut 6 small strips of black paper (about 4 cm).
Step 4
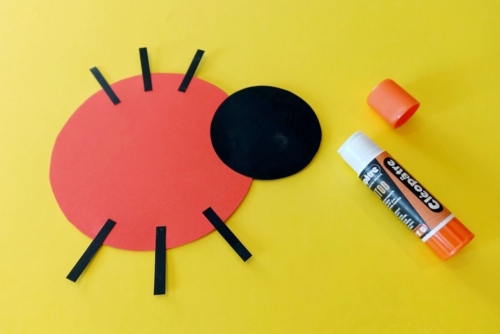
Glue the head and the legs of the ladybug onto the red paper circle.
Step 5
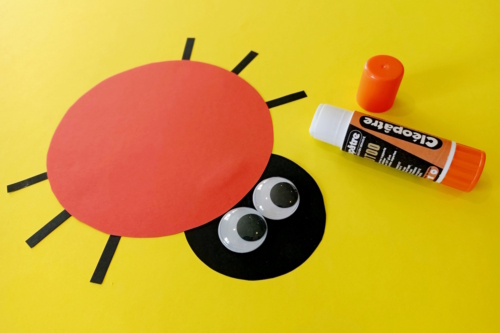
Stick on 2 movable eyes.
Step 6
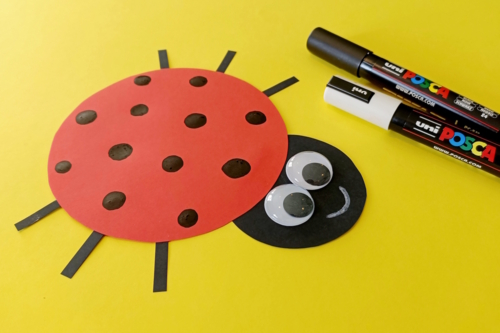
Draw a pretty smile and small black spots on the back of the ladybug using markers.
Step 7
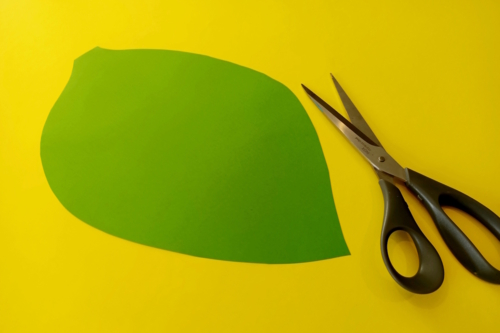
Cut a large tree leaf from a sheet of A4 green paper.
Step 8
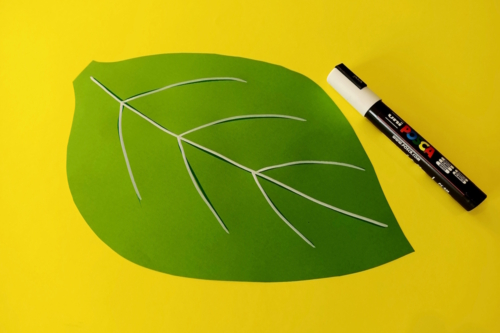
Draw the veins of the leaf with a white marker.
Step 9
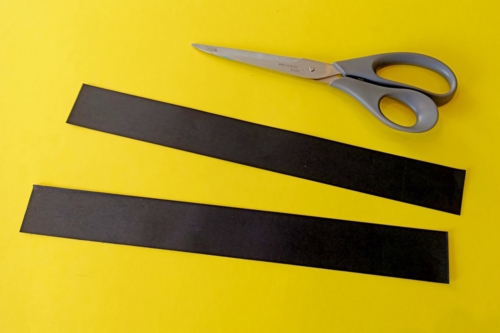
Cut 2 strips of paper measuring 4 cm x 30 cm.
Step 10
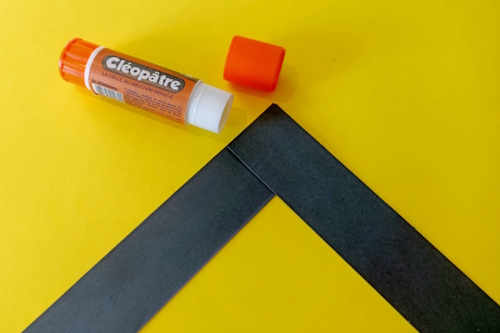
Glue the 2 strips of paper together at a right angle.
Step 11
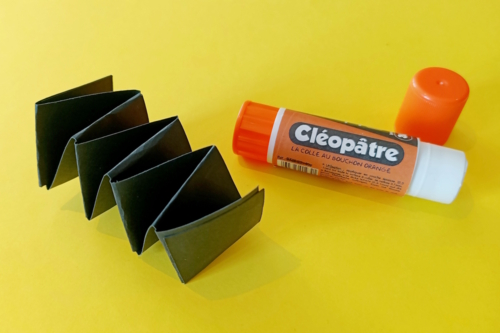
Fold the strips by crossing them to form a "spring".
Glue the two ends of the strips together once the folding is complete.
Step 12
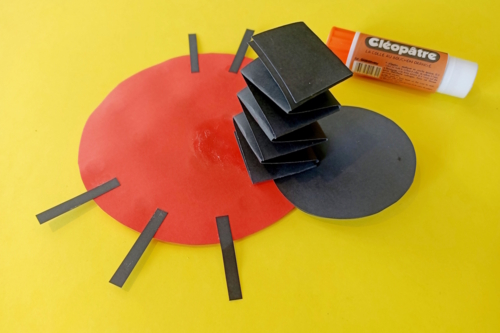
Glue the paper spring underneath the ladybug at its center of gravity (so that it is well balanced).
Step 13
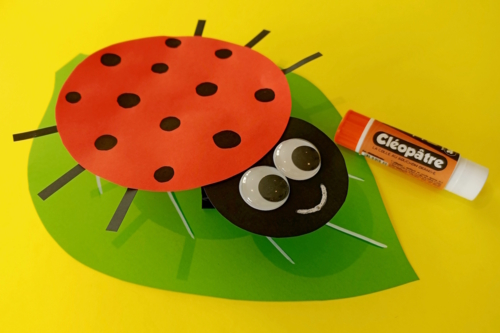
Glue the whole set (spring + ladybug) onto the large sheet of tree paper.
The products used:
The products used:

12,99€ (either 0,13 € / pc)
Available

1,79€
Available


18,99€ (either 4,75 € / pc)
Available
Other tutorials on the theme "Animal Tutorials"
-


Drawing a caterpillar with toddlers
C11221View 15413 time


-
Scratch Card Butterfly
C11193View 9563 time

-
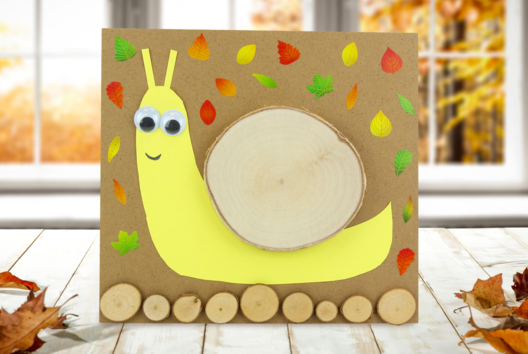

Autumn Snail
C15173View 25761 time -
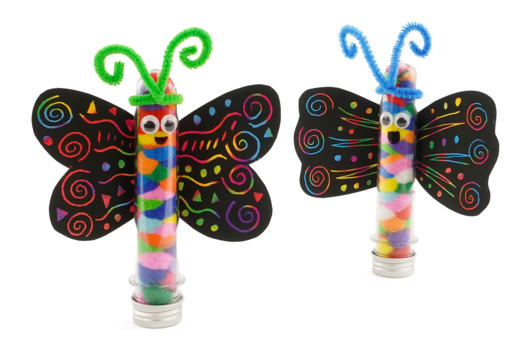
DIY Butterflies
C11290View 11627 time -
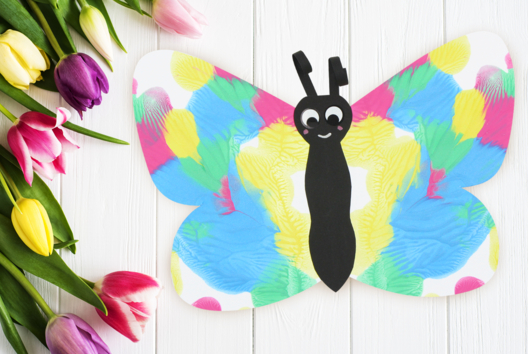
Symmetrical Painting: The Butterfly
C15158View 30638 time
-
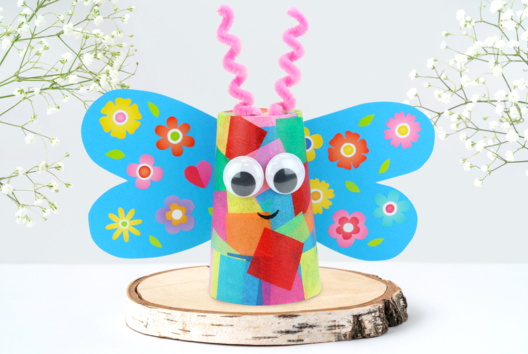
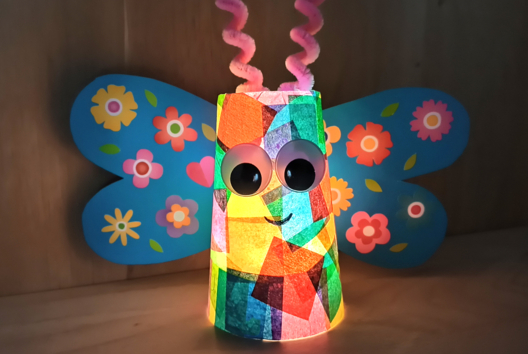
Glowing Butterfly
C15151View 18080 time
Avis client
5.0/5
1 avis publié
5
100%
4
0%
3
0%
2
0%
1
0%
Customer review
super