Your cart is empty.
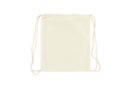
Personalized Felt Backpack


Personalized Felt Backpack


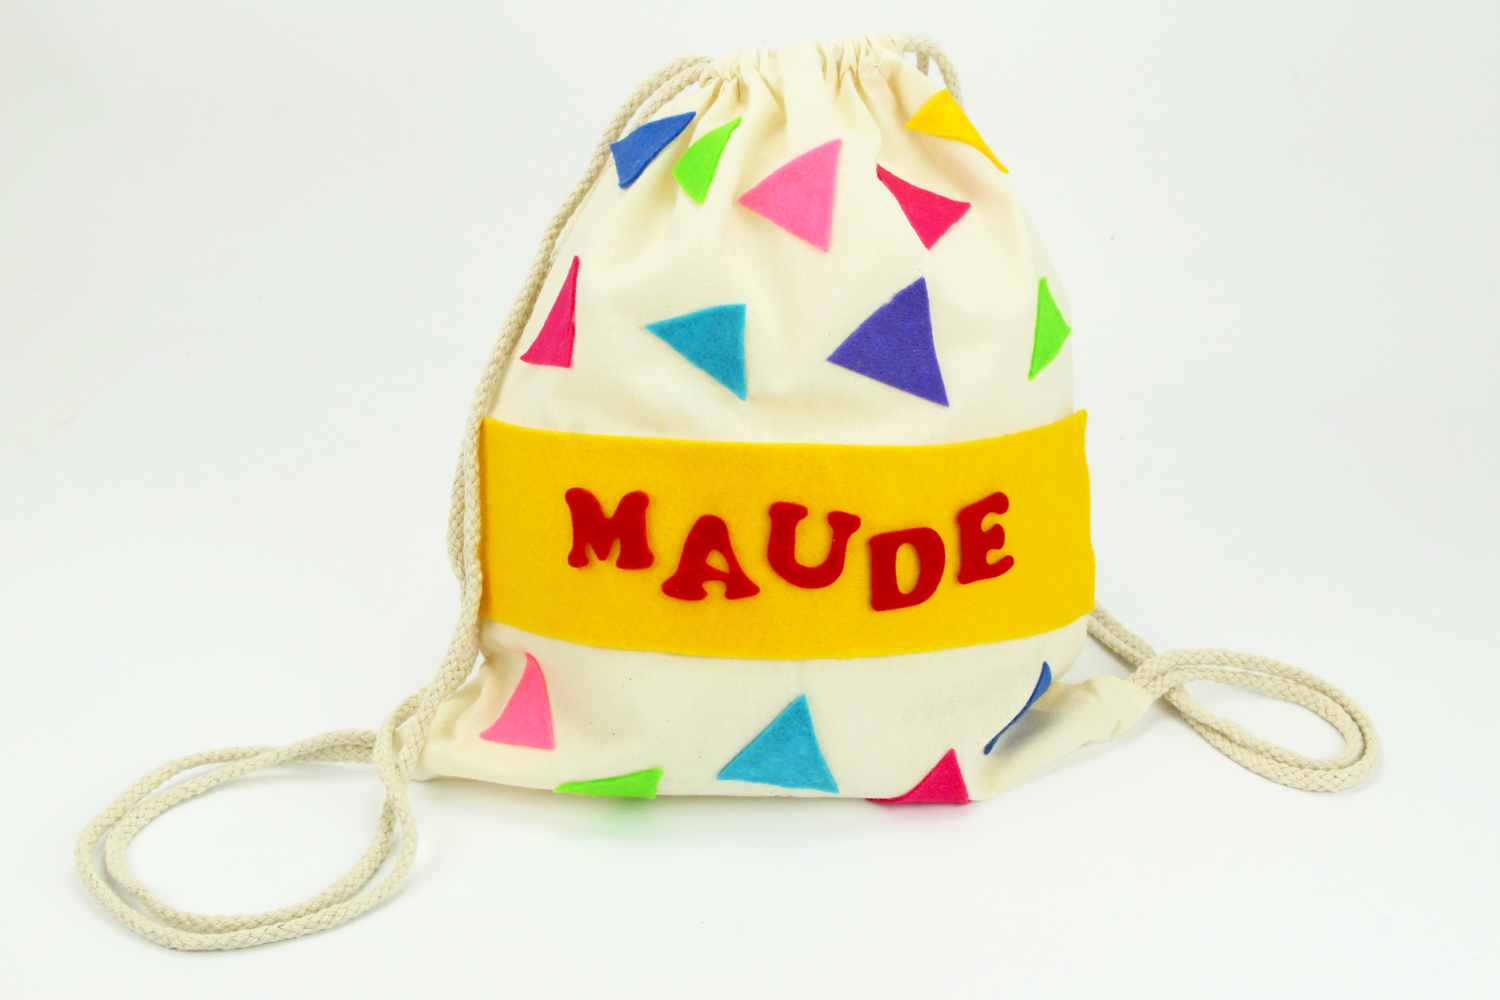
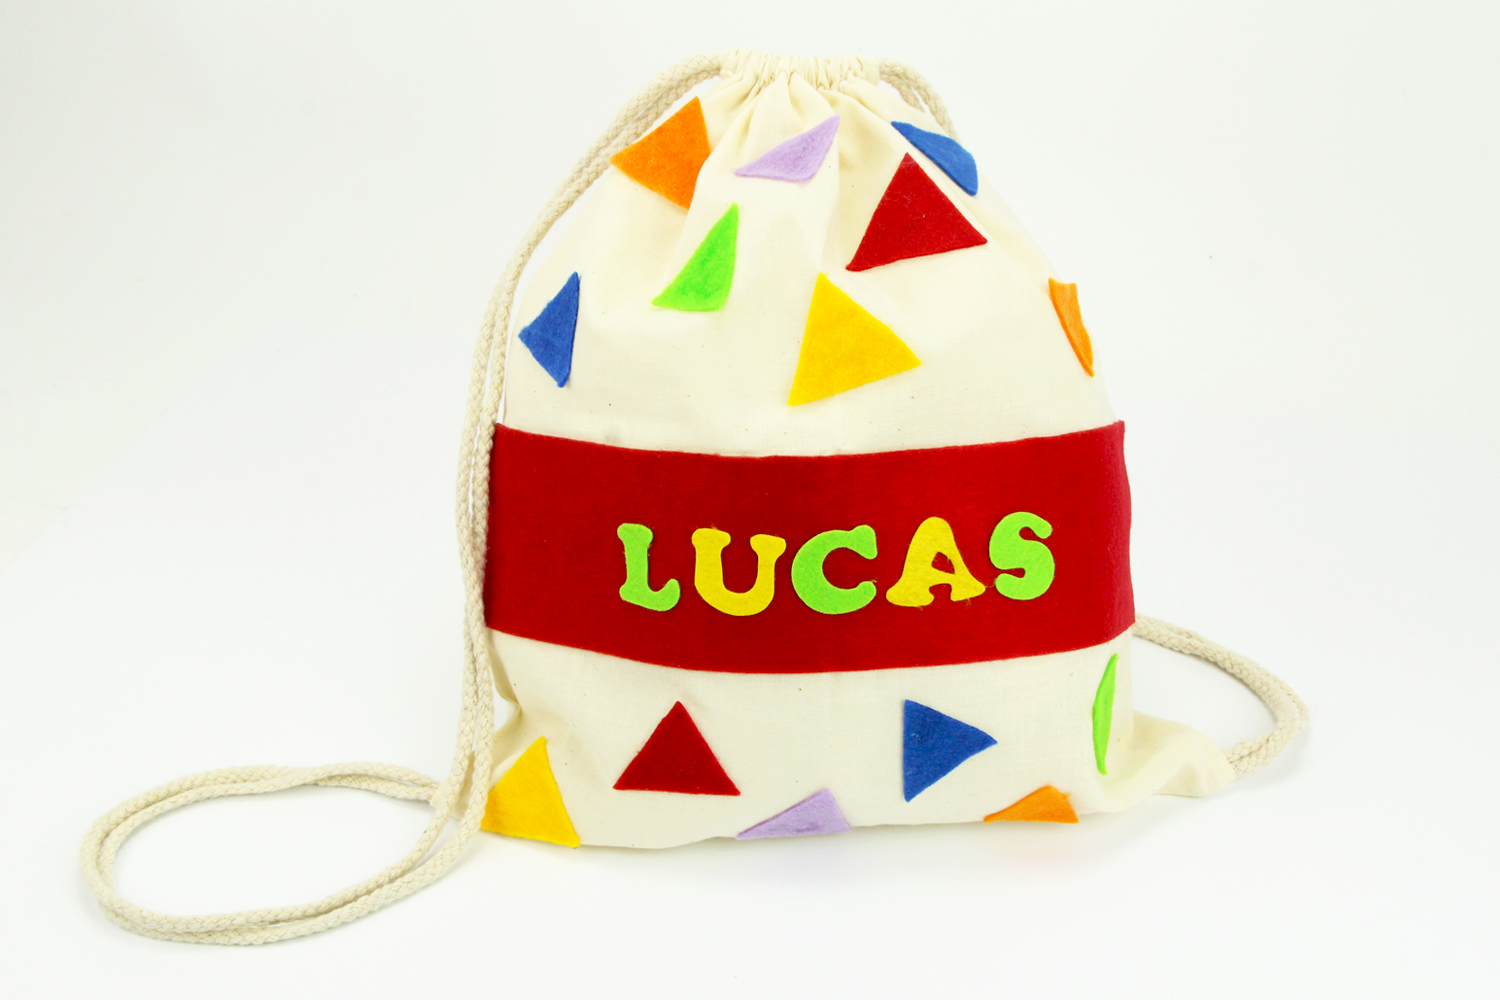
Today you will discover an easy activity that will allow children to decorate a lovely cotton backpack.
Cutting and gluing are on the agenda to personalize this beautiful colorful bag, which can be used by children for school, at the beach, for sports, or to store their toys...
How to complete this tutorial step by step?
Materials
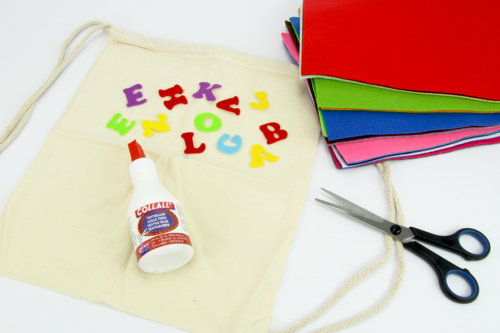
To carry out this activity, you will need:
- a cotton backpack
- colored felt sheets
- adhesive felt letters
- a pair of scissors
- fabric glue
Step 1
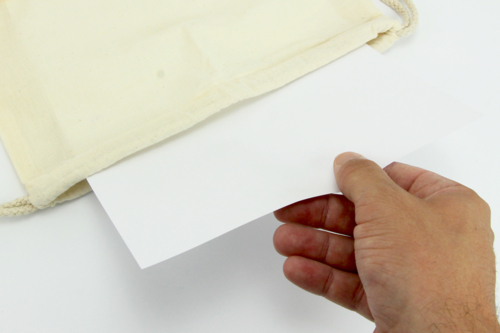
Slide a sheet of paper inside the backpack. This sheet will absorb the excess glue that seeps through the cotton.
Step 2
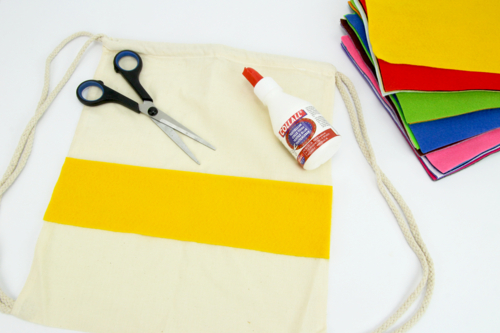
Cut a 7 cm wide strip of colored felt with a length equal to the width of the backpack.
Apply special fabric glue all over the surface of the felt strip and then stick it onto the backpack.
Step 3
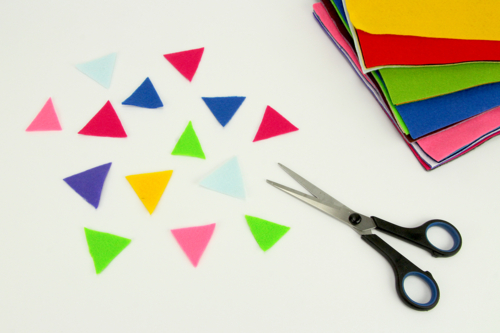
Cut out about a dozen triangles measuring approximately 3 to 4 cm from the felt.
Step 4
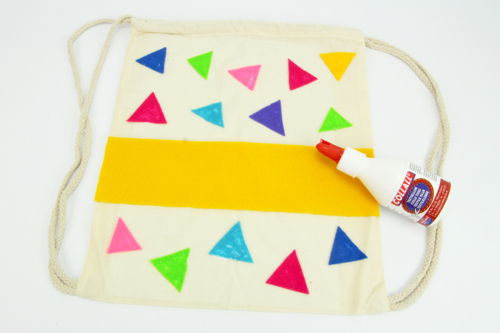
Glue the felt triangles onto the bag using fabric glue.
Step 5

To personalize the bag, write a first name using felt letters.
Note: our felt letters are adhesive, but we recommend adding a bit of textile glue to strengthen the adhesion.
Then remove the sheet of paper placed inside the bag and let the glue dry for 24 hours.
The products used:
The products used:


5,67€ (either 1,89 € / set)
Available from October 2026


Other tutorials on the theme "Sewing Tutorials"
-
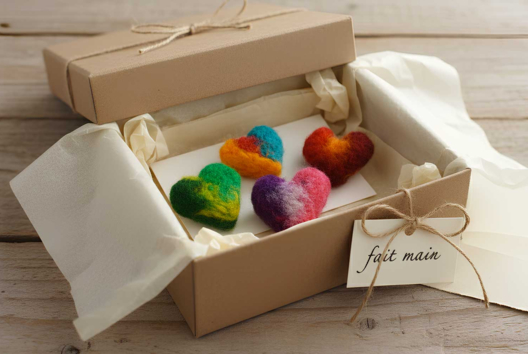

Felted Wool Heart Brooch
C11260View 6038 time


-

Felt Floral Bookmark
C11269View 2485 time

-
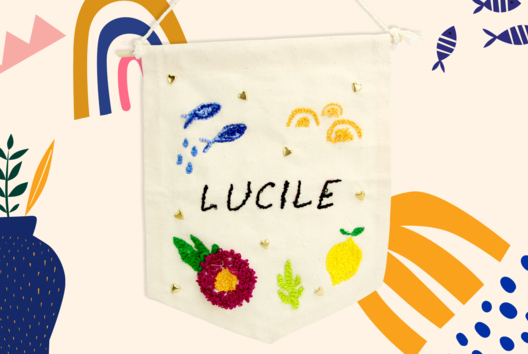
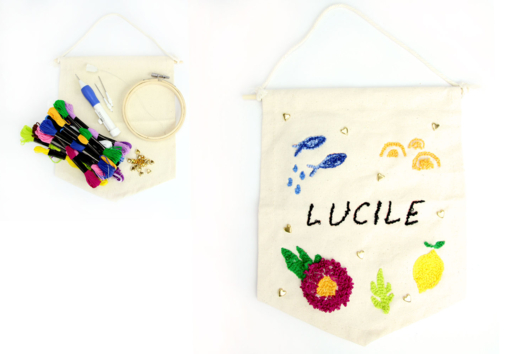
Embroidered Pennant in Punch Needle
C14291View 5932 time
-

Christmas Reindeer Pom Pom
C14284View 112923 time -

Knitting: I Learn to Cast On
C14230View 14340 time -
Protective Mask
C14016View 55456 time
Customer review
Give your feedback
Personalized Felt Backpack
Be the first to share your review of this product.
Post a review