Your cart is empty.
Protective Mask
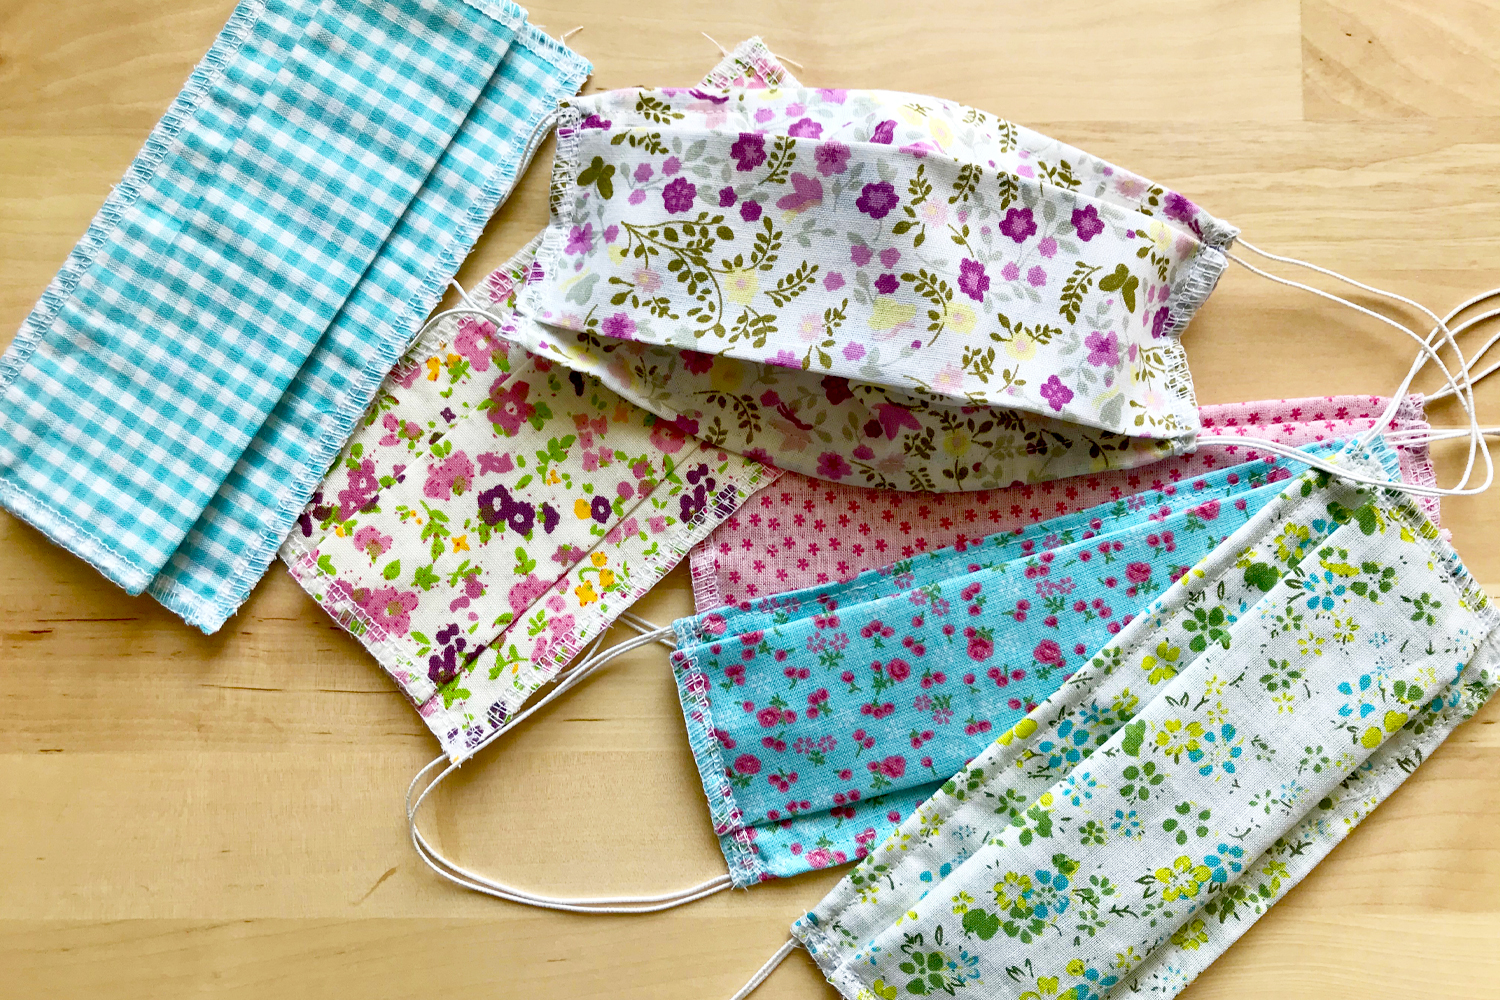


Protective Mask
Make your own reusable and personalized barrier mask.
The tutorial below offers a version of the three-layer mask using 100% cotton fabric scraps to double. You can find the pattern and all necessary instructions available for download on the AFNOR website by clicking on the following link.
Washing and Maintenance: The complete washing cycle of your mask (wetting, washing, rinsing) must last a minimum of 30 minutes at a washing temperature of 60°C. Duration of mask wear: 4 hours.
Download the pattern directly by clicking on the technical sheet under the main photo, and also find a video tutorial under the main photo featuring an adult version, as well as a children's version ;-)
This mask is only an additional protection alongside barrier gestures; it is not subject to certification. However, this alternative mask serves as a barrier to limit the projection of droplets.
This device is neither a medical device as defined by Regulation EU/2017/745 (surgical masks) nor personal protective equipment as defined by Regulation EU/2016/425 (FFP2 type filtering masks).
Thèmes de l'idéa créa :
#Sewing Tutorials
How to complete this tutorial step by step?
The pleated mask pattern
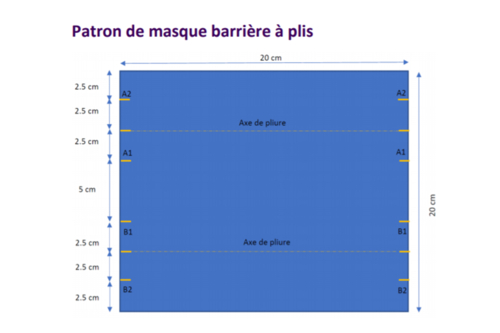
Find the downloadable pattern directly below the main photo by clicking on the technical sheet.
Prepare the coupons
Prepare 2 fabric squares of 20 x 20 cm and sew them together (right sides together).
Each square measures 20 x 20 cm.
Using a sewing machine, assemble the 2 squares, right sides together, using a zigzag stitch or an overlocker (see photo on the side)
Marking the Folds

The markers for the folds are as follows:
2.5 cm / 2.5 cm / 2.5cm / 5 cm / 2.5 cm / 2.5 cm / 2.5 cm
Mark the folds with a pencil, then press on both sides to mark the folds.
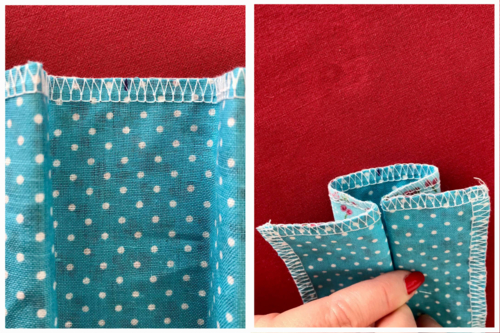
Ironing

Fold down 1.5 cm of fabric at the top of the mask and iron it. This will allow you to mark the spot where the elastic will go, and if necessary, add a wire to easily shape your mask at the nose once worn.
Double the Elastic

Cut 4 elastics to 17 cm. Tie them 2 by 2 at the ends as shown in the photo.
Here we are going to make a mask that hooks behind the ears, which requires less length than the version that hooks behind the head.
Place the elastic

Position your elastics in the flap you made during the previous ironing.
Coudre l'élastique

Coudre vos élastiques avant le nœud, puis par-dessus. Le nœud est important, car il permettra à l'élastique de bien tenir dans la couture.
Puis coudre le rabat dans toute sa longueur.
Sew the Pleats

Then fold the mask along the pleats made during pressing. Position pins to hold your pleats.
Then sew the pleats only on the sides of the mask.
it’s over

Here is the finished result.
The products used:
The products used:

14,90€ (either 1,49 € / pc)
Available within 15 days
14,90€ (either 1,49 € / pc)
Available within 15 days


Other tutorials on the theme "Sewing Tutorials"
-

Felted Wool Heart Brooch
C11260View 5678 time


-

Felt Floral Bookmark
C11269View 2157 time

-
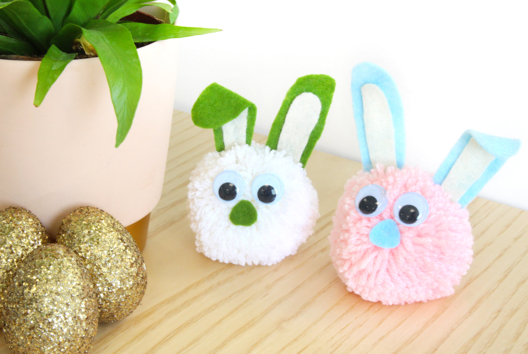
Fluffy Bunnies
C15154View 37896 time -

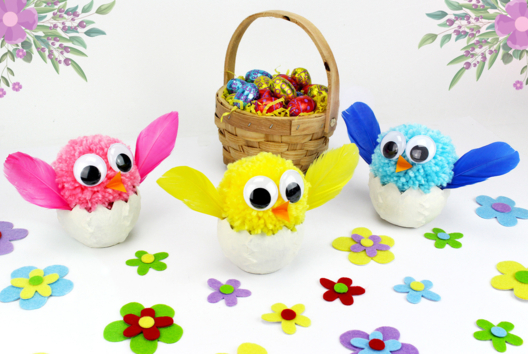
Pom-pom Chick in Its Shell
C13383View 33651 time

-

Wool Pom Pom Birds
C14537View 24428 time -

Wool Hat and Pom-Pom
C14384View 30911 time
Avis client
5.0/5
2 avis publiés
5
100%
4
0%
3
0%
2
0%
1
0%
Customer review
Super
Ludique, nécessaire, pratique et personnalisable
Très bien
Tuto très bien merci