Your cart is empty.
Photo Tree
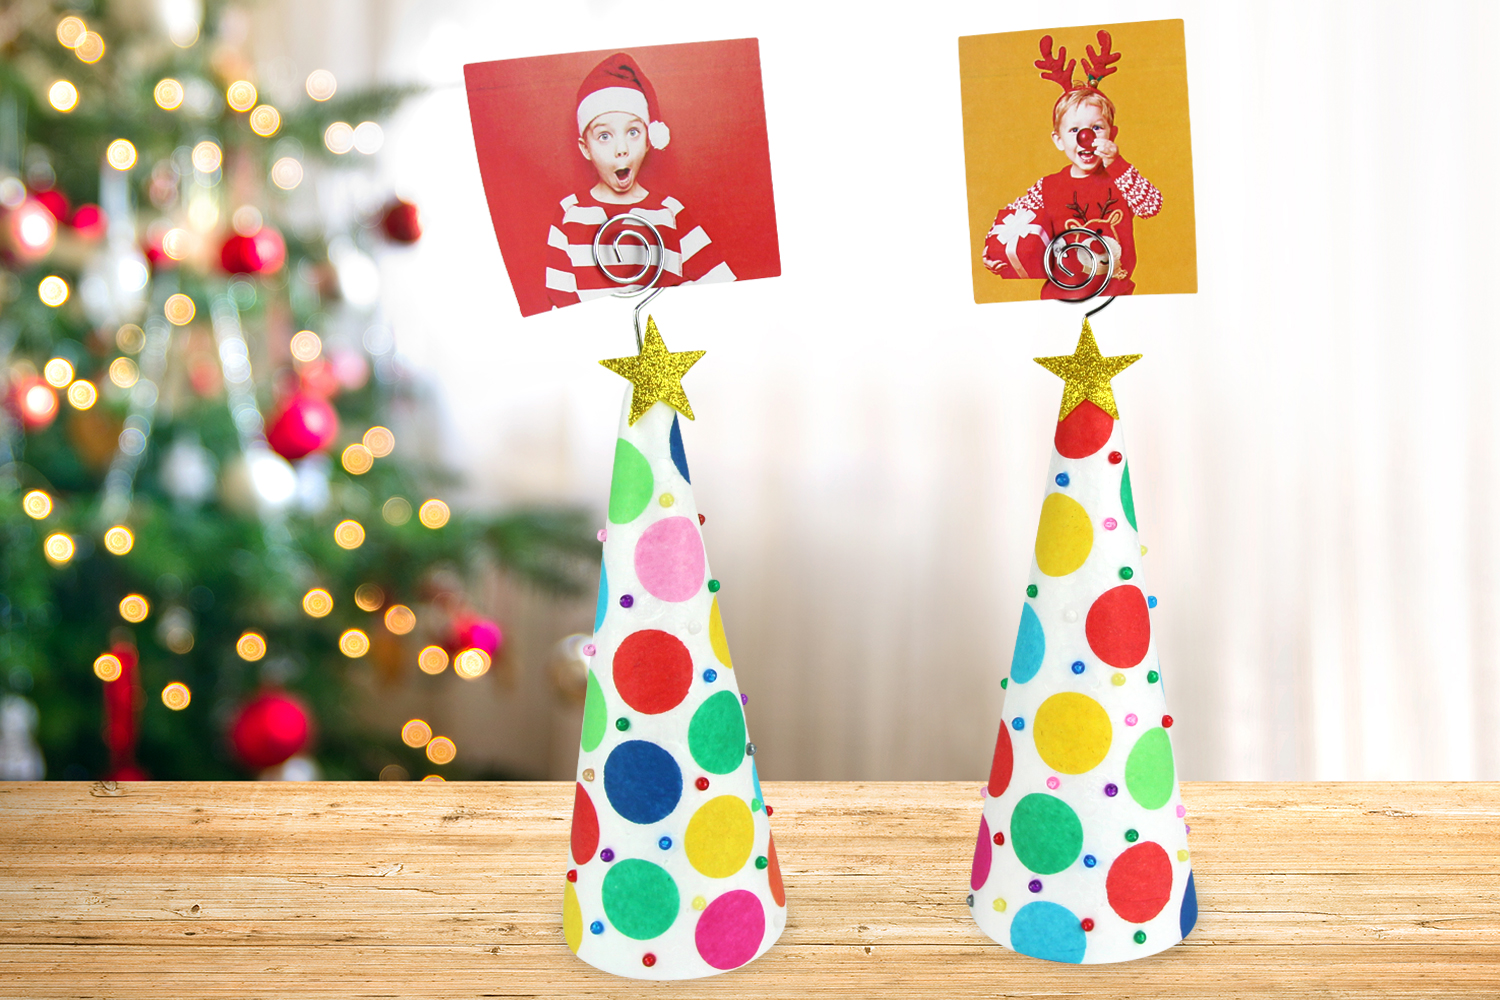
Photo Tree
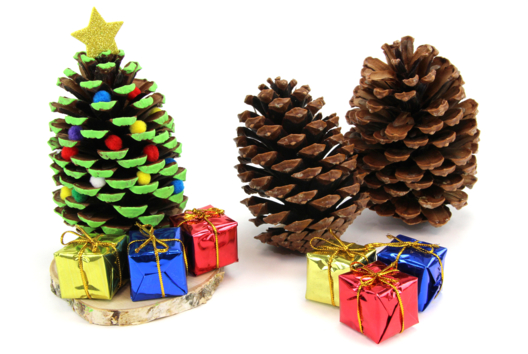
Discover an easy Christmas activity where children (from the age of 3) will create a pretty colorful tree using a styrofoam cone and tissue paper.
Once the tree is finished, they can even hang a lovely photo on top of it !
How to complete this tutorial step by step?
Materials
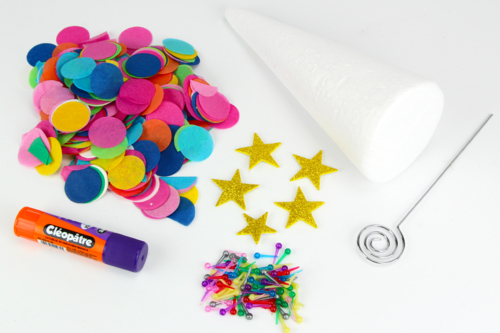
To make a photo holder tree, you will need:
- a polystyrene cone
- circles of tissue paper Ø 2.5 cm
- plastic colored pins
- a rubber adhesive star
- a metal paper clip
- a purple glue stick
Step 1
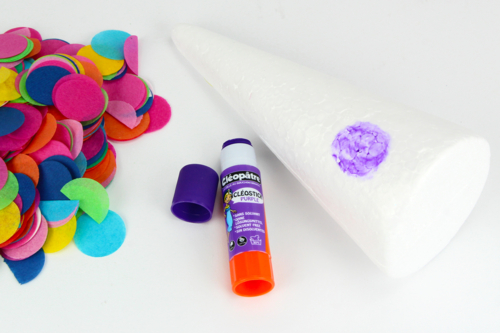
Apply purple glue dots of approximately Ø 3 cm directly onto the polystyrene cone.
PRACTICAL: The purple glue will allow children to accurately stick the tissue paper circles. No worries, this glue becomes completely transparent as it dries.
Step 2
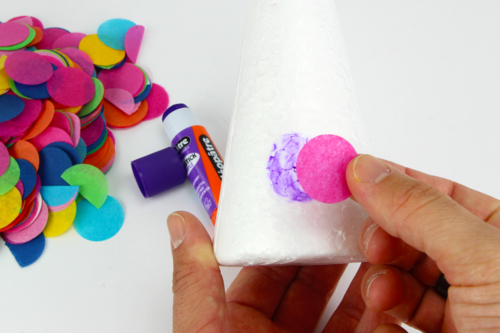
Glue the tissue paper circles onto the entire surface of the cone.
Step 3
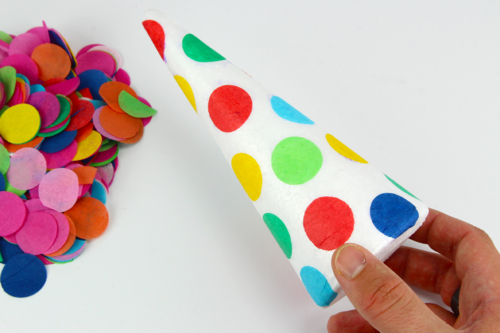
After a few minutes of drying, the traces of purple glue have completely disappeared!
Step 4
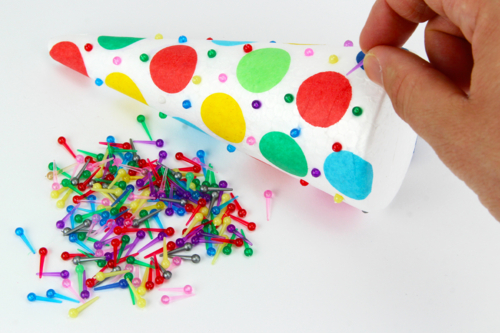
Insert plastic pins into the polystyrene cone to add even more color.
Step 5
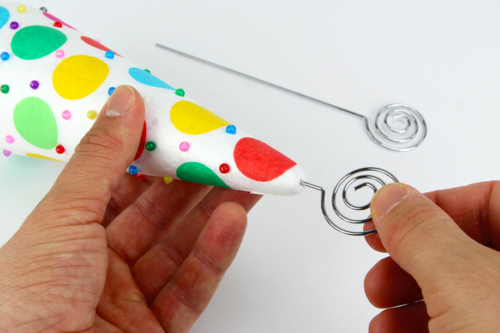
Insert a metal reminder rod at the top of the polystyrene cone.
Step 6

Glue a star to the top of the tree.
Step 7
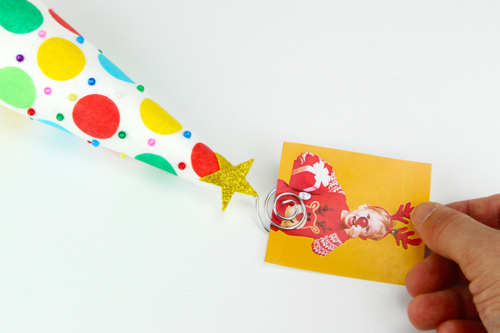
Place a nice photo on the metal clip.
The products used:
The products used:

Styrofoam Cones 20 x 9 cm - 6 Pieces
Réf. 05735 - See the full range
5,94€ (either 0,99 € / pc)
Available

Spiral Brain Teaser Clips - 5 Pieces
Réf. 09052 - See the full range
1,79€ (either 0,36 € / pc)
Available


Other tutorials on the theme "Christmas Tutorials"
-

Santa's Elves
C17724View 508 time


-
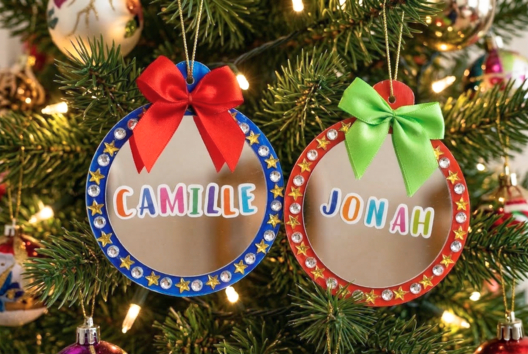
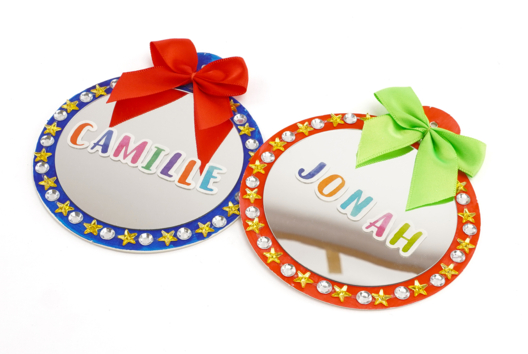
Mirror Christmas Baubles
C17723View 385 time

-

Gingerbread Man (modeling dough)
C14862View 36629 time

-

Customizable Christmas Sleigh with a Photo
C14844View 22794 time
-

Snowman with a Cup
C14842View 30515 time
-
Christmas Tree Decoration
C14829View 45254 time
Vos créations inspirées par ce tuto
Customer review
Give your feedback
Photo Tree
Be the first to share your review of this product.
Post a review