Your cart is empty.
Quilling Ornaments
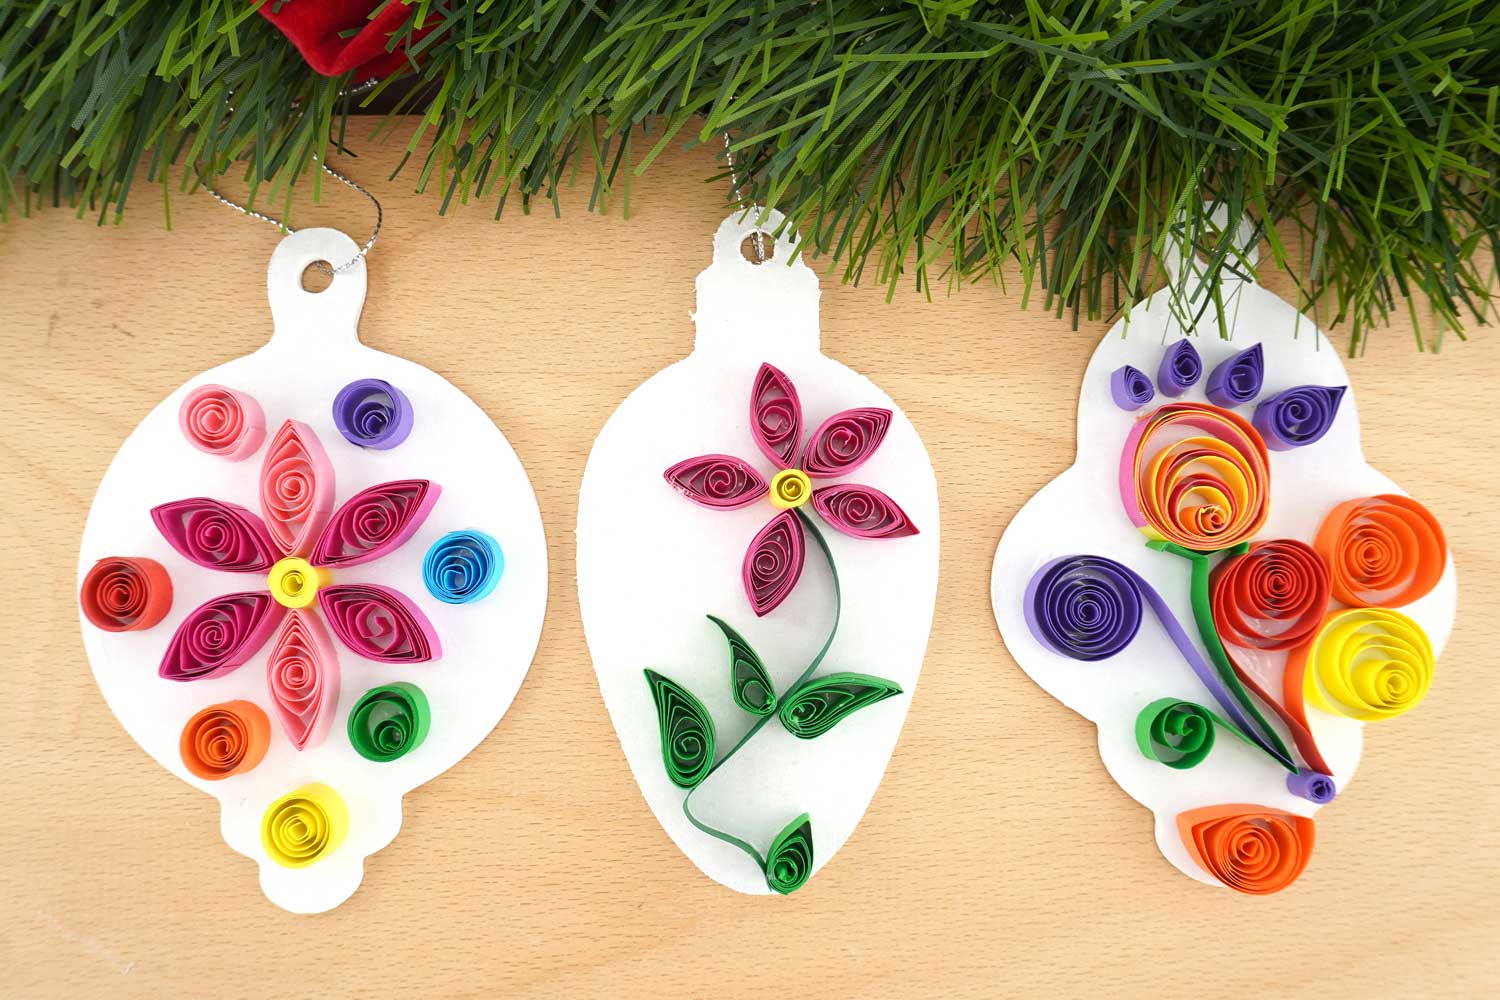
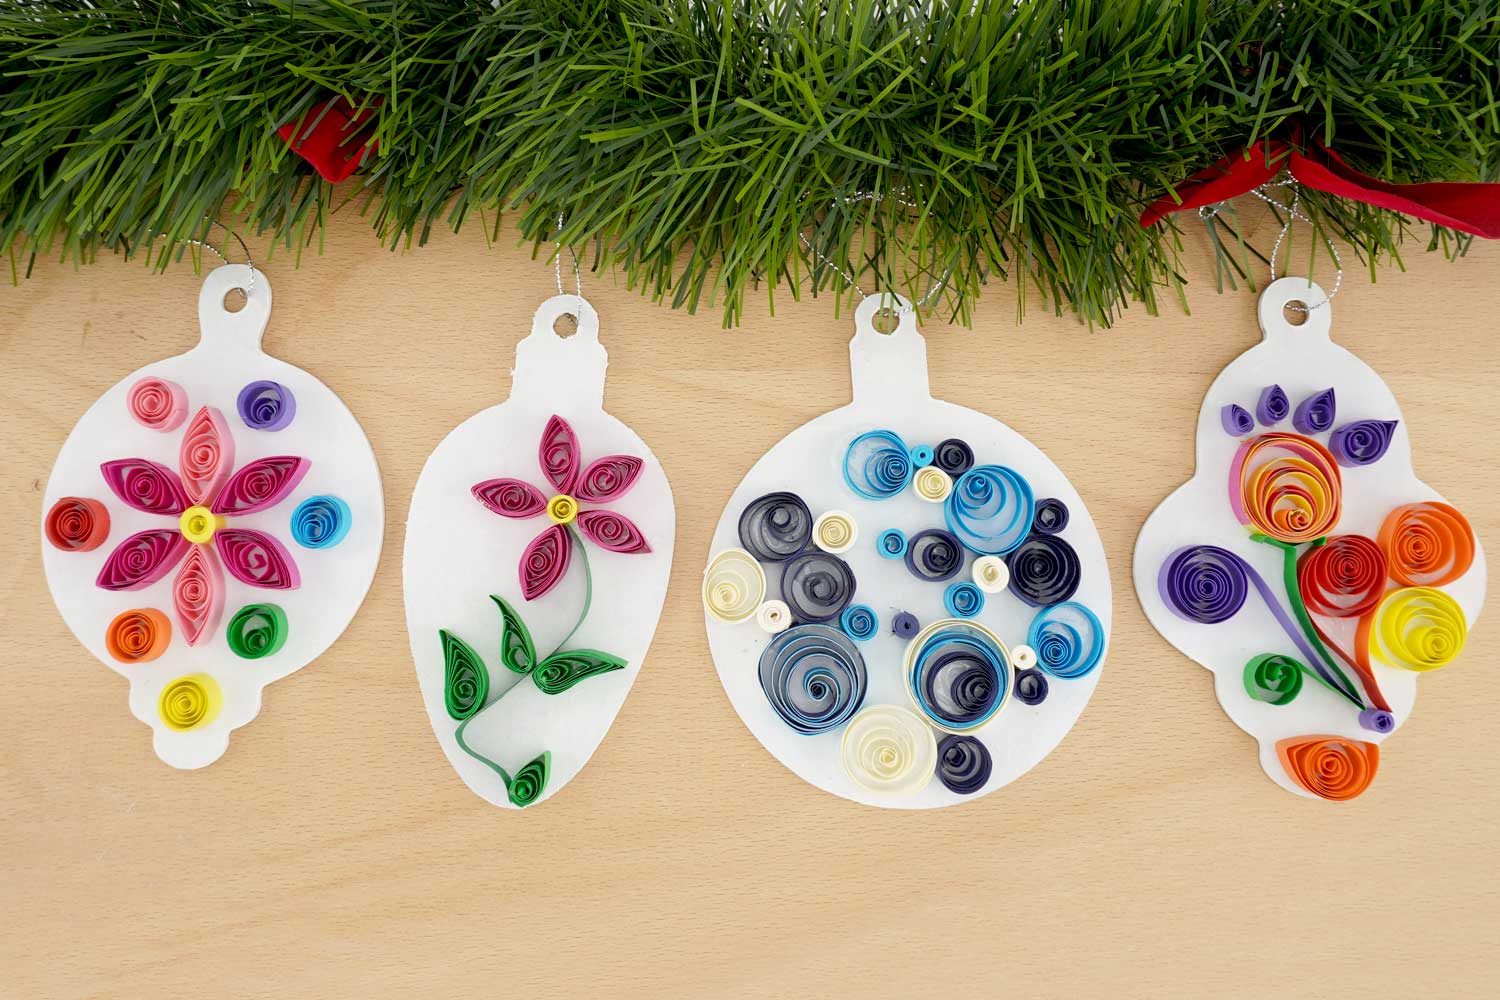


Quilling Ornaments


Discover the art of Quilling with this new tutorial, by decorating wooden Christmas ornaments using rolled paper strips.
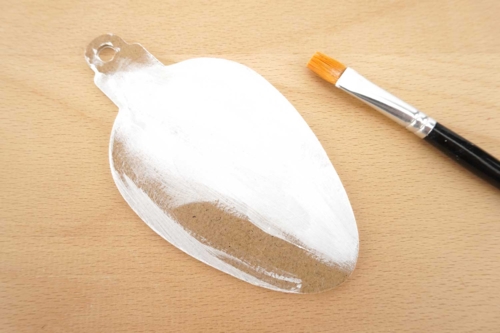
How to complete this tutorial step by step?
Step 2

Create a paper coil: place the end of a Quilling strip (8 mm wide) into the end of the tool. Then, operate the tool to coil the entire strip onto itself.
Step 3
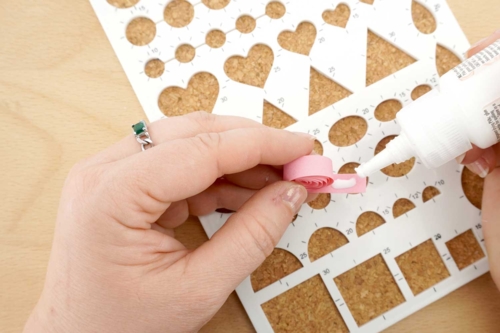
Place the paper strip in the template of your choice to fill its space, then apply a dot of glue at the end of the strip.
Step 4
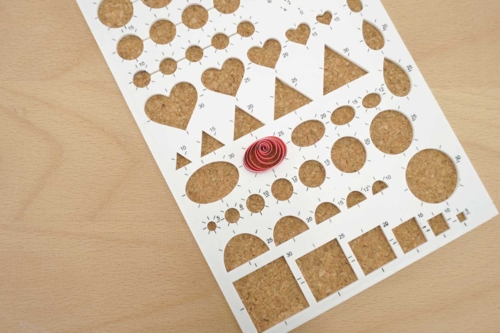
Place the rolled strip back in its template to allow the glue to dry.
Step 5
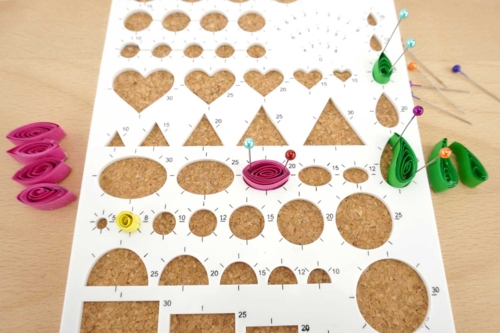
To create a flower, make 5 pink paper curls (petals), 4 green paper curls (leaves), and a small yellow paper curl (pistil)
Step 6
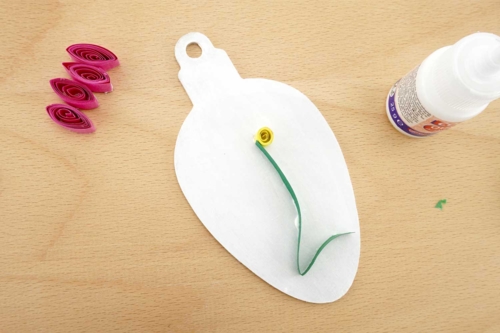
Glue a strip of paper to create the stem, and the yellow paper roll.
Step 7
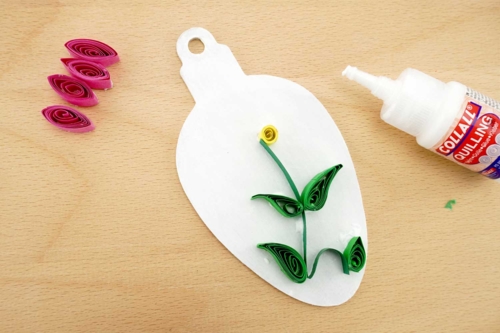
Next, glue the 4 green paper strips to create the leaves around the stem.
Step 8
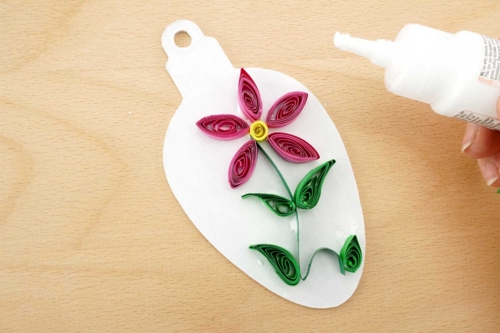
Finish by gluing the 5 pink petals around the yellow paper roll. Create new shapes with the other colors to make as many patterns as you like.
The products used:
The products used:

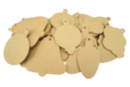
Wooden Christmas Ornaments - 50 Pieces
Réf. 44767 - Product sheet
19,50€ (either 0,39 € / pc)
Available

2,99€
Available


Other tutorials on the theme "Christmas Ornement"
-

Penguin with a Styrofoam Cone
C15062View 384 time


-

Snowflakes to Hang on the Christmas Tree
C17455View 11962 time

-
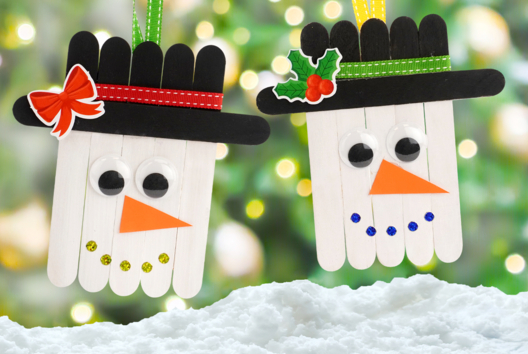
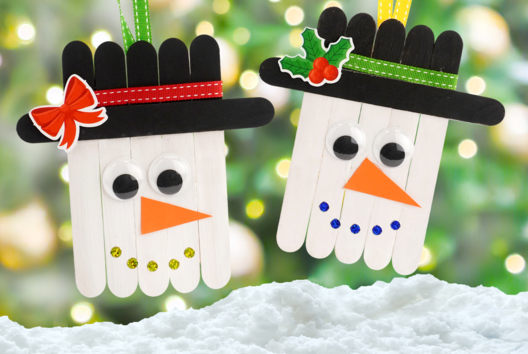
Snowman with Craft Sticks
C10961View 27930 time
-
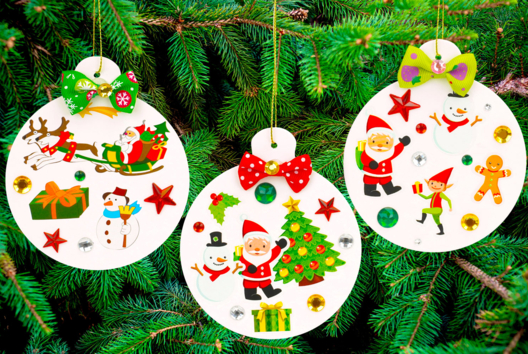

EASY Christmas Ornaments with Stickers
C9522View 37380 time

-
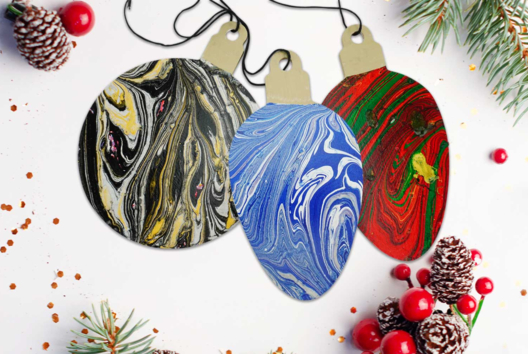
Christmas Suspensions in Marbling
C11111View 20954 time
-
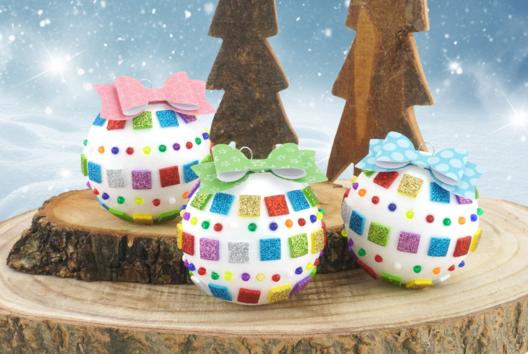
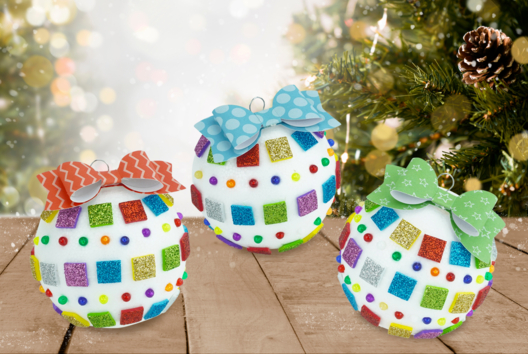
Glitter Christmas Baubles
C15455View 36268 time
-
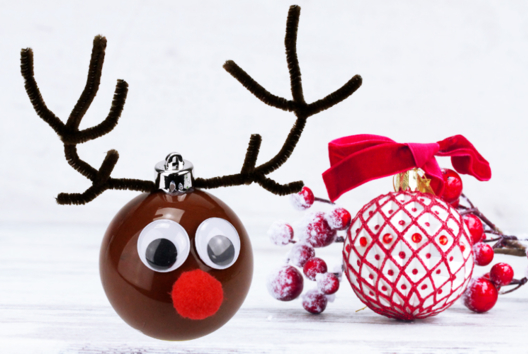
Christmas Ornament Reindeer
C12434View 45635 time -
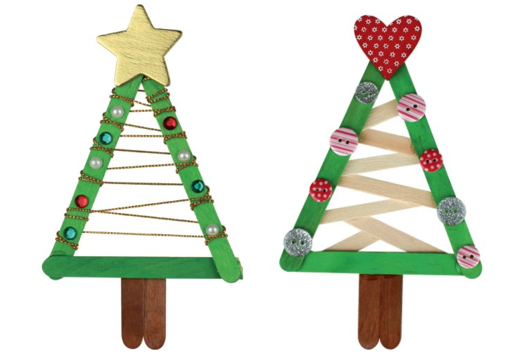
Christmas Trees with Sticks
C12181View 39479 time
-
Cardboard Christmas Stars
C11886View 89756 time -

Glowing Snowman
C11866View 30728 time
Customer review
Give your feedback
Quilling Ornaments
Be the first to share your review of this product.
Post a review