Your cart is empty.
Rocking Snowman
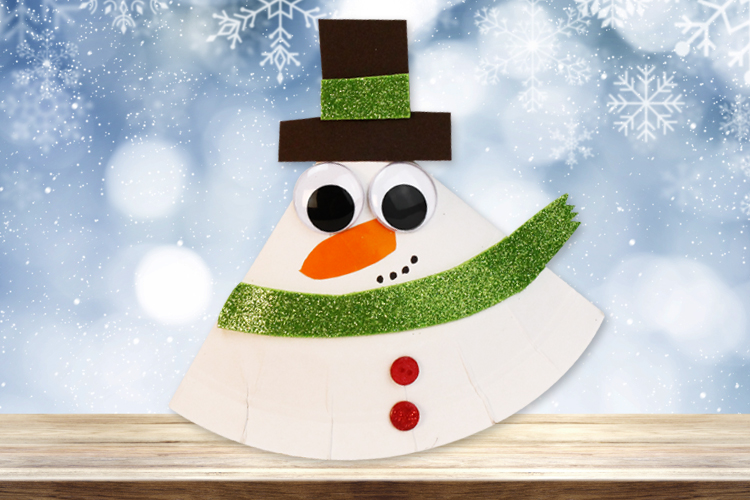


Rocking Snowman
With a simple cardboard plate, children can create a lovely rocking snowman that sways from side to side!
An easy, cost-effective, and fun Christmas activity.
To watch the video tutorial, click on "VIDEO" below the main photo.
Thèmes de l'idéa créa :
#Glue and Fold Tutorials
#Funny Characters Tutorials
#Winter Tutorials
#Christmas Characters
#Christmas Crafts
How to complete this tutorial step by step?
Etape 1.
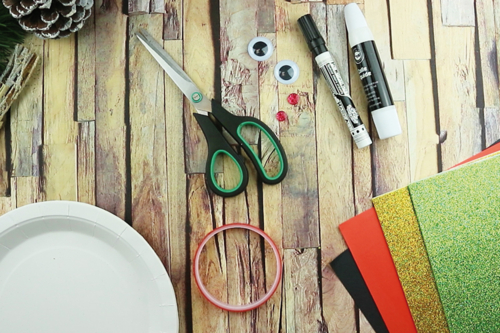
To make a rocking snowman, you will need:
- a white cardboard plate
- a strong black card
- a strong orange card
- self-adhesive glitter rubber sheets
- 2 mobile eyes Ø 2.5 cm
- 2 glitter buttons
- strong white glue
- adhesive tape (or a stapler)
- a pair of scissors
- a black marker
Etape 2.
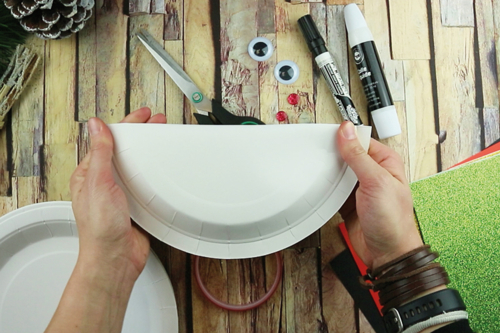
Fold the cardboard plate in half.
Etape 3.
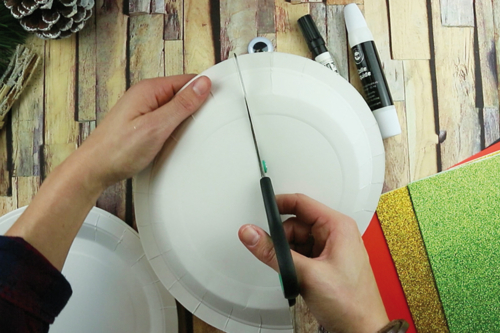
Cut the plate in half following the crease line.
Etape 4.
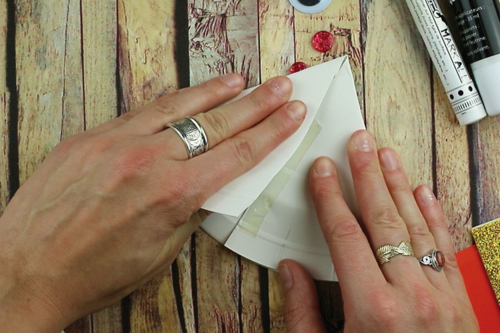
Fold and then tuck in the two sides of the half-plate and stick them together using double-sided tape (you can also use a stapler).
Etape 5.
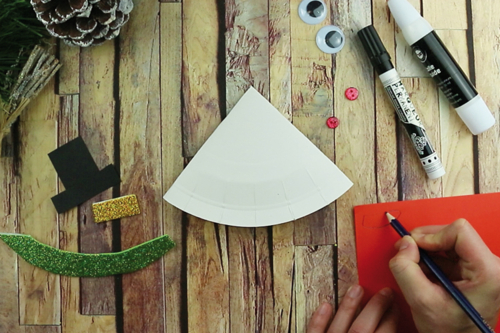
Cut the following elements to create the decorative features of the snowman:
- the hat from a strong black cardstock
- the nose from a strong orange cardstock
- the scarf from a glittery foam sheet
- the decorative ribbon for the hat from a glittery foam sheet
Etape 6.
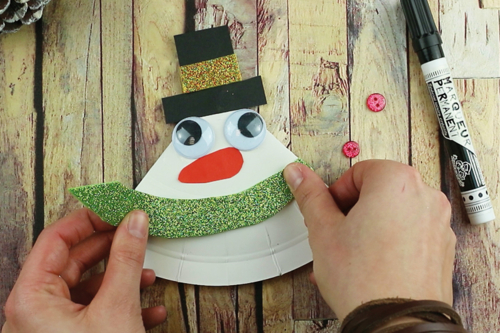
Glue the different elements onto the cardboard plate.
Etape 7.
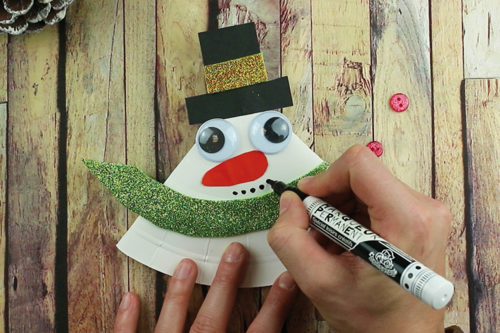
Draw the mouth of the snowman with a black marker.
Etape 8.
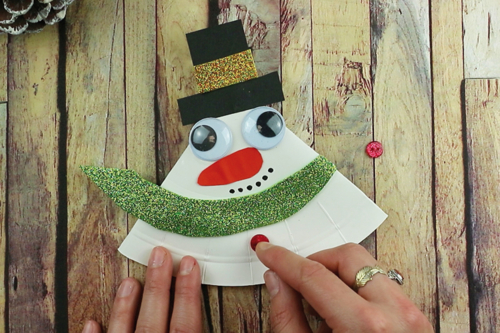
Glue 2 glitter buttons with strong white glue for a nice finish.
The products used:
The products used:

1,49€
Available from 26/06/2026

3,59€ (either 0,36 € / pc)
Available

3,99€
Available


Other tutorials on the theme "Glue and Fold Tutorials"
-
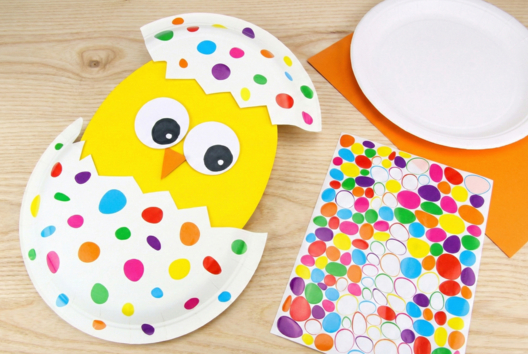
Chick with a Paper Plate (EASY)
C14581View 94260 time


-


Pom Pom Flower Bouquet
C17682View 6429 time

-
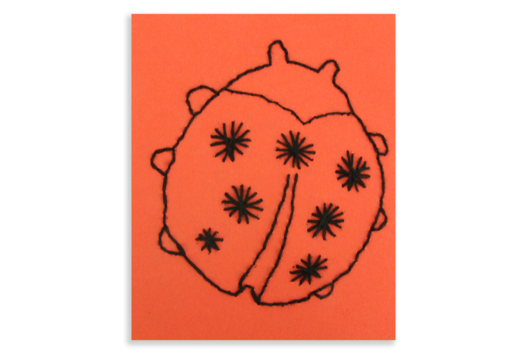

Ladybug Card for Poking and Embroidering
C13758View 10133 time -

Bats with Cardboard Straws
C13688View 24282 time -
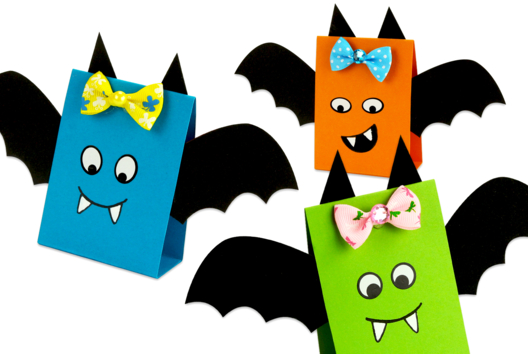
Easy Paper Bat to Make
C13687View 42450 time -
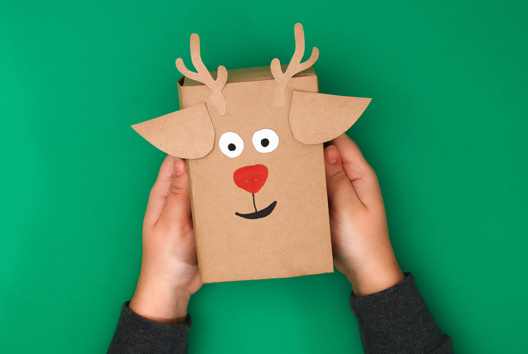
Reindeer Gift Wrap
C13656View 13577 time
Customer review
Give your feedback
Rocking Snowman
Be the first to share your review of this product.
Post a review