Your cart is empty.
Mosaic Easter Eggs


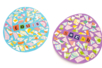
Mosaic Easter Eggs


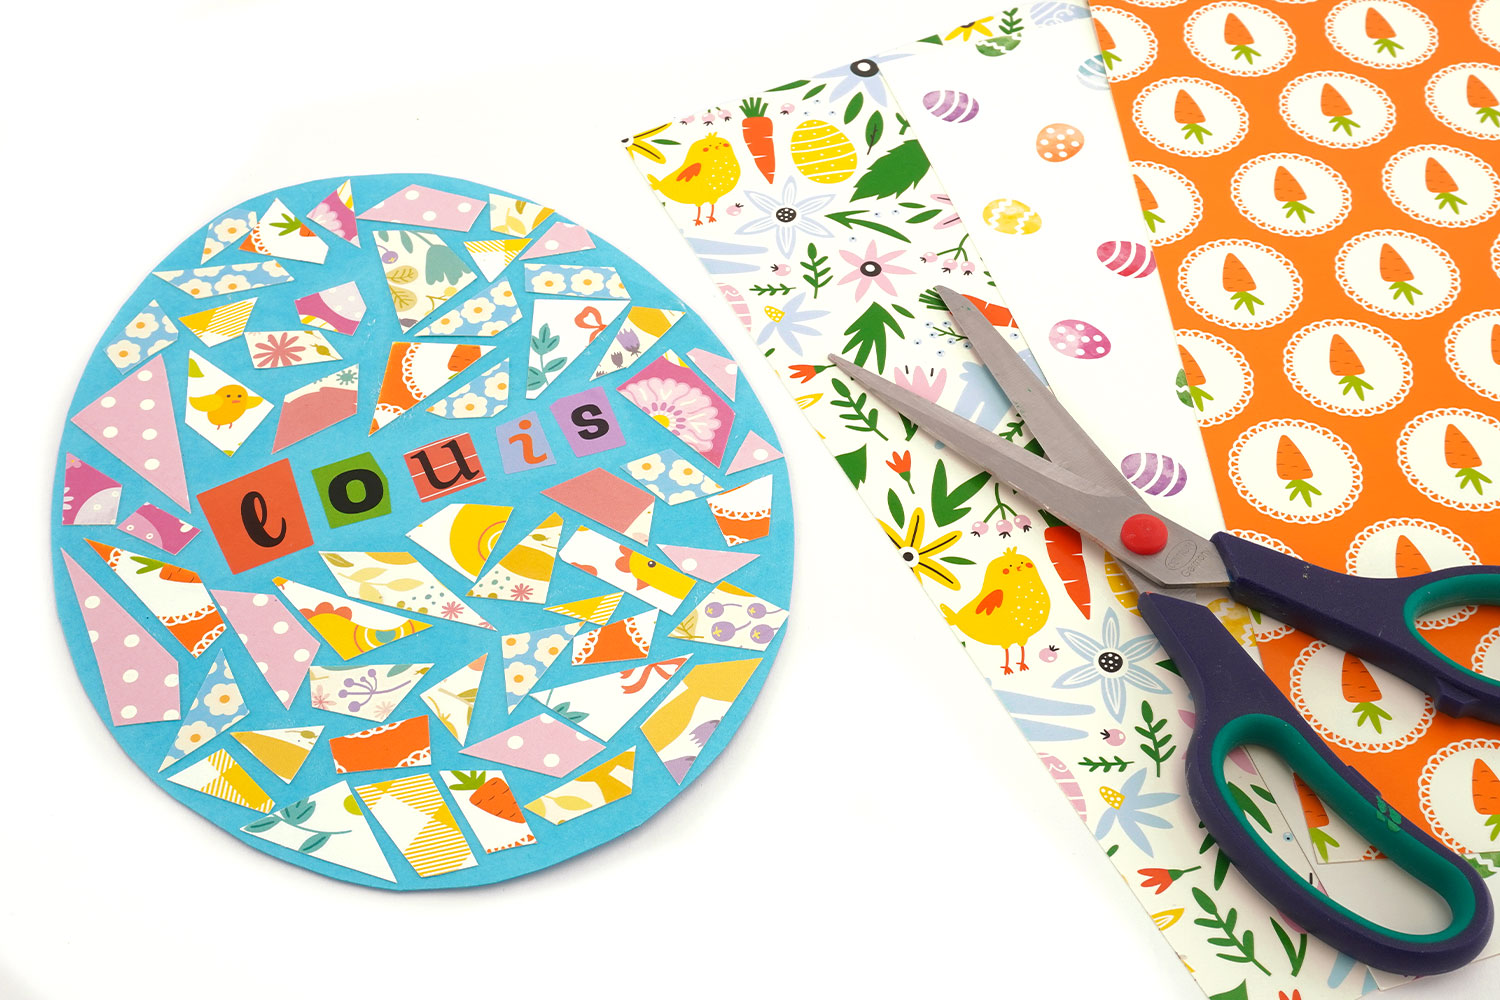
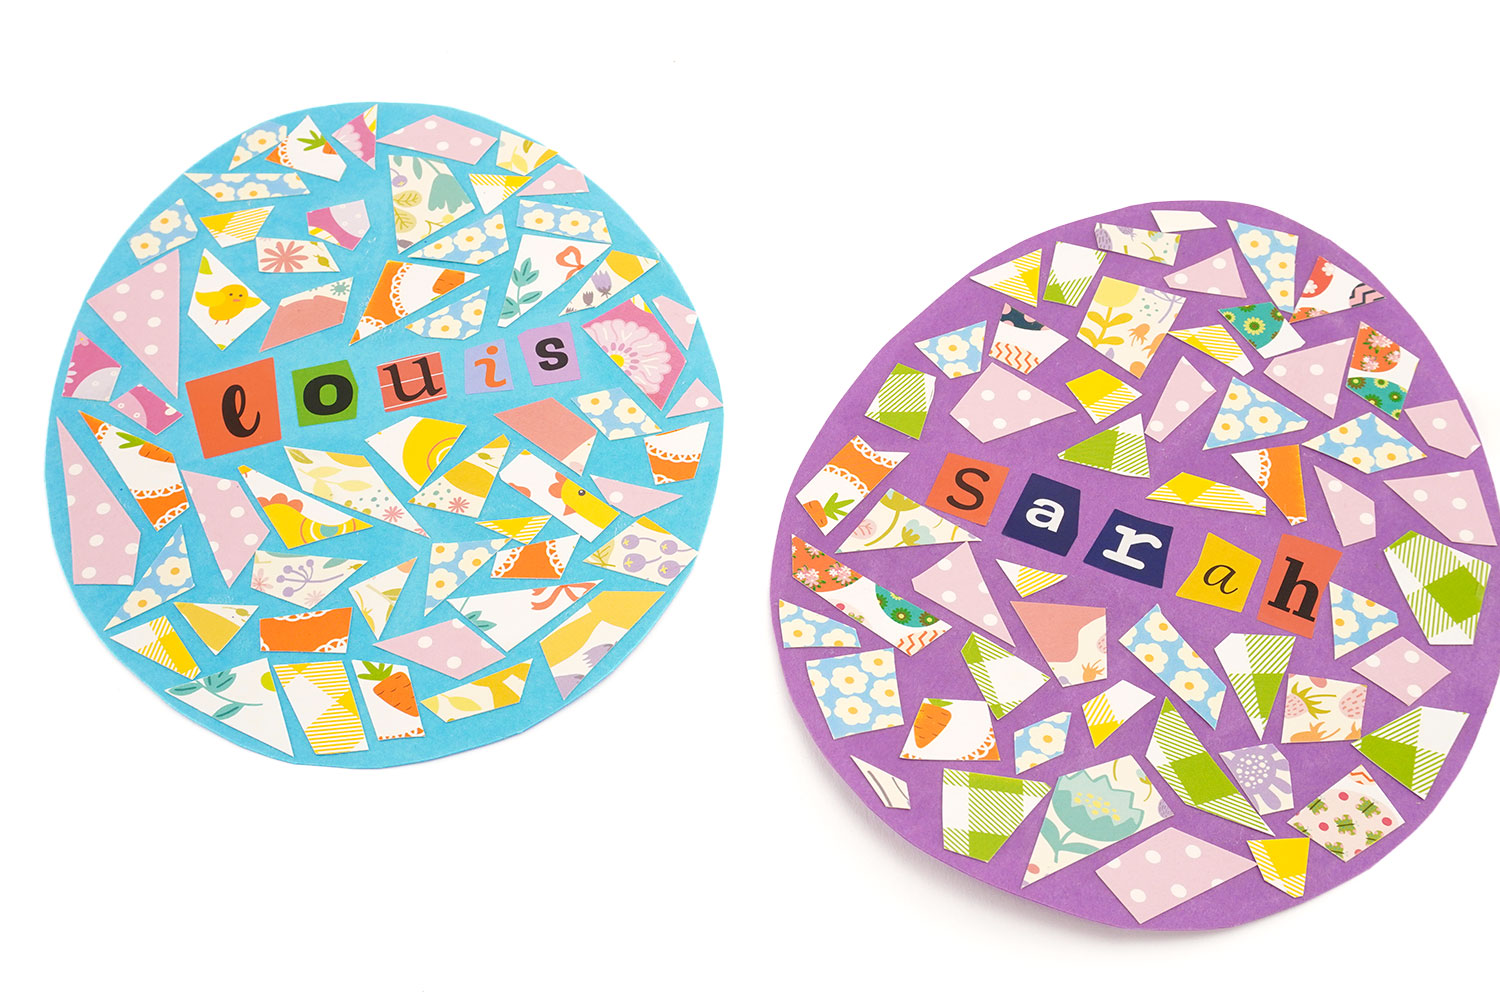
Make a mosaic Easter egg with paper with the children using this simple and creative tutorial.
This Easter craft involves cutting pieces of colored paper to create an original mosaic effect, customize your creation with letter stickers to write the child's first name.
Ideal for developing fine motor skills and creativity, this Easter project is easy to set up at home or in the classroom.
How to complete this tutorial step by step?
Materials:
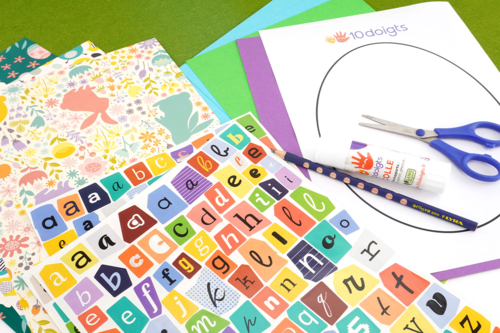
To make an egg, you need:
- an egg model to print here
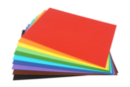
- a sheet of thick paper
- a pair of scissors
- a glue stick
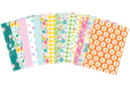
- Easter theme paper
- letter stickers
- a pencil
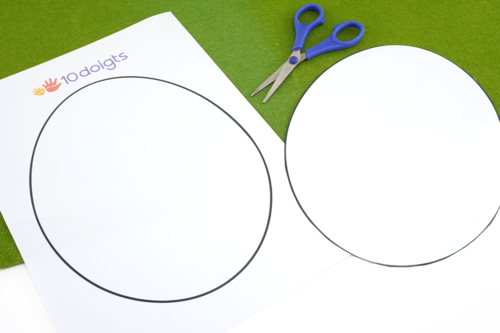
Step 2:
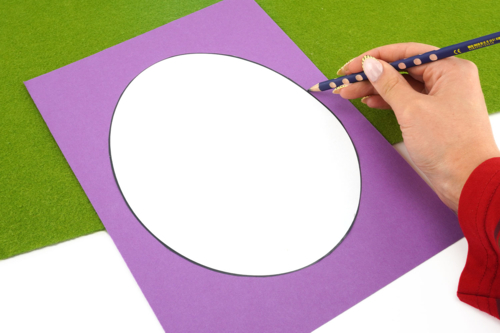
Trace the outline of the egg onto a sheet of thick paper in the color of your choice with a wooden pencil.
Step 3:
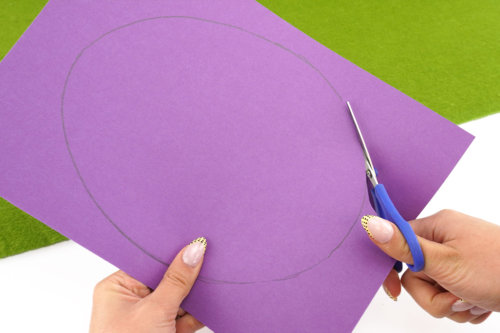
Cut out the shape of the egg from your thick paper.
Step 4:
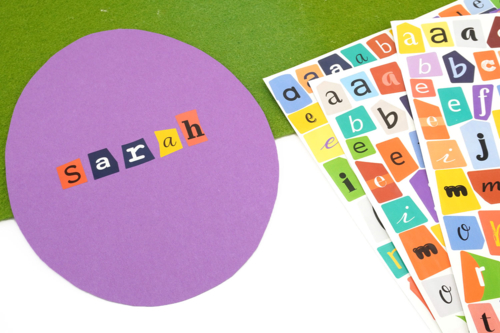
Write the child's name in the center of the egg with letter stickers.
Step 5:
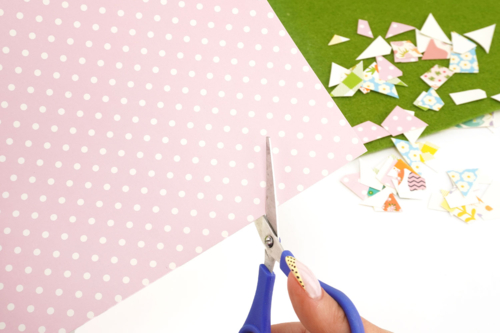
Cut out different shapes in various patterned papers, ranging from small to large.
Step 6:

Apply glue to an area of your egg and stick the cut pieces of paper on top.
The products used:
The products used:


Other tutorials on the theme "Easter Tutorials"
-

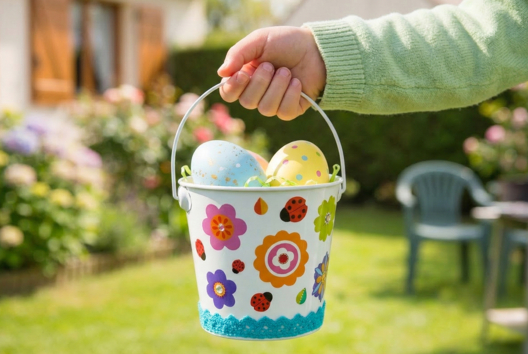
Bucket for collecting Easter eggs
C17732View 6475 time


-
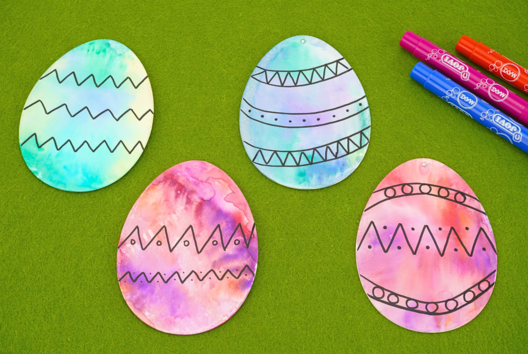

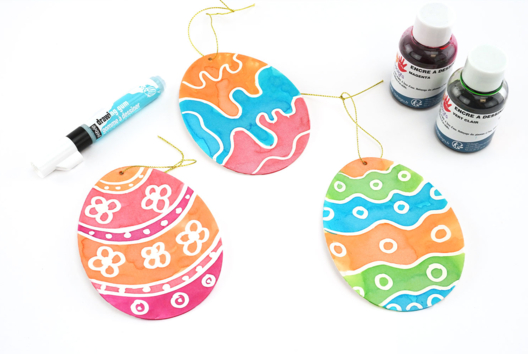
Watercolor Easter Eggs
C11103View 21125 time
-
Spring Flower Crown
C17277View 8624 time


-
Wooden Easter Bunny
C17688View 11859 time
-
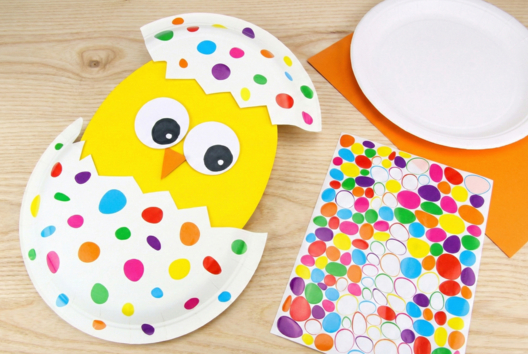
Chick with a Paper Plate (EASY)
C14581View 95144 time
-
Drawing gum and ink for eggs
C13972View 19490 time

-
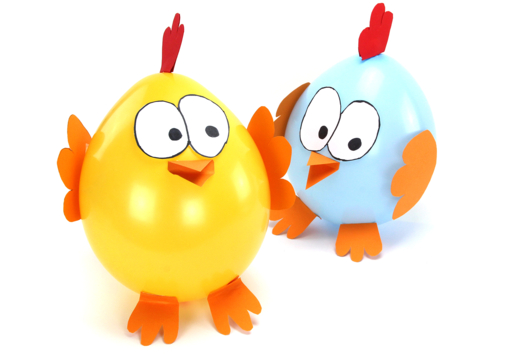
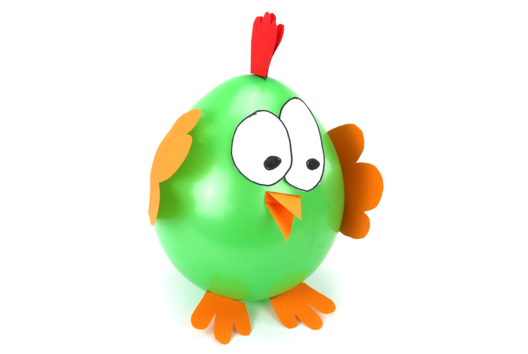
Giant Chickens with Balloons
C15144View 14375 time -
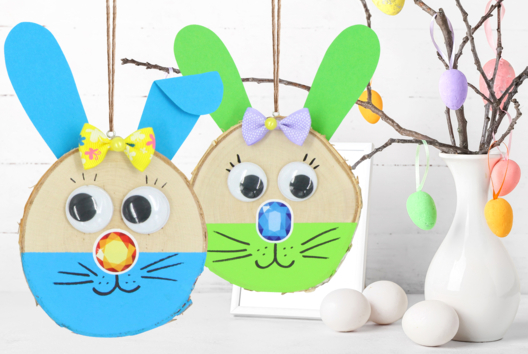
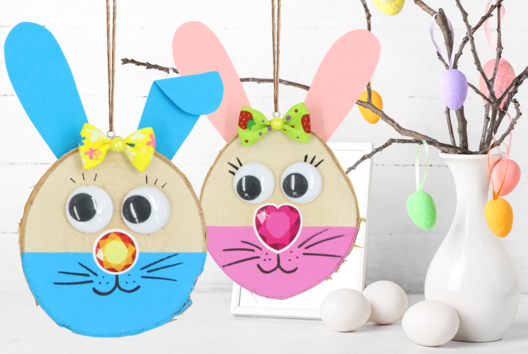
Colorful Bunnies to Hang on the Easter Tree
C15137View 35229 time -
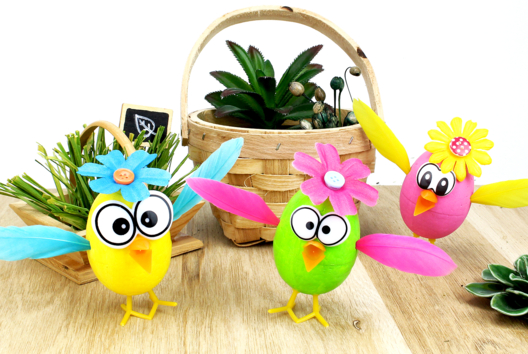
Funny Chicks to Make with Eggs
C13366View 40599 time -
Easter Egg Catapult
C15132View 13035 time
Customer review
Give your feedback
Mosaic Easter Eggs
Be the first to share your review of this product.
Post a review