Your cart is empty.
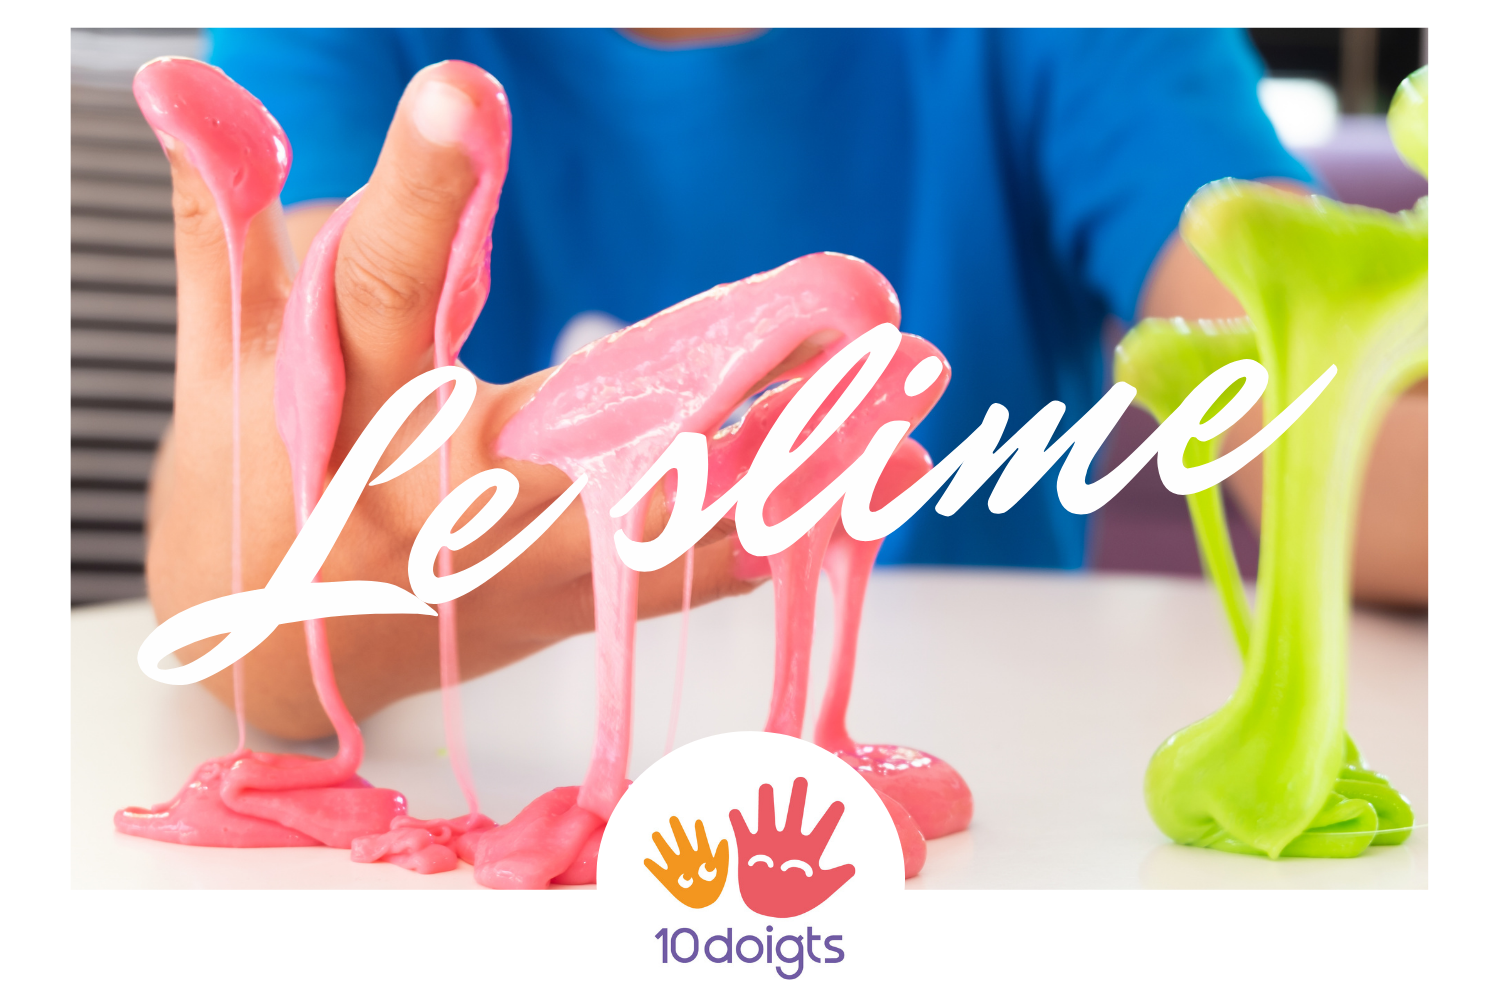
SLIME - Easy and Fail-Proof Recipe!
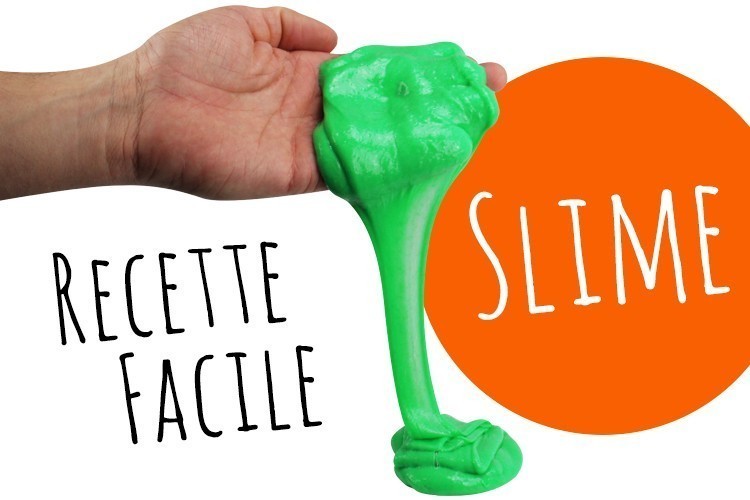

SLIME - Easy and Fail-Proof Recipe!


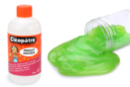
Discover an easy and fail-proof recipe to make fluffy (soft and ultra-elastic) SLIME using clear Cléopâtre glue. The most suitable glue for quickly making your slime, and the best quality/price is undoubtedly the clear glue from the famous Cléopâtre brand that you will find in this detailed tutorial!
A fun activity that kids around the world love!
Our tips and tricks for successful slime:
- Why is my slime sticking too much to my fingers? It's because there's a bit too much glue; don't panic, just add a little more magic product (or contact lens solution if you used that in your recipe).
- How to make glow-in-the-dark slime? Once the slime paste is ready, just add a fluorescent dye or paint. Discover our glow-in-the-dark paints by clicking here!
- What to do if the slime has dried out? You can add a bit of water or antibacterial gel and knead the paste to make it pliable again.
- What glue can I use to make my slime if I don't have clear Cléopâtre glue? If you don't have it at home, you can use white or vinyl glue; they stick slightly more to fingers, but they also work.
- How to remove a slime stain? On fabric, use a cloth soaked in white vinegar, and rub to degrease the stain.
Thèmes de l'idéa créa :
#Fluorescent Slime
#Glitter Slime
#Scented Slime
#Funny Slime
#Bloody Slime
#Slime Surprise
#Slime Zombie
#Modeling Tutorials
How to complete this tutorial step by step?
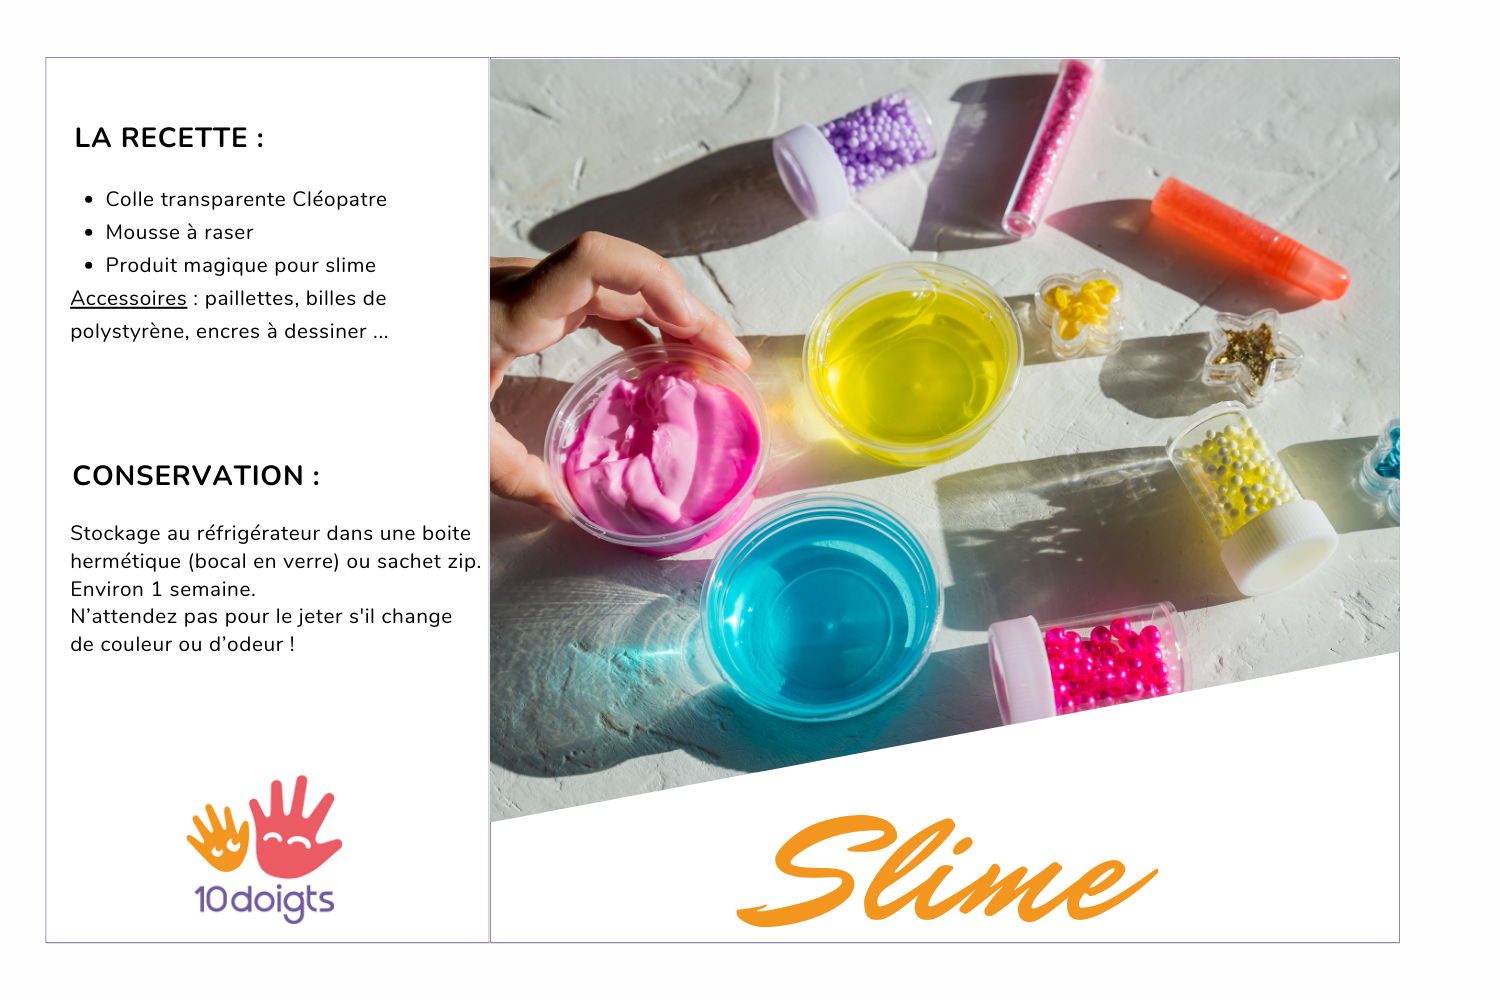
Materials
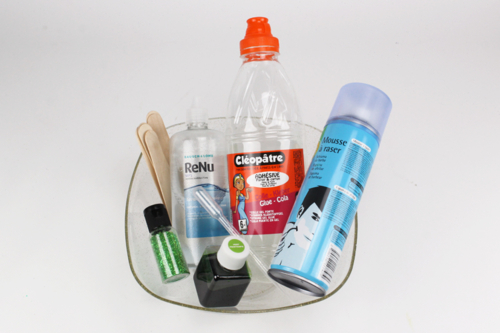
To make SLIME, you will need:
- a container to mix your ingredients
- transparent glue, such as Cléopâtre, ideal for SLIME
- a wooden stick for mixing
- shaving foam
- magical slime activator (or a solution for cleaning contact lenses)
- acrylic paint or drawing ink
- glitter, polystyrene beads...
Step 1
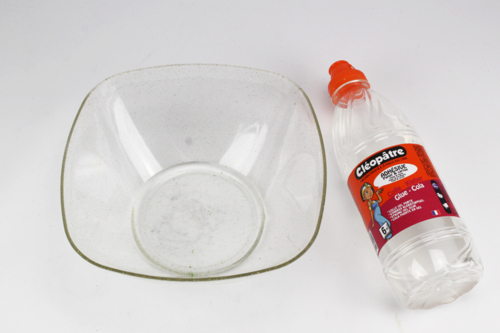
Pour 200 ml of transparent Cléopâtre glue into a container.
This amount of glue will allow you to make a large SLIME ball that fits in your hand.
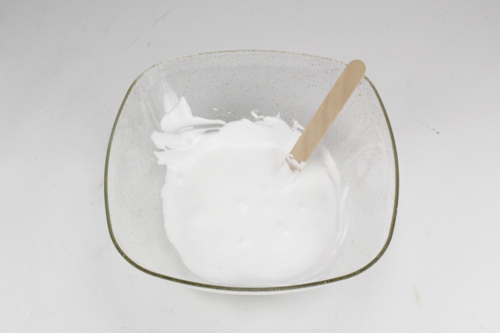
Step 2

Add a layer of shaving foam on top of the glue.
Warning: avoid using shaving gel as it works less effectively for making slime.
Step 3
Mix the glue and shaving foam with a large wooden stick to achieve a homogeneous mixture.
Then add the magic product sold here, and mix.
Step 4
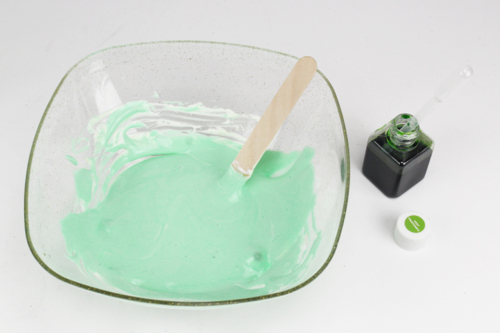
To color the SLIME, add a few drops of acrylic paint or drawing ink, then mix to achieve a uniform color.
Step 5
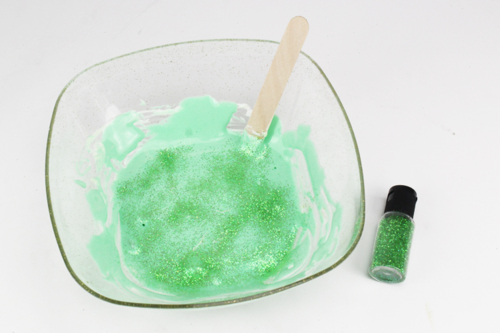
To create textured or unique SLIME, add glitter and/or small polystyrene beads, then mix everything together.
Step 6
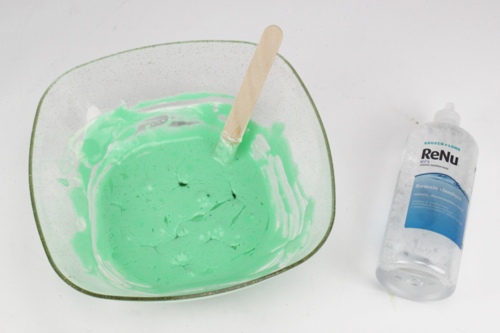
Add about 5 cl of magic product (or lens solution).
Step 7
Mix everything for about 30 seconds to obtain a compact and elastic dough.
Step 8
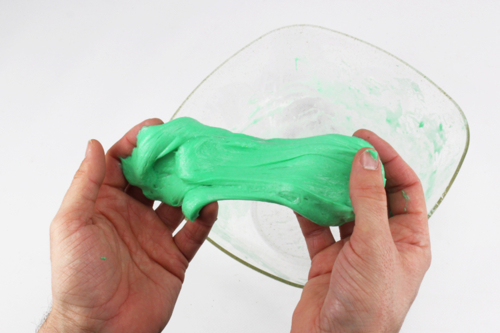
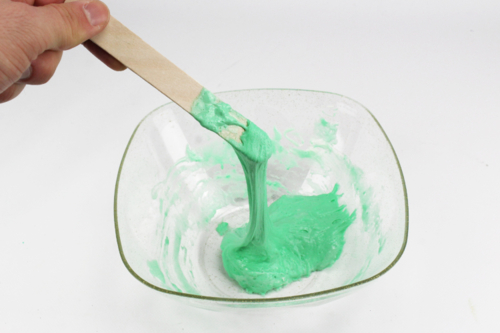
Then knead for a few minutes with your hands to soften the dough.
If the dough sticks too much to your hands even after kneading for a few minutes, add a little bit of magic product (or contact lens solution).
Step 9
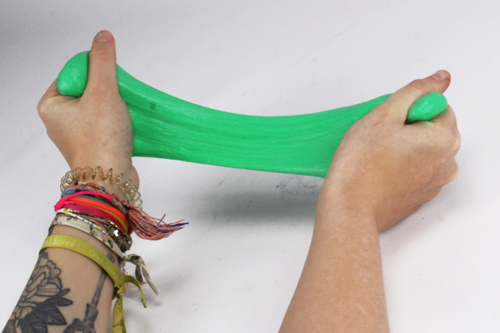
And here is a lovely ultra-elastic SLIME that children will enjoy for hours!
Step 10
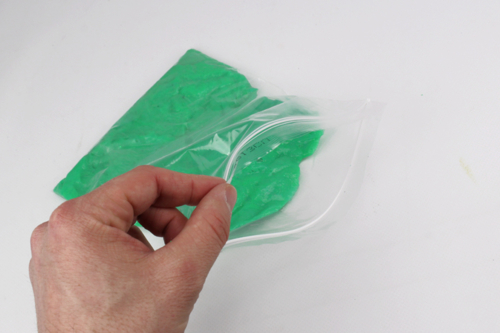
To keep the SLIME for as long as possible, we recommend storing it in the refrigerator in a bag or an airtight container.
The products used:
The products used:


26,90€ (either 2,69 € / pc)
Available


Zip Pouches 15 x 18 cm - 100 pieces
Réf. 04239 - See the full range
4,99€ (either 0,05 € / pc)
Available
Other tutorials on the theme "Modeling Tutorials"
-
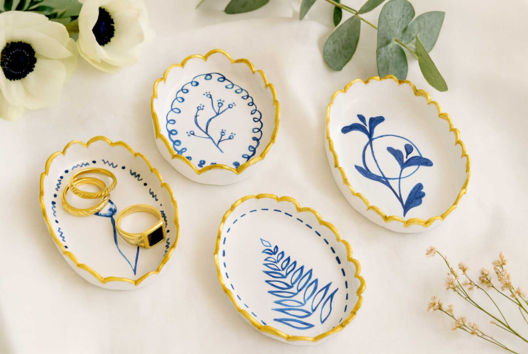
Porcelain Effect Bowls
C17290View 6099 time


-


Embossed Metal Christmas Ornaments
C17434View 17683 time

-

Footprint Snowman
C14819View 13416 time -
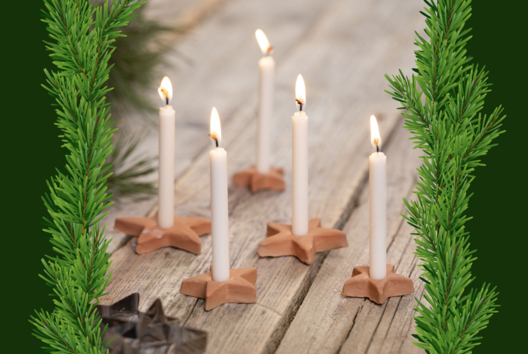
Clay Star Candle Holders
C14777View 13135 time


-
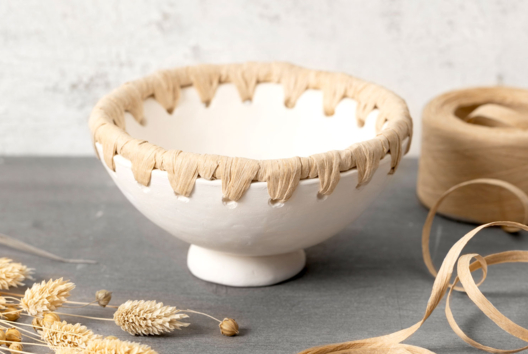
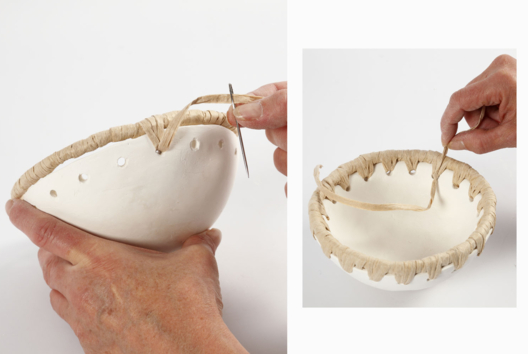
Handmade Bowl
C14756View 17009 time
-
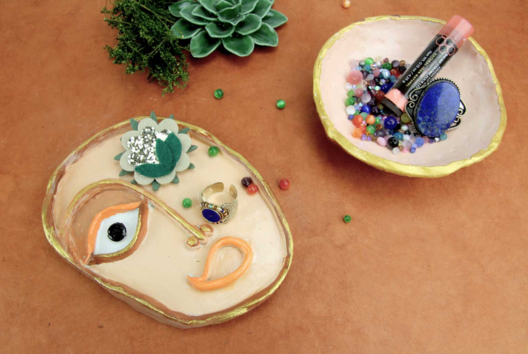
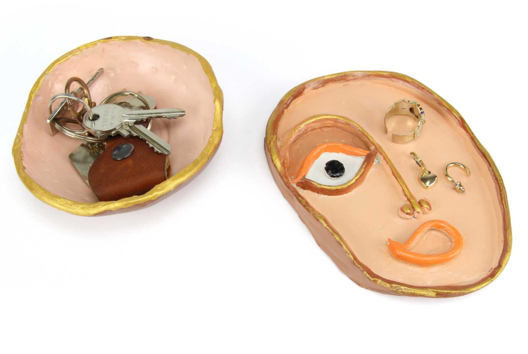
Clay Face Tray
C14675View 13607 time
-
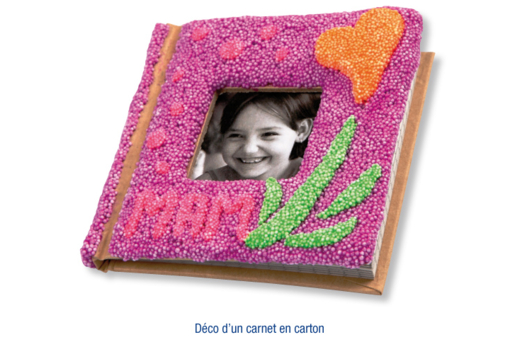
Cardboard Notebook Covered in FOAM CLAY
C10899View 4069 time
-
Make a Bird Keychain with Modeling Clay
C10895View 4523 time -
Decorated Wolf with FOAM CLAY
C10880View 5957 time -
Hand or Footprint Keepsake Frame
C9594View 18165 time
Avis client
5.0/5
3 avis publiés
5
100%
4
0%
3
0%
2
0%
1
0%
Customer review
bonne recette
Cette recette est bien sauf qu'elle reste un peu collante
tropppppp cool
ça marche super bien :) :) :)