Your cart is empty.
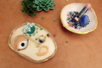
Clay Face Tray


Clay Face Tray


Make this clay tray that will also serve as a jewelry holder. Follow our illustrated steps to create this activity yourself!
Thèmes de l'idéa créa :
#Modeling Tutorials
How to complete this tutorial step by step?
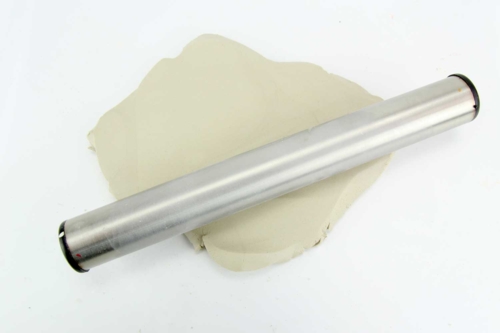
Step 2
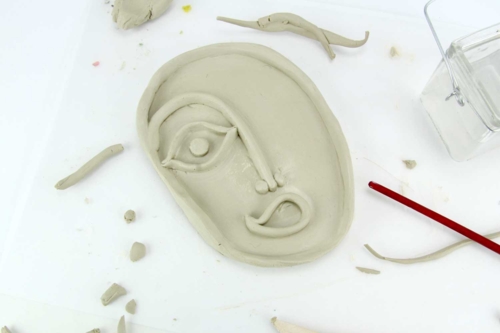
Cut the board with a beveled tool to achieve an oval shape (like a face).
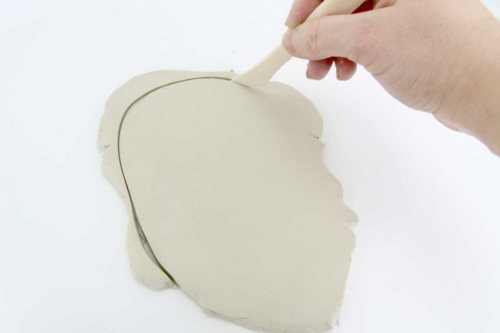
Step 3
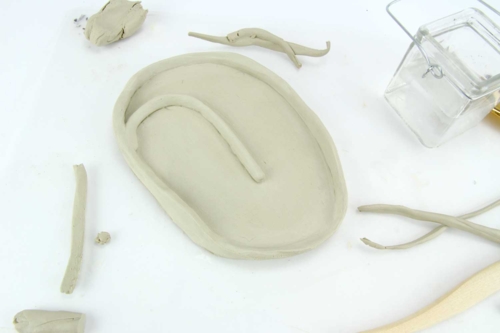
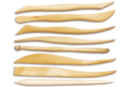
Make coils for the edge of the bowl and the facial features.
Moisten if necessary to stick the different parts together.
Step 4
Let dry for at least 24 hours in the open air for the dough to harden.
Step 5
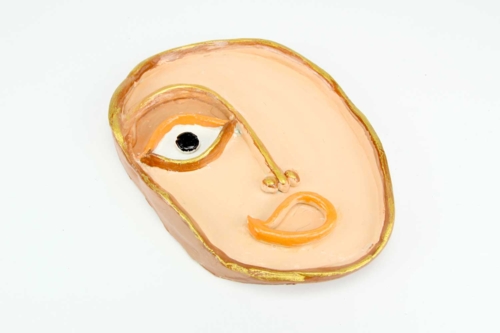
- Once the creation is completely dry, paint it with acrylic paint. Let it dry.
- Apply a bit of golden patina around the face and the bridge of the nose using a dry cloth. Let it dry.
- Wait for the paint to dry, then varnish with a glossifier to achieve a nice lacquered shiny effect.
The products used:
The products used:


Other tutorials on the theme "Modeling Tutorials"
-
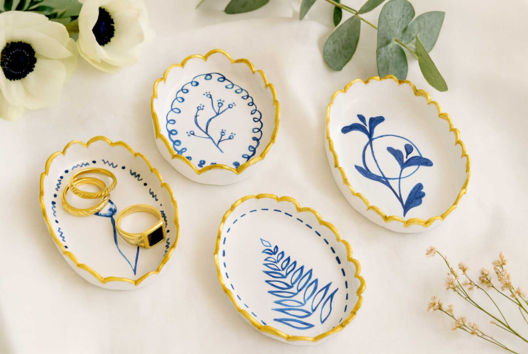
Porcelain Effect Bowls
C17290View 6118 time


-


Embossed Metal Christmas Ornaments
C17434View 17692 time

-

Glitter Bowl, Made with Plaster Strips
C11067View 10933 time
-
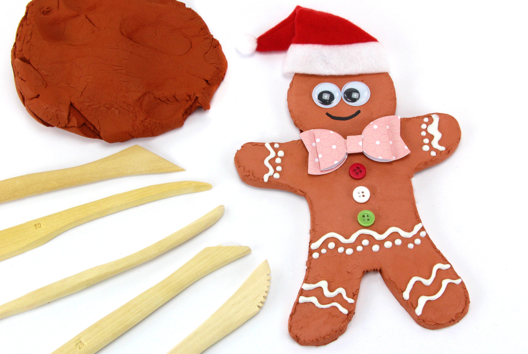
Gingerbread Man (modeling dough)
C14862View 36337 time
-

Glow-in-the-Dark Ghost and Handprint
C14788View 29477 time -
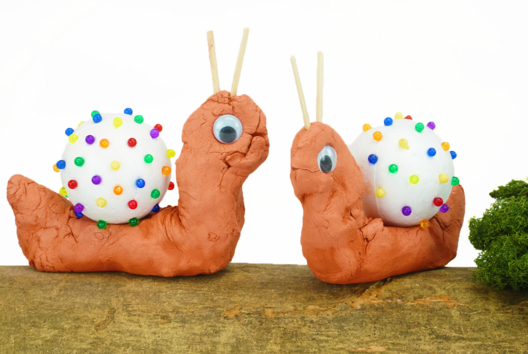
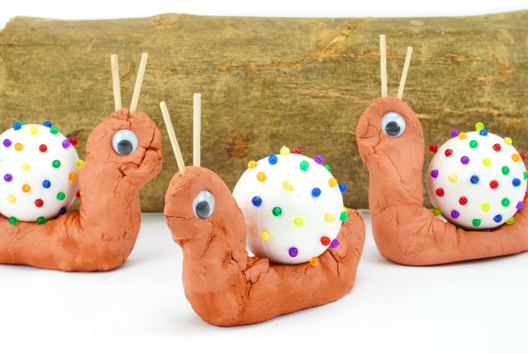
Modeling Clay Snail and Planting Pins
C10989View 6872 time


-
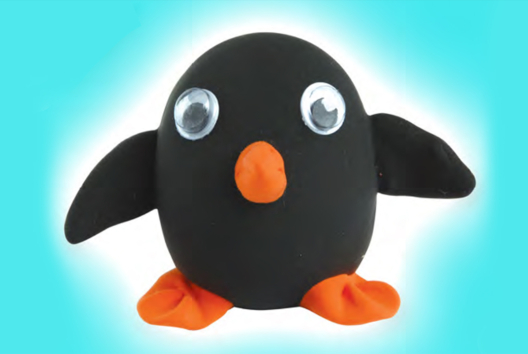
Modeling Clay Penguin
C14293View 10644 time -

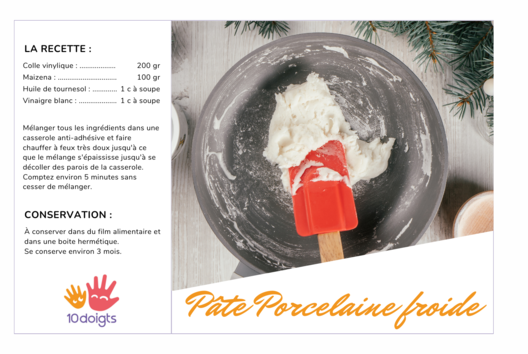
Cold Porcelain Recipe
C11212View 32465 time -
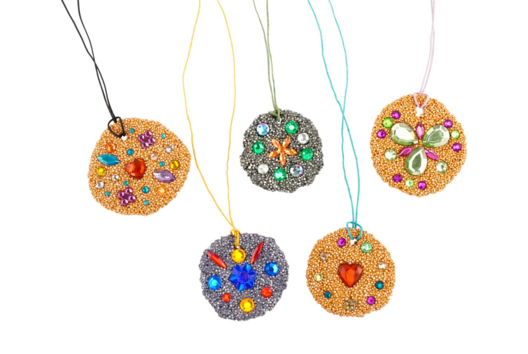
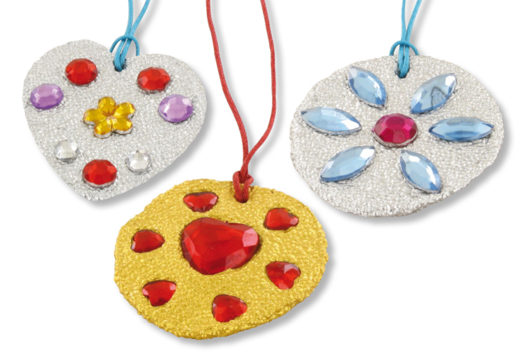
Golden or Silver Medallions
C11215View 11037 time
-
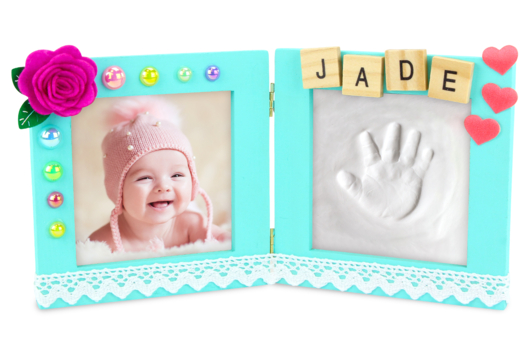
Baby Handprint Frame
C11120View 11891 time

Customer review
Give your feedback
Clay Face Tray
Be the first to share your review of this product.
Post a review