Your cart is empty.
Spring Tree with Dried Flowers


Spring Tree with Dried Flowers


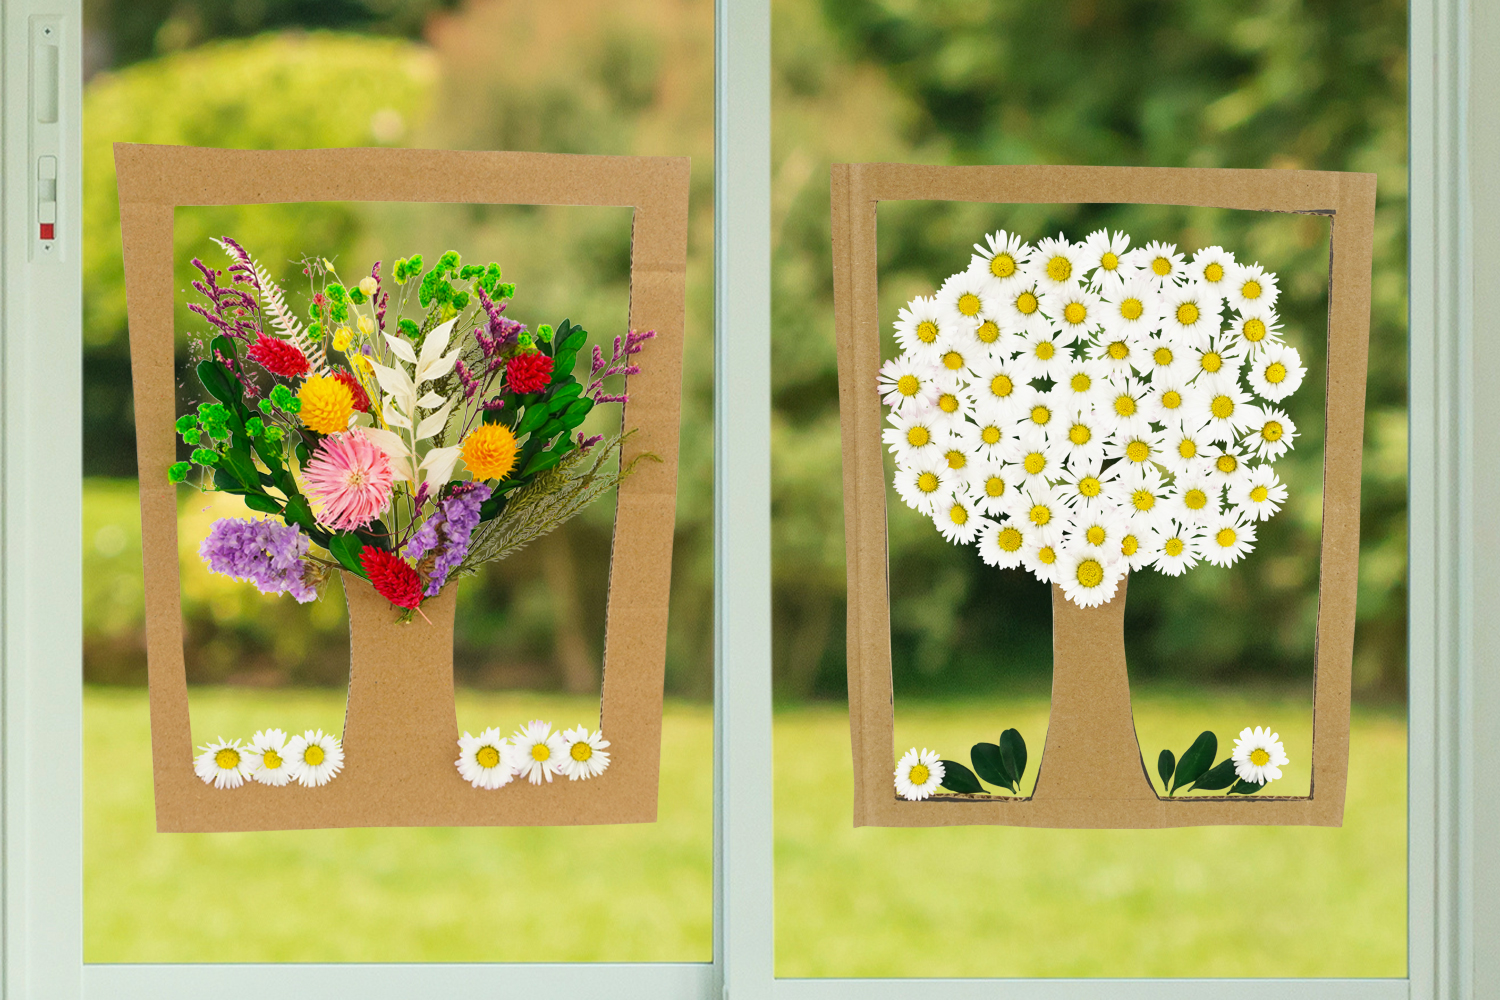
In this manual activity on the theme of Spring, we will show you how to create a beautiful spring tree using cardboard, adhesive plastic film, and dried flowers.
A creative craft that, in addition to being easy and fun, will spark children's imagination and raise awareness about recycling and upcycling.
Thèmes de l'idéa créa :
#Craft Tutorials
#Flower Tutorials
#Upcycling Tutorials
#Nature
#Spring Tutorials
How to complete this tutorial step by step?
Materials
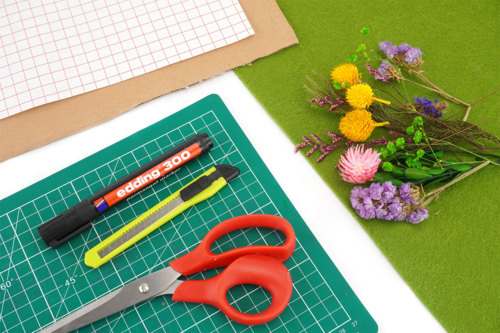
To make a spring tree you need:
- cardboard
- adhesive plastic film
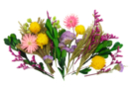
- dried flowers and leaves
- a marker
- a cutting mat
- a pair of scissors
- a craft knife
Step 1
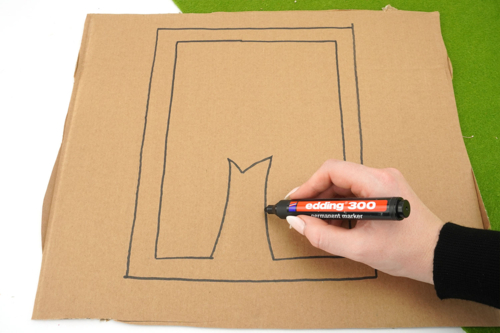
Start by drawing a rectangle of approximately 20cm x 15cm using a cutter.
Then trace a second rectangle inside, leaving a 2-3 cm margin and taking care to draw a trunk for the tree at the bottom.
Step 2
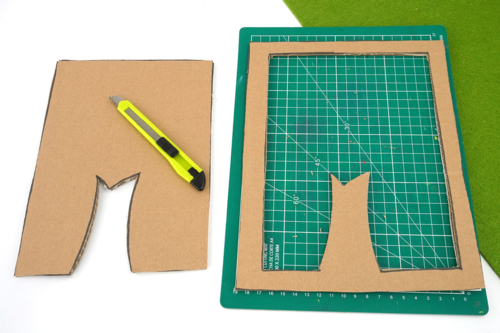
Cut out the inside of the rectangle using a cutter to create a frame like in the photo.
Step 3
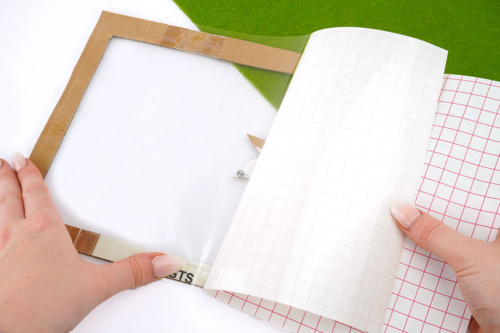
Remove the protective layer from the adhesive plastic film.
Then, place the film on the cardboard frame.
Step 4
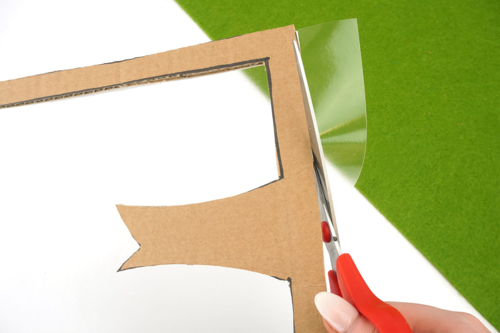
Cut the remaining ends of the plastic film using a pair of scissors.
Step 5
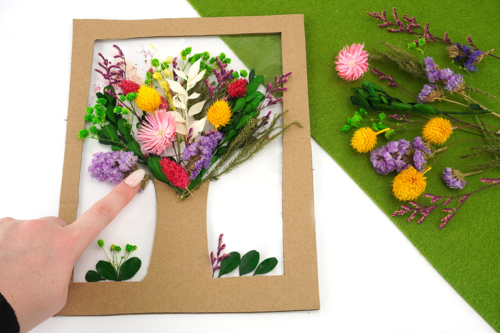
Then place dried flowers and leaves on the sticky part of the plastic film to create a beautiful flowering tree.
Step 6
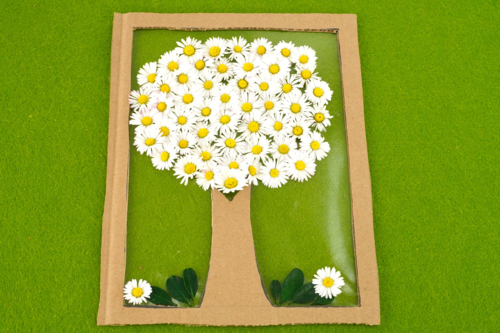
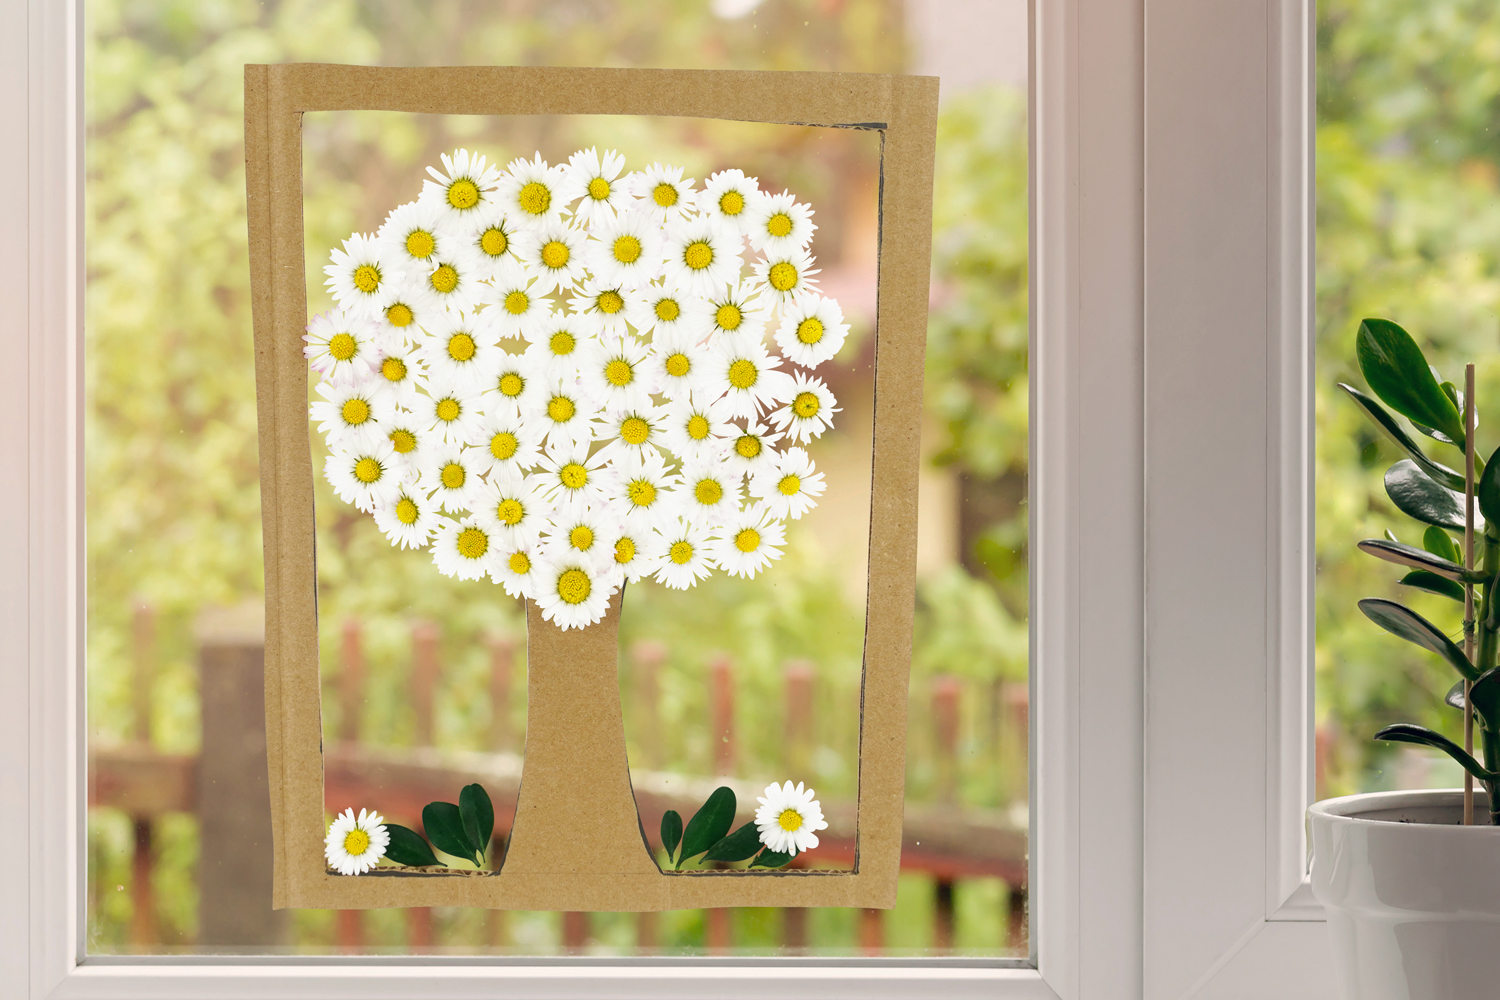
You can also create a version with flowers picked from the garden, like here with daisies.
The products used:
The products used:

4,99€ (either 0,50 € / pc)
Available


Other tutorials on the theme "Craft Tutorials"
-
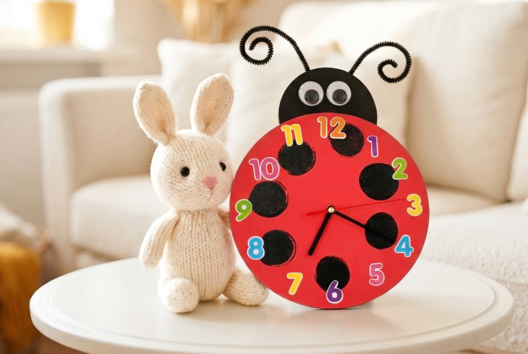
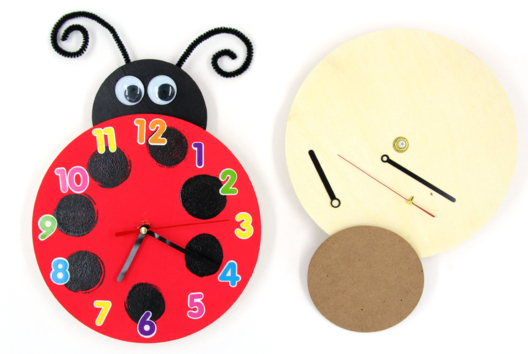
Ladybug Clock
C15159View 26478 time


-

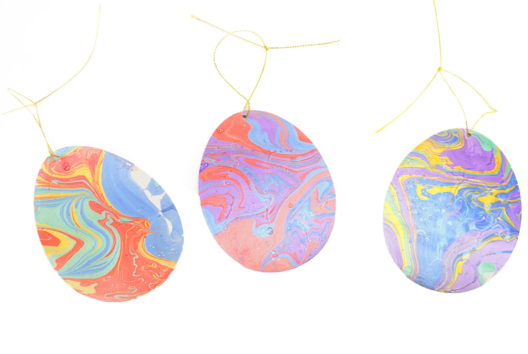
Easter Eggs Marbling Ornaments
C17738View 5053 time

-
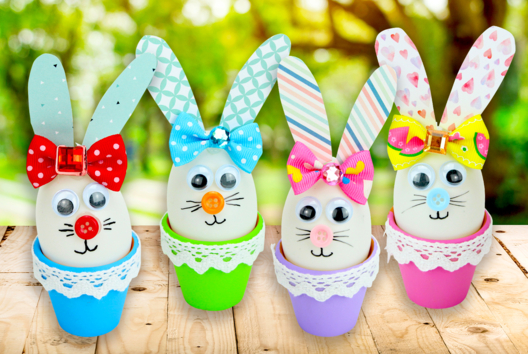
Easter Bunny in Its Terracotta Pot
C13971View 26721 time
-
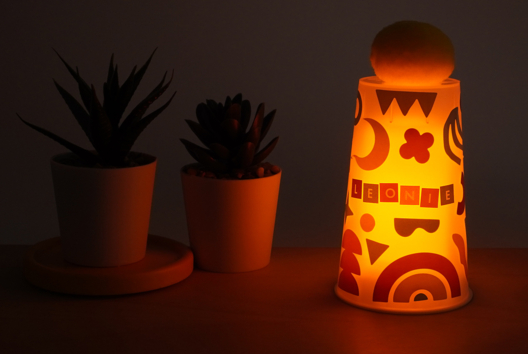
Colored Night Light for Children
C16937View 9614 time

-
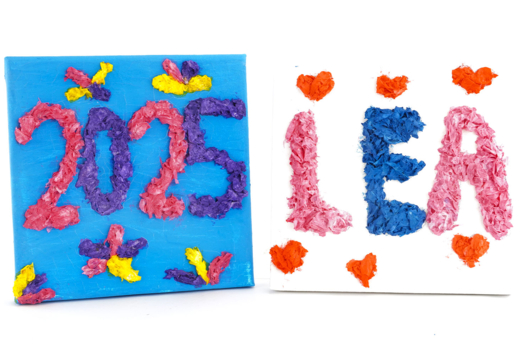
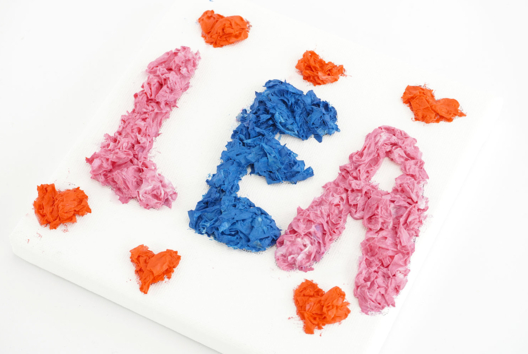
Relief Painting with Paper Towel
C16931View 15062 time
-
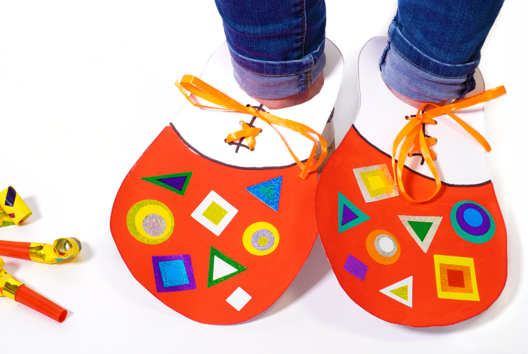
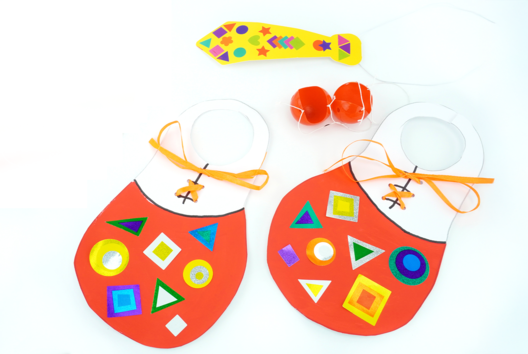
Giant Paper Clown Shoes
C11134View 38365 time
-
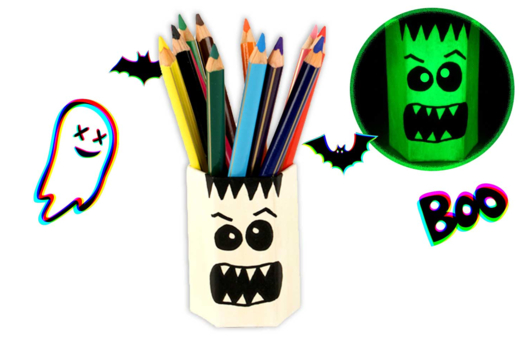

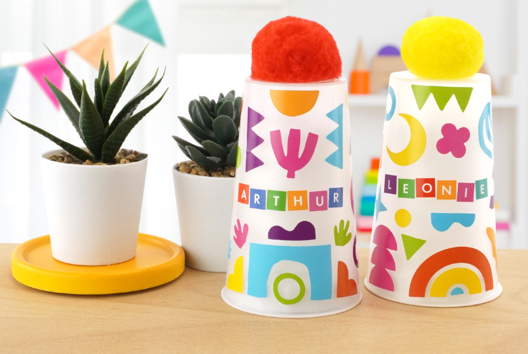
Glow-in-the-dark Pencil Pot
C11346View 23293 time -
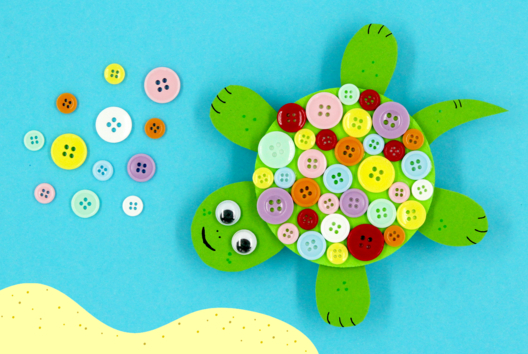
Turtle with Buttons
C13594View 48191 time -
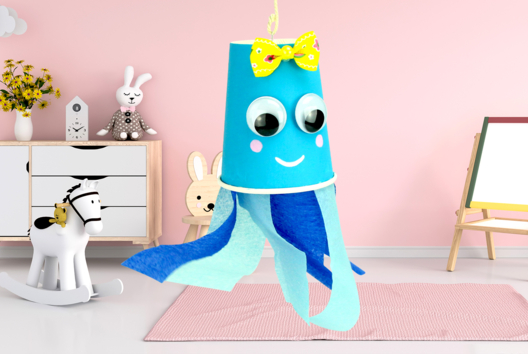
Make a Beautiful Jellyfish with a Cup and Crepe Paper
C13528View 25781 time
-
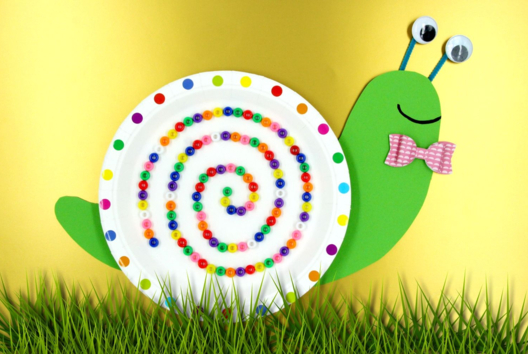
Funny Snail with Beads and Paper Plate
C13526View 52228 time
Customer review
Give your feedback
Spring Tree with Dried Flowers
Be the first to share your review of this product.
Post a review