Your cart is empty.
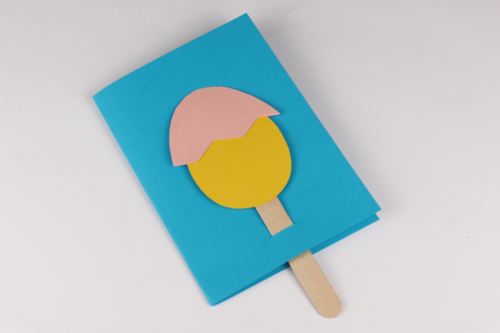
The chick hatches from its egg
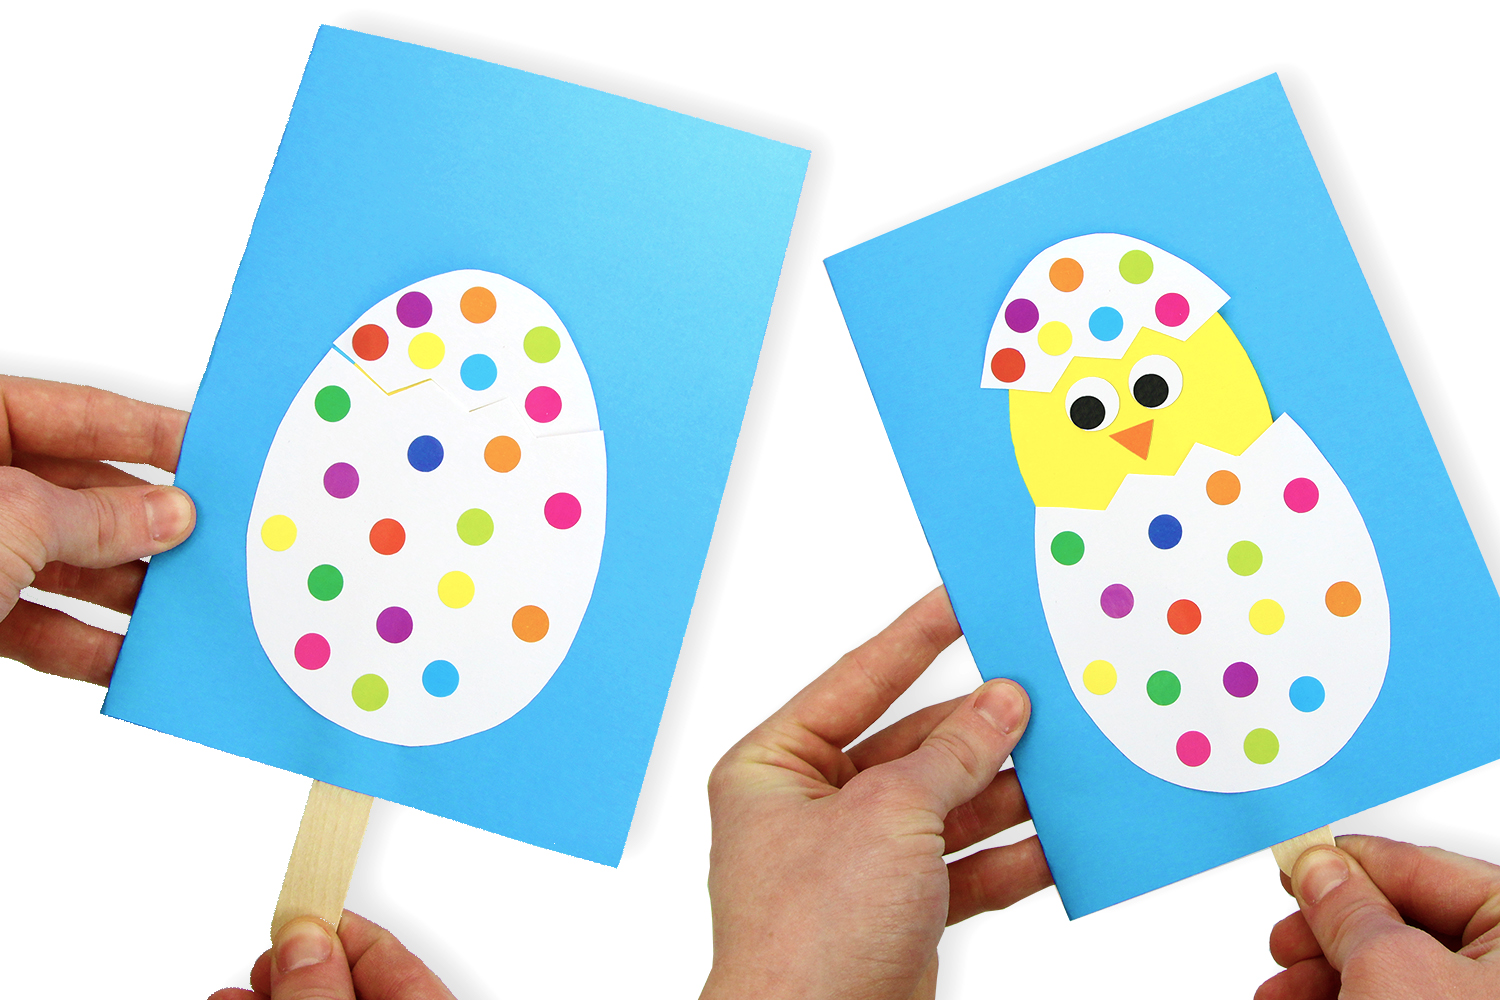
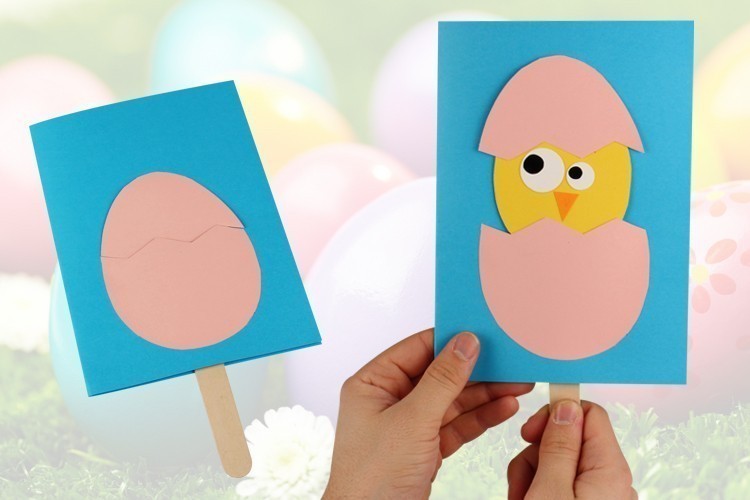


The chick hatches from its egg
Push the wooden tab to make the chick come out of the egg.
A fun activity to do for Easter with kids.
Guaranteed success !
To watch the video tutorial, click on "VIDEO" below the main photo.
How to complete this tutorial step by step?
Materials:
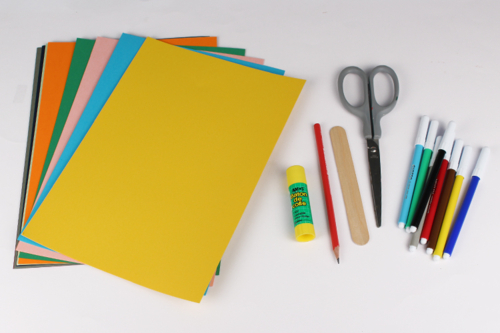
To create a chick that comes out of its egg, you will need:
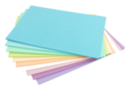
- sturdy A4 format 220 g/m² cardstock (coordinating colors)
- a wooden strip measuring 15.5 x 1.8 cm
- round stickers
- a stick of white glue
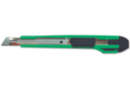
- a pair of scissors
- a pencil
- markers
- a template for the egg and the chick (to print - see "Technical Sheet" below the main photo)
Étape 1 :
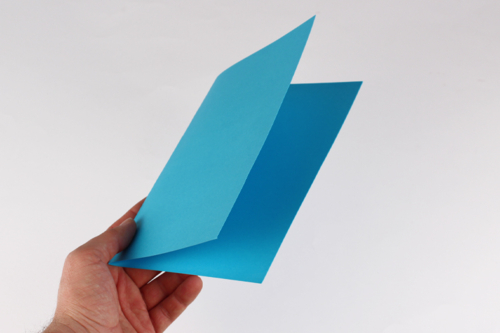
Choose a strong A4 size cardstock in your preferred color and then fold it in half.
Step 2:
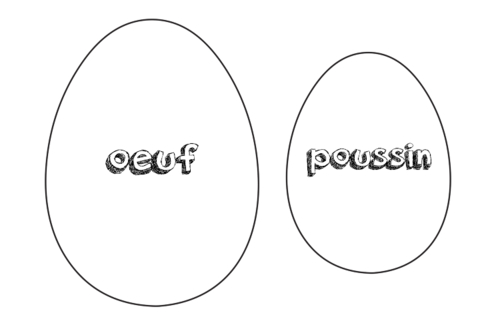
Download / Print the egg and chick template.
To do this, click on "Technical sheet" below the main photo, at the top of the page.
Step 3:
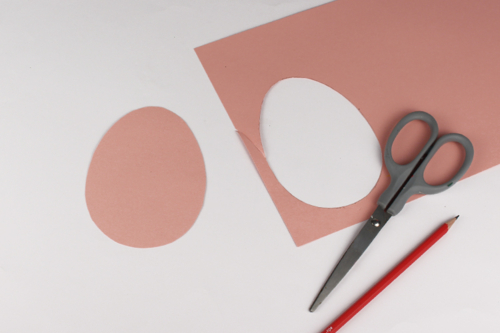
Using the template, trace the outline of the egg onto a piece of sturdy light-colored paper and then cut out the egg with a pair of scissors.
Step 4:
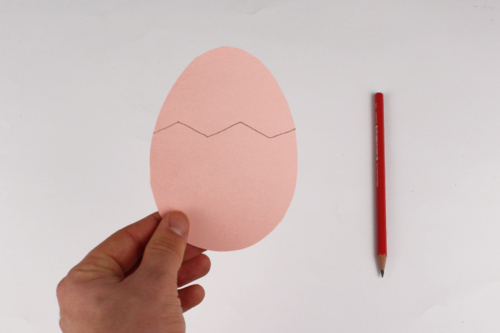
Using a pencil, draw the "cracks" on the egg.
The egg will be cut in two at this point.
Step 5:
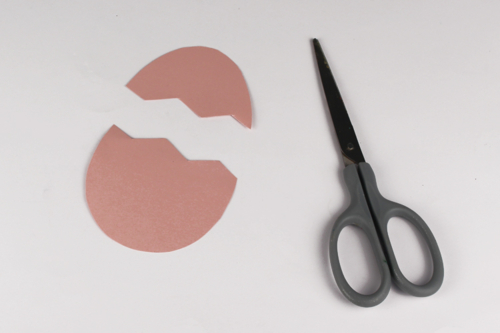
Cut out the egg following the outline made in the previous step.
Step 6:
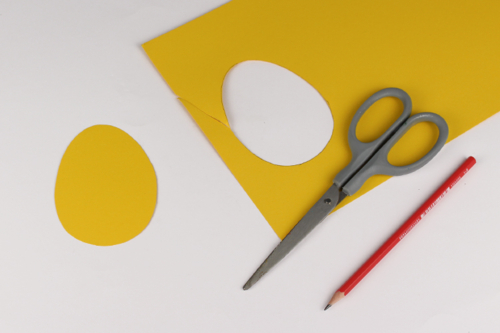
Using the template, trace the outline of the chick on a sturdy yellow card, then cut out the shape with a pair of scissors.
Step 7:
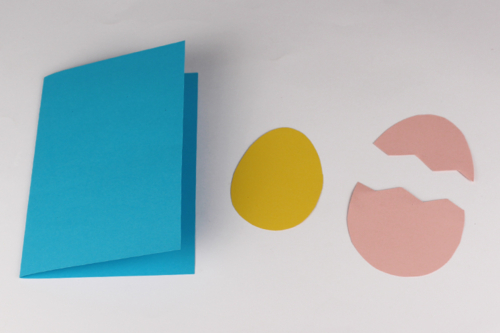
Here are the items you need to obtain at this step.
Step 8:

Using a white glue stick, attach the upper part of the eggshell to the top of the yellow shape.
Step 9:
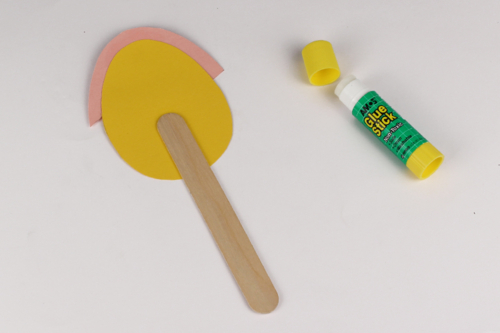
Glue the wooden tab to the back of the yellow shape (the end of the tab should be positioned at the midpoint of the yellow shape).
Step 10:
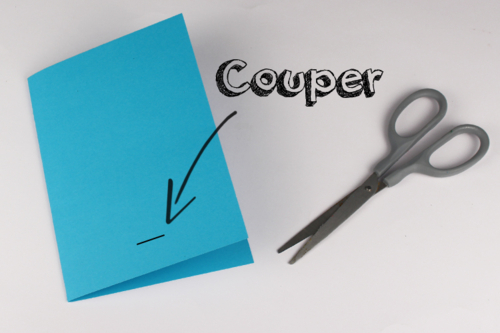
Make a cut approximately 2 cm wide, located about 2.5 cm from the bottom of the blue card (centered widthwise).
Step 11:
Slide the wooden tab into the slot.
The tab should protrude from the inside of the card.
Step 12:
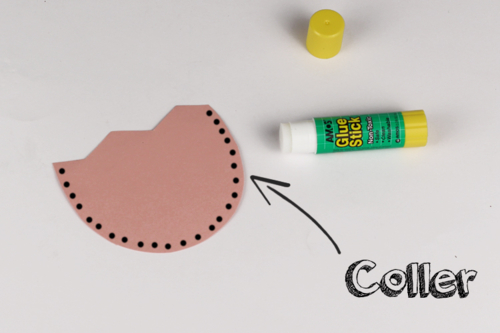
Apply glue around the lower edge of the eggshell (only on the dotted area - see photo to the side).
It is important not to spread the glue more than 3 mm in width. To achieve this, we recommend tilting the glue stick at a 45° angle to apply the glue in a thin and precise manner.
The central part of the shell should not be glued so that the chick can easily enter and exit the egg later on.
Étape 13 :
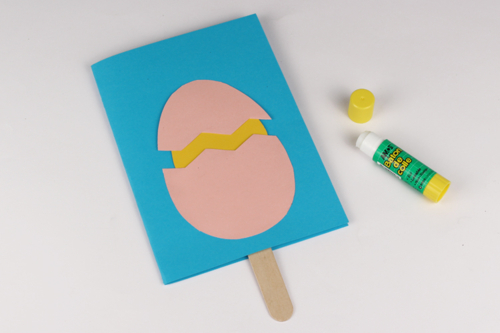
Glue the bottom part of the egg about 1.5 cm from the bottom of the blue card.
Step 14:
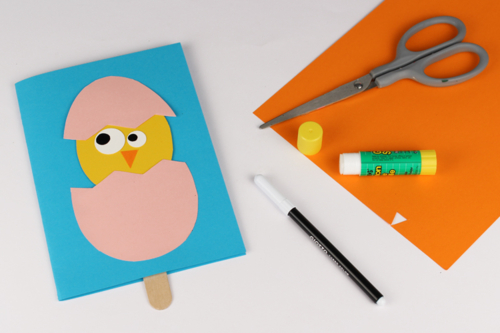
Cut out the eyes and beak of the chick from a sturdy card and glue them onto the yellow shape.
Étape 16 :
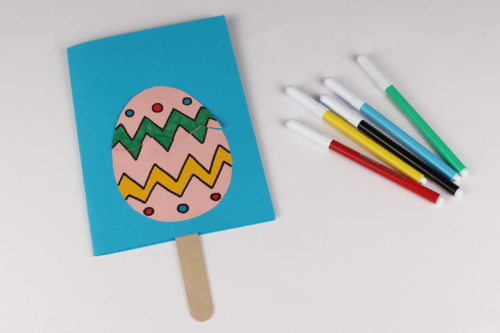
Decorate the egg with markers or stickers.
You can also decorate the inside of the card with a lovely drawing or Easter collage!
The products used:
The products used:
12,99€ (either 0,26 € / pc)
Available


Other tutorials on the theme "Easter Tutorials"
-

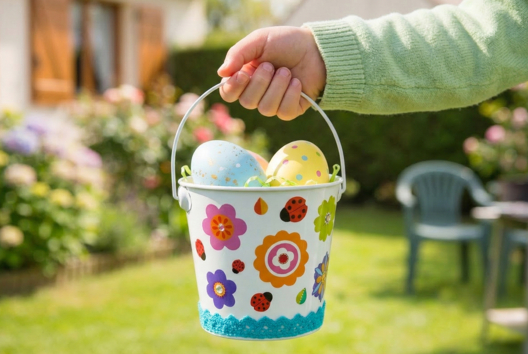
Bucket for collecting Easter eggs
C17732View 6179 time


-
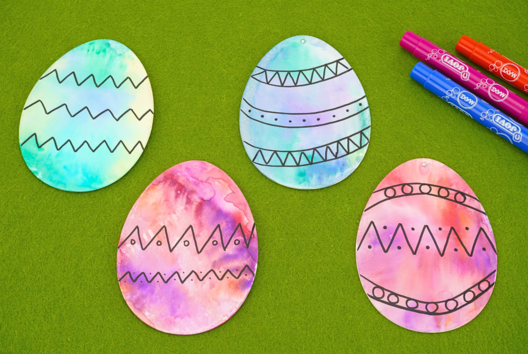

Watercolor Easter Eggs
C11103View 20768 time
-
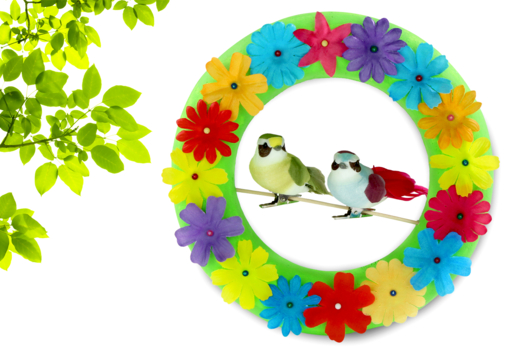
Flower Crown and Little Birds
C14580View 25200 time -
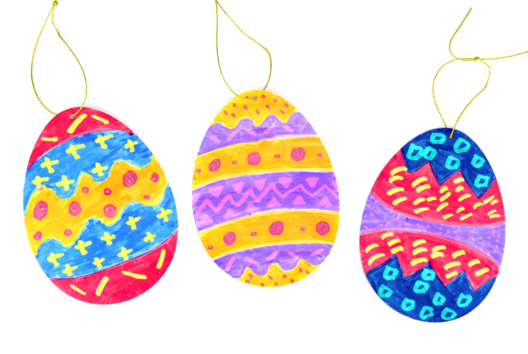
Easter Eggs with Magic Markers
C14576View 25575 time -
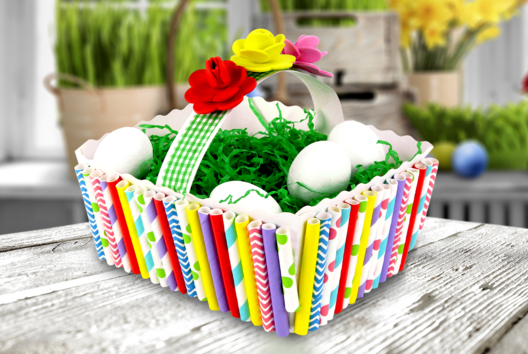
Easter Basket to Decorate with Cardboard Straws
C14570View 56710 time
-
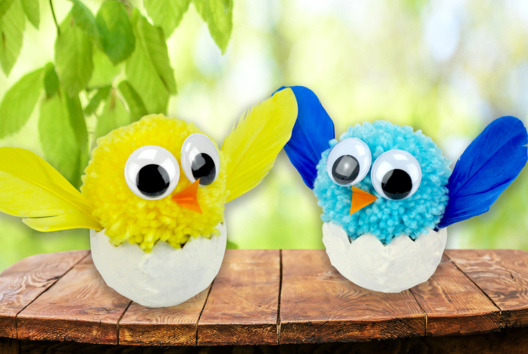
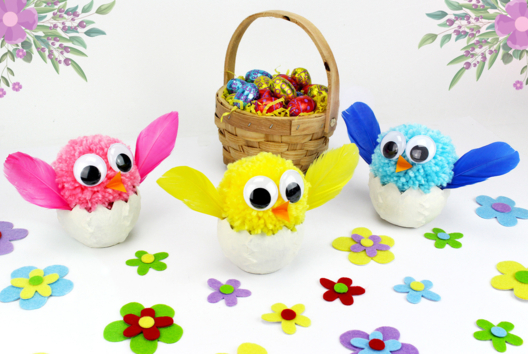
Pom-pom Chick in Its Shell
C13383View 33598 time
Je vais la proposer aux enfants pour Pâques