Your cart is empty.
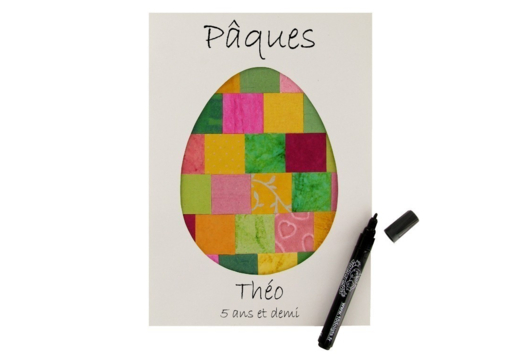
Easter Eggs with Magic Markers
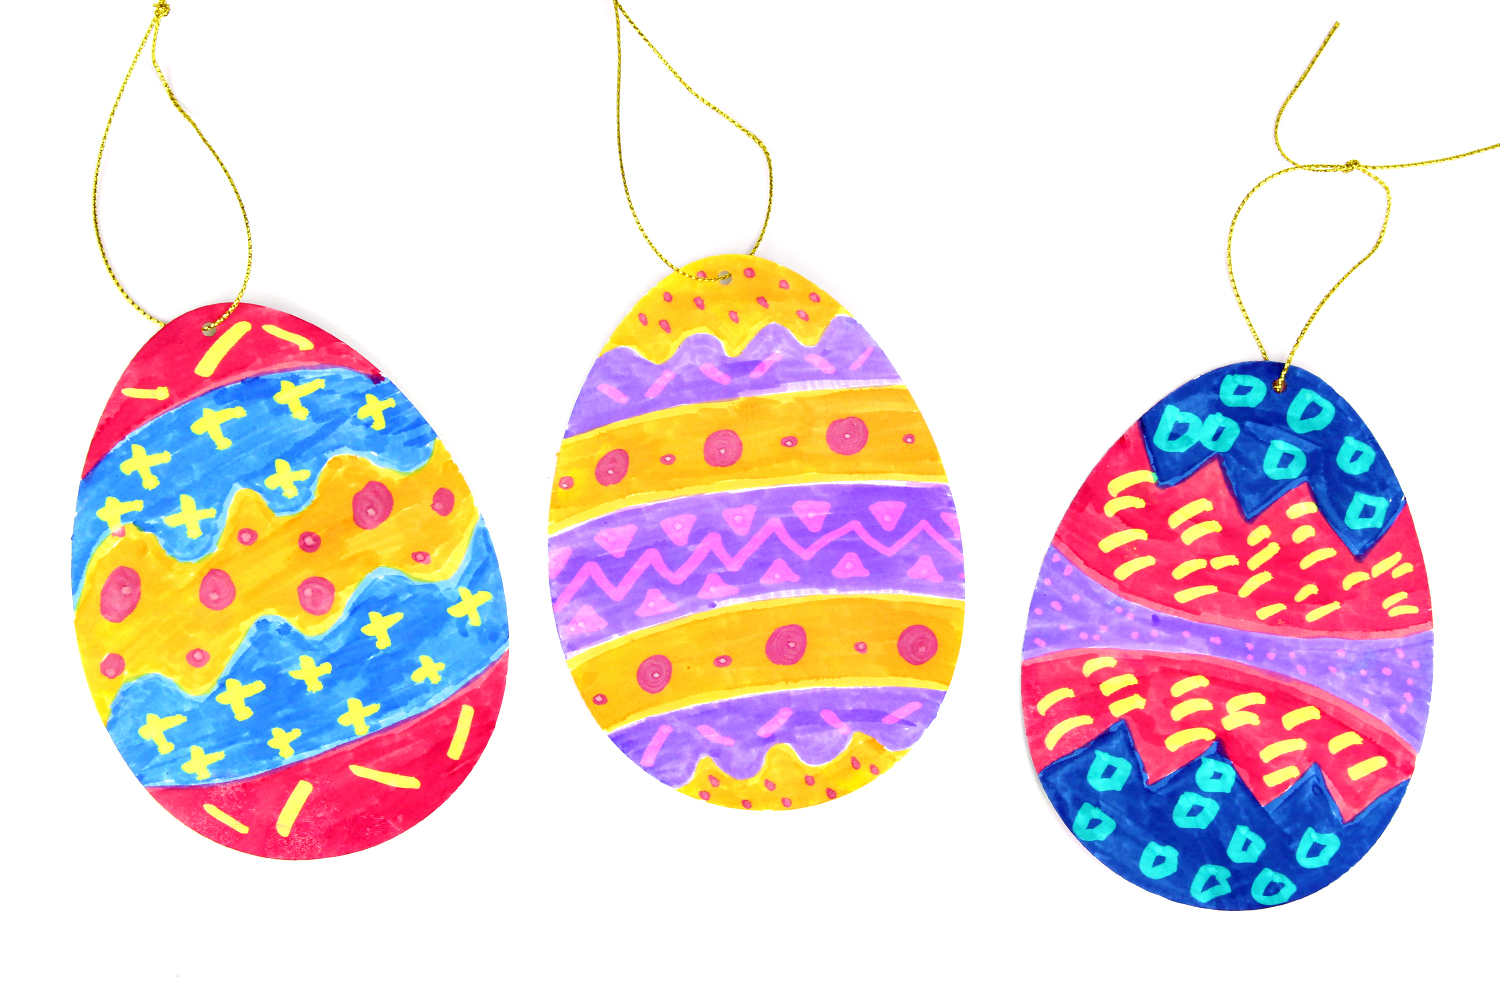


Easter Eggs with Magic Markers
Discover today a new technique to decorate cardboard Easter eggs with... MAGIC markers!!
A simple technique, ideal for young children since all you need to do is to use the magic marker on an already colored area to change its color!
Check out our video tutorial by clicking below the main photo.
Thèmes de l'idéa créa :
#Easter Tutorials
How to complete this tutorial step by step?
Step 1:
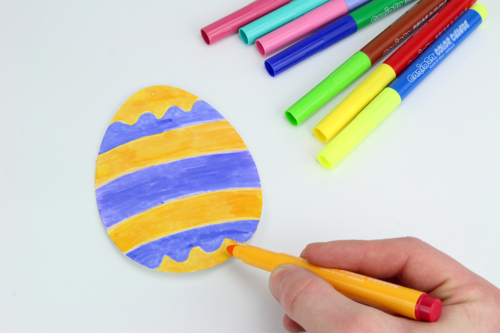
To begin, color the background of the egg by creating several layers with colored magic markers.
Step 2:
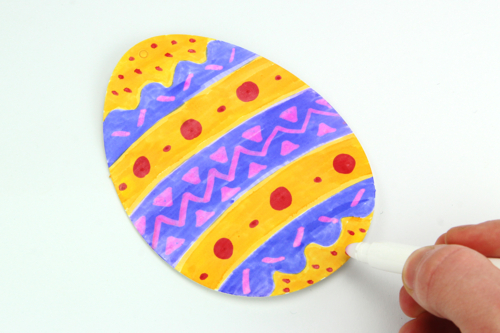
Next, take the white marker and draw patterns on the colored areas, the color changes, it’s MAGIC!
Step 3:
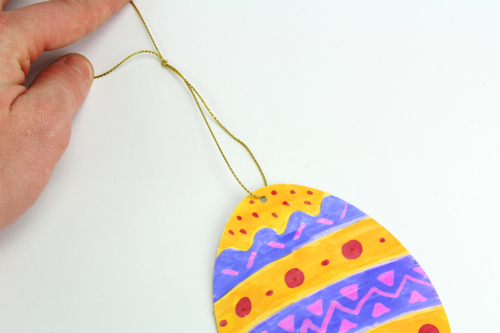
All you have left is to attach a cord so that you can hang the egg.
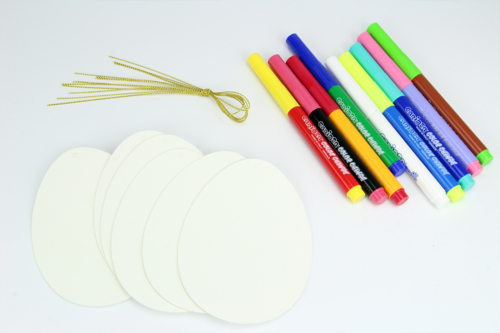
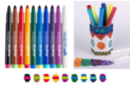
The products used:
The products used:

Other tutorials on the theme "Easter Tutorials"
-

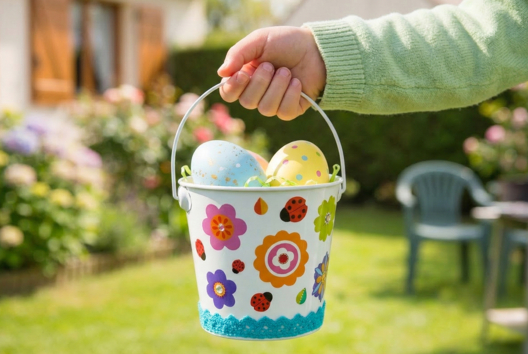
Bucket for collecting Easter eggs
C17732View 6179 time


-
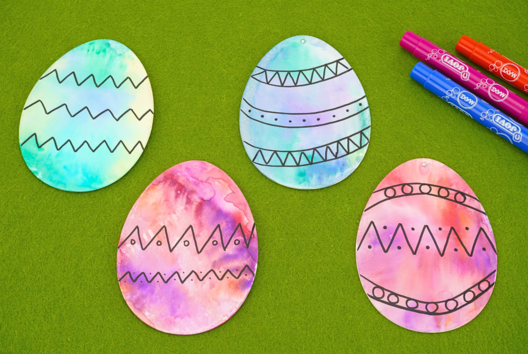

Watercolor Easter Eggs
C11103View 20768 time
-
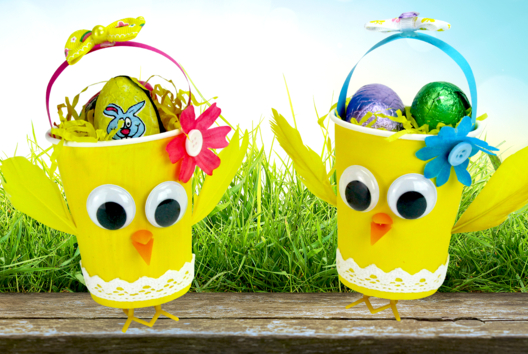
Chick Basket with a Paper Cup
C13964View 36199 time

-
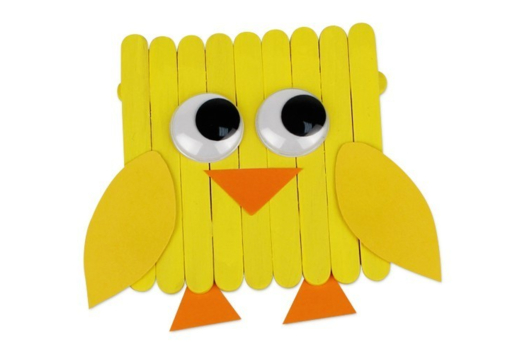
Popsicle Chick
C11823View 38717 time
-
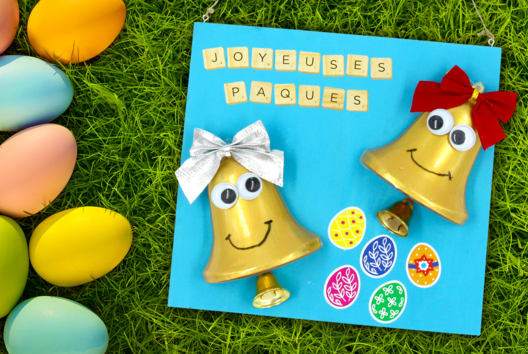
3D Easter Bells Display
C15142View 18650 time
-
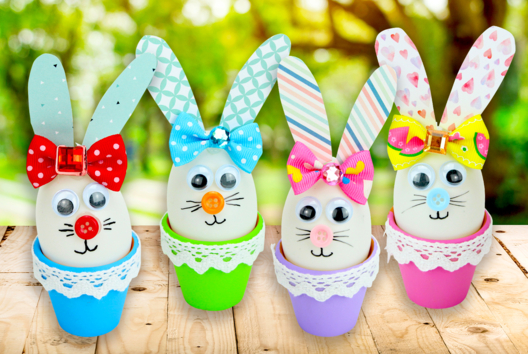
Easter Bunny in Its Terracotta Pot
C13971View 26445 time

-
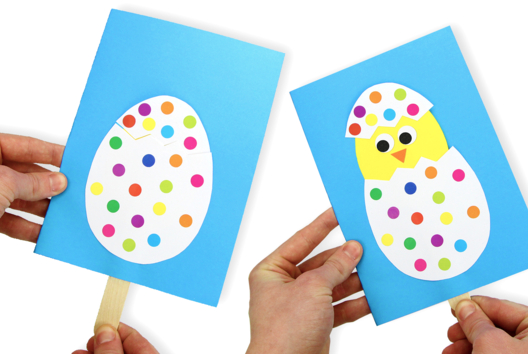
The chick hatches from its egg
C11822View 325763 time -
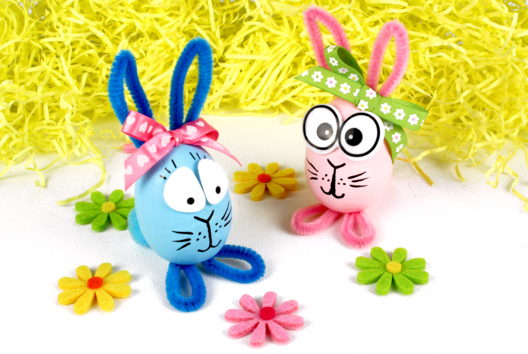
Easter Bunnies with Styrofoam Eggs
C11593View 67311 time -
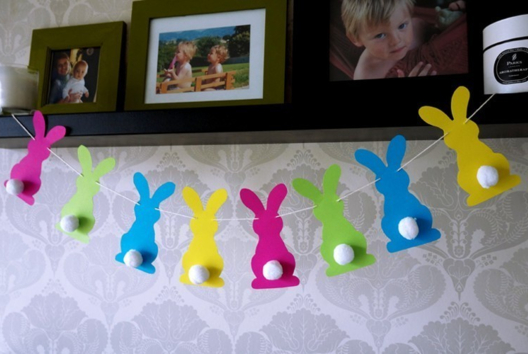
Easter Bunny Garland
C11322View 147269 time -
Easter Egg Collage
C11320View 26591 time
Customer review
Give your feedback
Easter Eggs with Magic Markers
Be the first to share your review of this product.
Post a review