Your cart is empty.
Watercolor Paint and Drawing Gum


Watercolor Paint and Drawing Gum


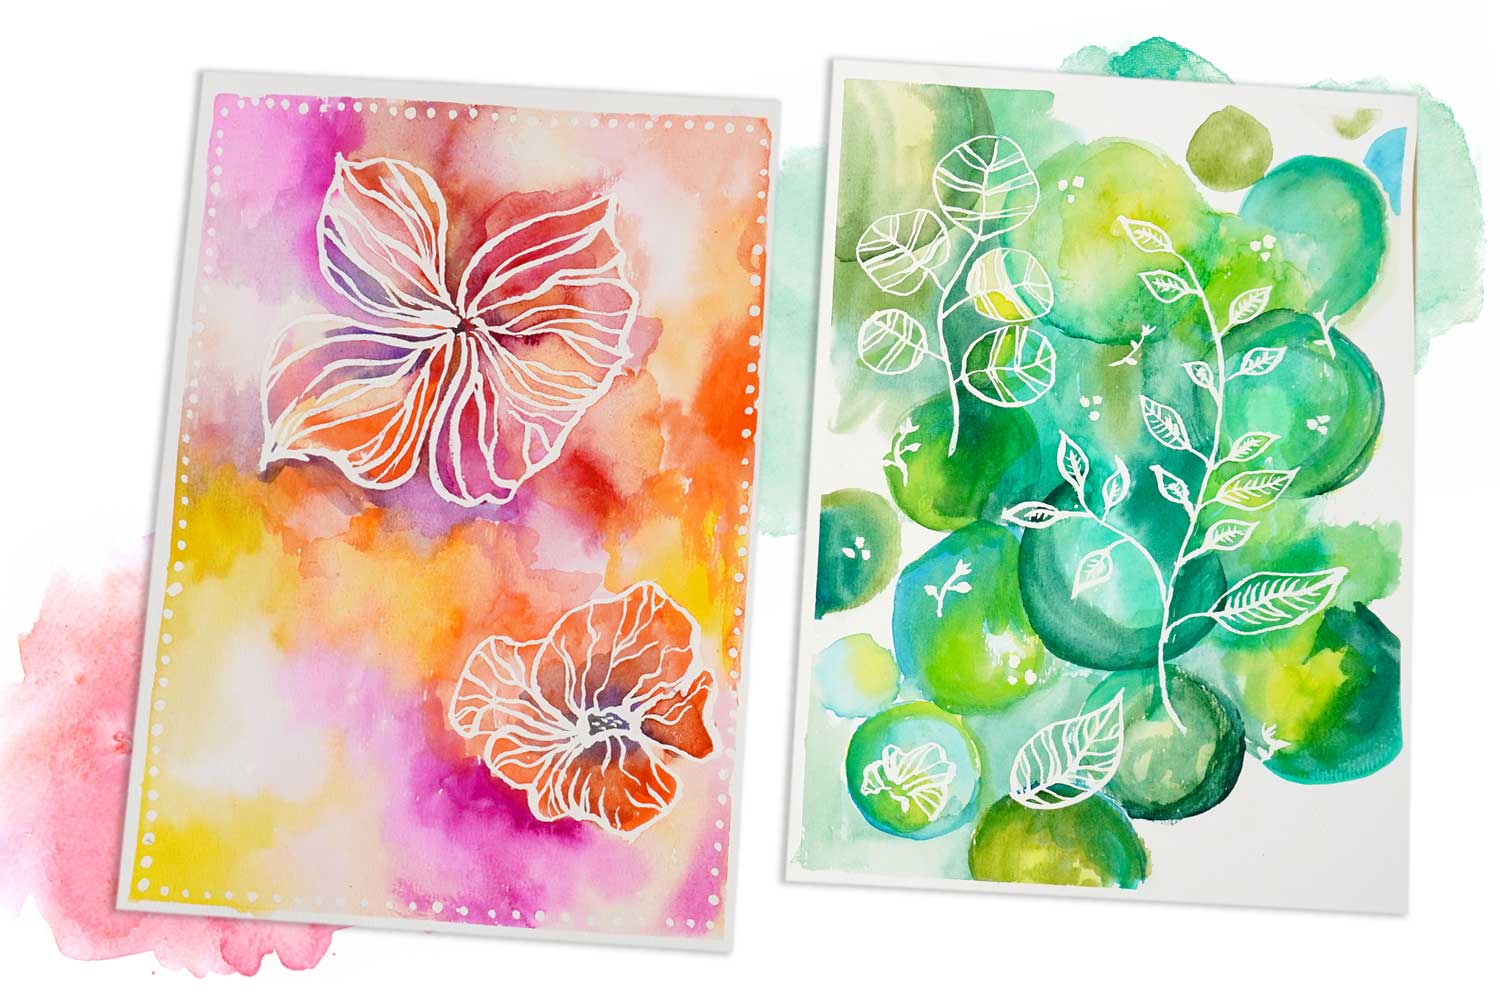
Discover in this watercolor painting tutorial how to use Drawing Gum, whether in a bottle or pen form. With this activity, you will learn how to create areas of white reserve in watercolor. Since it is a diluted paint that plays with transparencies, you cannot use white in this paint except to lighten certain colors. Therefore, you need to use the white of the paper and protect it with Drawing Gum, also known as masking liquid.
Step by step, find out how to carry out this extremely easy technique!
Our tips regarding Drawing Gum:
- Drying: An important step in the process, the Drawing Gum must be perfectly dry before painting. Also, your painting must be completely dry before removing the Drawing Gum.
- Protect your brushes that will be used to apply the Drawing Gum. There are tips available, such as wetting the bristles beforehand with soap to create a barrier that prevents the bristles from sticking together. However, the best option is to use old brushes since the Drawing Gum dries quickly.
Thèmes de l'idéa créa :
#Drawing Tutorials
#Flower Tutorials
#Painting Tutorials
#Board Tutorials
#Adult Tutorials
#I Paint with Watercolor
How to complete this tutorial step by step?
Materials
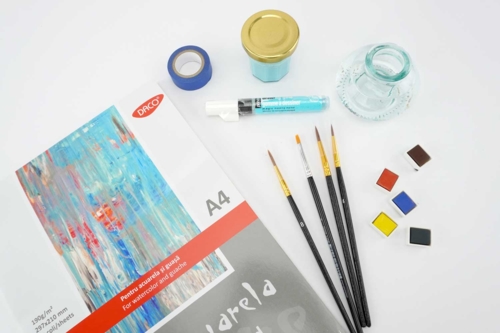
For this activity, you will need:
- watercolor paper (190 g/m² or 300 g/m²)
- solid watercolor paint in pans
- 3 synthetic brushes (including 1 for the drawing gum)
- liquid drawing gum and 1 drawing gum pen
- 1 roll of masking tape
- 1 jar of water
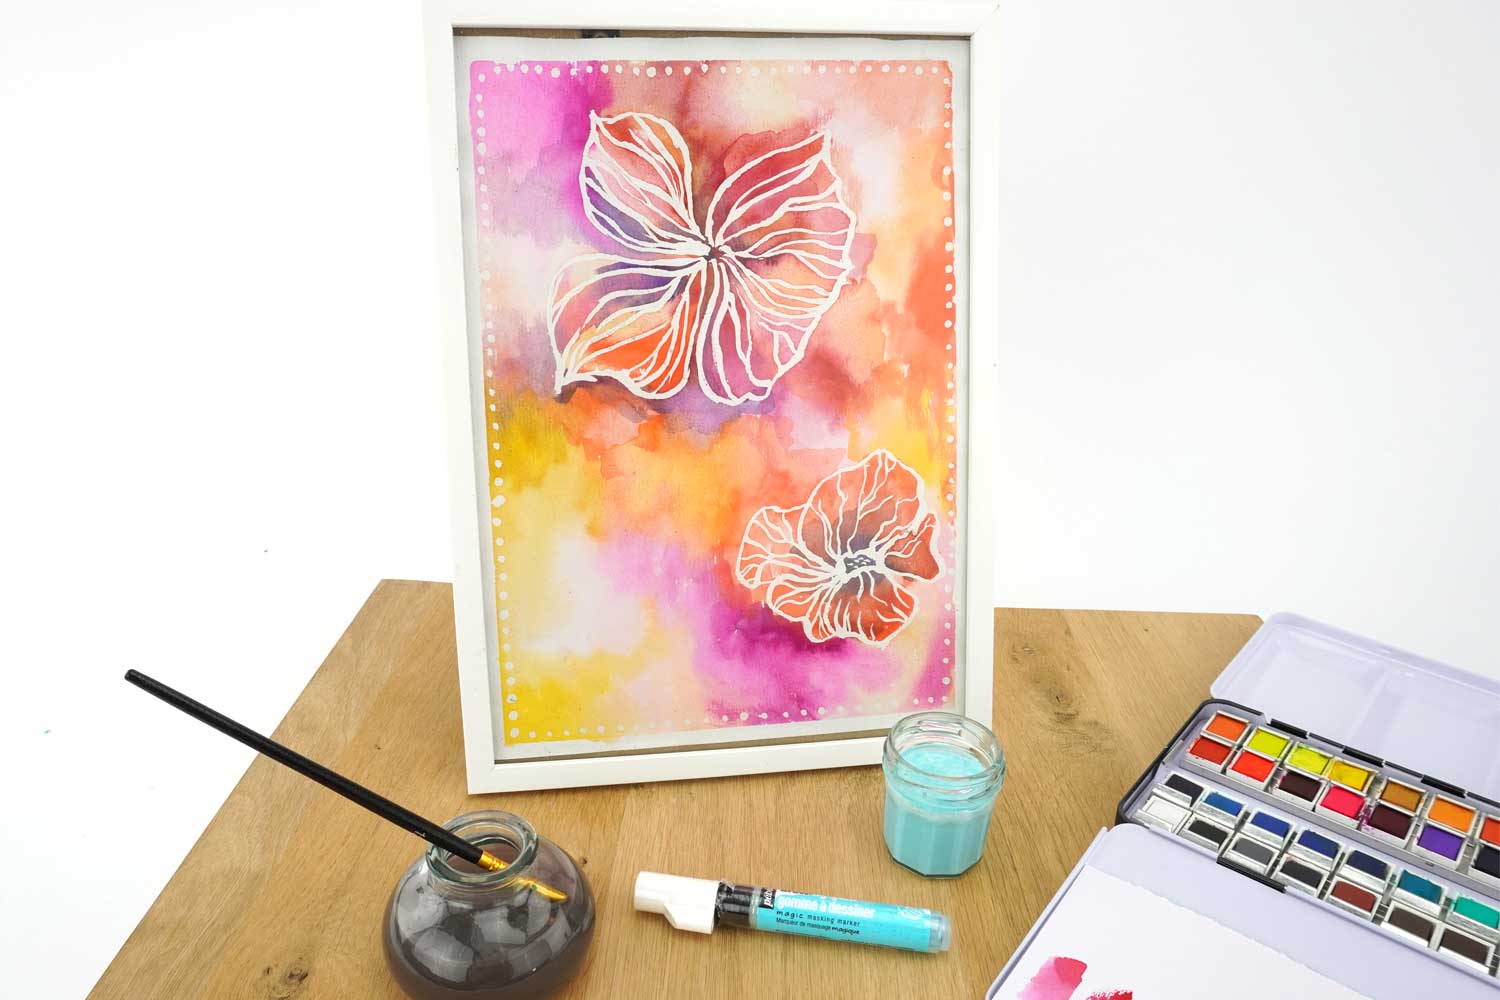
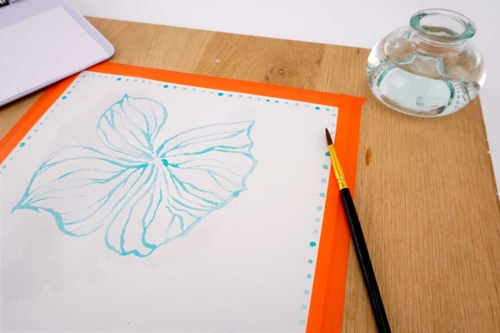
Step 1
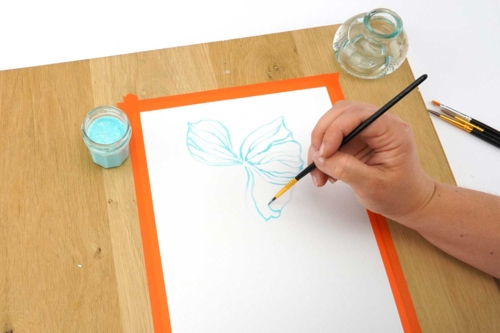
Attach the paper to your work table using masking tape; its adhesive side is specially designed to peel off easily without tearing the paper.
Then, using a fine brush and liquid drawing gum, draw large flowers on the sheet.
Step 2
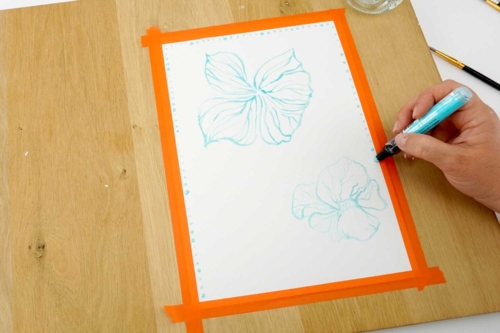
Using the drawing gum marker, this time, draw patterns on the edges of the paper. Here we made dots, but you can also create zigzags, rectangles, or other patterns..
Step 3
Allow the drawing gum to dry completely.
Then moisten the sheet using a wide brush.
Step 4
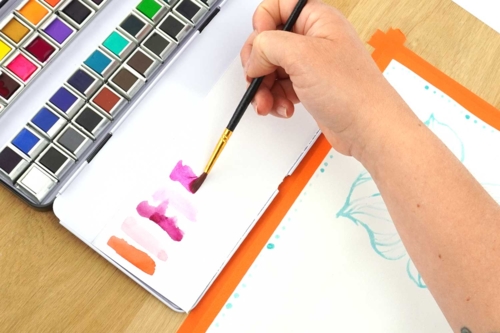
With a fine brush, test the color on a scrap of paper to choose the harmonies that will compose your painting.
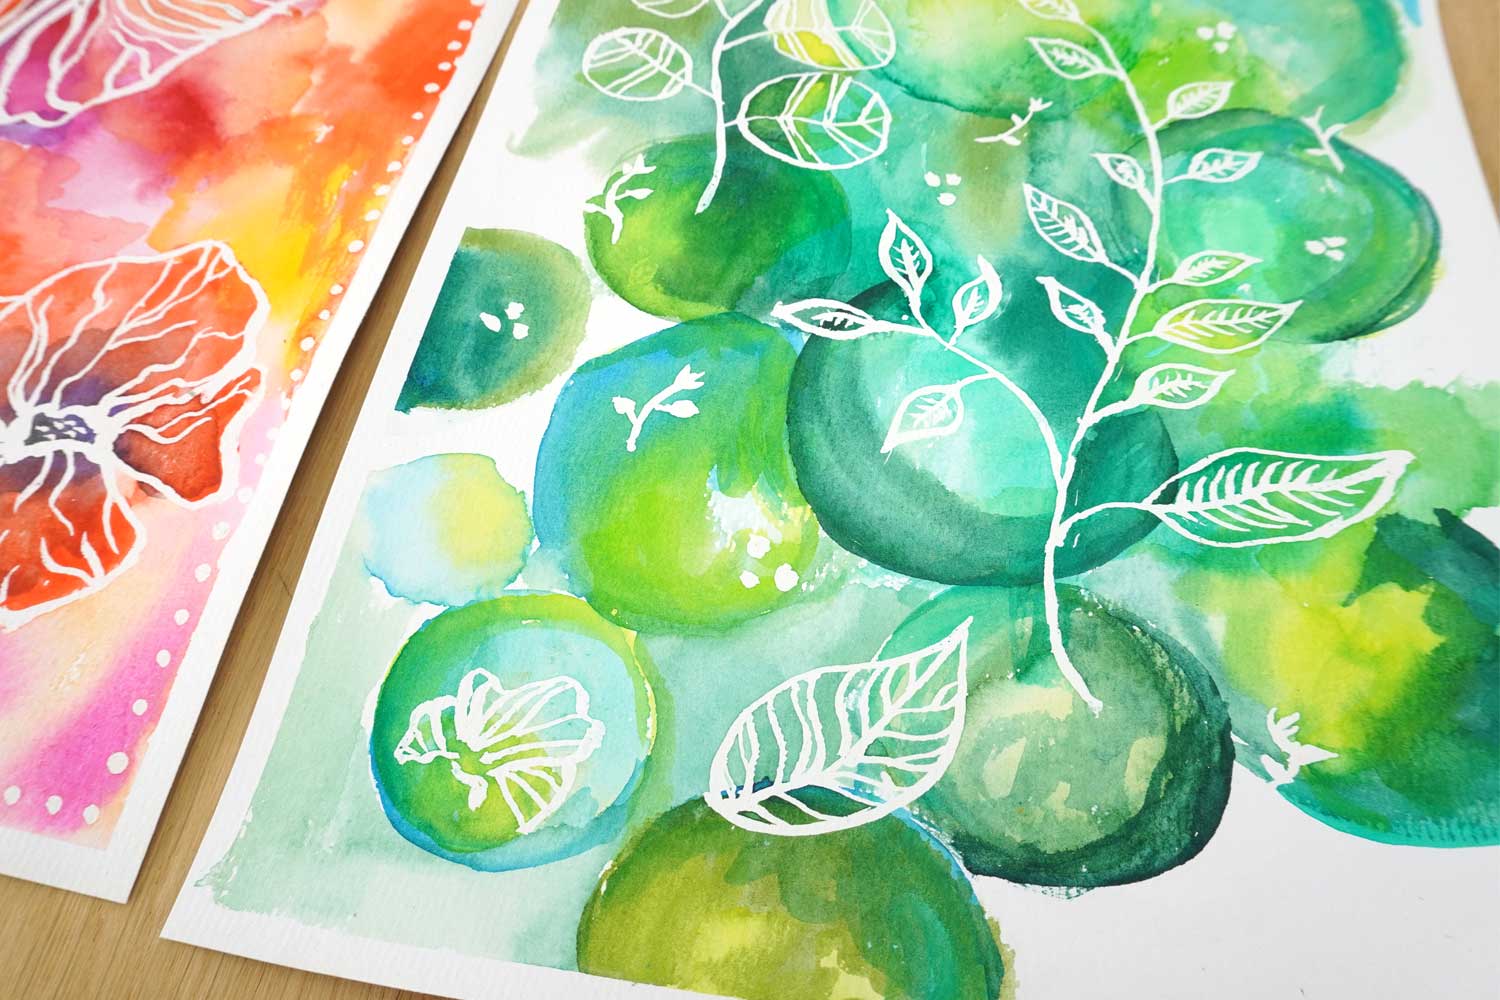
Step 5
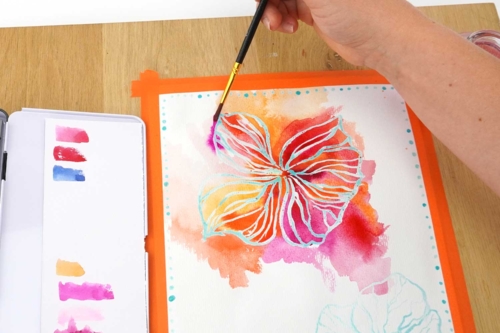
Apply your watercolor colors on wet paper. If it dries in the meantime, don't panic, just wet your sheet again.
Step 6
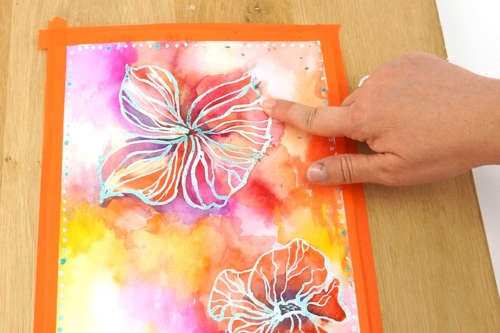
When the paint is completely dry, gently rub the paper (with your finger or an eraser) to remove the film from the drawing gum. You will see the color of the paper appear, which is also called the "reserve."
Step 7
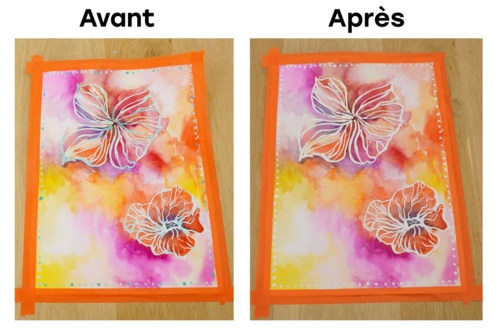
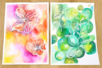
See here the before/after of removing the drawing gum.
Step 8
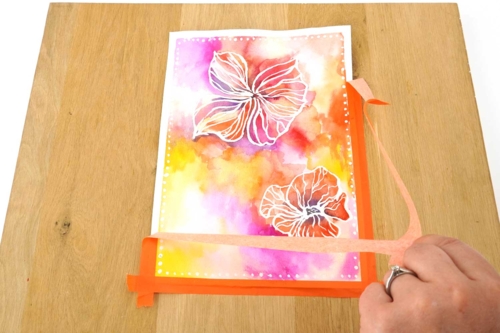
Finally, remove the masking tape, your painting is complete.
Step 9
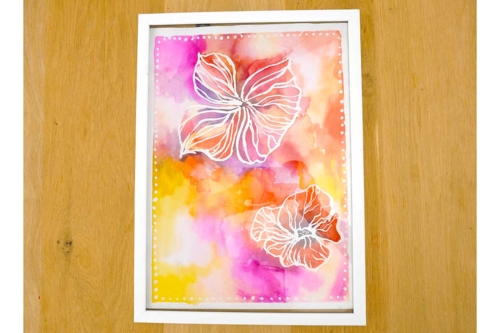
You can frame it and display it!
The products used:
The products used:


1,99€ (either 0,66 € / pc)
Available

Rainbow masking tape rolls - 10 colors
Réf. 52374 - Product sheet
9,99€ (either 1,00 € / pc)
Available
Other tutorials on the theme "Painting Tutorials"
-
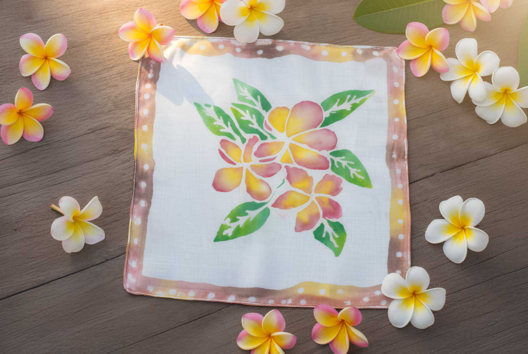
Silk Scarf, Watercolor Effect
C8386View 5236 time


-

Easter Eggs Marbling Ornaments
C17738View 5054 time

-

Christmas Bauble with a Handprint
C10887View 51804 time


-
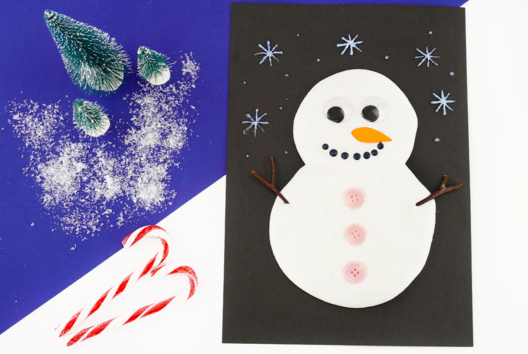
Snowman with Puffy Paint
C11162View 32518 time

-
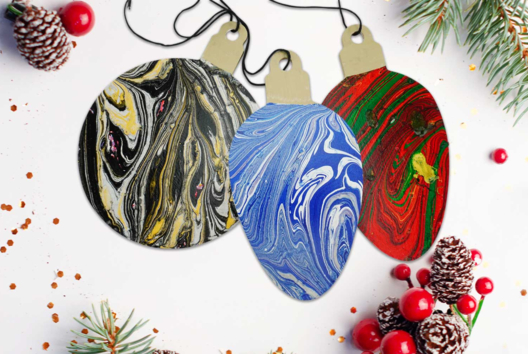
Christmas Suspensions in Marbling
C11111View 21292 time
-
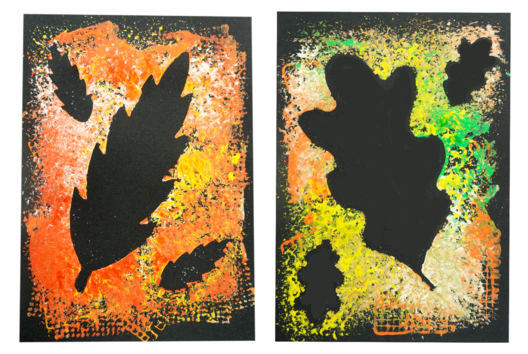
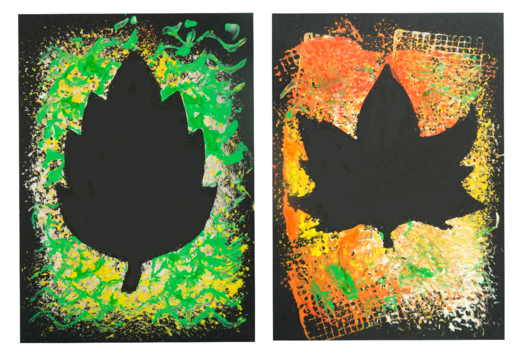
Silhouette Herbarium Boards
C11094View 53630 time
Customer review
Give your feedback
Watercolor Paint and Drawing Gum
Be the first to share your review of this product.
Post a review