Your cart is empty.
Lizard made of pony beads

Lizard made of pony beads


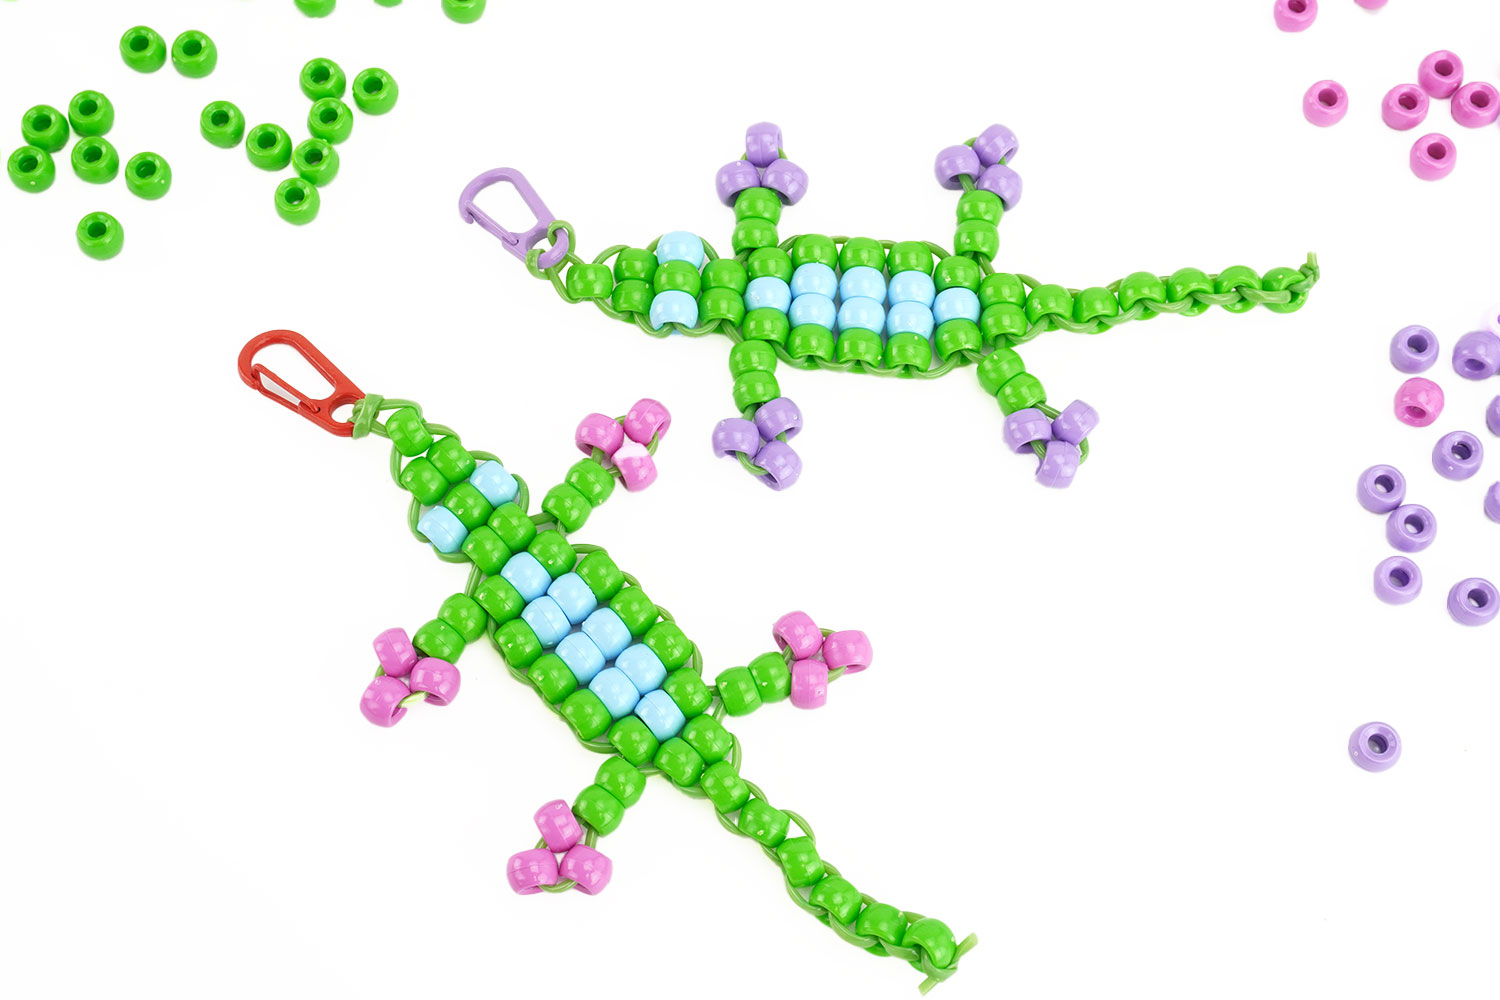
With Pony Beads, you can create a multitude of colorful little animals that can be transformed into keychains or bag charms.
In this tutorial, we propose making a pretty colorful lizard, perfect for summer and ideal for sprucing up an accessory like a bag, a pencil case, or a keyring. Once you understand the technique, this activity becomes simple and very fun to do.
This tutorial is more suitable for older children, as it requires a bit of precision to thread the beads and cross the wires correctly. Lizards can be made in many different colors, allowing you to personalize your creation 100% and imagine a unique accessory with all our plastic beads for children.
You can also learn to make a ice cream made of pony beads or a turtle made of pony beads.
How to complete this tutorial step by step?
Materials:
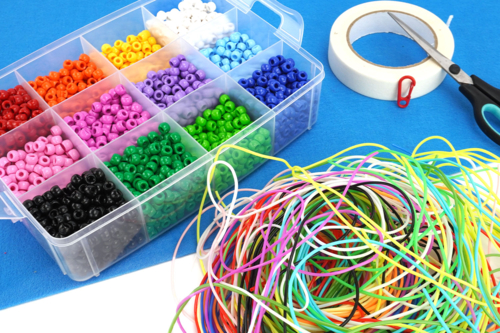
To make a lizard, you need:
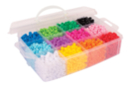
- round beads with large holes, also called Pony Beads
- scoubidou strands
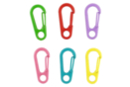
- a colored carabiner
- a pair of scissors
- tape or masking tape
Step 1:
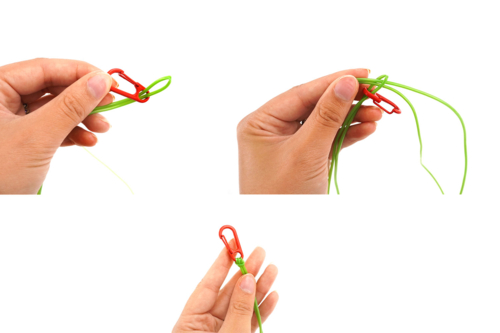
To start, choose the color of your scoubidou thread.
Make a knot to attach the thread to the carabiner.
To make this knot:
- fold the scoubidou thread in two equal parts
- pass the loop through the carabiner
- pass the two ends of the thread through the loop and pull
Step 2:
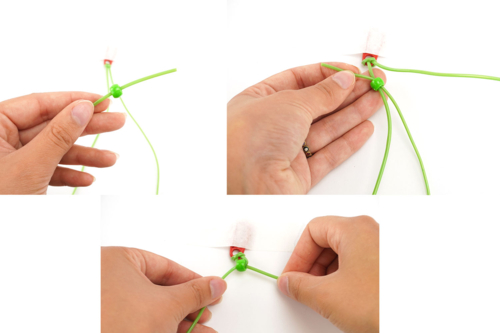
Attach the carabiner with tape, masking tape, or washi tape so that your work stays attached during the activity.
To start, thread a green bead onto the left thread. Then pass the right thread through the bead and pull both threads at the same time to finish.
Step 3:
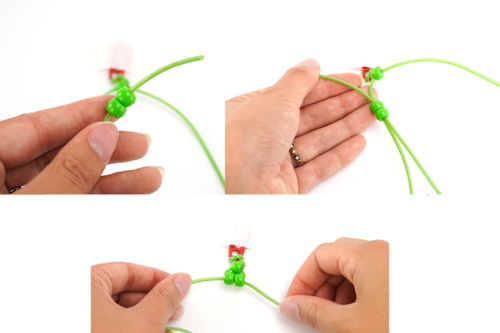
Continue with two green beads on the left thread, pass the right thread through both beads, then pull.
Step 4:
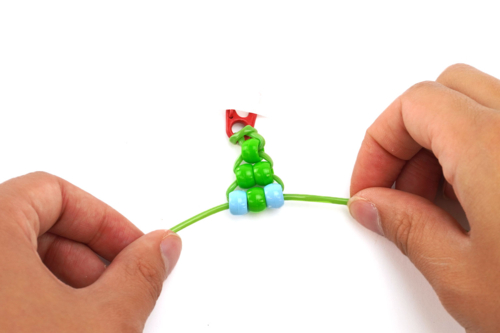
Thread one blue bead, one green bead, and a third green bead onto the left thread.
Pass the right thread through all three beads, then pull both threads at the same time.
Step 5:
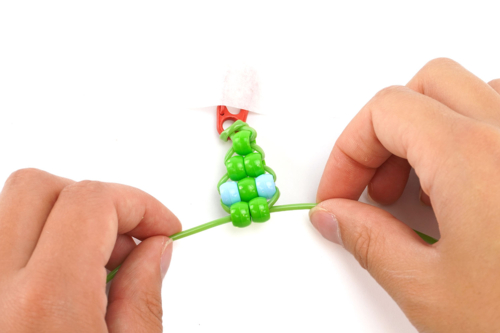
To finish the head, thread two green beads onto the left thread, pass the right thread through both beads, then pull both threads at the same time.
Step 6:
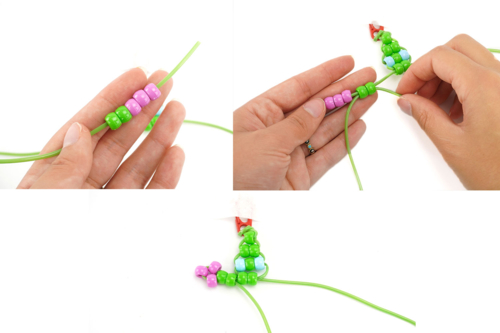
For the legs, thread 5 beads onto the left thread: 2 green, 3 pink.
Pass the left thread (the same thread you just threaded the beads onto) through only the two green beads, then pull on the thread.
Do the same on the right thread to create the second leg.
Step 7:
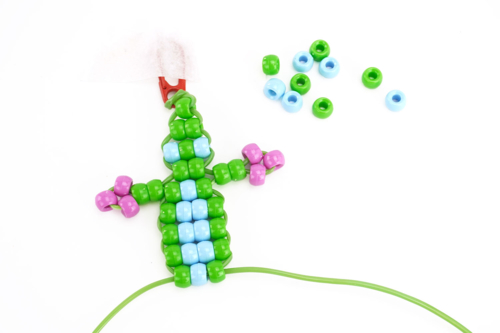
Repeat as at the beginning of the tutorial for the rest of the body: thread the beads onto the left thread, pass the right thread through the beads, then pull both threads at the same time.
The colors to use to finish the body are in the following order:
- 1 green bead / 1 blue bead / 1 green bead
- 1 green bead / 2 blue beads / 1 green bead
- 1 green bead / 2 blue beads / 1 green bead
- 1 green bead / 2 blue beads / 1 green bead
- 1 green bead / 1 blue bead / 1 green bead
Step 8:
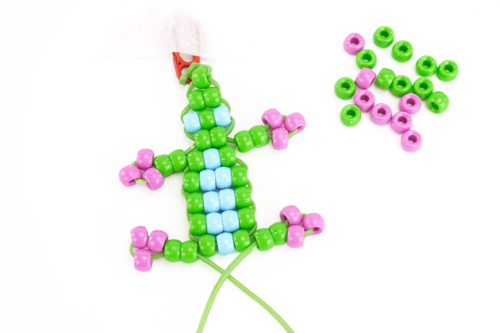
Then make the two back legs using the same method as in step 6.
Step 9:
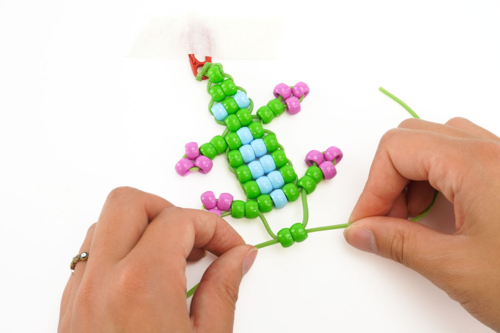
Thread 2 green beads onto the left thread, pass the right thread through both beads and pull.
Step 10:
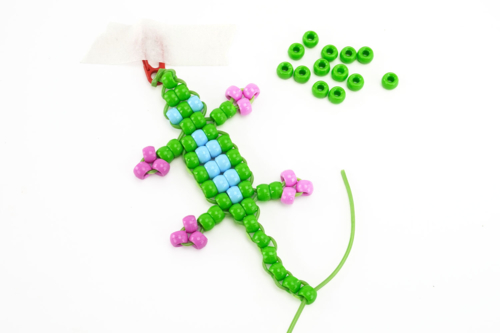
To finish the body of the lizard, thread 6 green beads in a row, always using the technique of passing a bead onto the left thread, passing the right thread through the bead, and pulling.
Step 11:
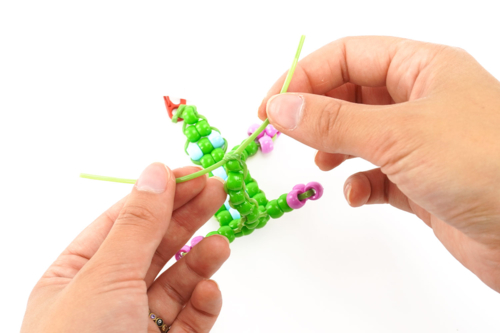
Finally, make a knot at the end to hold the last bead and cut the remaining threads.
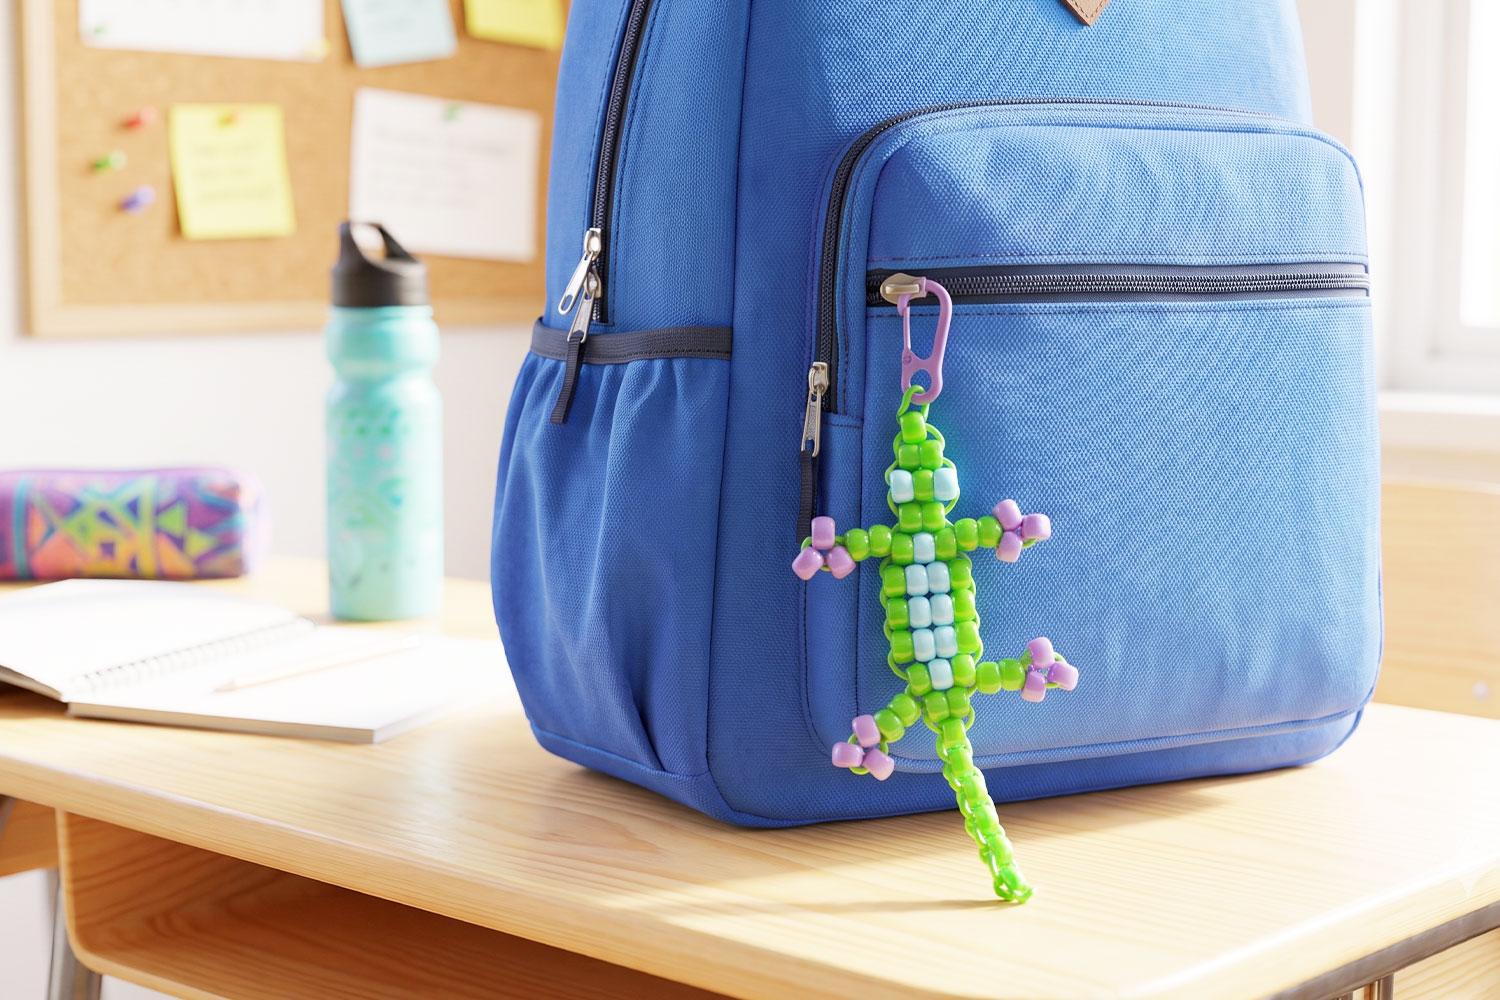
You can now attach your lizard to keys, a bag...
The products used:
The products used:

1,69€
Available



Other tutorials on the theme "Keychain Tutorials"
-
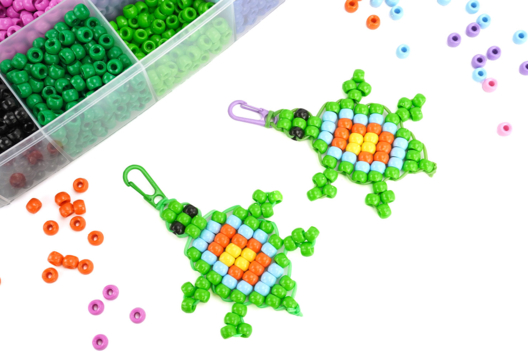
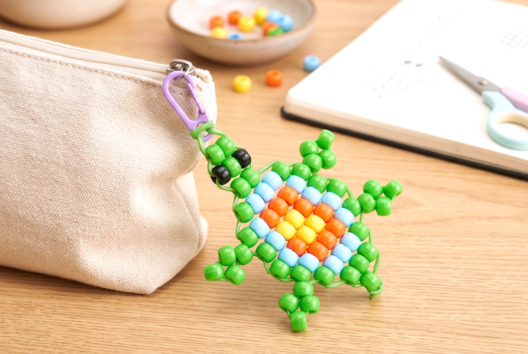
Turtle made of pony beads
C17833View 5274 time


-


Initial Keychains
C17790View 3488 time


-
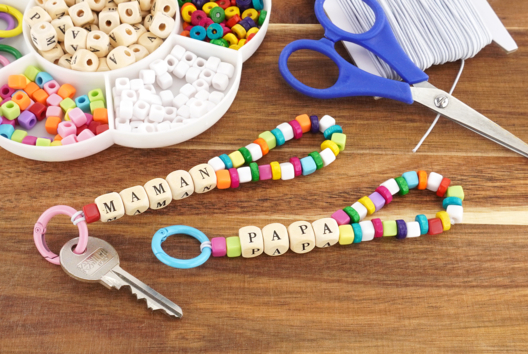
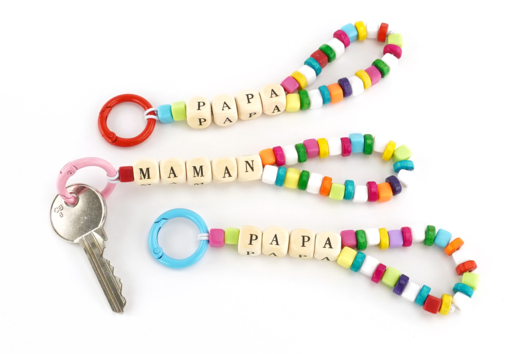
PAPA / MAMA Keychain
C17135View 16374 time
-
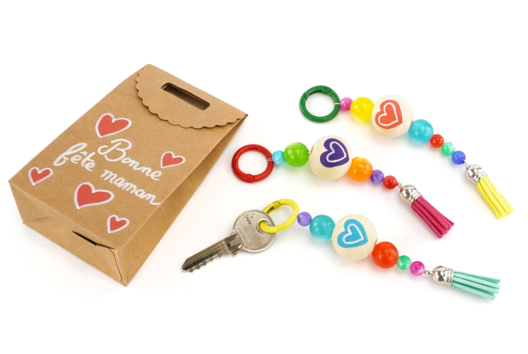
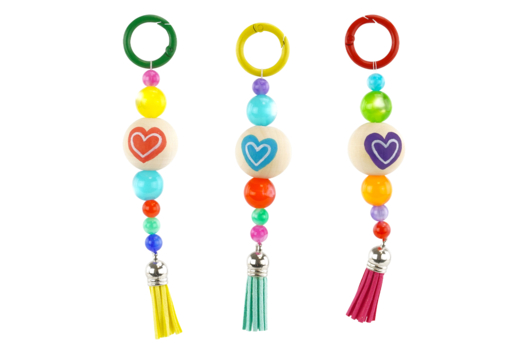
Cute Keychain for Mother's Day
C17114View 12113 time
-
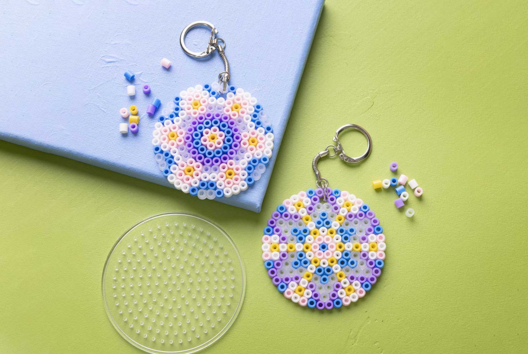
Perler Bead Keychains
C11021View 15703 time
-
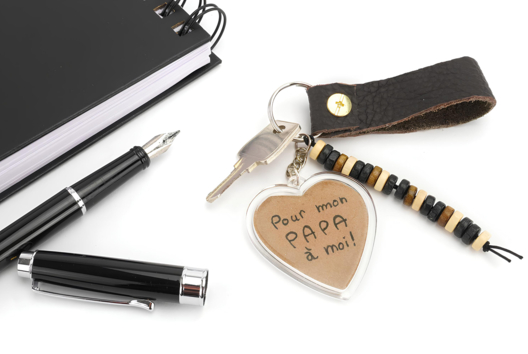
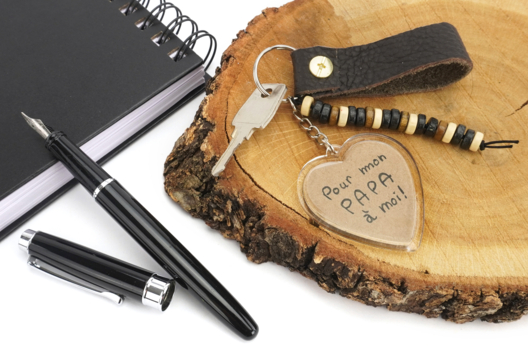
Heart Keychain for Father's Day
C8411View 12719 time
-
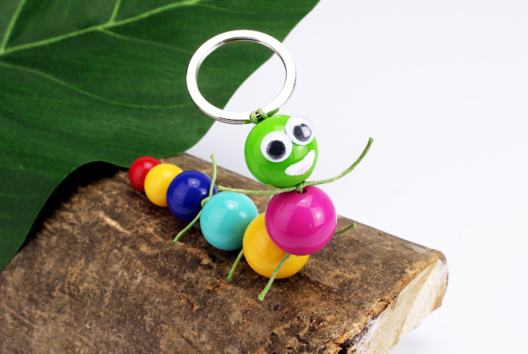
Beaded Caterpillar Keychain
C12890View 27802 time -
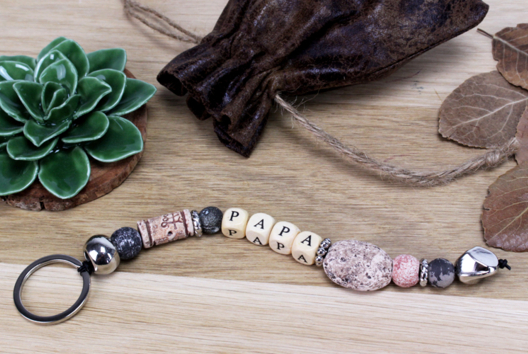
DAD Keychain
C12725View 35948 time -
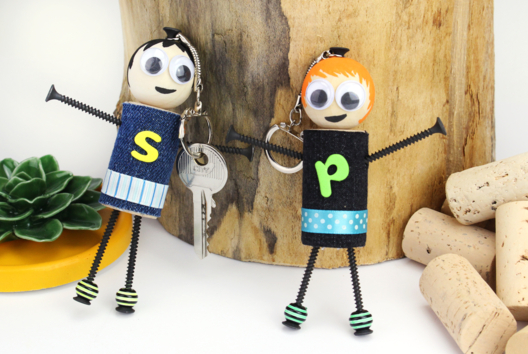
Man-shaped Keychain with a Cork Stopper
C12712View 62571 time -
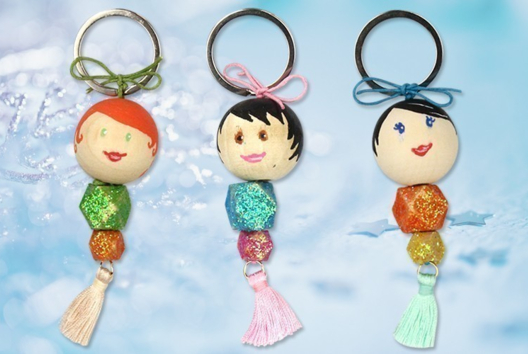
Mermaid Keychains
C12349View 21071 time
Customer review
Give your feedback
Lizard made of pony beads
Be the first to share your review of this product.
Post a review