Your cart is empty.
3D Paper Frogs
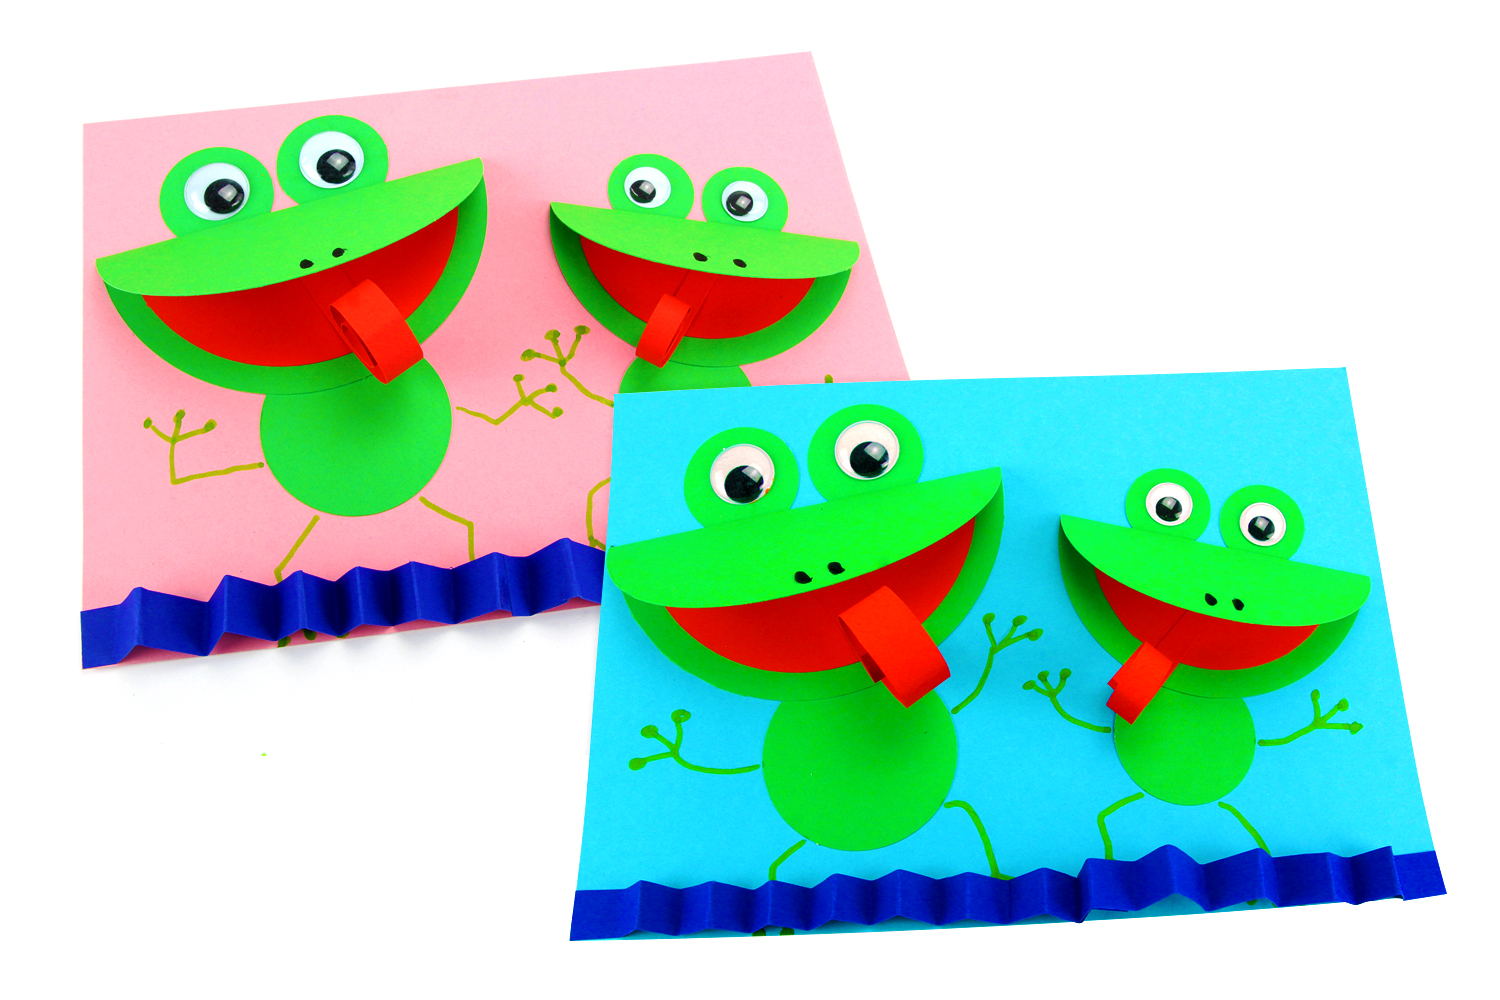


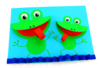
3D Paper Frogs
In this tutorial, discover how to make paper frogs with the children. It's easy and the 3D effect is so much fun!
A lovely creation to hang in a bedroom or classroom.
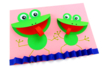
Check out our video tutorial here or in the second photo.
Thèmes de l'idéa créa :
#Animal Tutorials
#Glue and Fold Tutorials
#Funny Characters Tutorials
#Spring Tutorials
#Summer Tutorials
How to complete this tutorial step by step?
Materials:
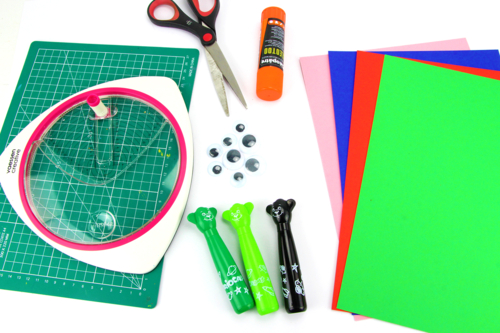
To make frogs, you will need:
- Colored paper sheets (25 x 35 cm)
- Two moving eyes (Ø 2.5 cm)
- Two moving eyes (Ø 1.8 cm)
- Markers
- A pair of scissors
- Glue stick
- A rotary cutter
- A cutting mat
Step 1:

To start, cut out two circles from a sheet of green paper using a circular cutter:
- One circle of Ø 15 cm
- One circle of Ø 12 cm
Tip: Place a cutting mat under the sheet to avoid damaging the table.
Step 2:
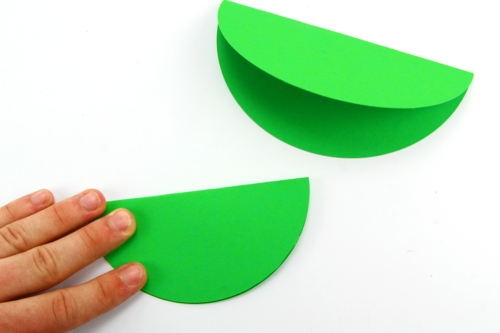
Fold the circles in half.
Step 3:
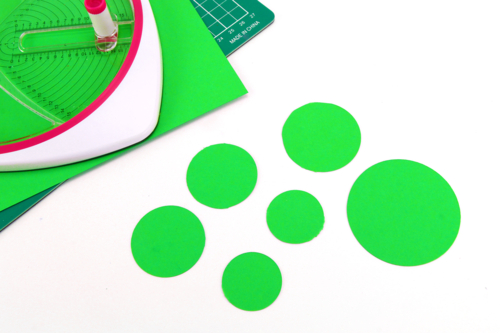
With a circular cutter, cut six more circles from a sheet of green paper:
- Two of Ø 4.5 cm
- Two of Ø 3.5 cm
- One of Ø 6.5 cm
- One of Ø 5 cm
Tip: Place a cutting board under the sheet to avoid damaging the table.
Step 4:
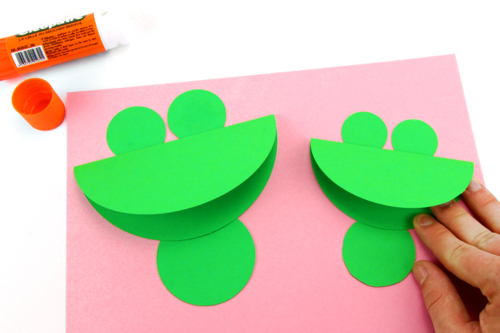
On a sheet of colored paper, glue:
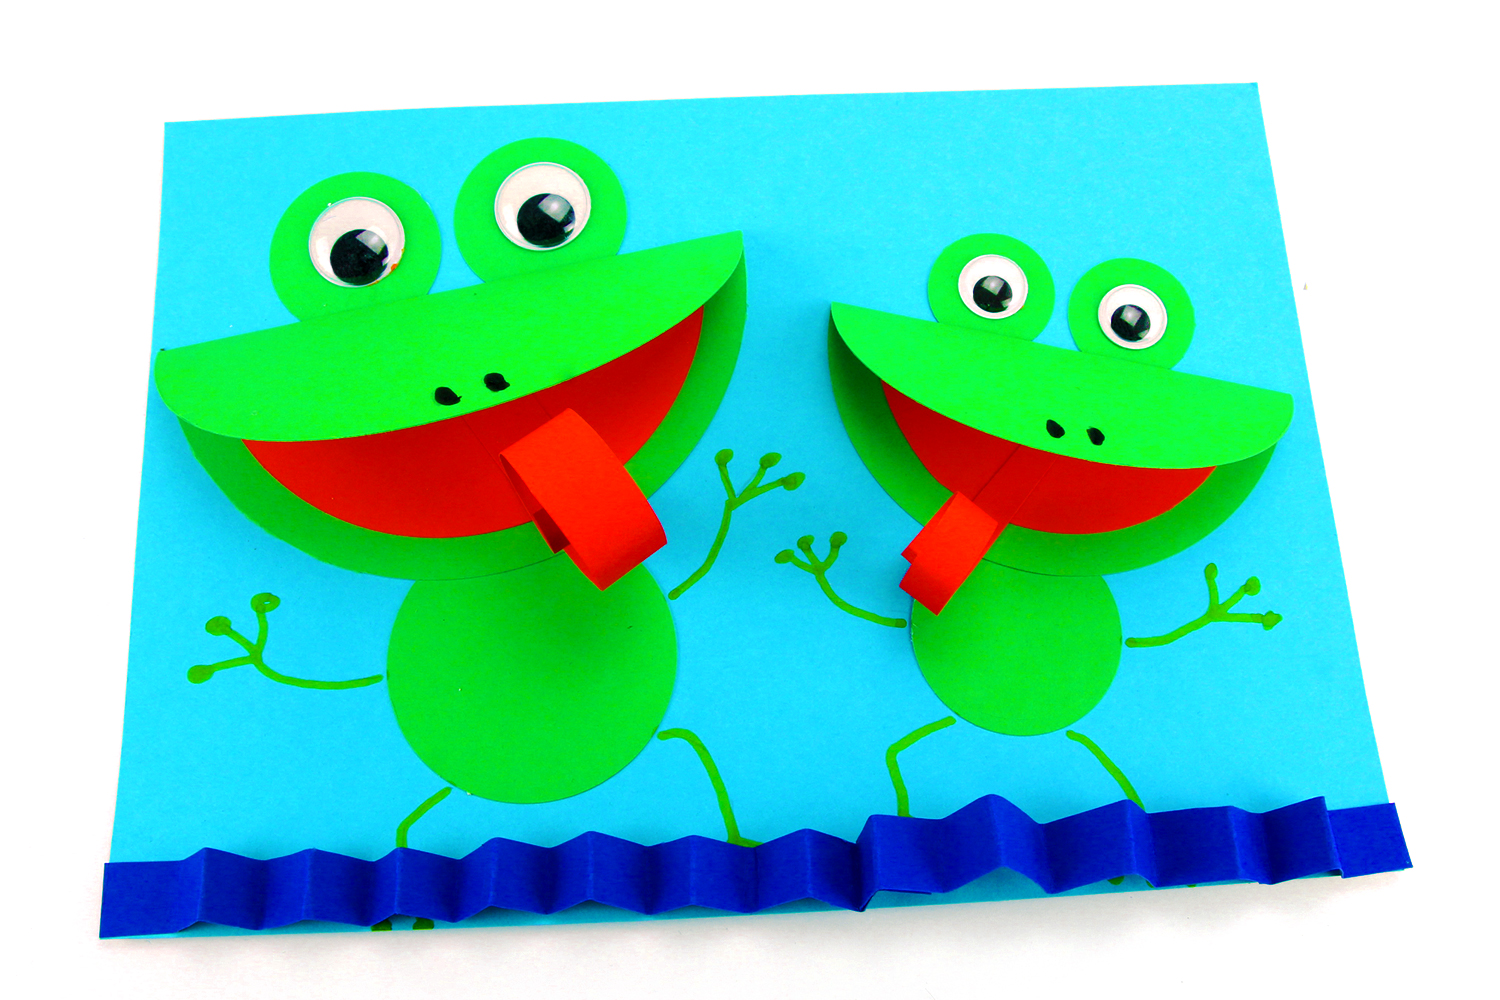
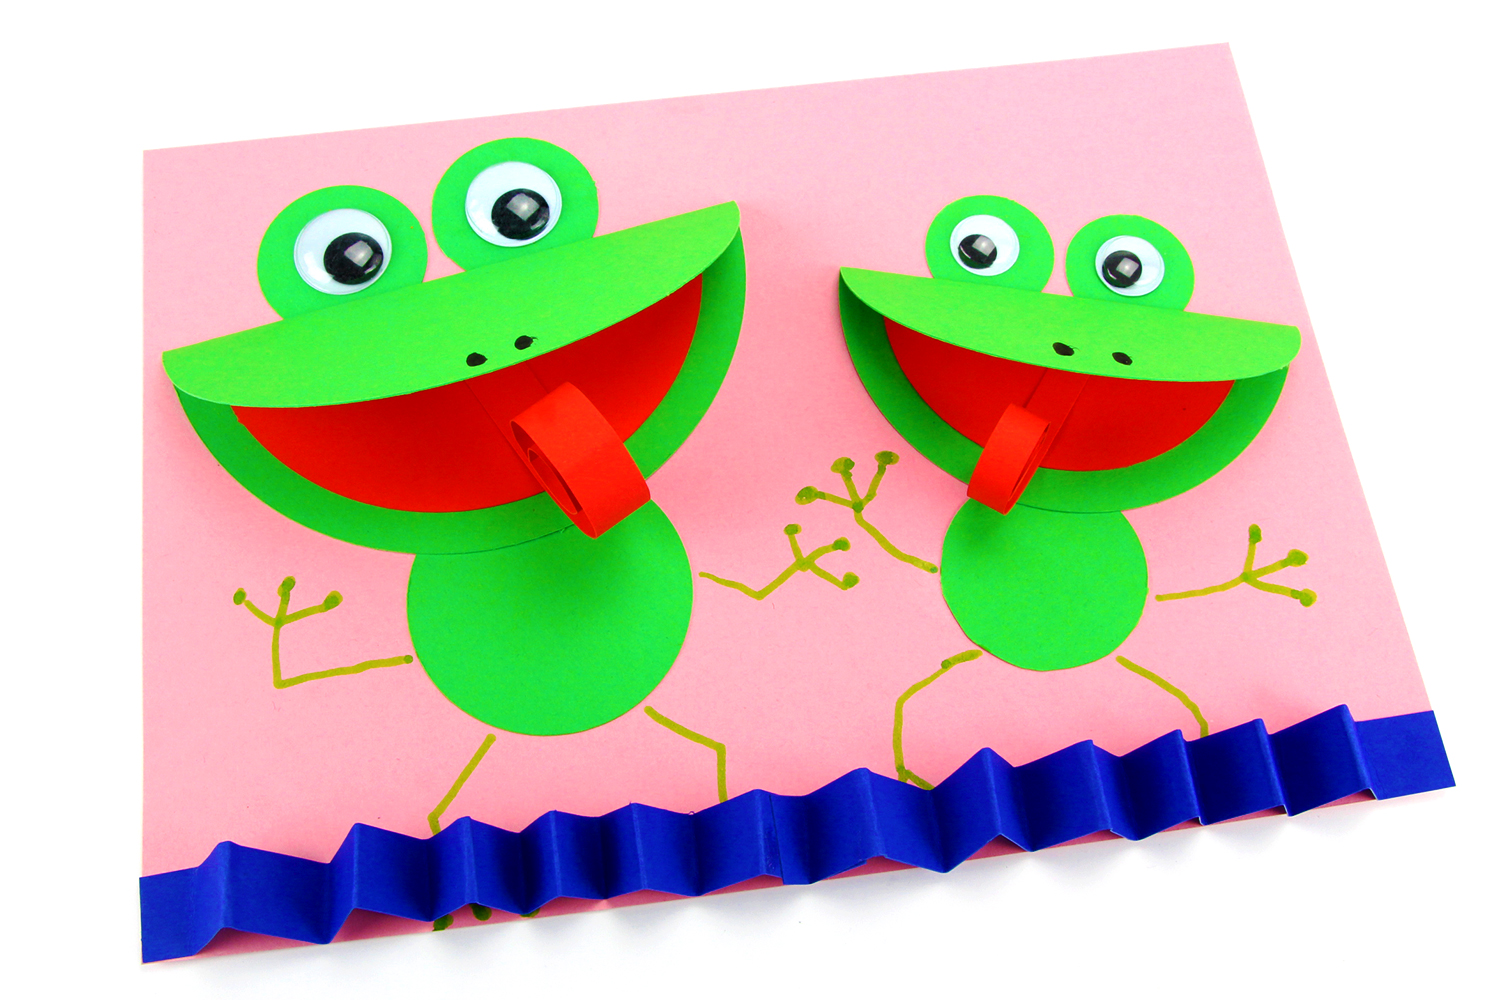
For the large frog, the two circles of Ø 4.5 cm to form the eyes, the folded circle of Ø 15 cm to make the mouth, and the circle of Ø 6.5 cm to make the body.
For the small frog, the two circles of Ø 3.5 cm to form the eyes, the folded circle of Ø 12 cm to make the mouth, and the circle of Ø 5 cm to make the body.
Step 5:
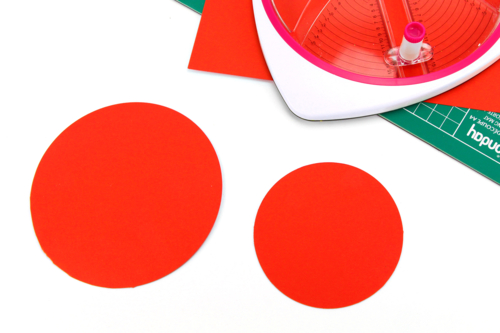
Cut out two circles from a sheet of red paper:
- One circle with a diameter of 12 cm
- One circle with a diameter of 9 cm
Tip: Place a cutting board under the sheet to avoid damaging the table.
Step 7 6

Unfold the mouths of the frogs and then glue:
For the large frog, the red circle of Ø 12 cm in the green circle of Ø 15 cm.
For the small frog, the red circle of Ø 9 cm in the green circle of Ø 12 cm.
Step 8:
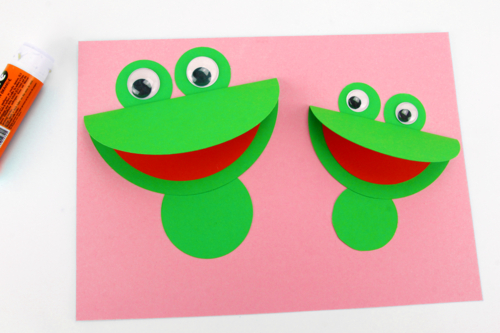
Then fold everything and glue it:
For the large frog, two movable eyes Ø 2.5 cm.
For the small frog, two movable eyes Ø 1.8 cm.
Step 9:
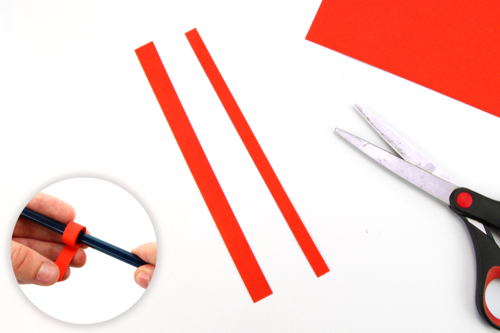
From a red sheet of paper, cut out:
- A strip about 1.5 x 25 cm
- A strip about 1 x 25 cm
Wrap the ends around a pencil to create the frog tongues.
Step 10:
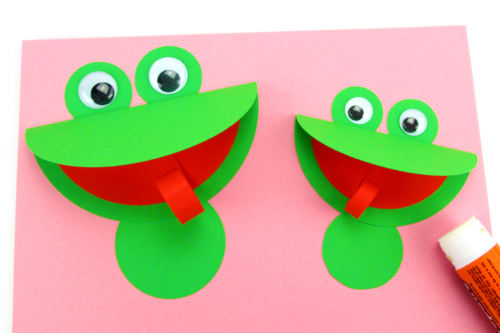
Paste inside the mouths of the frogs :
For the large frog, the strip is about 1.5 x 21 cm
For the small frog, the strip is about 1 x 21 cm
Step 11:
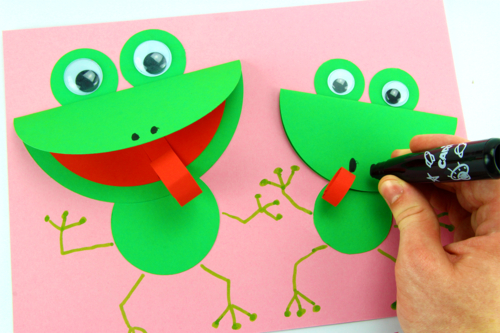
With a green marker, draw the frog's legs, and with a black marker, draw the nostrils of the frogs.
Step 12:
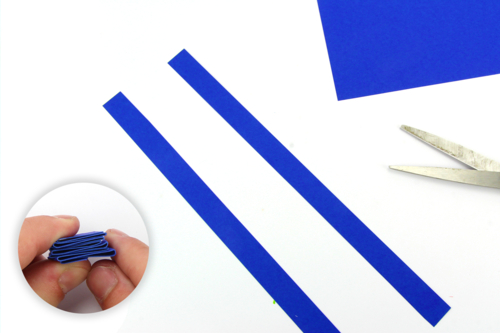
In a blue sheet of paper, cut out two strips of approximately 2 x 25 cm.
Then fold them in an accordion style.
Step 13:
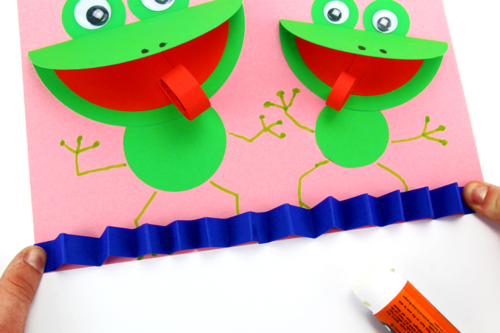
Finally, glue the paper accordions together and then glue the two ends to the drawing, as shown in the photo.
The products used:
The products used:

13,99€ (either 0,28 € / pc)
Available


Other tutorials on the theme "Glue and Fold Tutorials"
-
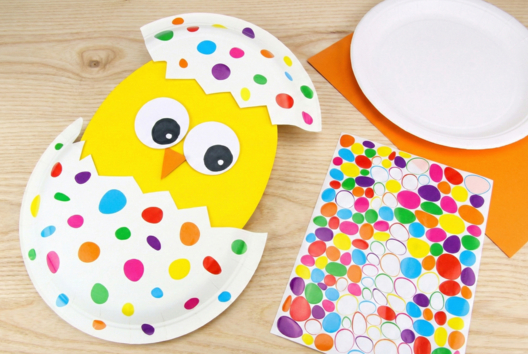
Chick with a Paper Plate (EASY)
C14581View 94262 time


-
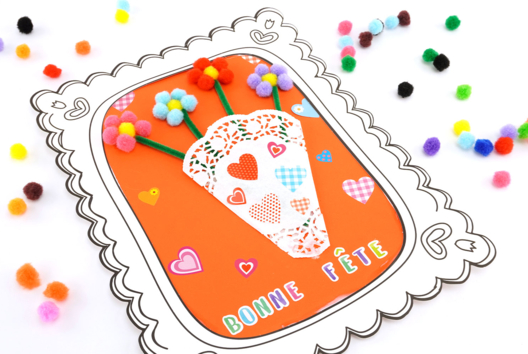
Pom Pom Flower Bouquet
C17682View 6430 time

-

Scratch Surprise Card
C11109View 26725 time
-
Sticker Board - Epiphany
C11205View 39953 time -

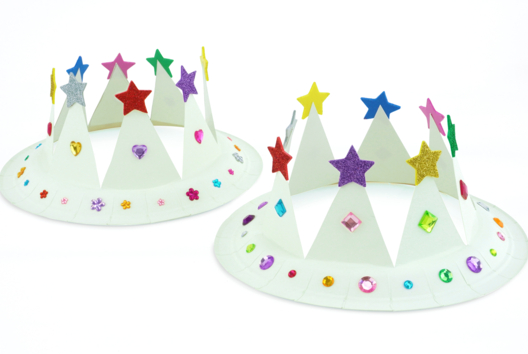
Make a Crown with a Paper Plate
C12120View 57432 time -

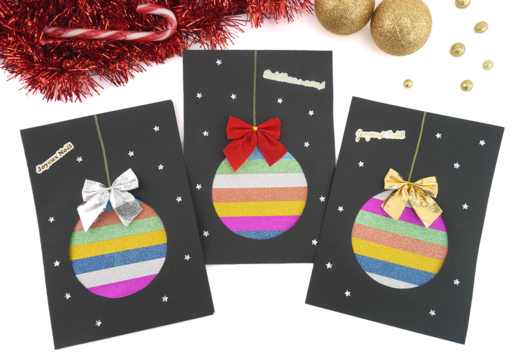
Christmas Bauble Greeting Card
C11023View 33889 time
-
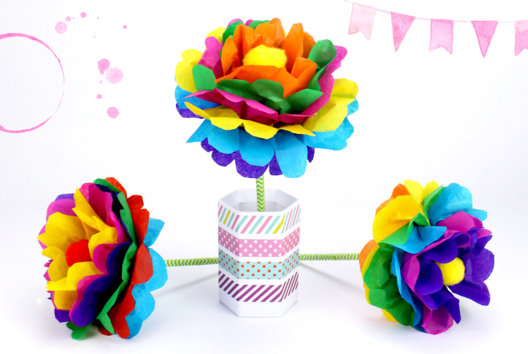

Make a Paper Flower: Easy Method
C13341View 235355 time -
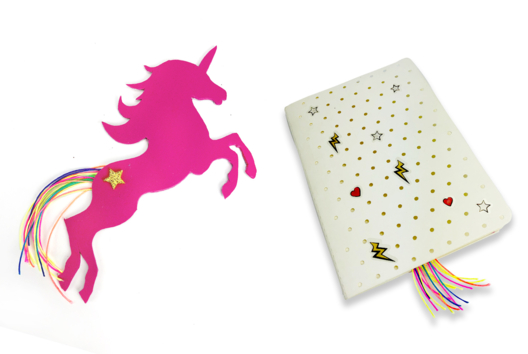
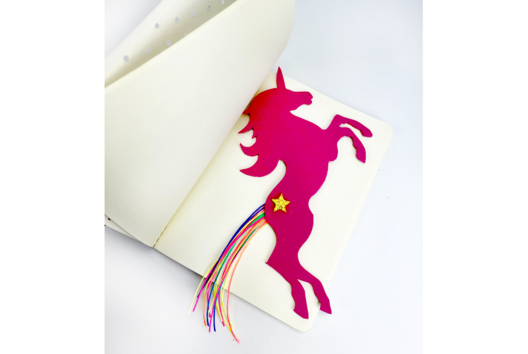
Unicorn Bookmark
C13332View 16084 time -
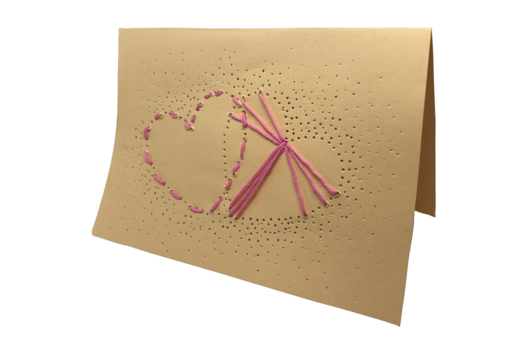
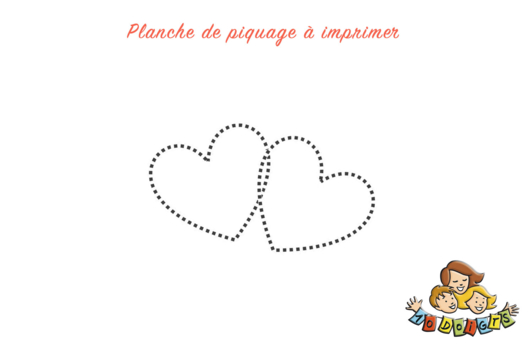
Punched Card on Embroidered Felt
C13309View 11773 time -
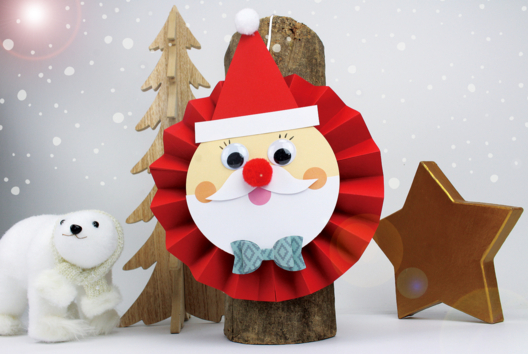
Cute Round Paper Santa Claus
C13140View 70609 time
J'adore ! Simple et beau ! Ma fille est aux anges et ne lâche plus ses grenouilles ! Peut-être pourriez vous juste marquer combien de temps il faut pour les fabrication de chaque tutos (environ bien sûr !) Mais vous êtes super, magnifique site et produits très abordables.