Your cart is empty.
3D Paper Kites


3D Paper Kites
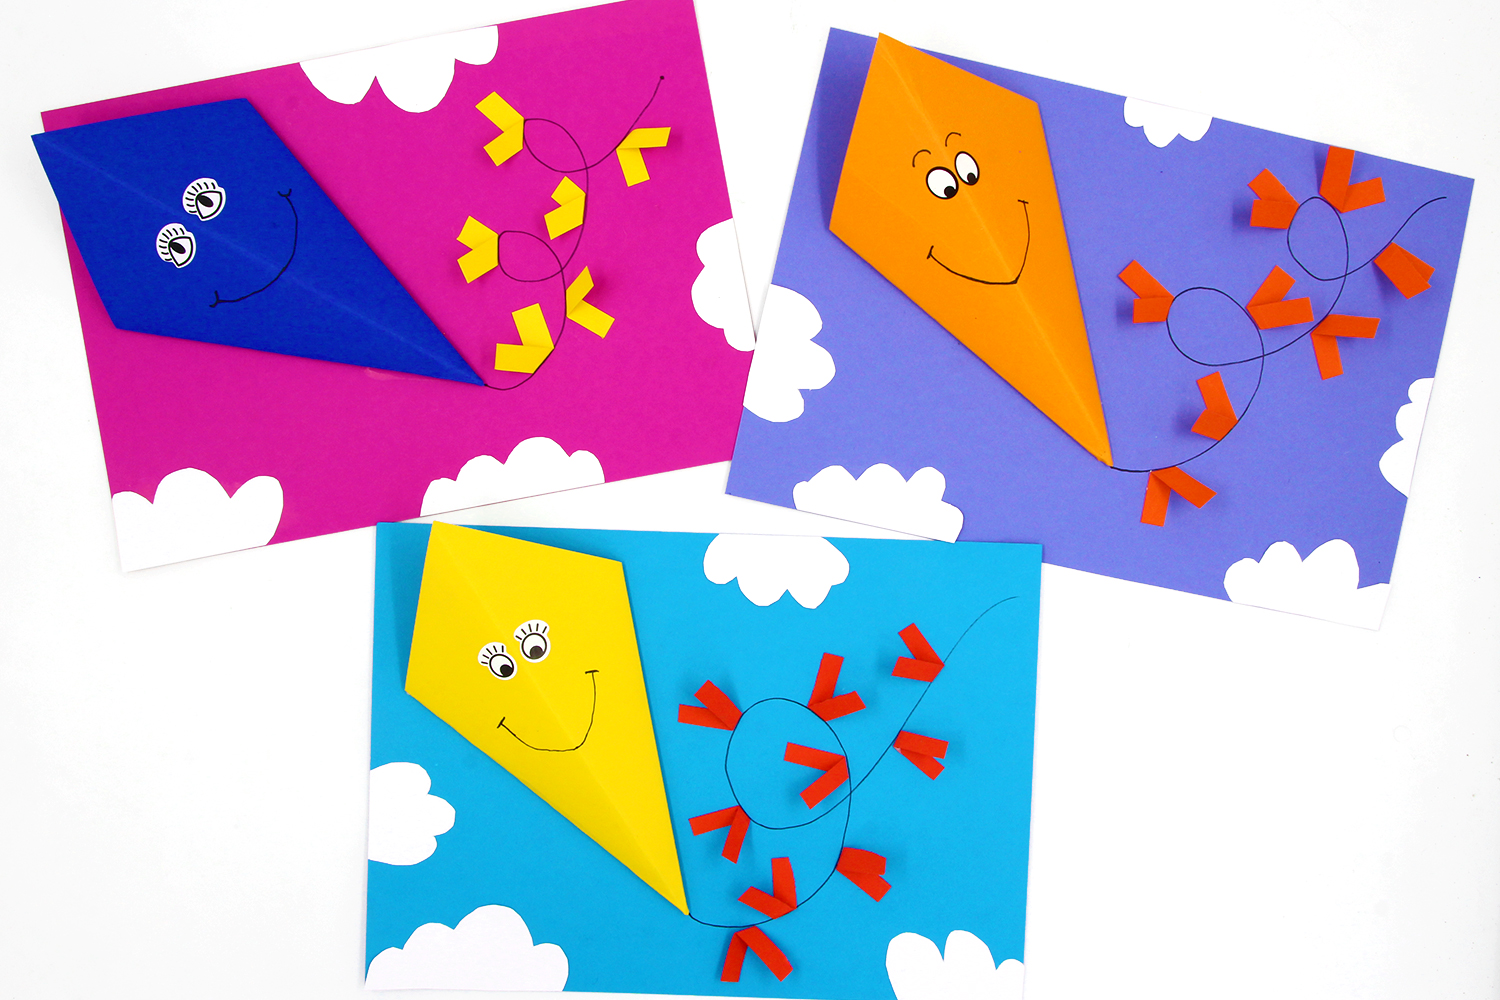
In this summer-themed tutorial, discover how to easily create a 3D kite with children by combining cutting and gluing!
An original decoration that children can proudly hang in their rooms!
How to complete this tutorial step by step?
Materials:
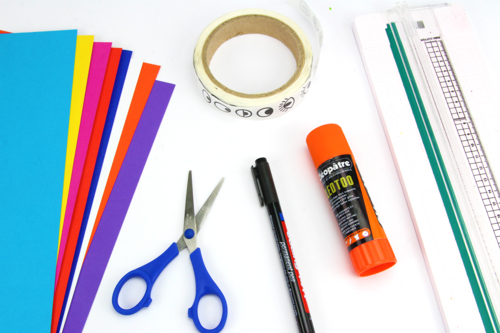
To make a kite, you will need:
- Colored paper sheets
- Eye stickers
- A black marker
- A pair of scissors
- A glue stick
- A graduated cutter
Step 1:
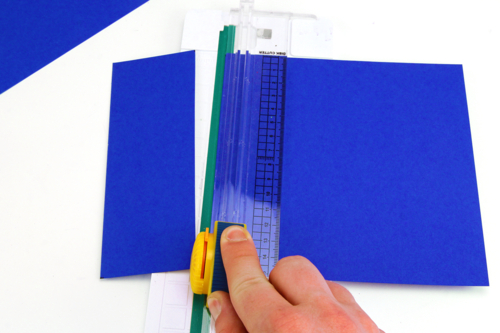
Cut a square of 15 x 15 cm from a sheet of colored paper.
Tip: The paper cutter is a very handy tool that children can use safely to cut the square cleanly.
Step 2:
Fold the square in half diagonally.
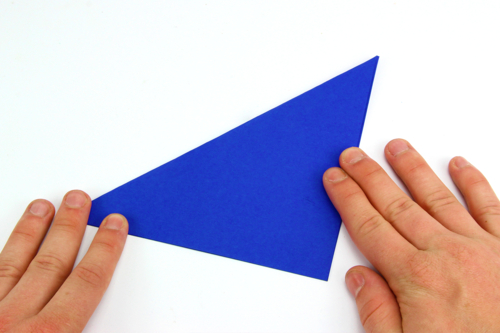
Step 3:
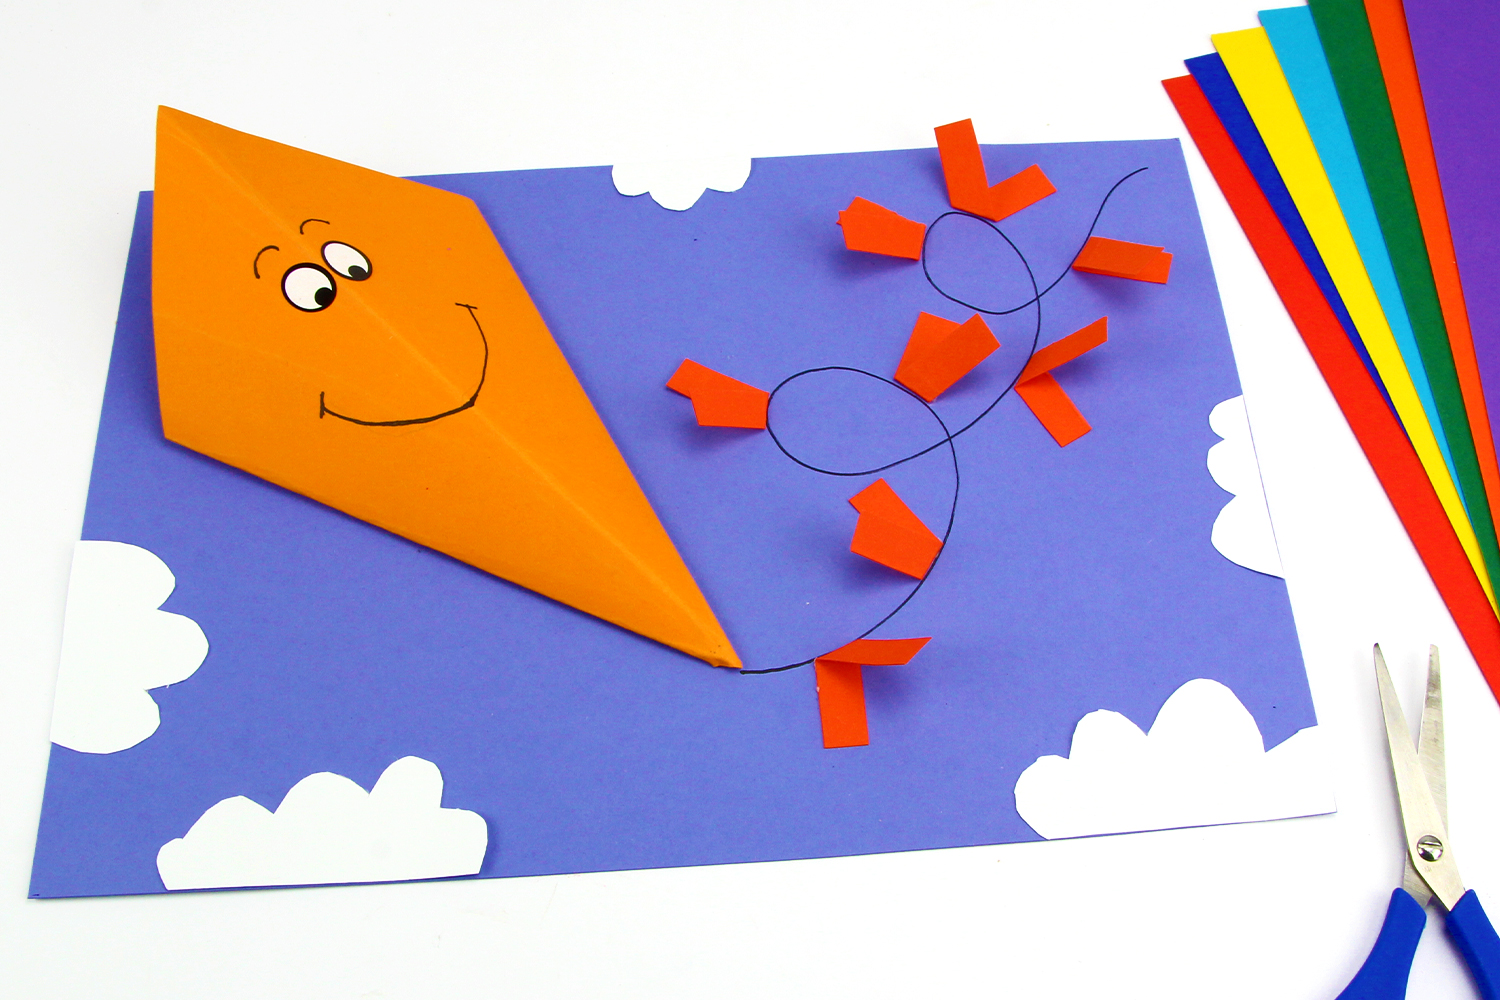
Unfold the square, take the 2 opposite corners and fold them down to the central crease. Make 2 creases to achieve the result shown in the photo.
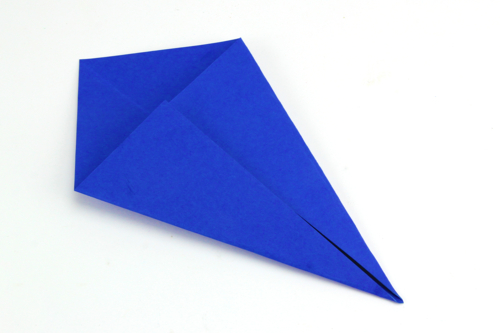
Step 4:

Turn the fold and glue it onto a colored sheet.
Step 5:
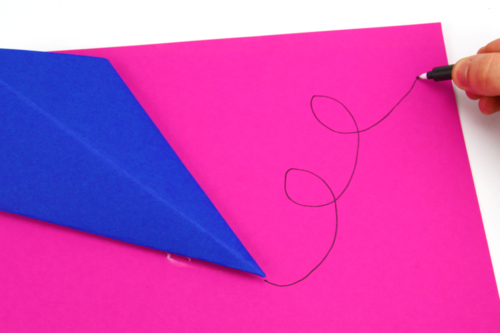
Draw the kite string with a black marker.
Step 6:
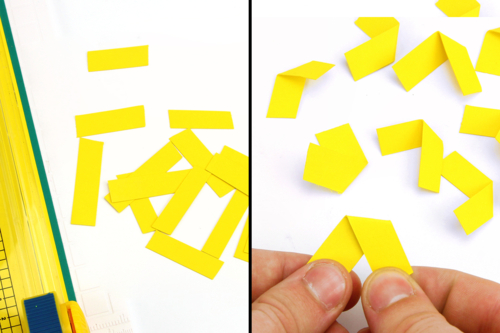
Cut small rectangles of about 4 x 1 cm from a sheet of colored paper.
Fold the rectangles to form a right angle.
Step 7:

Glue the folded rectangles onto the string drawn with the black marker.
Step 8:

Cut out clouds from a sheet of white paper and stick them around the drawing.
Step 9:
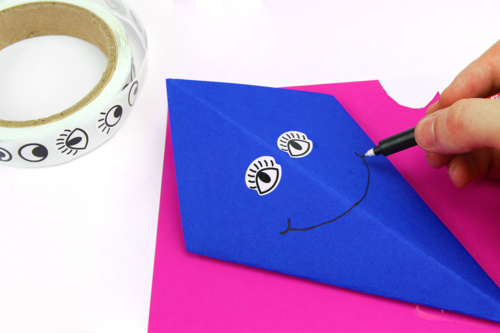
Finally, stick on the googly eyes and draw a mouth with a black marker.
The products used:
The products used:

13,99€ (either 0,28 € / pc)
Available


Other tutorials on the theme "Glue and Fold Tutorials"
-
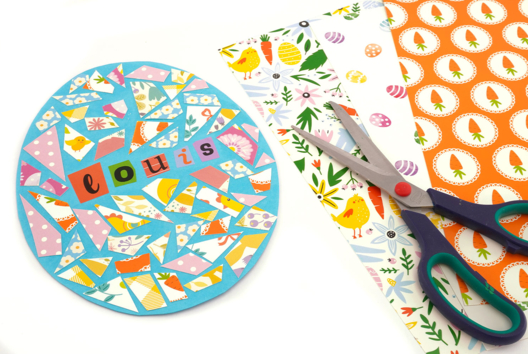
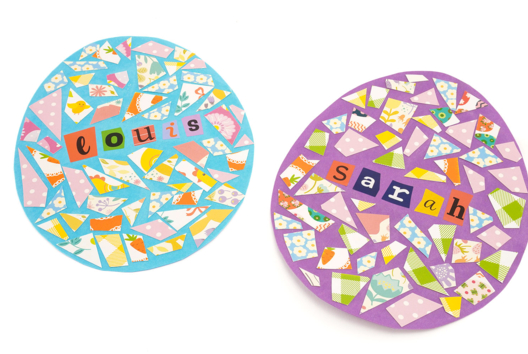
Mosaic Easter Eggs
C17703View 6192 time


-
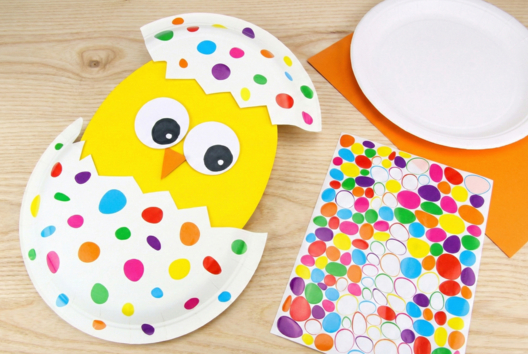
Chick with a Paper Plate (EASY)
C14581View 94420 time
-
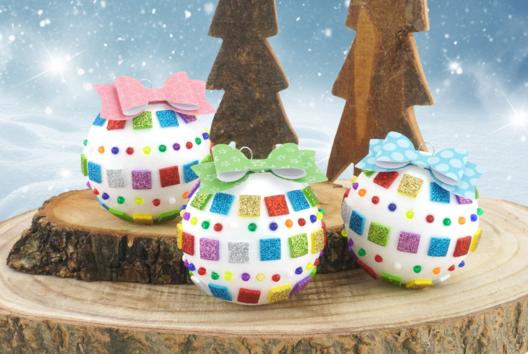

Glitter Christmas Baubles
C15455View 36304 time
-
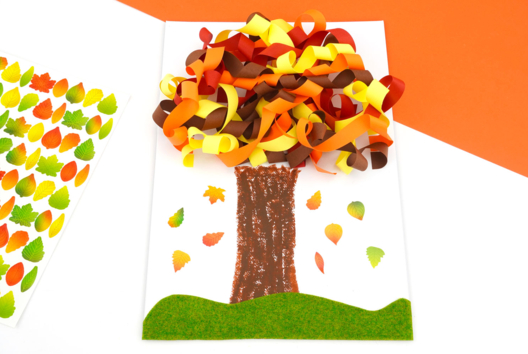

Autumn Tree in Rolled Paper
C11192View 52402 time
-

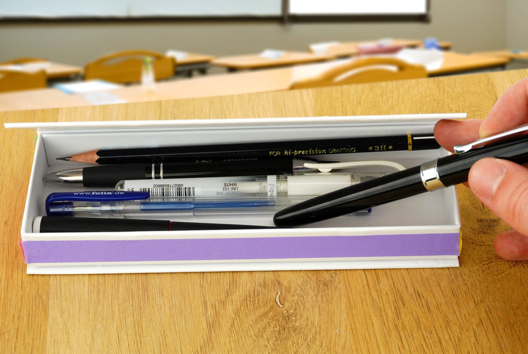
Pencil Case "SUPER ATSEM"
C11102View 5878 time
-

Pink Tissue Paper Flowers
C11082View 84178 time

-

Easter Basket with a Paper Cup
C13370View 67045 time -
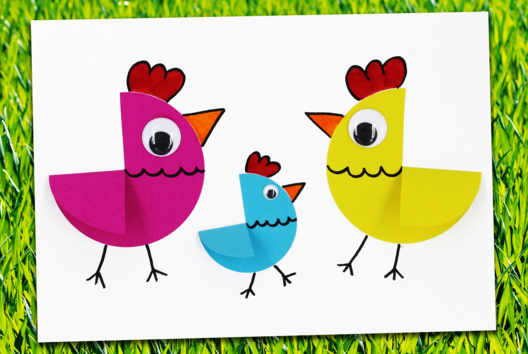
Easter Paper Chickens (Easy Craft)
C13362View 35561 time -
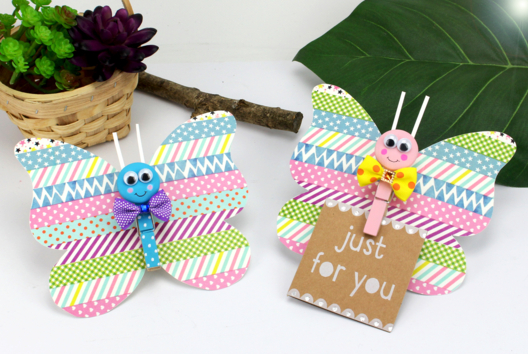
Make a Paper Butterfly with a Clothespin
C13359View 34852 time
-

Unicorn Masks
C13353View 17209 time
Customer review
Give your feedback
3D Paper Kites
Be the first to share your review of this product.
Post a review