Your cart is empty.
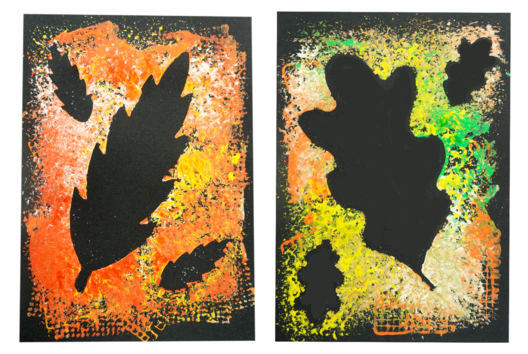
Autumn Leaves with Ink


Autumn Leaves with Ink

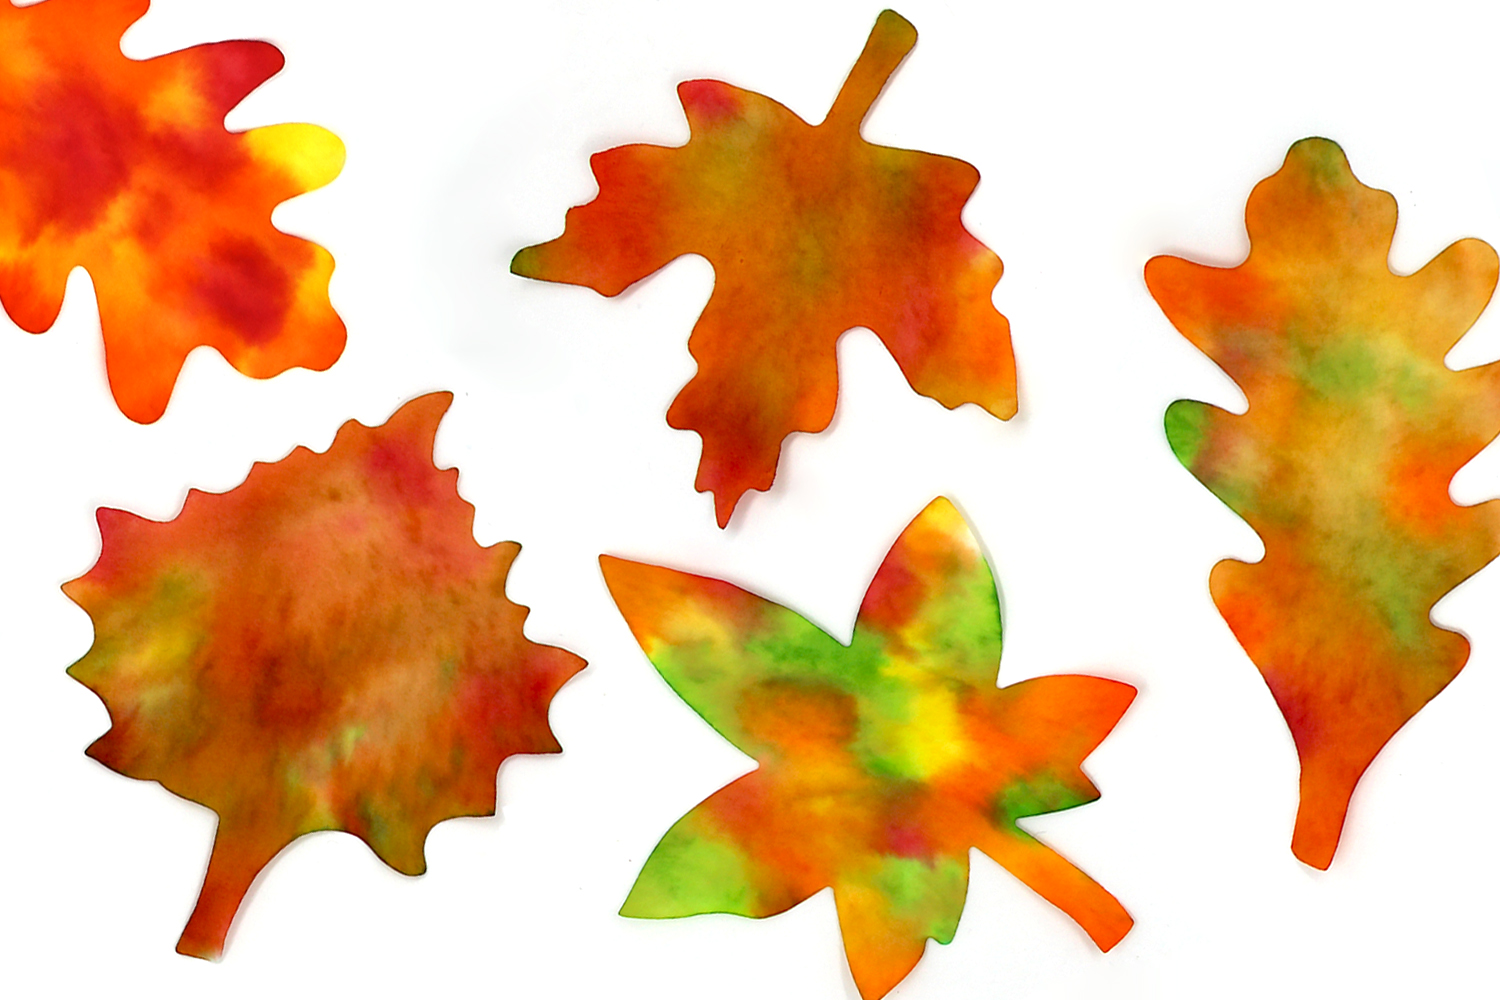
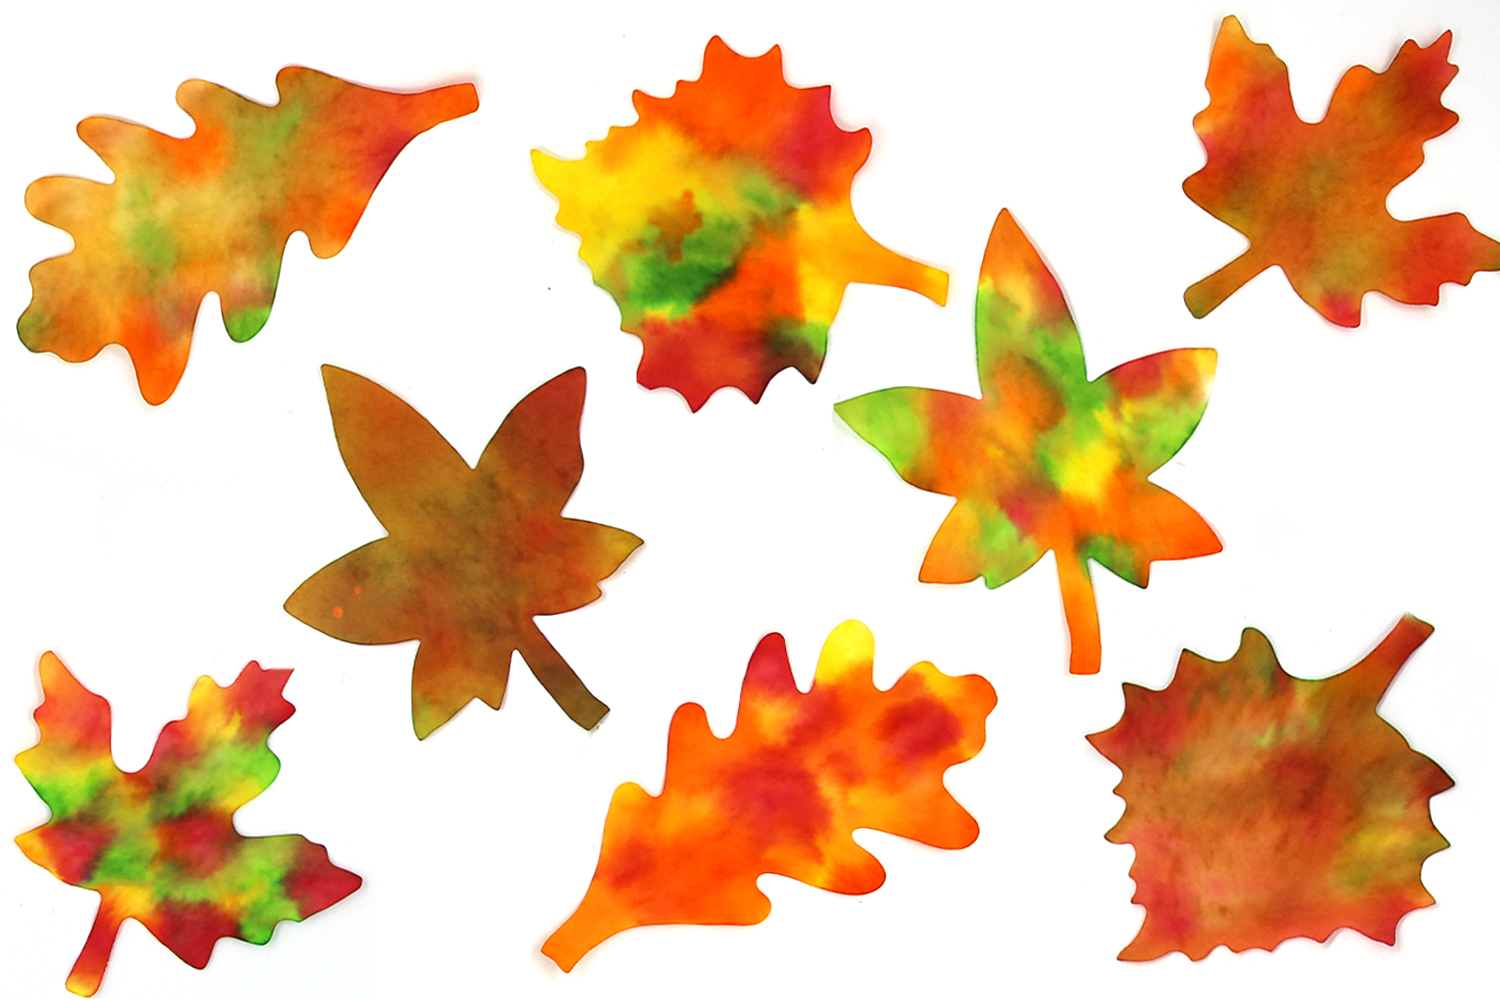
In this new tutorial themed around autumn, discover an easy tip that involves recreating the color effects of the leaves from this beautiful season.
A creative activity using drawing ink applied to blotting paper.
How to complete this tutorial step by step?
Materials:
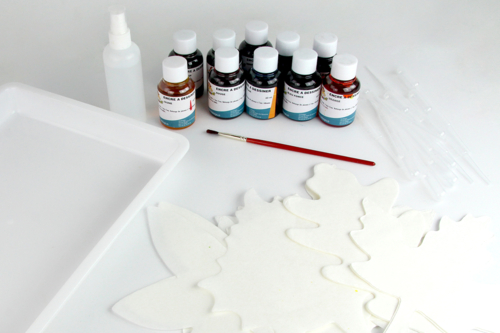
To make an autumn leaf you need:
- A leaf of diffuser paper
- Drawing ink + a brush
- A pipette
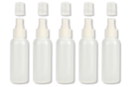
- A spray bottle
- Water
- A white PVC tray
Step 1:
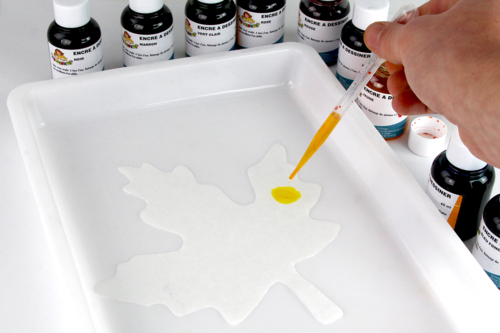
To avoid making a mess, place a sheet of diffusion paper in a tray.
Then take ink of a color with a pipette and drop a few drops onto the sheet.
Step 2:
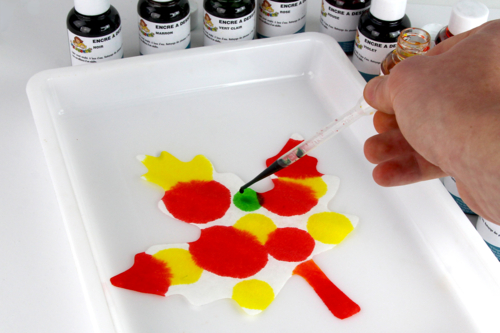
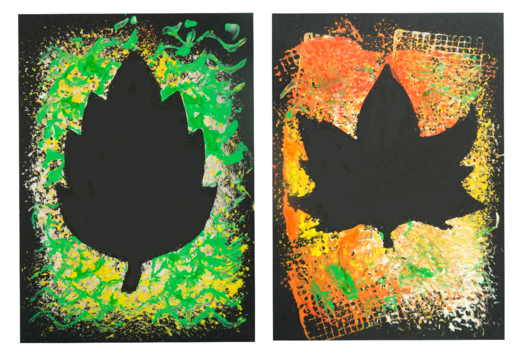
Tint the sheet with other ink colors characteristic of autumn (red, yellow, orange, light green).
You can also use a brush instead of pipettes.
Step 3:
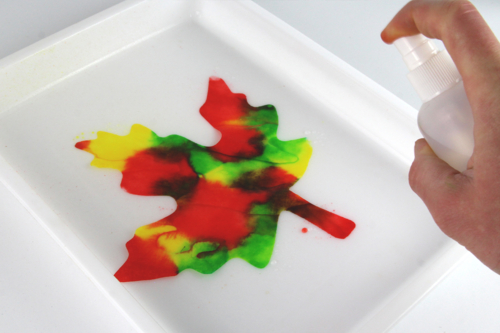
Fill a spray bottle with water. Then spray the sheet all over its surface.
This will allow the inks to spread in the paper, creating beautiful color blends.
Step 4:
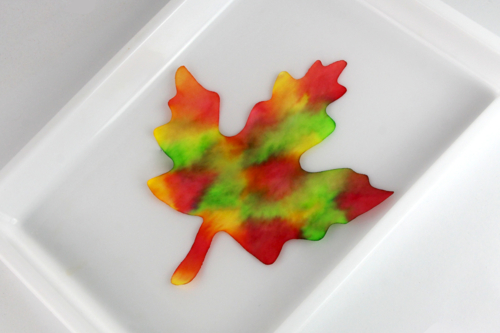
Then let it dry for 2 hours.
The products used:
The products used:

26,90€ (either 2,69 € / pc)
Available

2,99€ (either 1,00 € / pc)
Available
Other tutorials on the theme "Autumn Tutorials"
-
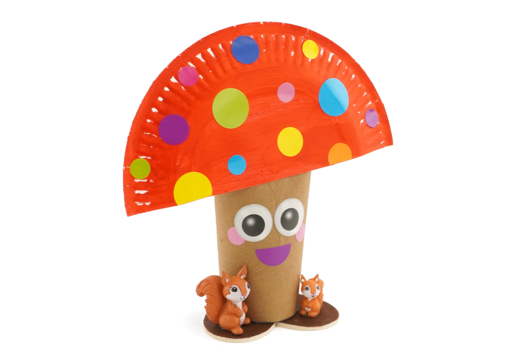

Funny Mushroom and Little Squirrels
C17711View 988 time


-
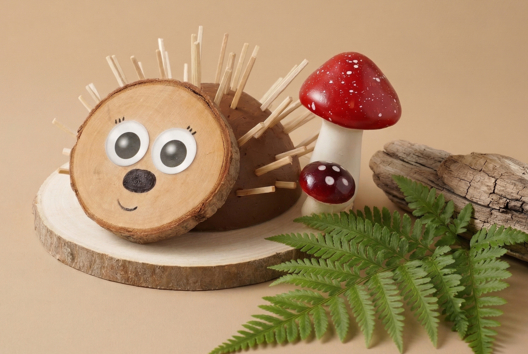
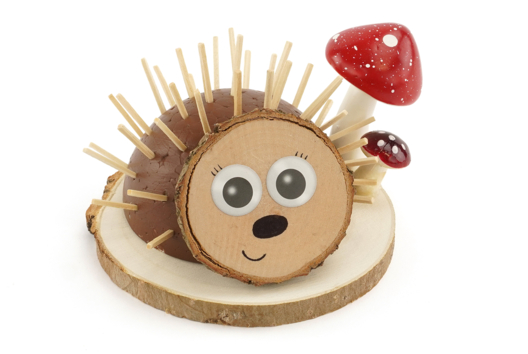
Hedgehog and Wooden Matches
C17707View 821 time
-
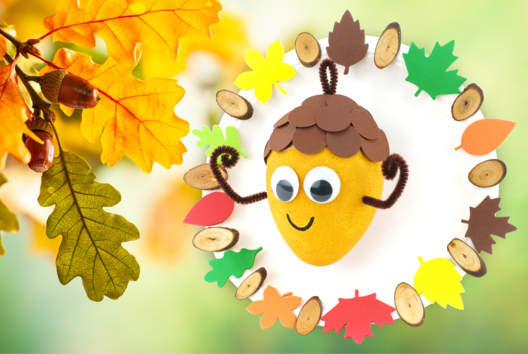
Eugene the Acorn
C15733View 15276 time
-
Silhouette Herbarium Boards
C11094View 53634 time
-

Glitter Bowl, Made with Plaster Strips
C11067View 11210 time


-
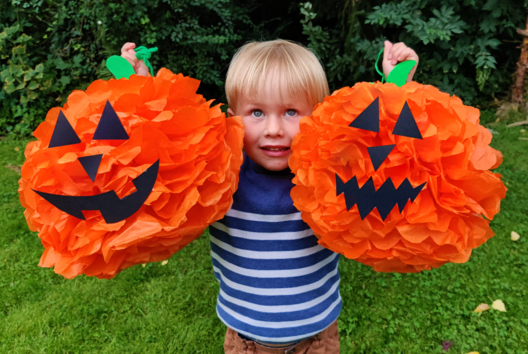

Giant Halloween Pumpkins Made of Tissue Paper
C14753View 51019 time
Customer review
Give your feedback
Autumn Leaves with Ink
Be the first to share your review of this product.
Post a review