Your cart is empty.
Butterfly for Window and Glass Decoration


Butterfly for Window and Glass Decoration


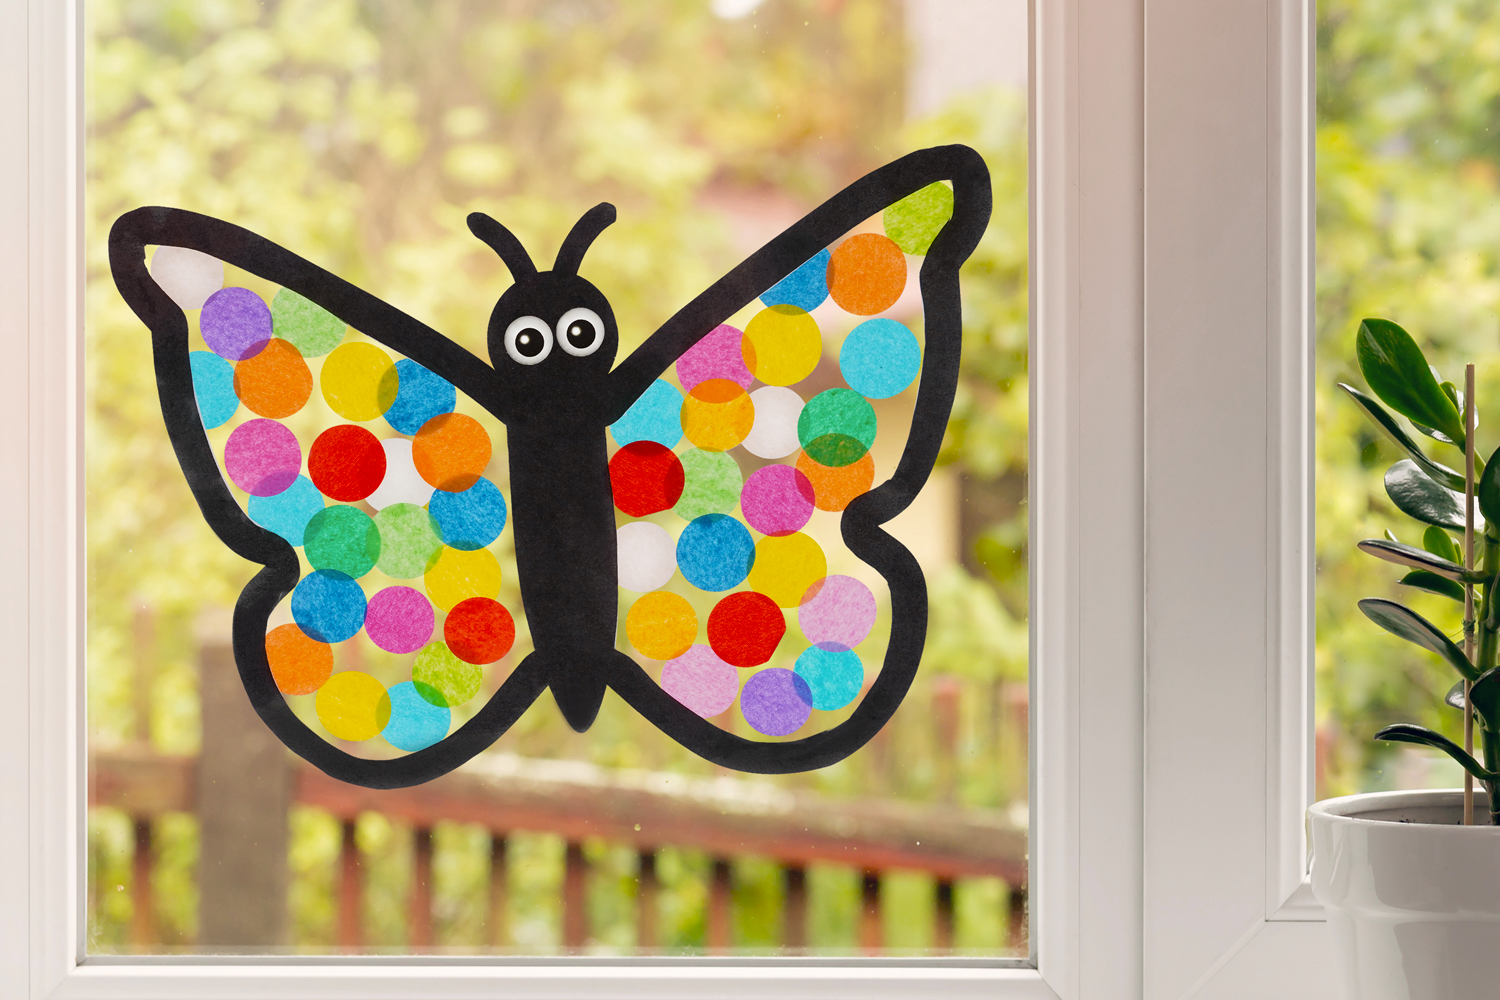
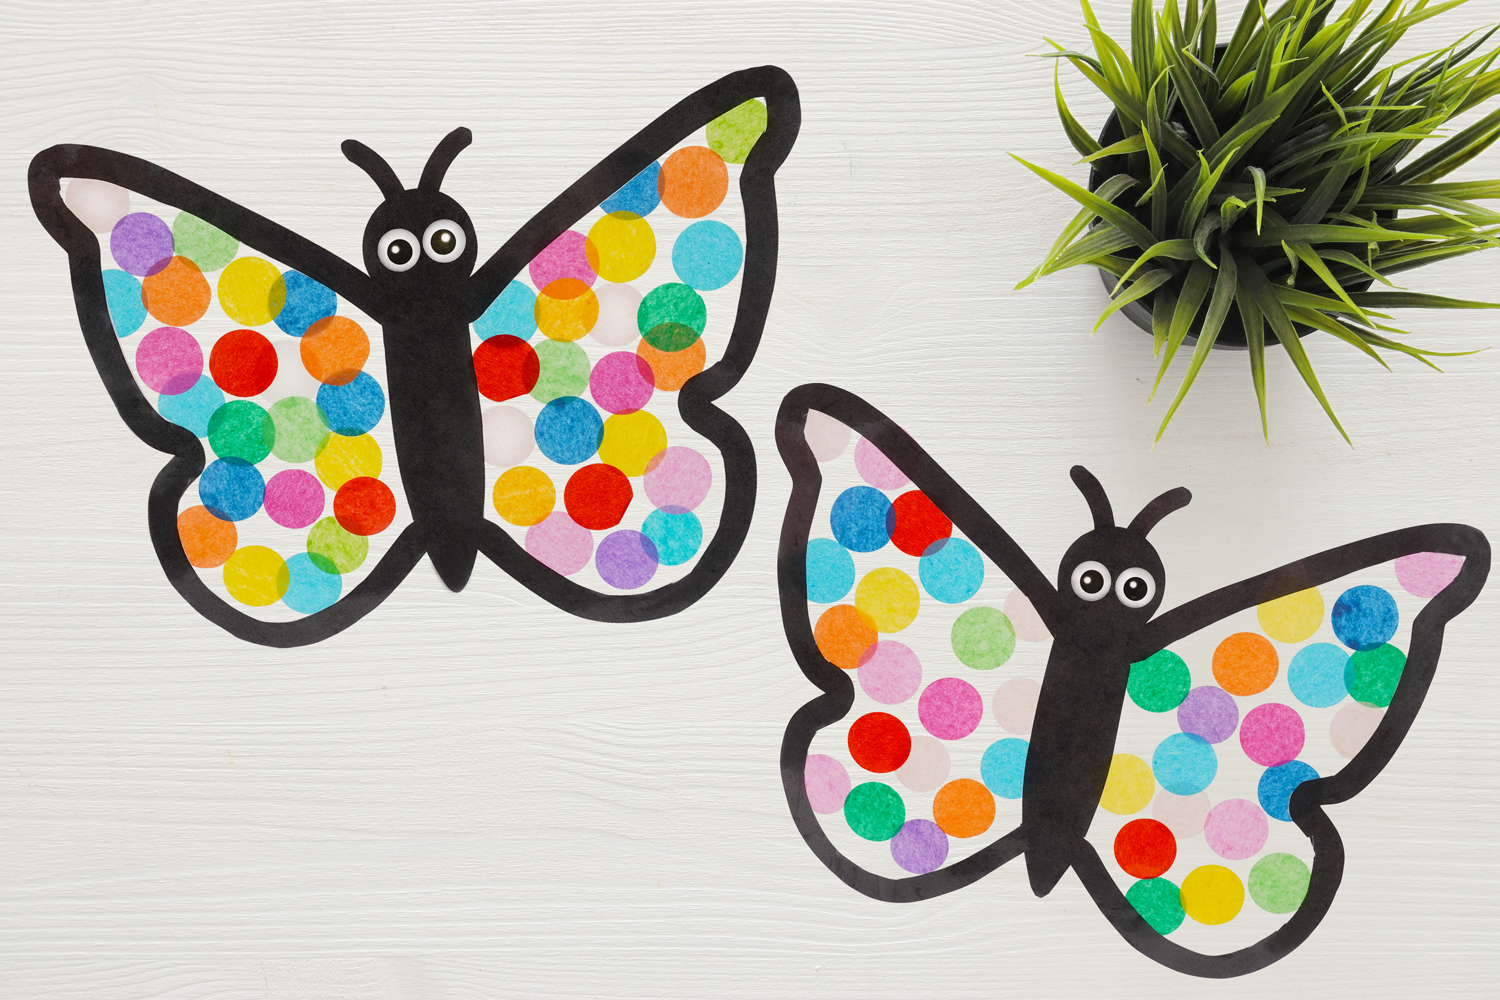
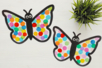
In this Spring-themed activity, we will show you how to create beautiful colorful butterflies!
Children can personalize their butterfly with circles made of tissue paper and then attach it to a window to brighten up their room or the living room. Believe us, they will be amazed by this lovely creation!
A simple and fun craft guaranteed!
To PRINT the template click here or on "Printable Template" in the second photo.
How to complete this tutorial step by step?
Materials
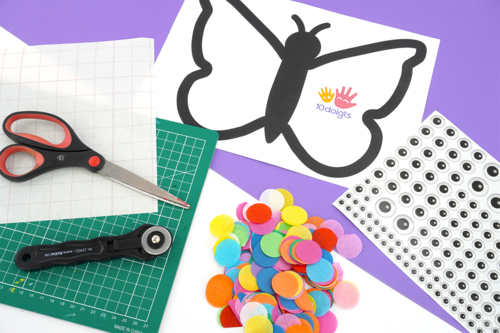
To make a butterfly, you need:
- a butterfly silhouette to download/print
- tissue paper circles
- black eye stickers
- adhesive plastic film
- a rotary cutter
- a cutting mat
- a pair of scissors
Step 1
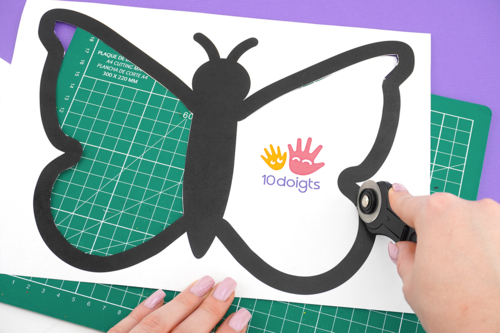
Print our template by clicking here.
Place the template on a cutting mat and then cut out the inside of the shape using a rotary cutter.
Note: It is also possible to cut the template with a pair of scissors. Here, we preferred to use the rotary cutter for the ease of cutting the inner area.
Step 2
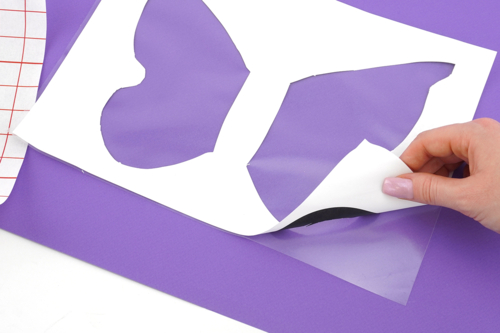
Remove the protective layer from the adhesive plastic film.
Then place the cut-out silhouette onto the film so that the black outlines of the butterfly are on the sticky surface.
Step 3
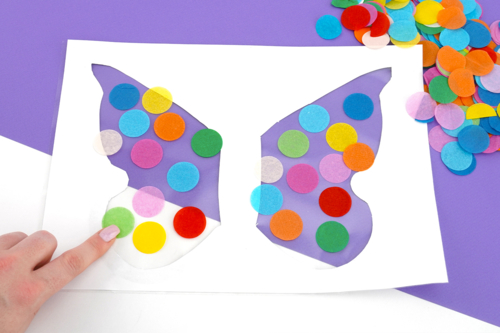
Place the circles of tissue paper inside the wings of the butterfly.
Step 4
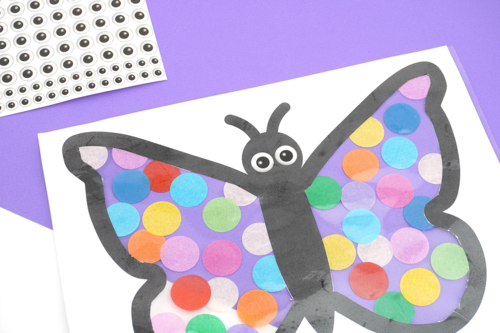
Stick 2 eye stickers on the butterfly.
Step 5
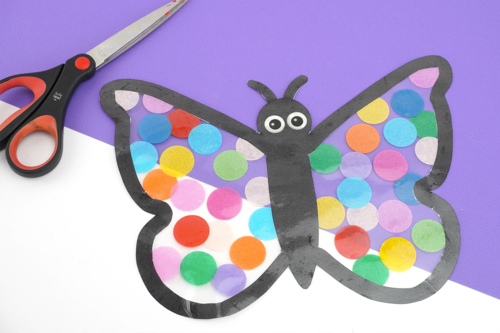
Finally, cut around the butterfly using a pair of scissors.
The products used:
The products used:

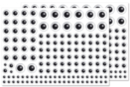

4,99€ (either 0,50 € / pc)
Available

Other tutorials on the theme "Spring Tutorials"
-
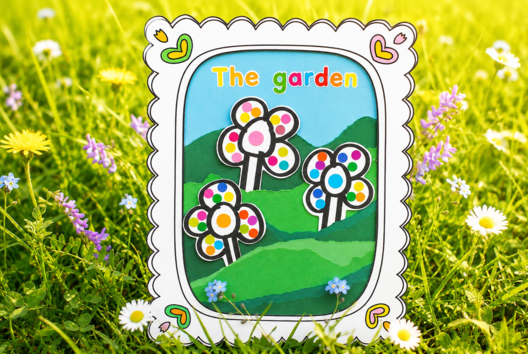
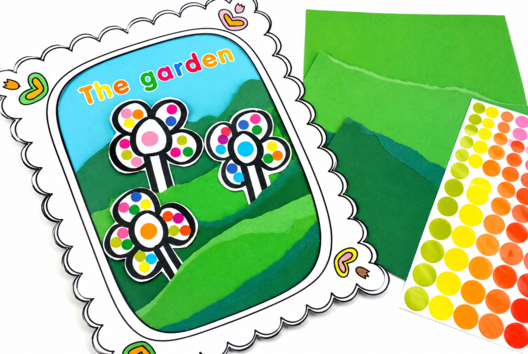
Flower Garden Canvas
C17812View 2213 time


-
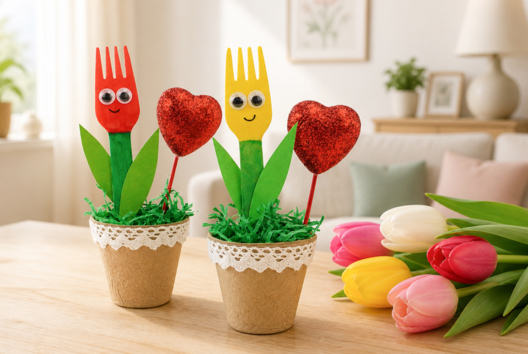
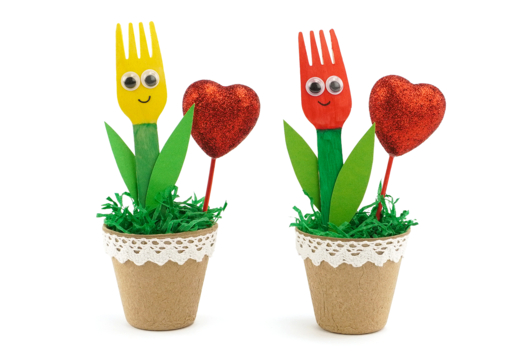
Tulip and Heart in a Pot
C17759View 29666 time
-
Ladybug Clock
C15159View 27314 time

-
Painting with Crepe Paper - Butterfly
C17743View 11392 time

-
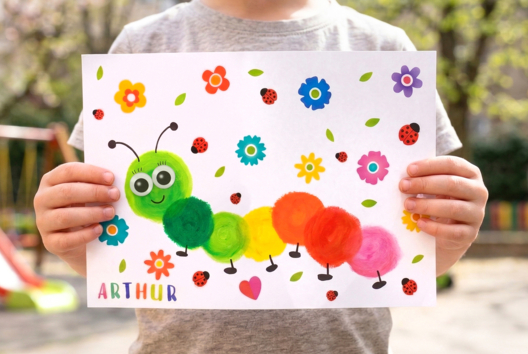
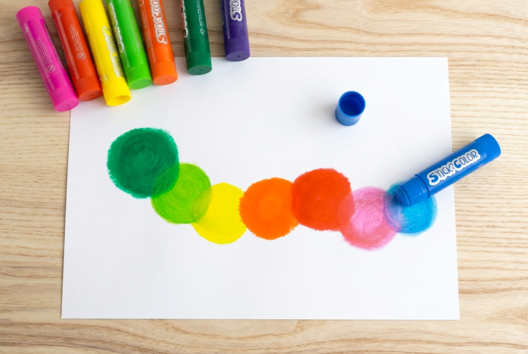
Drawing a caterpillar with toddlers
C11221View 20289 time
-
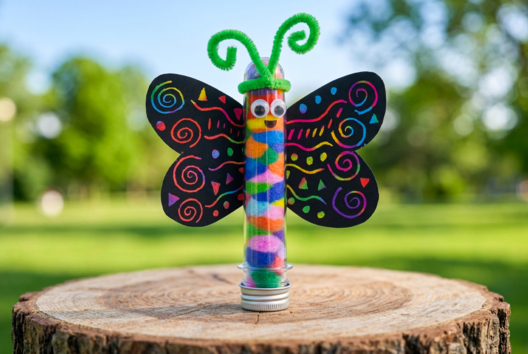
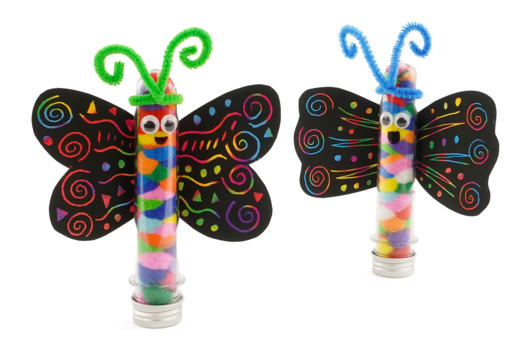
Scratch Card Butterfly
C11193View 11259 time
-
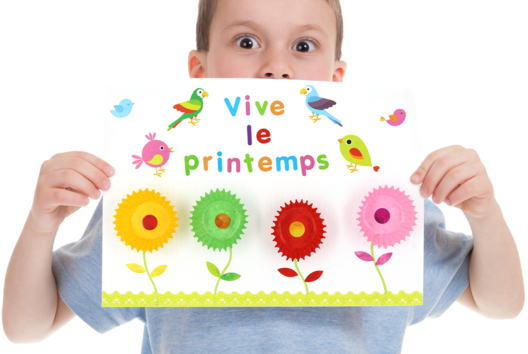
Collage "long live spring"
C15143View 13693 time -
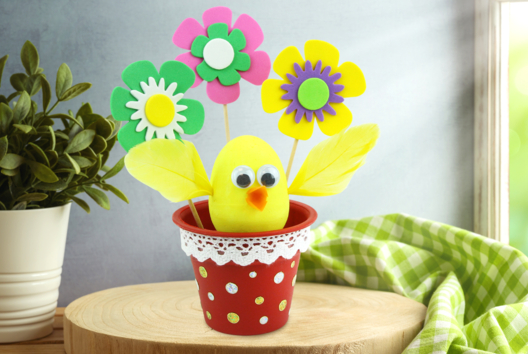
Little Chick in a Flower Pot
C15126View 18498 time -
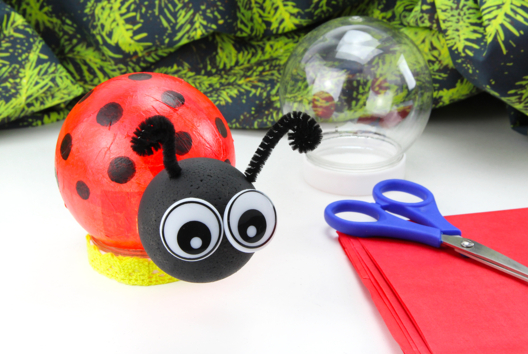
Light-Up Ladybug
C15077View 24152 time -
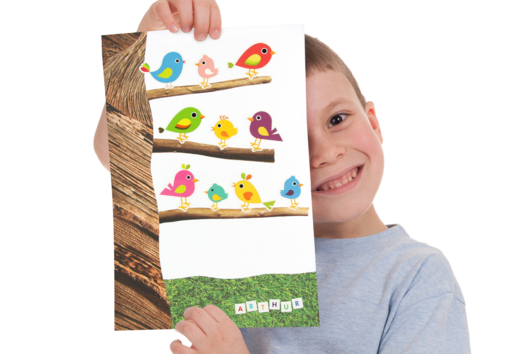
Collage Tree and Birds
C15076View 17768 time
Vos créations inspirées par ce tuto
Avis client
4.9/5
8 avis publiés
5
88%
4
13%
3
0%
2
0%
1
0%
Customer review

Really great
It’s really a very good learning experience for the little ones at first.
Vraiment génial
C’est vraiment un très bon apprentissage pour les tous petits dans le premier temps
 AI Translation •Show the original
Very good ideas
Made with 2-year-olds, they enjoyed placing the small colored dots. The result is great.
Très bonne idees
Réaliser avec des petits de 2 ans, ils ont apprécié déposer les petites pastilles de couleurs. Le rendu est top.
AI Translation •Show the original
Very good ideas
Made with 2-year-olds, they enjoyed placing the small colored dots. The result is great.
Très bonne idees
Réaliser avec des petits de 2 ans, ils ont apprécié déposer les petites pastilles de couleurs. Le rendu est top.
AI Translation •Show the original
butterfly
Great activity, the kids loved it
papillon
Super activité, les enfants ont adoré
AI Translation •Show the original