Your cart is empty.
Chive in Pot
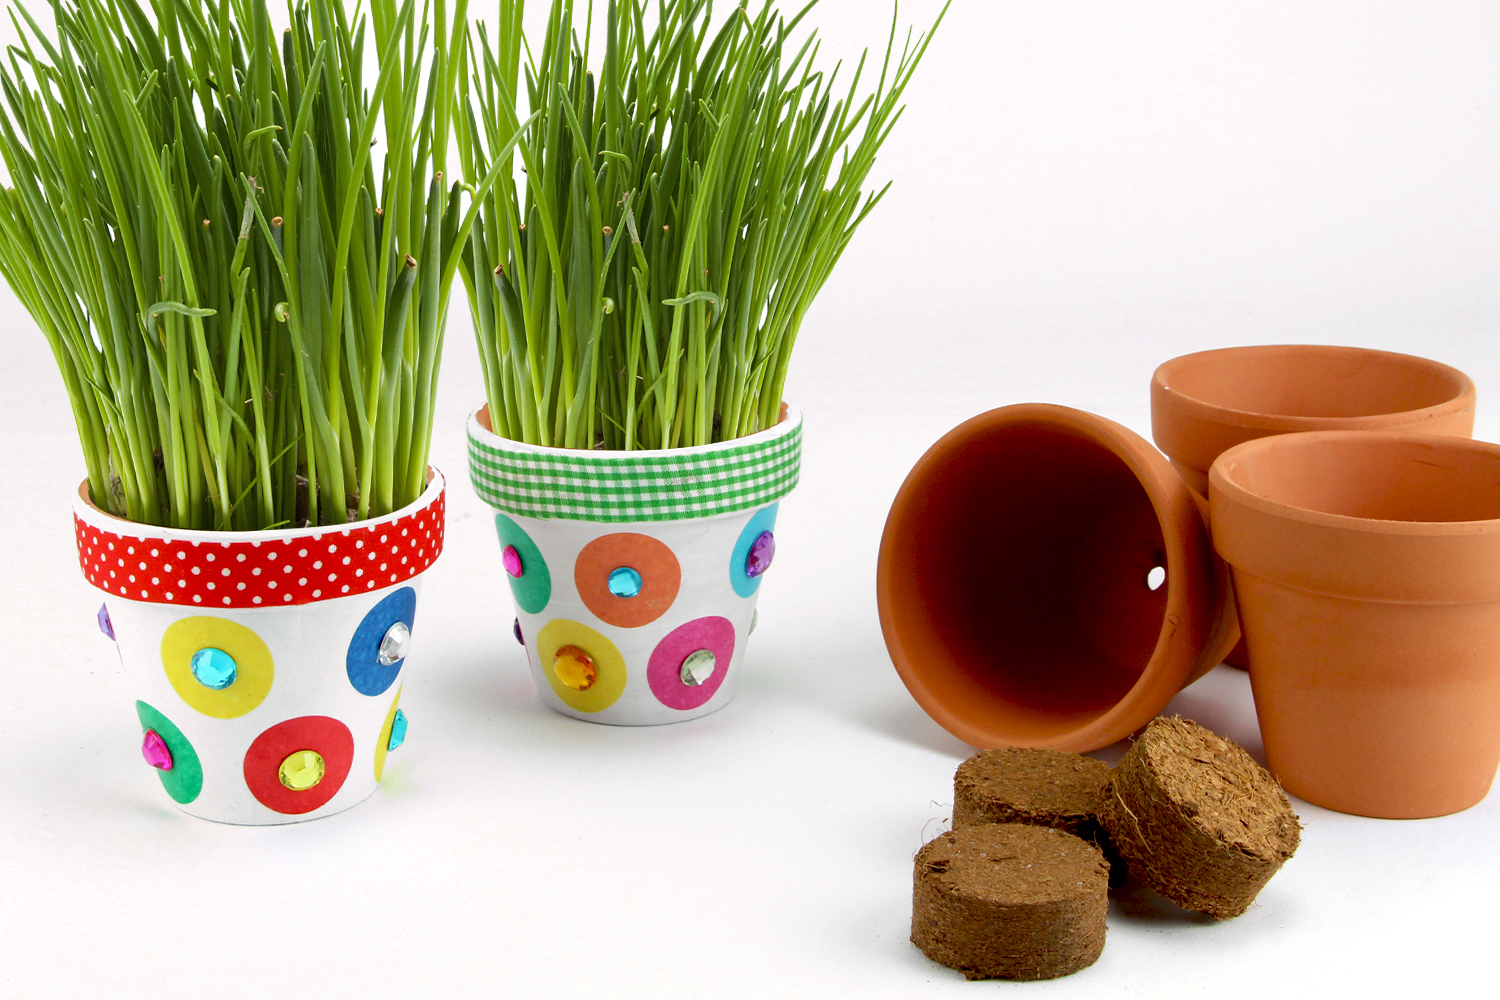
Chive in Pot
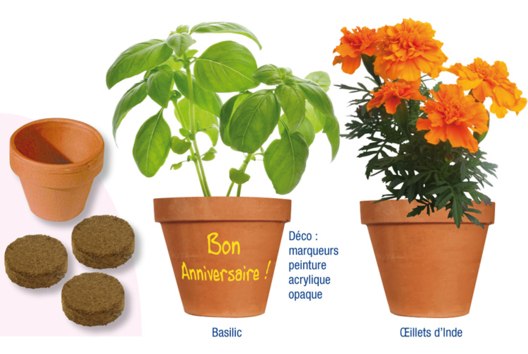
In this activity, we will decorate clay pots to grow chives in them.
A nature-themed creative workshop that will appeal to both young and old!
Thèmes de l'idéa créa :
#Nature
#DIY Home Decor Tutorials
#Varnish-Collage Tutorials
#School Gift Tutorials
#I Plant Seeds
How to complete this tutorial step by step?
Materials
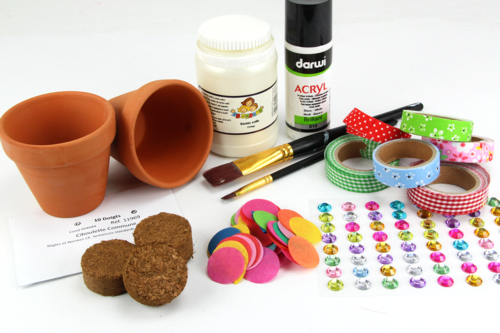
To carry out this workshop, you will need:
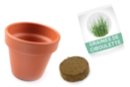
- terracotta pots, potting soil, and chive seeds
- white acrylic paint
- glue varnish
- paint / varnish brushes
- tissue paper circles
- fabric tape
- adhesive rhinestones
Step 1
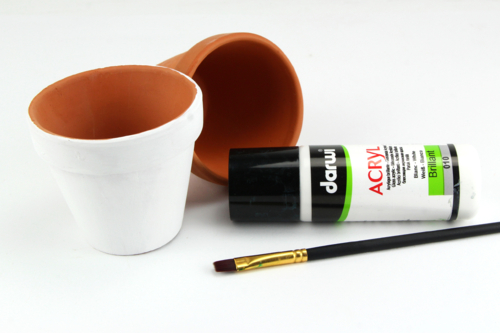
Paint a terracotta pot with white acrylic paint and let it dry for about 30 minutes.
Step 2
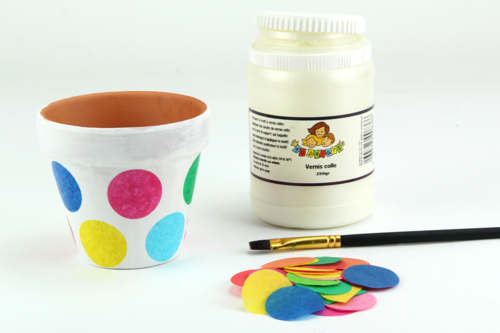
Once the paint is dry, decorate the pot with colored circles made of tissue paper using sticky varnish.
To do this, apply a layer of glue varnish on the pot, stick the tissue paper circles, and then apply another layer of glue varnish on top.
Step 3
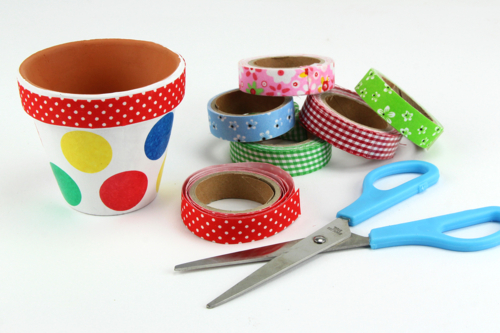
Decorate the top of the pot with adhesive fabric ribbon.
Step 4
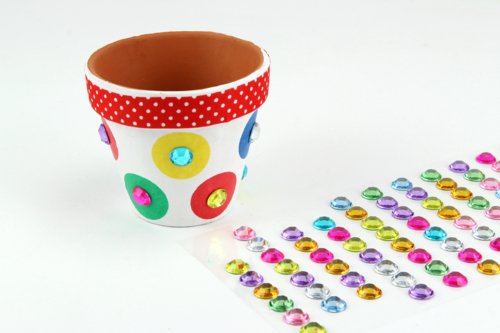
Once the glue varnish is dry, stick adhesive rhinestones in the center of the colored tissue paper circles.
Step 5
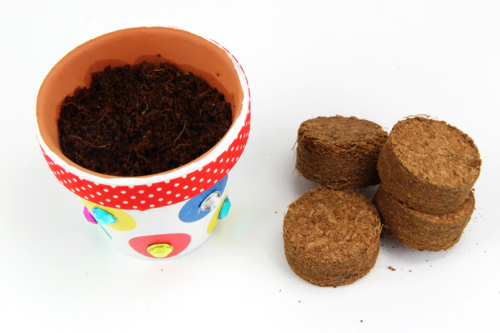
Place a soil pod in the pot and then water it to make it "swell".
TIP: As terracotta pots have holes in the bottom, we recommend placing a saucer under the pot.
Step 6
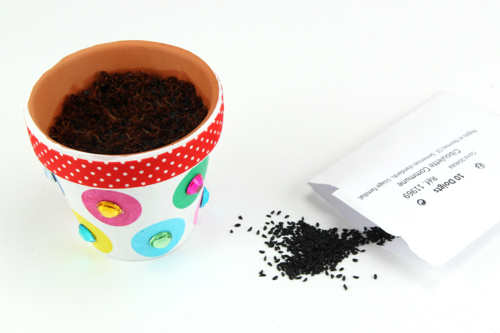
Sow the chives seeds on the potting soil and then lightly press down with your finger.
Then, you will need to water the potting soil regularly to grow the chives!
The products used:
The products used:


2,99€ (either 1,00 € / pc)
Available


Assorted adhesive fabrics - 12 rolls
Réf. 14913 - Product sheet
24,90€ (either 2,08 € / pc)
Available
Other tutorials on the theme "Nature"
-
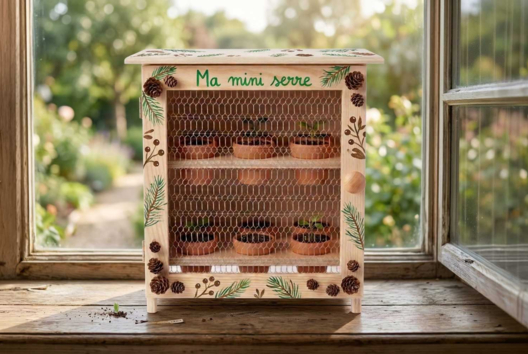
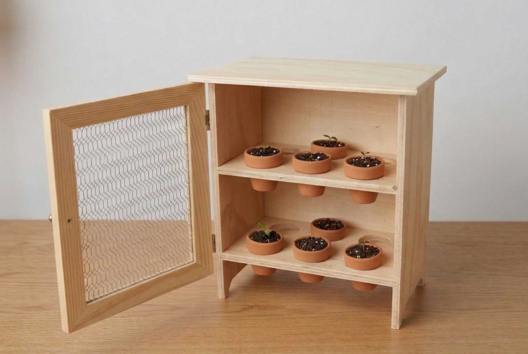
Mini Germination Greenhouse
C17705View 2893 time


-

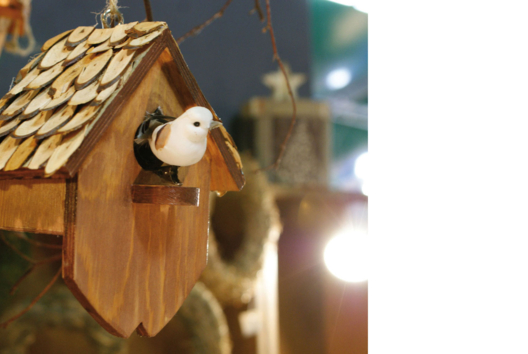
Decopatch Birdhouses
C17294View 5589 time

-
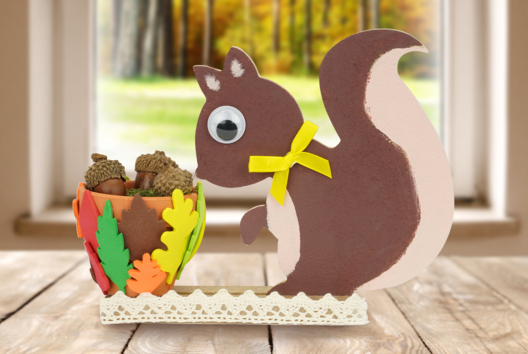
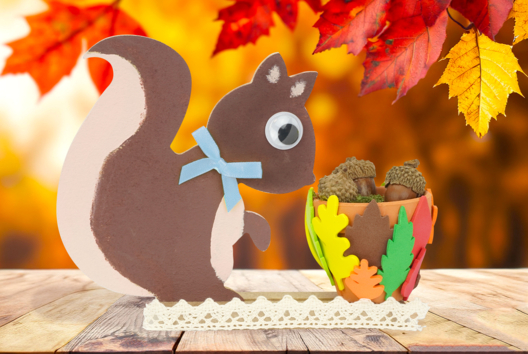
Squirrel and Its Autumn Harvest
C11030View 14383 time
-
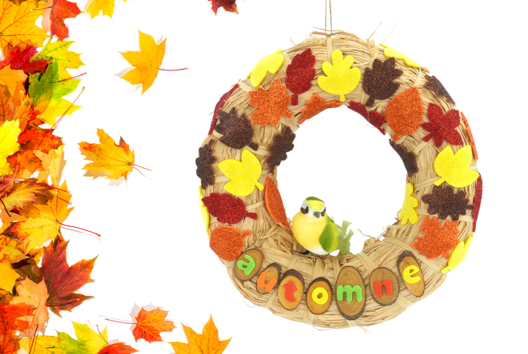

Autumn Color Wreath
C11098View 17053 time
-


Hedgehog in a Pile of Leaves
C11092View 11074 time
-


Decorative Birdhouse for Autumn
C10975View 13358 time
-
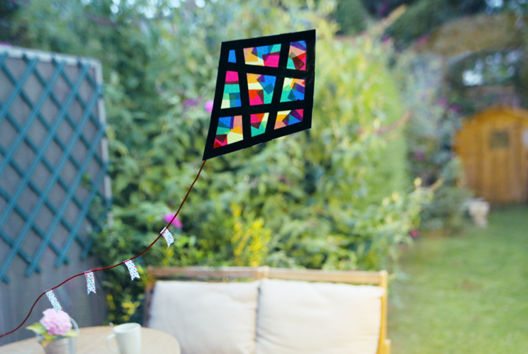

Stained Glass Kite
C11335View 35241 time -

Nature Spirit Birdhouse
C11281View 13730 time -
Gardener Kit
C11209View 13583 time
Customer review
Give your feedback
Chive in Pot
Be the first to share your review of this product.
Post a review